
You can usually fix a rain bird rain sensor not working by clearing debris from the discs or adjusting the sensitivity dial on the unit. The most common cause is a buildup of leaves, dirt, or spider webs blocking the sensor’s ability to detect moisture. If the sensor is clean and still fails to stop your irrigation system, the problem often lies in the wiring connection or the sensor’s internal settings.
Why your irrigation system ignores rain
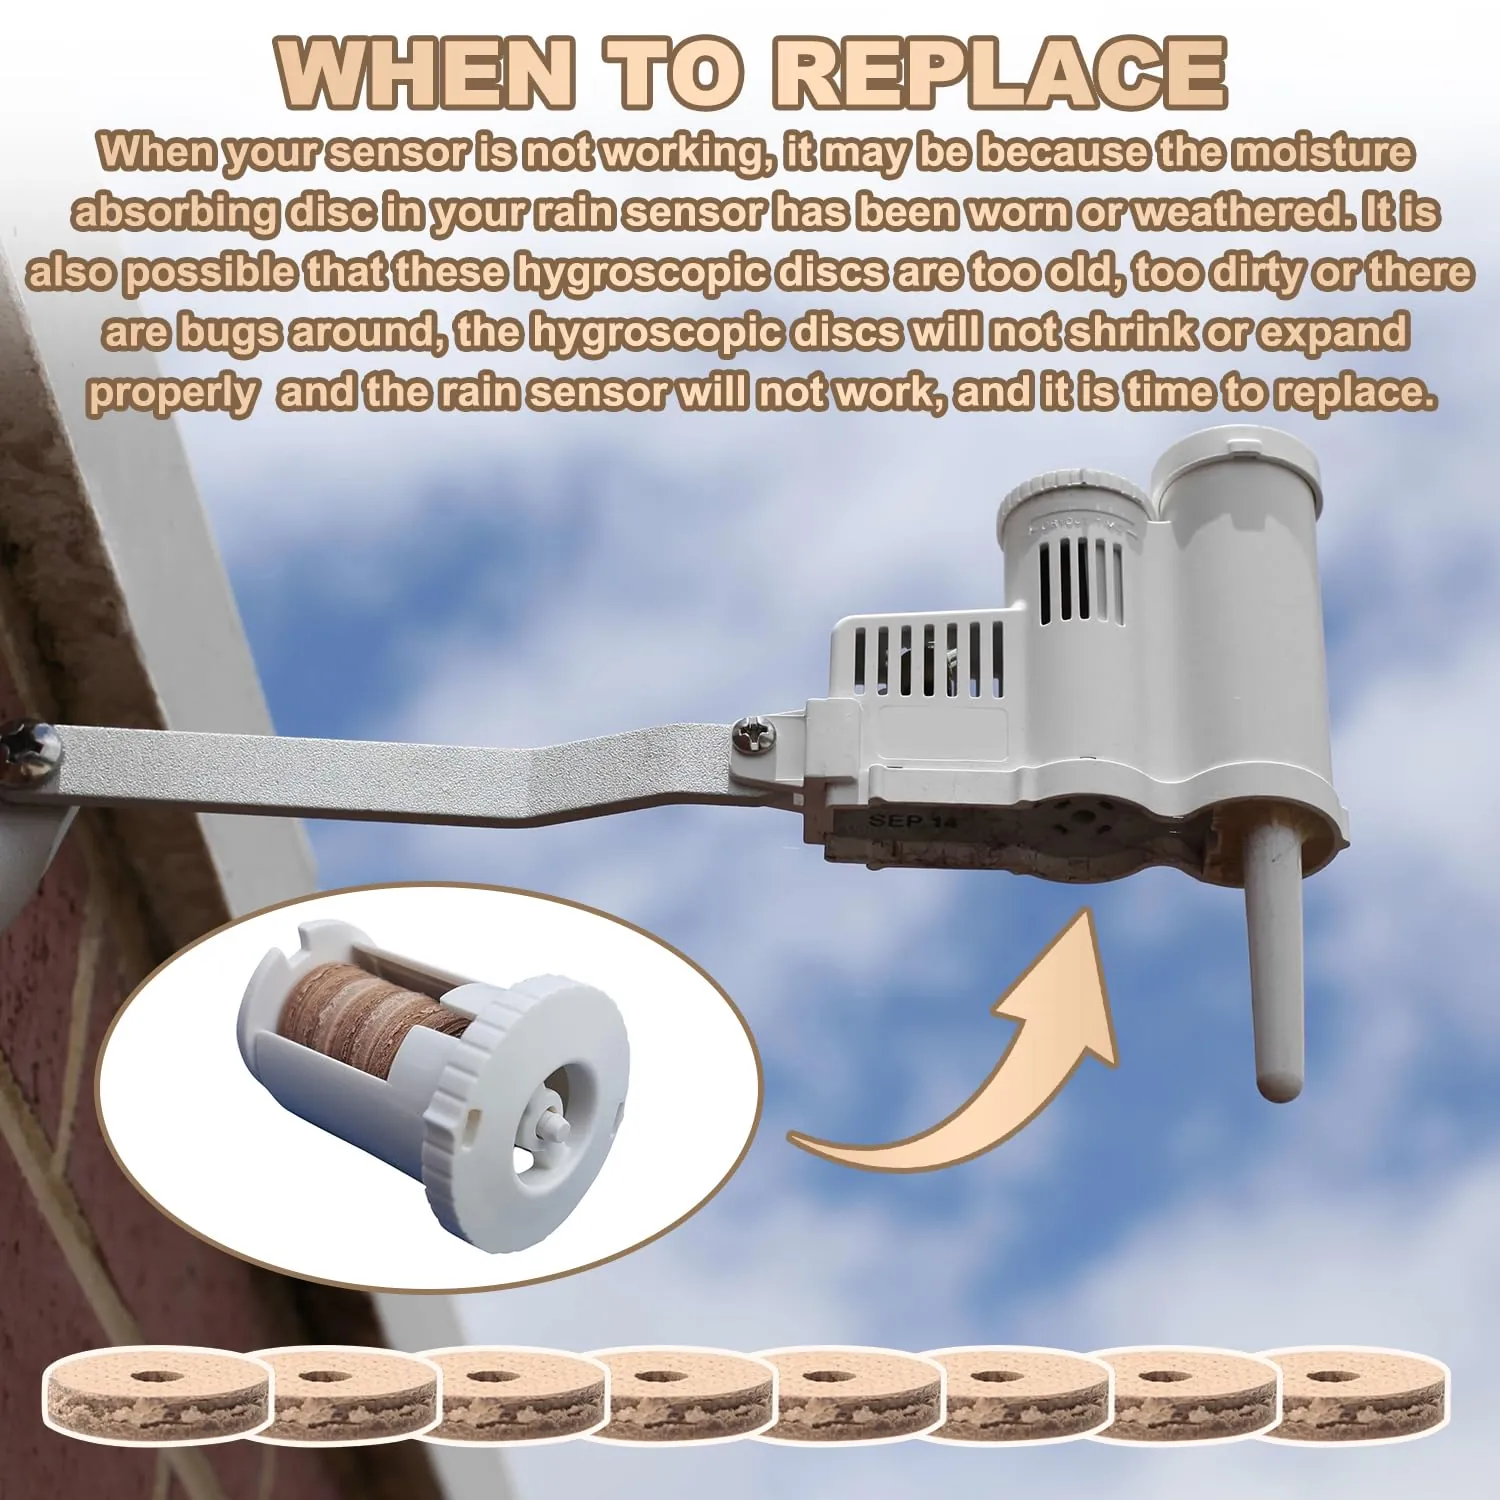
When your sprinklers keep running during a storm, the sensor is likely failing to send the “off” signal to the controller. This happens because the moisture-sensitive discs inside the unit are either physically obstructed or have reached the end of their functional lifespan. Over time, these cork-like discs expand and contract, but they can eventually become brittle or saturated with mineral deposits from hard water.
Another common reason is the sensor’s sensitivity setting. Most units feature a dial that allows you to choose the amount of rainfall needed to trigger a shutdown. If this dial is set too high, the system won’t register light rain or mist, even if the ground is already wet. You can find specific guidance on these adjustments in the official Rain Bird sensor manuals provided by the manufacturer.
Electrical issues also play a significant role. If the wires connecting the sensor to your irrigation controller are loose, corroded, or damaged by lawn equipment, the signal never reaches the brain of your system. This is especially frequent in outdoor installations where wires are exposed to the elements or buried too shallowly. If the sensor is perfectly clean and the dial is set correctly, the failure is almost always an electrical break in the wire path.
Clean the sensor discs carefully
To restore your sensor, start by removing any physical debris that prevents the discs from expanding. You should gently brush away leaves, twigs, and spider webs from the top and sides of the sensor housing. If you notice a thick layer of dust or grime, use a soft, dry cloth to wipe the surface. Never use harsh chemical cleaners or pressure washers, as these can damage the sensitive internal electronics or degrade the material of the discs.
If the discs look severely cracked or feel hard like stone, they’re likely no longer expanding when wet. This is a sign that the component has reached its natural end of life. When the discs fail to swell after a heavy rain, replace the entire stack immediately to prevent your system from running during a storm.
Most homeowners make the mistake of soaking the sensor in soapy water to “clean” it. This traps residue inside the porous material, which prevents moisture from evaporating and keeps the system permanently locked in the off position.
If you see a green film or algae growth, use only a damp cloth with plain water. If the wiring appears frayed or the sensor remains unresponsive after cleaning, contact a licensed irrigation technician to avoid damaging your controller or causing a short circuit.
Adjust the sensitivity dial settings
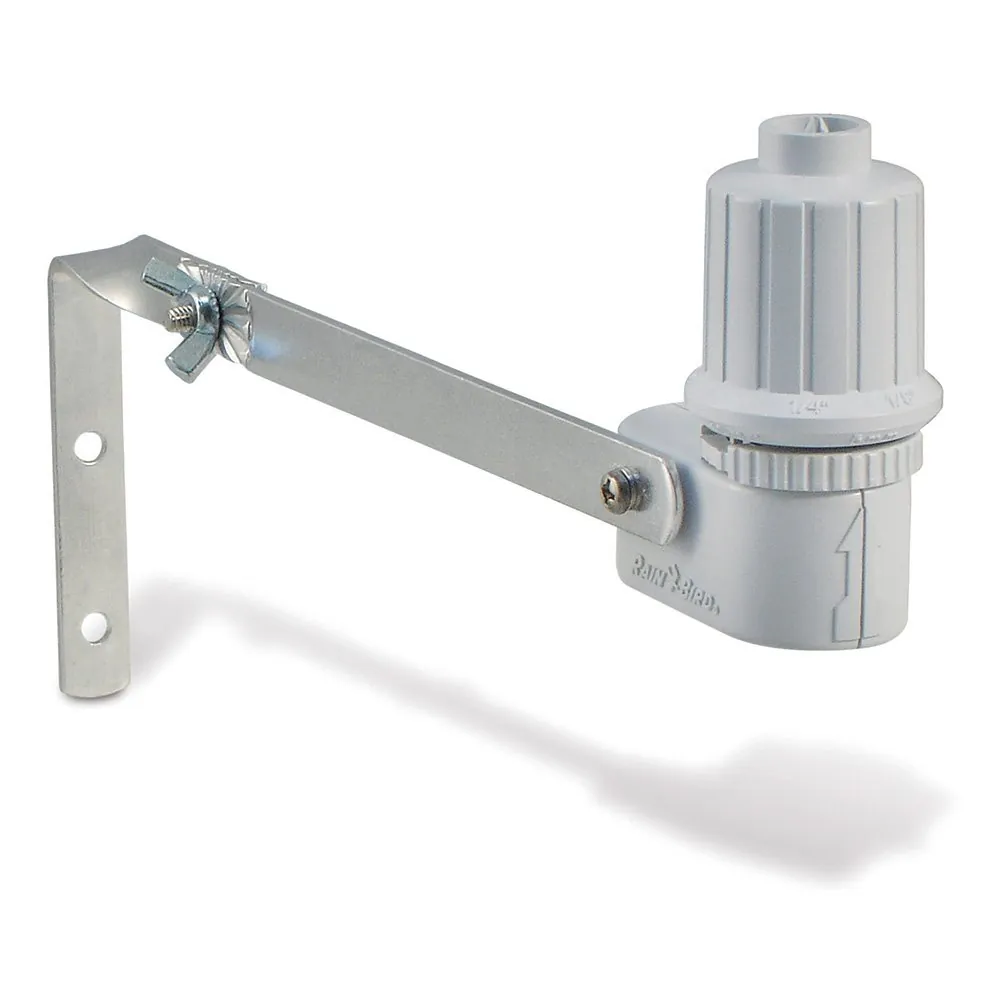
You can change how quickly your system responds to weather by rotating the sensitivity dial on the sensor housing. This dial usually offers settings ranging from 1/8 inch to 3/4 inch of rainfall. If you live in an area with high evaporation rates, a lower setting is often better to ensure the system shuts off during short, sharp showers.
If you find that your sprinklers turn on too soon after a rain, turn the dial toward the “low” setting to increase the sensor’s responsiveness. If the system stays off for days after the rain has stopped, your dial is likely set too high, preventing the discs from drying out quickly.
Most users make the mistake of adjusting the dial by half-turns, which often leads to overcompensating and wasted water. Instead, move the dial only one notch at a time. If your local climate experiences frequent, light misting, keep the setting at the 1/8 inch mark to prevent unnecessary irrigation. If you experience heavy, seasonal monsoons, move the dial toward the 3/4 inch mark to avoid system lockout.
Always make these adjustments in small increments, waiting for the next rainfall to verify the change. If you have a wireless model, ensure the batteries are fresh, as a low-power signal can cause the controller to ignore the sensor’s input entirely.
Check the controller wiring connections
If the sensor is clean and adjusted, inspect the wire terminals located at your irrigation controller. Look for any wires that have come loose from the “sensor” or “common” ports. A single loose wire will prevent the signal from passing through, effectively making the sensor invisible to the controller. Ensure the wires are seated firmly under the screws and that there’s no visible corrosion on the metal tips.
If you see green or white crusty buildup on the wires, this indicates corrosion. You can gently clean these tips with a small wire brush or fine sandpaper to improve the connection. If the wire itself is broken or brittle, it will need to be replaced.
Test the connection by tugging lightly on each wire. If a wire pulls free from the terminal, the internal copper strands have likely fatigued. You must strip back a quarter-inch of the insulation to expose fresh, shiny copper before re-securing it.
If your controller displays a “Sensor Open” error despite tight connections, a technician must confirm whether the part has failed. Dealing with electrical wiring carries a risk of damaging your irrigation controller’s motherboard; if you’re unsure about the wiring path, it’s safer to hire a professional.
Popular advice to avoid
-
Soaking the sensor in water: Submerging the unit forces moisture into the electrical housing, destroying the circuit board. If you need to test the sensor, place a damp sponge on the discs for ten minutes instead. This mimics rainfall without compromising the sealed electronics.
-
Applying grease to the discs: Oil or grease prevents moisture absorption, silencing the sensor permanently. If the discs feel brittle or cracked, they have reached the end of their lifespan and require a full replacement rather than a coating.
-
Bypassing the sensor permanently: Moving the wire to a different controller port is a temporary fix that leaves your lawn vulnerable to overwatering during storms. If your system ignores the sensor, check the common wire for corrosion first.
-
Using standard household tape for repairs: Outdoor connections require UV-resistant, waterproof gel-filled connectors. Standard electrical tape degrades under direct sunlight within three weeks, leading to intermittent signal loss. If the connection is exposed, wrap it in self-fusing silicone tape. This creates a chemical bond that prevents water ingress, unlike adhesive tapes that peel away when temperatures fluctuate.
Prevent future irrigation failures

To keep your system running correctly, perform a physical inspection of your sensor at the start of every season. The specific threshold for when your sensor should trigger depends on your local climate, but you can read the current value off your specific unit’s dial to see if it matches your local rainfall patterns.
Most residential sensors are calibrated to trigger after one-eighth of an inch of rain. If you live in a region with sandy, fast-draining soil, set your trigger threshold to the lowest possible setting to ensure the system doesn’t cut off prematurely. In heavy clay soils, push the threshold toward the higher end of the dial to prevent waterlogging.
Many homeowners fail to test the internal cork discs, which harden and lose their ability to expand after three years of sun exposure. If the discs feel brittle or show visible cracks, replace them immediately. A failed disc will never trigger the shut-off switch, potentially wasting thousands of gallons of water during a storm.
| If you’re doing this | Do this instead | Why |
|---|---|---|
| Leaving debris on the sensor | Brush the discs monthly | Debris prevents moisture absorption |
| Ignoring the sensitivity dial | Adjust it to local rainfall | Prevents over- or under-watering |
| Using bare wire connections | Use waterproof wire nuts | Prevents corrosion and signal loss |
| Installing under thick trees | Move to an open area | Tree cover blocks natural rainfall |
Related guides
Frequently asked questions
How long does a rain sensor last?
Most rain sensors last between 5 and 7 years, depending on your local climate and sunlight exposure. Harsh UV rays and temperature swings cause the housing and moisture-sensitive discs to degrade over time. If your unit is older than 5 years and fails to trigger despite being clean, it’s time to replace the sensor.
Is it safe to fix the sensor myself?
You can safely perform basic cleaning and sensitivity adjustments as long as you don’t open the sealed electronic housing. These external tasks require no special tools or electrical training. Avoid opening the sealed box or touching internal wiring, as attempting internal repairs can lead to a short circuit that permanently damages your controller.
What happens if the sensor is always wet?
If your sensor stays wet, your irrigation system will remain in a permanent “off” state and won’t water your lawn. This usually occurs if the sensor is placed in a shaded area where the discs can’t dry out. Ensure your sensor is in an open area that receives direct rainfall and sunlight to allow proper drying.
Can I test the sensor without rain?
You can test the sensor by manually pressing the moisture-sensitive discs or using the test button on the unit. If the controller displays a “sensor active” message when you press the button, the wiring is functioning correctly. If the controller doesn’t respond, the issue likely lies with the signal transmission or the controller settings.
Why does my sensor turn off too late?
Your sensor might be turning off too late because the sensitivity dial is set to a high volume. If the dial is set to 3/4 inch, the system allows significant water to fall before shutting down. Adjust the dial to a lower setting, such as 1/8 inch or 1/4 inch, to increase sensitivity to smaller amounts of rain.
Conclusion
If these quick checks don’t get your system running smoothly again, it’s best to test the sensor wires for continuity with a multimeter. Don’t hesitate to reach out to a local irrigation pro if you’re still having trouble. They’ll help you get everything back in perfect working order before the next storm.
