
You can safely complete the task by matching the colored wires to the correct brass or silver terminals inside the housing. This process requires a standard screwdriver, wire strippers, and about 15 minutes of focus. It’s a suitable project for homeowners who need to replace a damaged plug end on a standard two-prong or three-prong cord.
Necessary tools and parts
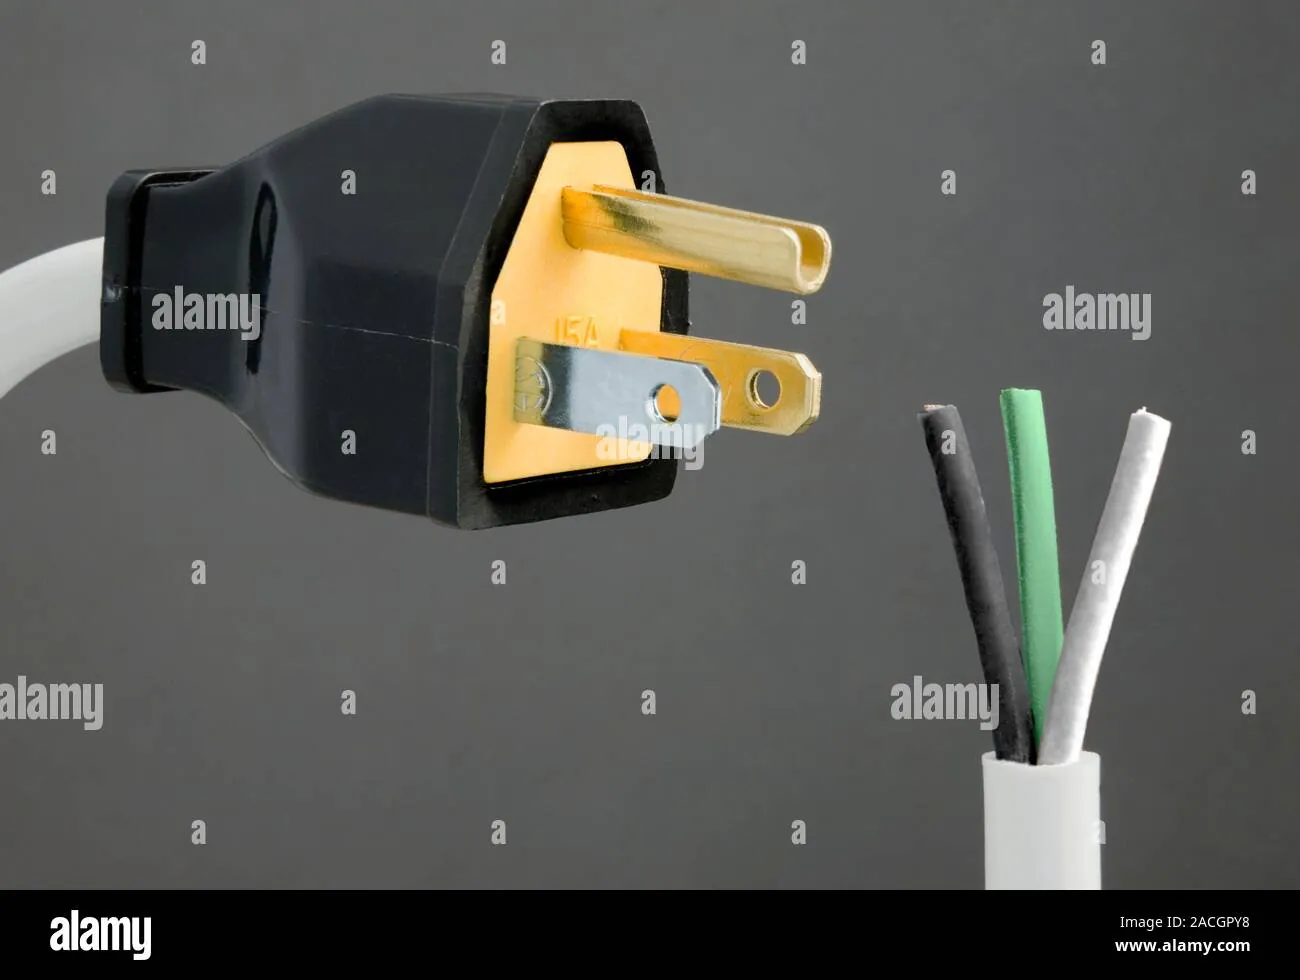
To finish this job, you must have the right equipment to ensure a secure connection. Using the wrong tools, like kitchen knives instead of wire strippers, often leads to cut wire strands and poor electrical contact.
- Replacement plug head (ensure the amperage rating matches your device).
- Wire strippers capable of handling 12-gauge to 18-gauge wire.
- Flathead and Phillips screwdrivers.
- Utility knife for removing the outer cord jacket.
- Needle-nose pliers for bending wire loops.
You can find the exact safety requirements for cord connectors through the Consumer Product Safety Commission guidelines. If you’re unsure about the amperage of your device, check the label on the appliance itself. Don’t use a replacement plug with a lower amp rating than the device requires, as this poses a fire risk.
Steps to wire a US plug
- Slide the plug housing onto the cord before you start stripping the wires. If you forget this step, you’ll have to cut the wires and start over.
- Cut the outer insulation back by about 1 inch using your utility knife. Be very careful not to nick the colored insulation on the individual wires inside.
- Strip 1/2 inch of insulation from the ends of the black (hot) and white (neutral) wires. If your cord has a green or bare wire, strip that as well.
- Twist the exposed copper strands of each wire tightly so no stray strands stick out. Stray strands can cause short circuits if they touch other terminals.
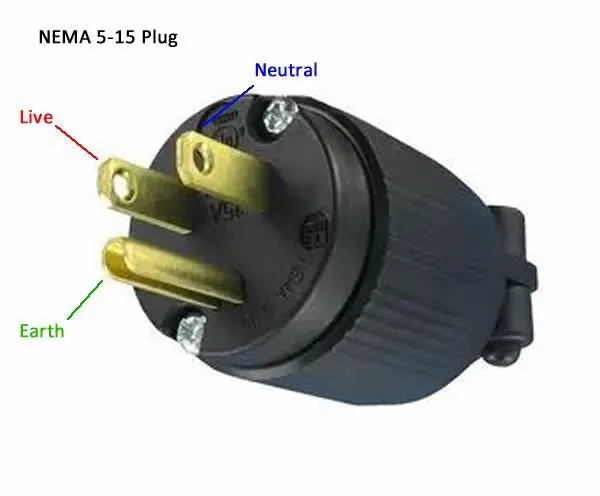
- Loosen the terminal screws on the plug face. Wrap the black wire clockwise around the brass-colored screw and tighten it firmly.
- Wrap the white wire clockwise around the silver-colored screw and tighten it. If there’s a green screw, attach the green or bare ground wire there.
- Pull the cord to ensure the wires are snug, then slide the housing over the terminals and screw it shut.
Tip: Always wrap the wire clockwise so that tightening the screw pulls the wire tighter into the terminal. Careful: If you see any bare copper hanging outside the screw area, loosen the screw and re-trim the wire.
Situational changes and requirements
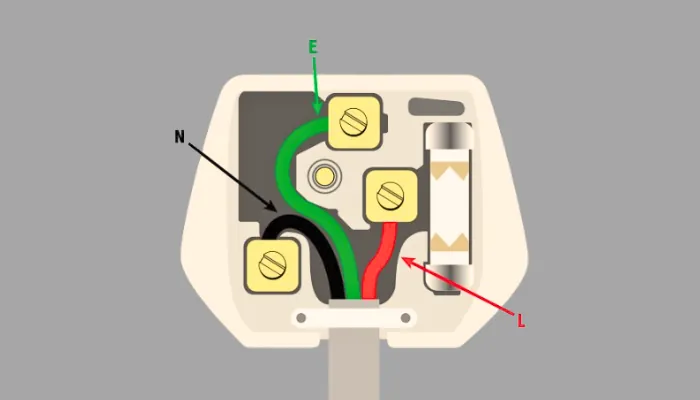
The time and effort required to wire a plug depend on the cord type and the plug design you choose. Some modern plugs use “crimp” or “clamp” styles that require no screws, while older designs always use screw terminals.
| Plug Type | Time Required | Complexity | Watch For |
|---|---|---|---|
| Standard Screw | 15 minutes | Medium | Loose wire strands |
| Clamp Style | 5 minutes | Low | Fully seated wire |
| Heavy Duty | 20 minutes | High | Correct wire gauge |
It’s always safer to start with a standard screw-terminal plug if you’re a beginner. These offer the most tactile feedback, letting you feel exactly when the connection is secure.
Judging your electrical work
A successful installation results in a solid, non-moving connection where no bare copper is visible outside the terminal housing. If the plug feels loose or the cord wiggles when you pull it, the internal clamp isn’t holding the outer jacket correctly.
This happens when the outer insulation wasn’t stripped back far enough to allow the clamp to bite into the rubber. You can prevent this by checking that the clamp rests on the thick outer jacket, not the thin colored wires.
Tug each wire individually after tightening the terminal screws. If any strand slips out with moderate pressure, the screw was likely seated on insulation rather than metal. Strip an extra sixteenth of an inch and try again. A high-resistance joint will heat up under load, potentially melting the plastic housing or causing a fire, even if the circuit breaker doesn’t trip. This damage is often hidden until smoke appears.
Check your work with a simple outlet tester before energizing the circuit. These cheap devices confirm correct wiring polarity instantly. Don’t rely on visual inspection alone for grounded outlets. The third prong must show a complete path to ground. If the tester lights indicate an open ground, trace the connection back to the panel immediately.
Rules and safety standards
The National Electrical Code provides the standard for how these connections must be made to prevent overheating. Once you finish, ensure all screws are tightened so they don’t vibrate loose over time. You should inspect the plug for heat damage or loose connections based on how often the appliance is moved, referring to the owner’s manual for specific guidance.
If the internal wiring looks charred or the plastic housing feels brittle, replace the entire plug immediately. Any work involving damaged wall outlets or internal house wiring is a job for a licensed electrician, as these carry risks of shock or fire that exceed simple cord repair.
Alternative repair methods
Using a molded replacement
You can buy a cord that already has a factory-molded plug attached. This is the safest route because it removes the risk of human error. It costs more than a simple plug head but saves time and ensures a factory-grade seal that keeps dust and moisture out of the connection.
Hiring a professional
If you feel uneasy working with electricity, a professional handyman can replace your plug in minutes. This route removes all personal risk of injury or fire caused by a loose connection. It’s the best choice if you lack the specific tools or the confidence to work with household electrical components.
Cord splicing
Some people choose to splice a new cord onto the device entirely. This involves opening the appliance housing to connect the cord directly to the internal board. This method is much more complex and often voids the device warranty, so only attempt it if you have experience with electronics repair.
Related guides
Frequently asked questions
Is it safe to wire a US plug yourself?
Yes, it’s safe if you follow the manufacturer’s instructions and ensure the power is disconnected. Always check that the plug you bought matches the voltage and amperage of your device. If you feel unsure at any point, stop and consult a professional to avoid electrical hazards.
How do I know which wire is hot?
The black wire is always the hot wire in standard US household cords. The white wire is the neutral, and the green or bare wire is the ground. If your cord doesn’t have these colors, look for a ribbed or marked side on the insulation, which typically identifies the neutral wire.
Can I use a three-prong plug on a two-prong cord?
No, you should never use a three-prong plug on a two-prong cord unless you’re also adding a proper ground connection. Doing this creates a false sense of security and doesn’t provide actual electrical safety. Always replace the plug with the same number of prongs as the original.
What happens if I cross the wires?
Crossing the hot and neutral wires can cause the appliance to malfunction or become a shock hazard. If the device has a metal case, it could become energized, which is dangerous to touch. Always double-check your connections against the brass (hot) and silver (neutral) labels before closing the plug.
How long does a new plug last?
A correctly installed plug should last for many years under normal use. The lifespan depends on how often you plug and unplug the device and whether the cord is moved frequently. If you notice the plug becoming hot to the touch or if the housing cracks, replace it immediately to prevent a fire.
Conclusion
You’re now ready to handle your repair. Just remember that the goal is a tight, clean connection that keeps the electricity contained exactly where it belongs. If the cord feels hot during use, unplug it immediately and check your connections for any loose strands.
