
Silicone-based self-fusing tape is the best repair material for minor leaks in non-pressurized plumbing, as it bonds to itself without adhesives to create a watertight seal. This material handles temperatures up to 500°F (260°C) and resists common drain chemicals. While effective for temporary stops, it isn’t a permanent replacement for damaged metal or PVC components.
Understanding Silicone Sealing Technology
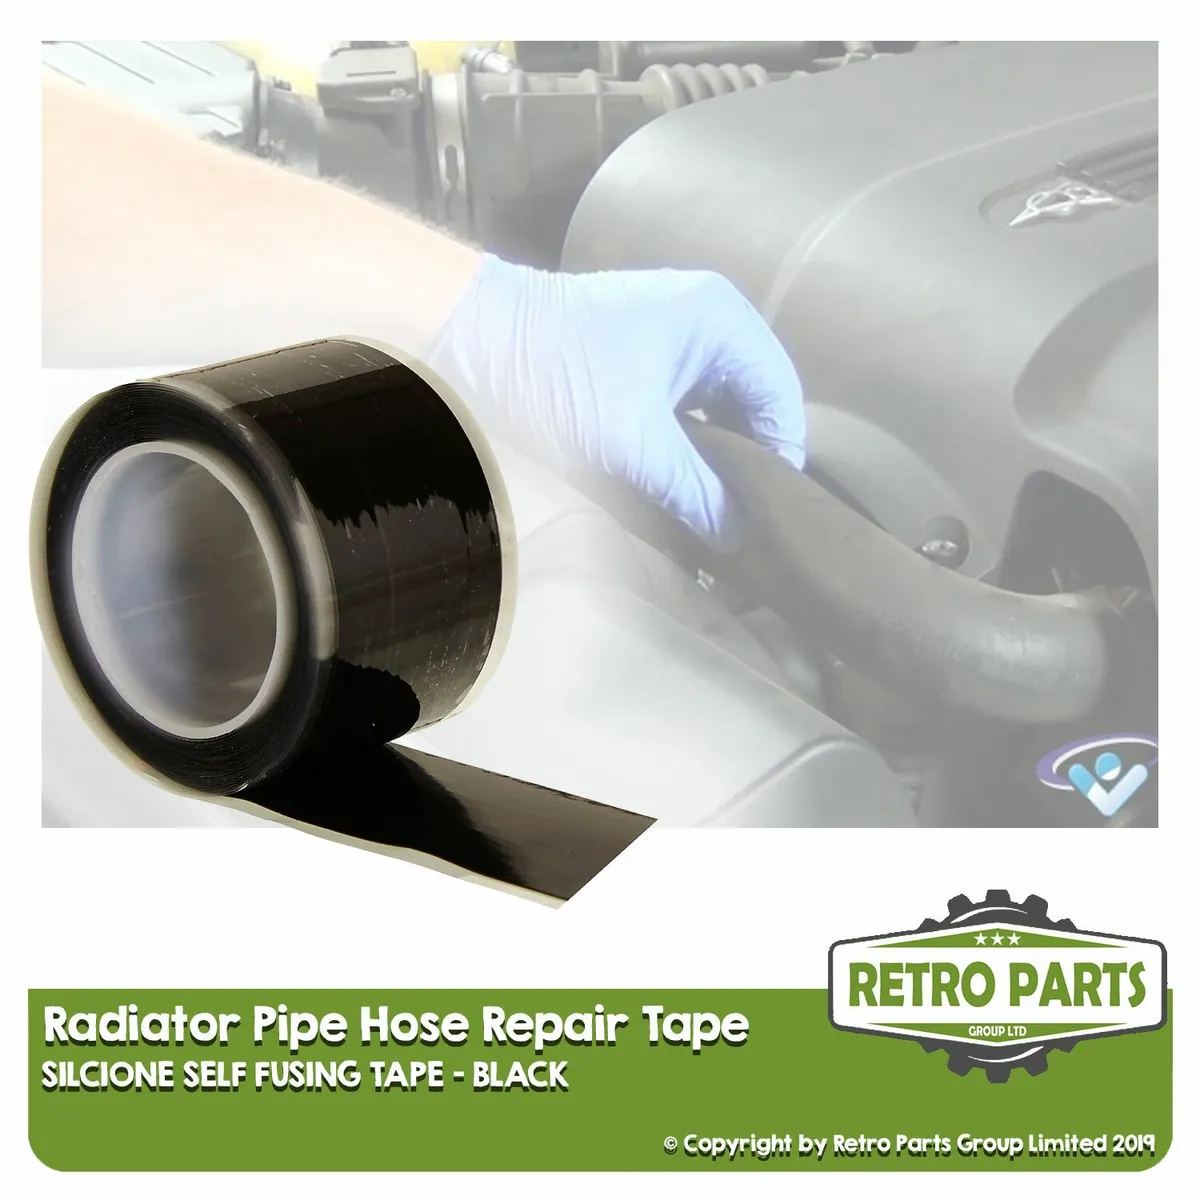
Self-fusing silicone tape is a unique material that doesn’t rely on glue to stay in place. Instead, the layers of the tape fuse together physically within minutes of being wrapped tightly around a surface. This creates a solid, rubber-like sleeve that conforms to the shape of the pipe, whether it’s round, square, or irregular. It’s designed specifically for emergency repairs on water lines, radiator hoses, and electrical conduits.
A common misconception is that this tape works like standard duct tape or electrical tape. Those tapes use sticky adhesives that fail quickly when exposed to moisture or extreme heat.
Silicone tape, however, only sticks to itself. This means you can wrap it around a leaking pipe without worrying about glue residue, and you can easily remove it later by cutting it with a utility knife. It’s an ideal tool for homeowners looking to stop a drip until a permanent repair can be scheduled.
The mechanism is simple but effective: the tension applied during the wrapping process brings the layers into intimate contact, allowing the silicone to fuse to itself. Once the tape is stretched and overlapped, it forms a monolithic barrier that’s impervious to water. You should always check the manufacturer’s product data sheet for specific pressure ratings, as these vary based on the thickness of the tape and the diameter of the pipe being repaired.
How to Apply Repair Tape Correctly
Applying silicone tape requires a specific technique to ensure the layers bond correctly. If the tape isn’t stretched enough during application, it won’t fuse and the leak will continue.
- Turn off the water supply to the affected line and drain the pipe completely.
- Clean the pipe surface thoroughly with a degreaser or rubbing alcohol to remove dust, oil, or rust.
- Peel back 2 inches of the protective film from the end of the roll.
- Press the end of the tape firmly against the pipe, starting at least 1 inch before the leak.
- Stretch the tape to roughly twice its original length as you wrap it around the pipe.
- Overlap each wrap by 50% of the tape’s width, maintaining constant tension throughout the process.
- Finish by wrapping 1 inch past the leak area, then tuck the end down firmly.
If you’re working on a high-pressure line, you must use a mechanical pipe repair clamp to provide the necessary structural integrity, as tape alone can’t withstand significant internal pressure. If you aren’t confident in your ability to shut off the main water valve, or if the pipe is spraying water aggressively, stop immediately and call a licensed plumber to prevent flooding.
Key Numbers for Pipe Repairs
| Situation | What to use | How long | What to watch for |
|---|---|---|---|
| Pin-hole leak | Silicone fusion tape | 24 hours to cure | Watch for bulging |
| Cracked PVC | Epoxy and tape | 12 hours to set | Inspect for cracks |
| Leaky coupling | Rubber gasket tape | 2 hours to seal | Check for seepage |
| Corroded metal | Repair clamp | Permanent fix | Watch for rust |
| Electrical wire | Silicone tape | Immediate | Check for melting |
If your pin-hole leak is under high pressure, tape will fail. In these cases, you must install a compression sleeve rather than relying on adhesive. A sleeve provides the structural integrity that tape lacks when water is being forced through a tiny aperture at high velocity.
When applying epoxy to PVC, sand the surface with 80-grit paper first. If you skip this step, the resin will peel away as the pipe expands and contracts with temperature shifts. You should see a dull, scratched finish before you apply the compound.
If you’re dealing with a leaky coupling, identify if the pipe is rigid or flexible. If the pipe is flexible, a rubber gasket tape will hold for years. If it’s rigid, the vibration of the house will eventually break the seal. Replace the fitting entirely if you hear water hammer or notice the pipes vibrating against the joists.
For corroded metal, the clamp must be wider than the damaged area by at least one inch on both sides. If the rust has spread beyond the clamp’s reach, the metal will continue to degrade underneath, eventually causing a blowout.
Finally, never use silicone tape on electrical wires if the insulation is stripped down to the copper. Use heat-shrink tubing for those repairs. Silicone tape is only for protecting the exterior sheath; it doesn’t provide the dielectric strength needed to prevent a short circuit if the internal wires are exposed.
Ensuring a Successful Seal
Experienced repair work depends on surface preparation and tension. If the pipe is wet or covered in scale, the tape will fail to bond. Always sand away loose rust or paint using 80-grit sandpaper until you reach bare metal. Wipe the surface with a dry cloth to remove all dust before applying the first layer.
Beginners often make the mistake of wrapping the tape loosely, like a bandage. This prevents the silicone from engaging its self-fusing properties, leading to a loose wrap that leaks within minutes. You must stretch the tape to at least double its original length as you apply it. This tension ensures the layers are in tight contact, allowing them to fuse into a solid, rubber-like mass.
The order of operations is also vital. Start your wrap at least two inches before the damage and finish two inches after it. If you stop the tape exactly at the hole, the internal water pressure will eventually push the tape off the pipe. Aim for a 50 percent overlap on every turn to ensure the seal maintains structural integrity under pressure.
If you’re unsure if your pipe is made of lead or polybutylene, which are fragile materials, avoid applying heavy pressure while wrapping. These older pipes can crack or deform under the tension required to fuse the tape. In these cases, use a pipe repair clamp instead of tape to avoid causing a catastrophic failure.
If the pipe is actively spraying water, you must shut off the main valve before attempting any repair. Tape won’t adhere to a surface where water is actively exiting the breach, as the pressure prevents the silicone from forming a permanent bond.
Common Problems and Quick Fixes
| What you notice | What it usually means | What to do first |
|---|---|---|
| Tape won’t stick | Dirty pipe surface | Clean with alcohol |
| Leak continues | Not stretched enough | Remove and re-wrap |
| Tape is sliding | Too much moisture | Dry the pipe fully |
| Tape is tearing | Sharp pipe edges | File edges smooth |
Most users fail because they treat thread seal tape like standard adhesive tape. You must stretch the material to ensure it conforms to the threads and fuses properly. If you can still see the clear, glossy finish of the tape after application, you haven’t stretched it enough to create a permanent seal.
If you encounter a leak, check the direction of the wrap. You must always wrap in the direction of the clockwise thread travel. If you wrap counter-clockwise, the act of tightening the fitting will cause the tape to unspool and bunch up, creating a gap that invites water.
Avoid the common mistake of over-applying. Using more than three or four layers often does more harm than good, as the excess material prevents the threads from fully seating. This creates a false sense of tightness while leaving the connection structurally weak. If the fitting feels impossible to thread by hand, back it off and remove one layer.
Finally, if you’re working on a pipe that has been previously sealed, you must remove every trace of the old material. Even a microscopic fragment of hardened residue acts as a spacer, preventing the new tape from forming a continuous, airtight bond. Use a stiff wire brush to clear the threads before starting fresh.
Regulatory Standards and Compliance
Pipe repairs involving potable water must meet specific safety standards to prevent chemical contamination. In the United States, materials used for drinking water systems should be certified to meet NSF/ANSI 61 standards. This certification ensures that the chemicals in the tape don’t leach into your water supply over time.
Always check the packaging for this specific mark before applying tape to a main supply line. If the label lacks this certification, the material is likely intended for irrigation or non-potable drainage and poses a long-term health risk.
If you’re dealing with a gas line, never attempt a DIY repair with tape. Gas leaks require specialized materials and professional certification to ensure the system remains sealed under pressure. Attempting to fix a gas leak with standard pipe tape can result in a fire or explosion. If you smell gas, leave the property immediately and contact your local utility provider from a safe location.
Distinguish between a pipe repair and a system failure by checking for active corrosion. If you see deep pitting or structural thinning on a metal pipe, tape will fail regardless of its rating. In these cases, you must replace the pipe section entirely to maintain compliance with local building codes.
Most homeowners make the mistake of using yellow gas-rated tape on water lines or white plumbing tape on gas lines. Using the wrong tape creates a false sense of security while failing to provide the necessary pressure seal. If the line carries fuel, use only yellow PTFE tape specifically labeled for gas. If the line carries water, use standard white tape or specialized silicone-based sealants.
Maintaining Your Repairs
Once you have successfully patched a pipe, monitor the area daily for the first week. While silicone tape is durable, it’s susceptible to mechanical damage from external bumps or vibration. If the area around the patch remains dry, the repair is holding well. If you see moisture, the tape may have been applied with insufficient tension or the pipe surface wasn’t sufficiently cleaned.
To ensure the longevity of your repair, avoid bumping the patched section with tools or heavy objects. If the repair is in a high-traffic area, consider wrapping a layer of protective electrical tape over the silicone to guard against abrasion. While this repair can last for months, it’s still a temporary measure. Plan to replace the damaged section of the pipe with permanent fittings as soon as your schedule allows.
Most homeowners fail by leaving a patch on a pressurized line for more than 90 days. The constant internal force eventually causes the adhesive to creep, leading to a sudden, catastrophic burst. If the pipe is vibrating due to water hammer, the patch will fail significantly faster. Use a pipe strap to secure the line to a nearby stud if you notice any movement.
If the leak is located on a hot water line, check the seal after every temperature spike. Heat cycles cause the metal to expand and contract, which can loosen the bond of the tape. If you can see the edges of the tape curling or lifting, the seal has already been compromised. In that case, drain the line immediately and apply a new patch rather than attempting to smooth the existing one.
When to Use a Different Approach
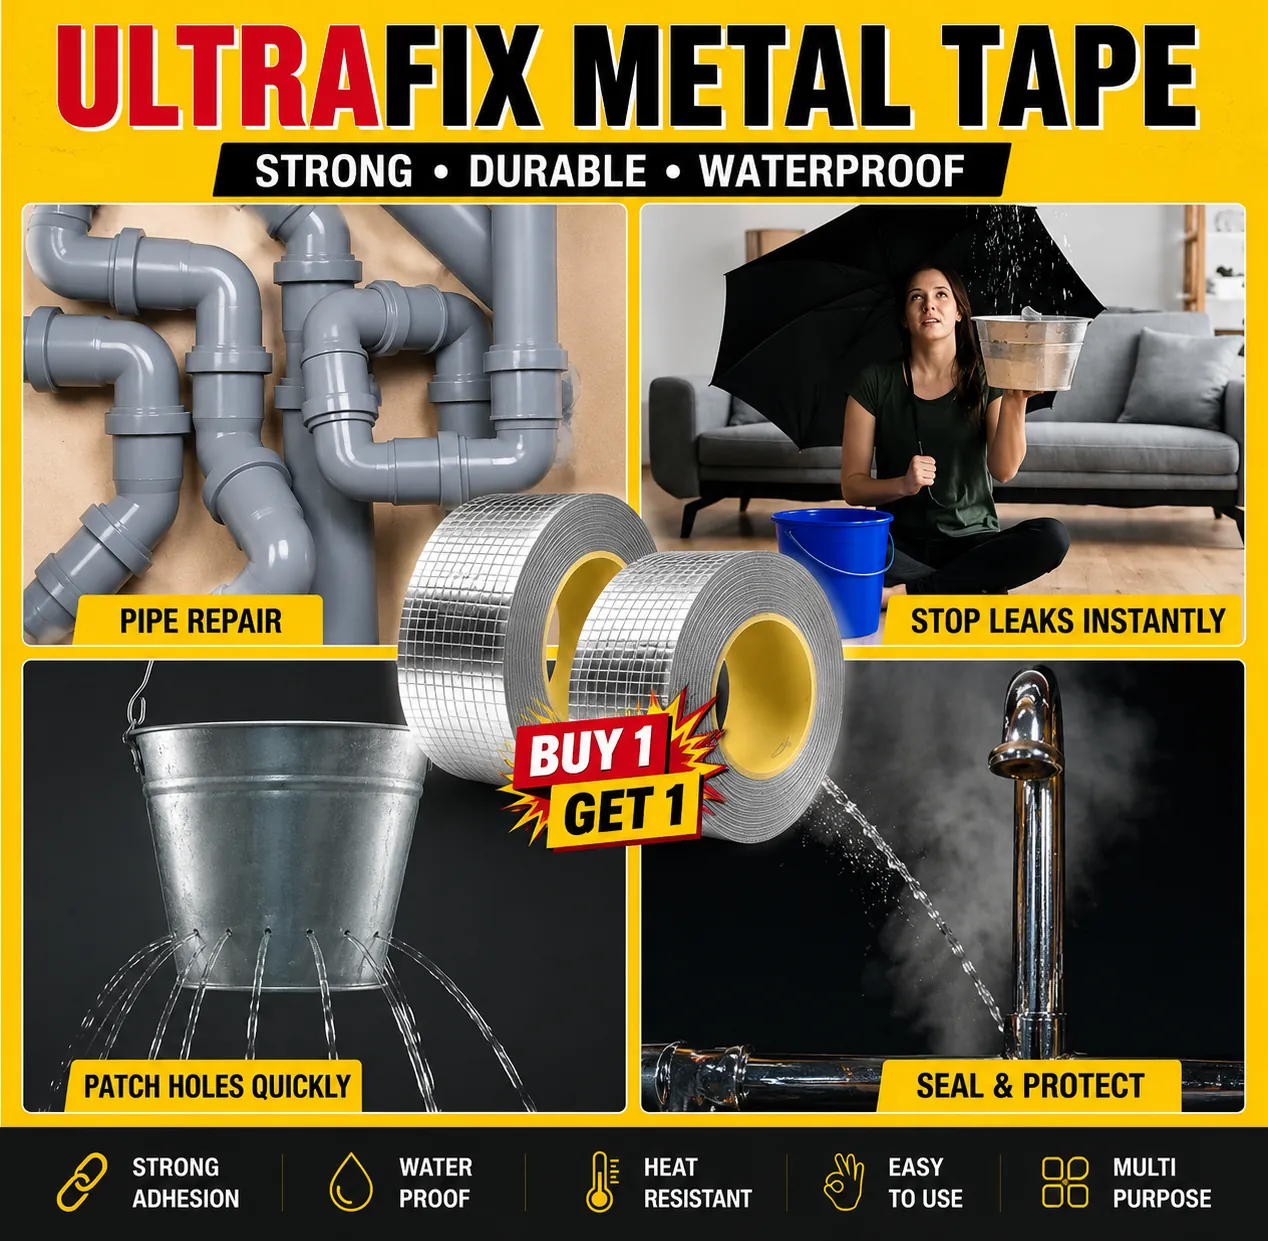
This tape isn’t a universal solution for all plumbing issues. If you have a large crack, a split pipe, or a joint that has completely disconnected, tape won’t work. These situations require a mechanical repair, such as replacing the pipe section or using a compression coupling. Relying on tape for major structural damage is a mistake that will cost you more when the pipe eventually bursts.
If your pipe is made of galvanized steel that’s heavily rusted, the metal itself is likely too thin to hold a seal. In these cases, the pipe will continue to degrade under the patch. Instead of taping, you should contact a professional to replace the rusted segment with modern PEX or copper piping. This approach provides a long-term solution that won’t fail unexpectedly, saving you from future water damage and costly emergency service calls.
Related guides
- Foosball Table Replacement Parts Grip Wraps Fix in 2026
- Hot Tub Jets Turn On by Themselves: Fix and Reset Steps in 2026
- Top 10 Best Toolkits for Home Appliance Repair in 2026
Frequently asked questions
Can I use pipe repair tape on a pressurized water line?
No, you shouldn’t use tape alone on a high-pressure line as it’s designed for emergency sealing, not structural support. The water pressure will likely push the tape off before it can fully fuse. Use the tape only after turning off the water supply and draining the line, or pair it with a metal pipe clamp.
How long does the tape need to set before turning the water back on?
You should wait at least 30 to 60 minutes after the final wrap to allow the silicone layers to fuse together properly. During this time, the material fuses to create a solid, rubber-like bond. If you turn the water on too soon, the pressure may force water through the layers before the fusion process is complete, resulting in a persistent leak at the site of the damage.
Is it safe to use on drinking water pipes?
Yes, it’s safe to use for household repairs. Always check the label on the packaging before purchasing; if the product doesn’t specify that it’s safe for potable water, use it only for non-potable applications like drain lines or hose repairs to ensure your household water remains safe.
Why is my pipe repair tape not sticking?
The tape isn’t sticking because it only bonds to itself and requires a clean, dry surface to hold in place. If there’s oil, grease, or moisture on the pipe, the tape can’t create the necessary chemical bond. You must clean the area with rubbing alcohol and ensure the pipe is completely dry before you start wrapping. Additionally, you must stretch the tape during application to activate the fusion process.
How many layers of tape should I wrap?
You should aim for at least 3 to 5 layers of tape to ensure a strong, thick seal. Start your wrapping 1 inch before the leak and finish 1 inch after it to create a wide, secure barrier. Ensure you overlap each pass by 50% of the tape’s width. This technique ensures that the layers fuse into a solid, uniform sleeve that can withstand the pressure of the water inside the pipe.
Can I remove the tape later?
Yes, you can easily remove the tape by slicing it with a utility knife or sharp scissors. Because the tape doesn’t use a sticky adhesive, it leaves no messy residue behind on the pipe surface. This allows a plumber to easily clean the area and install a permanent, code-compliant repair.
Conclusion
Properly applied silicone tape provides a reliable stop-gap for household leaks, but it remains a temporary solution for aging or damaged infrastructure. By keeping the surface clean and maintaining correct tension, you can stop water damage until you have the time or professional help to install a permanent replacement. Always prioritize safety by avoiding tape on gas lines and ensuring your materials meet local water safety standards.