
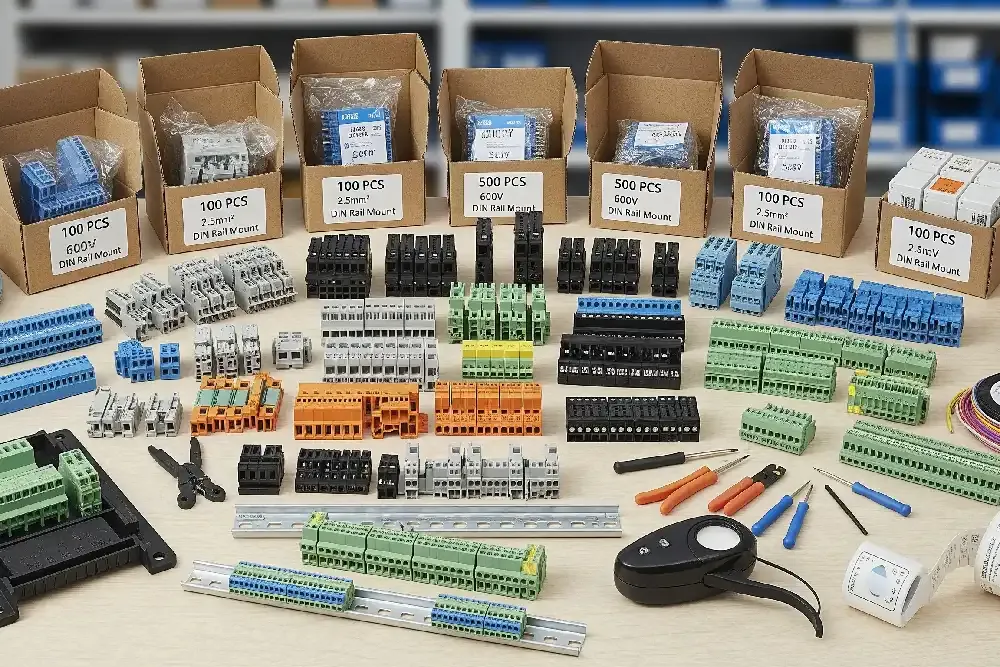
A terminal block is a modular connector that secures two or more wires together using a screw or spring clamp to create a safe electrical path. You’ll find that a complete guide to terminal blocks helps you organize complex wiring in control panels, junction boxes, and industrial machinery where secure connections are necessary for long-term reliability.
A complete guide to terminal block types
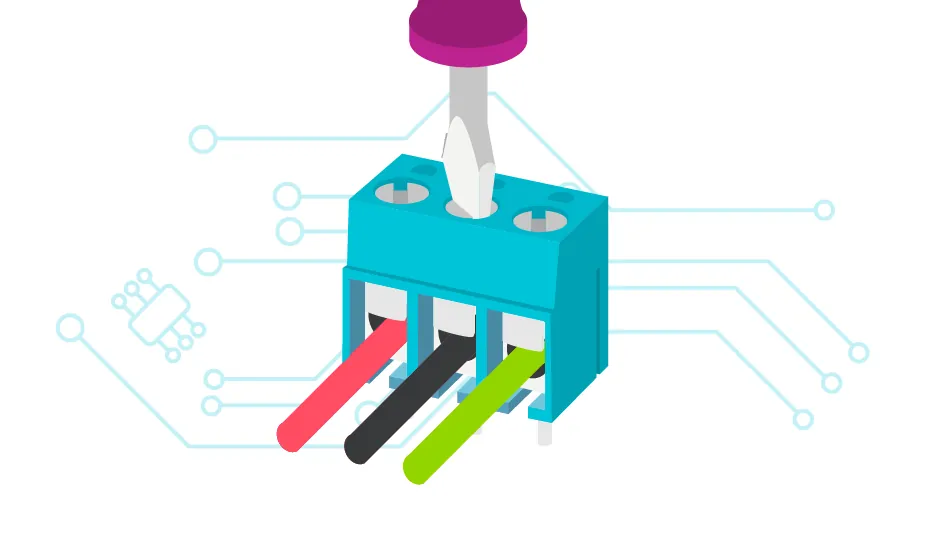
Terminal blocks are insulating housings that hold metal components. They allow you to connect multiple wires in a neat, organized way without soldering or messy wire nuts. These blocks are for people installing low-voltage controls, power distribution systems, or automation equipment who need a way to swap or test circuits easily.
A common mistake is assuming every block handles the same current. People often use a block rated for signal wires when they need one for high-power lines, which causes the plastic housing to melt or the contact point to oxidize. Always check the manufacturer’s data sheet for the exact amperage rating of your specific model.
How to install wire connectors
- Strip 1/2 inch of insulation from the end of your wire using a wire stripper.
- Ensure the power to your circuit is completely off to prevent accidental shock.
- Open the clamp or back out the screw on the terminal block until the slot is clear.
- Insert the bare wire fully into the opening, ensuring no copper strands stick out.
- Tighten the screw or release the spring clamp until the wire is held firmly in place.
- Give the wire a gentle tug to confirm it’s locked and doesn’t move.
If you’re working with stranded wire, use a crimped ferrule on the end to stop the strands from fraying. If you’re unsure about the electrical load or local wiring codes, contact a licensed electrician to verify your setup.
Key specifications for connection components
| Situation | What to use | How long | What to watch for |
|---|---|---|---|
| High vibration | Spring clamp | 1/2 inch strip | Loose wire strands |
| Heavy power | Screw terminal | 3/4 inch strip | Heat buildup |
| Tight spaces | Mini blocks | 3/8 inch strip | Bend radius |
| Data signals | Multi-level | 1/4 inch strip | Signal interference |
| DIN rail mount | Standard block | 1/2 inch strip | Rail corrosion |
Achieving reliable electrical results
Experienced installers prioritize the mechanical integrity of the connection above all else. They prepare the wire by ensuring the cut is clean and the insulation is removed without nicking the copper strands. A nicked wire will eventually snap under tension, leading to a high-resistance connection that generates heat.
When installing, they keep wires organized by color or label to prevent errors during future maintenance. They also check the torque of screw terminals. If a screw is too loose, the connection creates an arc; if it’s too tight, it crushes the wire and ruins the contact point. They leave enough slack in the wire so that the connection isn’t under constant pulling force from the panel door or cable tray.
Common connection failures and fixes
| What you notice | What it usually means | What to do first |
|---|---|---|
| Melted plastic | Overload | Check load rating |
| Warm terminal | Loose screw | Tighten connection |
| Flickering light | Poor contact | Strip and reseat |
| Corroded metal | Moisture | Clean with contact spray |
If you see melted plastic, stop immediately. It means the current exceeds the wire gauge capacity. You must replace the terminal block and downsize the connected load to match the circuit limit.
A warm terminal is a fire hazard. If you feel heat, check for a loose screw. If the screw is tight but the heat persists, the wire itself has likely oxidized. In that case, cut back the wire to reveal fresh copper.
Flickering lights often stem from a loose neutral wire. If stripping and reseating the wire fails, look for a damaged backstab connection. Always use the screw terminals instead.
Safety and installation standards
All electrical installations must follow local safety rules, such as those set by the National Fire Protection Association for the National Electrical Code. These standards dictate how many wires can safely fit in a single terminal and the type of housing required for different environments.
If you’re working in a damp or dusty area, you must use an enclosure that meets the required ingress protection rating. Check the label on the housing; if it lacks an IP65 or higher rating, it will fail in outdoor or industrial settings.
Never attempt to daisy-chain connections beyond the manufacturer’s stated limit. Most standard terminals are rated for only two conductors. Exceeding this creates a high-resistance contact point, which generates enough heat to melt insulation or trigger a fire. If you need to add a third line, always install a secondary terminal block rather than forcing the connection.
Maintenance and long-term care
Once installed, check your connections once a year to ensure they remain tight. Changes in temperature cause metal to expand and contract, which can loosen screw terminals over time.
If you notice discoloration on the plastic or the wire itself, replace the block immediately. That brown tint means heat has already degraded the insulation. Waiting for it to crack costs far more than a new part.
You can bring a system back to peak performance by cleaning the contact points with an approved electronics cleaner and re-tightening the screws. Don’t use sandpaper or a file on the contacts. Scratching the plating off exposes bare copper to oxidation.
Always keep a few spare blocks of the same model number on hand for quick repairs. Mixing brands changes the clamping force inside the terminal.
Choosing the right connection method
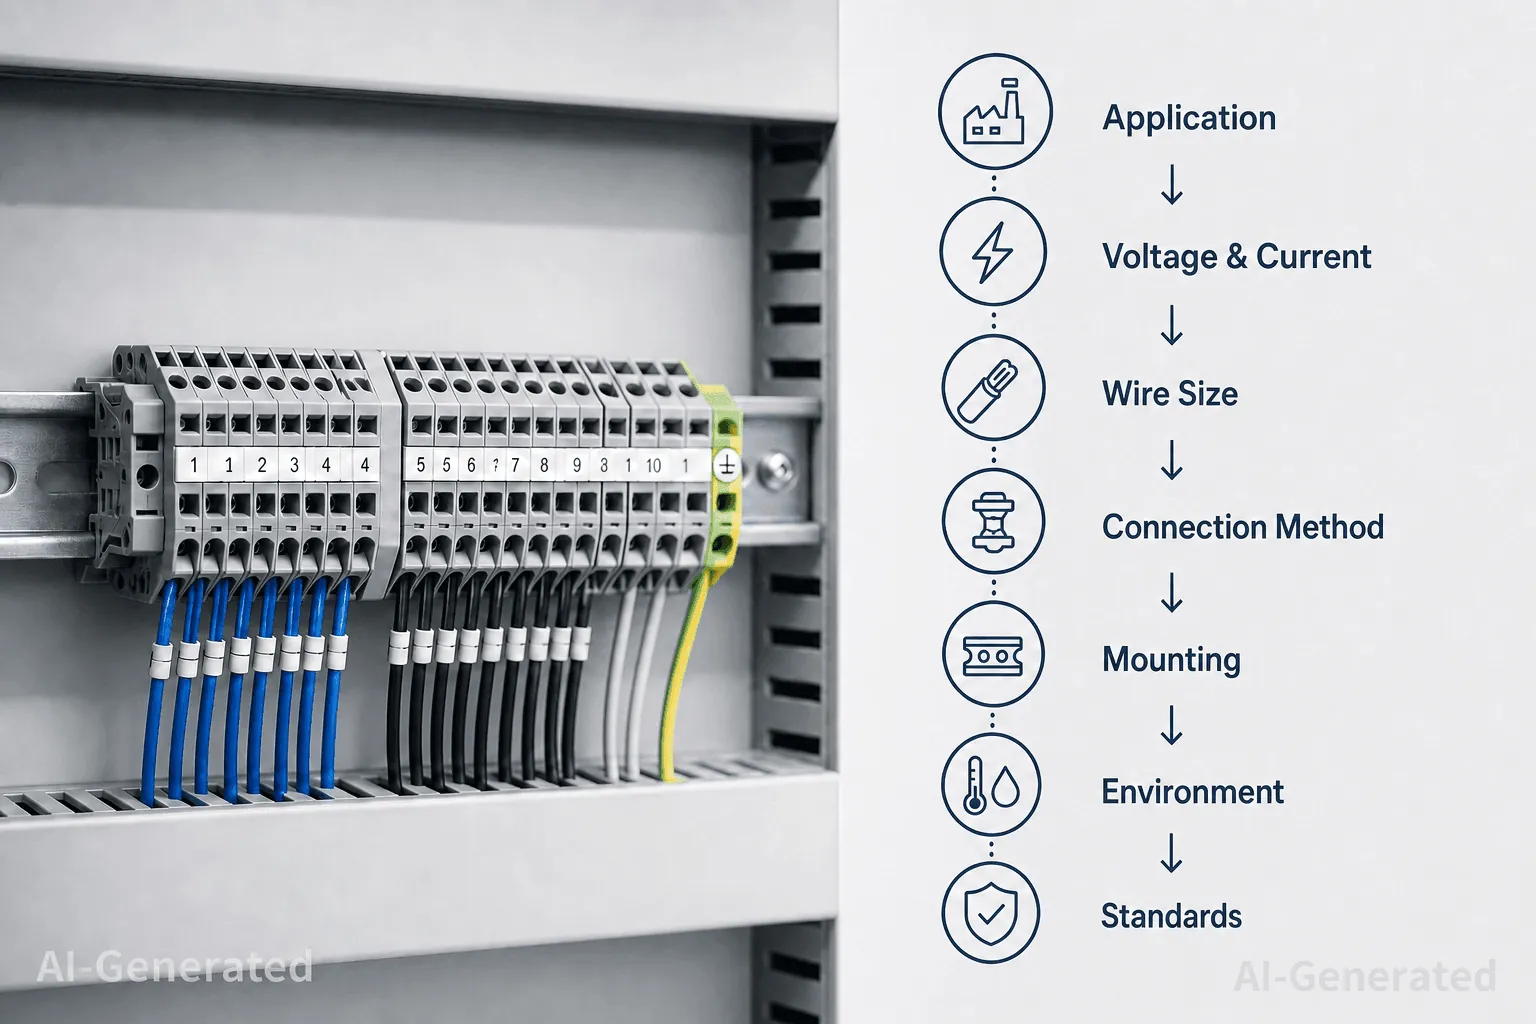
When you need to connect wires that move frequently, such as those on a robotic arm, a standard screw terminal is the wrong choice. The constant motion will eventually back the screw out, causing a failure. Use a spring-clamp connector instead, as it maintains constant pressure on the wire regardless of vibration.
If you’re working with aluminum wiring, you must use a block specifically rated for it to prevent galvanic corrosion. Using a copper-only block with aluminum wire will lead to a rapid degradation of the connection.
Check for the “AL/CU” stamp on the housing before you begin. If the label only lists copper, the dissimilar metals will create an oxide layer that increases resistance and generates localized heat. This mistake often leads to melted insulation or fire hazards within months. If you see signs of pitting or discoloration on the conductor, discard the wire end and strip it fresh.
Related guides
- Does Iron Float in Water? Why Solid Blocks Always Sink in 2026
- How Much Oven Cost Per Hour: Calculate Your Energy Usage in 2026
- 10 Best Finishes for Butcher Block Workbench: Expert Picks in 2026
Frequently asked questions
Can I connect two wires in one terminal block?
Yes, but only if the terminal block is specifically rated for two wires. Check the manufacturer’s specification sheet to confirm the maximum wire gauge and count allowed for your specific model before you attempt to double up.
How long do terminal blocks last?
They can last for a long time if they’re kept in a dry, temperature-controlled environment. The lifespan varies based on the amount of current flowing through the block and the vibration levels in your specific installation area.
Is it safe to use terminal blocks for high voltage?
Yes, provided the block is rated for the specific voltage of your circuit. You must look for the voltage rating stamped on the side of the block and ensure it matches or exceeds your system’s requirements.
Why is my wire getting hot?
The wire is likely getting hot because the connection is loose or the circuit is drawing more current than the block is rated for. Turn off the power immediately and check the tightness of the screw or the condition of the spring clamp.
What happens if I use the wrong wire gauge?
Using a wire that’s too small for the block will lead to a loose connection, while a wire that’s too large will damage the clamping mechanism. Always match the wire size to the block’s recommended range to ensure a safe and secure connection.
Conclusion
Choosing the right connector doesn’t have to be a headache once you understand the basics. As you start your next project, take a moment to double-check your current load requirements and wire gauges. You’ll find that picking the correct components today will save you a lot of time and trouble later on.
