
The most common reason for a black and decker automatic feed spool not working is that the trimmer line has tangled inside the spool housing, preventing the mechanism from releasing more string. You can usually fix this by removing the spool and checking for knots or welded sections of line that stop the automatic release. If the line isn’t tangled, the issue often stems from using the wrong line diameter or having too little line remaining on the spool for the centrifugal force to trigger the feed.
Why your Black and Decker feed fails
| Cause | How common | How to confirm it | Fix it yourself? |
|---|---|---|---|
| Tangled line | Very common | Check for knots | Yes |
| Wrong line size | Common | Check manual specs | Yes |
| Empty spool | Common | Inspect remaining length | Yes |
| Dirty housing | Occasional | Look for debris | Yes |
| Worn spring | Rare | Check spring tension | Yes |
| Broken feed lever | Rare | Inspect plastic parts | No |
Most tangles occur because the line was wound loosely or crossed over itself during installation. If you pull the line and it catches, you must unwind the entire spool and reload it under constant tension.
Never exceed the manufacturer’s recommended diameter.
If the internal spring feels limp or fails to push the spool back into place after you press the bump head, it has lost its temper. Replace it immediately. A weak spring is the primary reason for intermittent feeding during heavy trimming.
Finally, avoid the mistake of using high-pressure air to clean the housing. This often forces grass clippings and grit deeper into the internal locking teeth. Instead, wipe the assembly with a dry cloth to ensure the mechanism moves freely.
Tangled or welded trimmer line
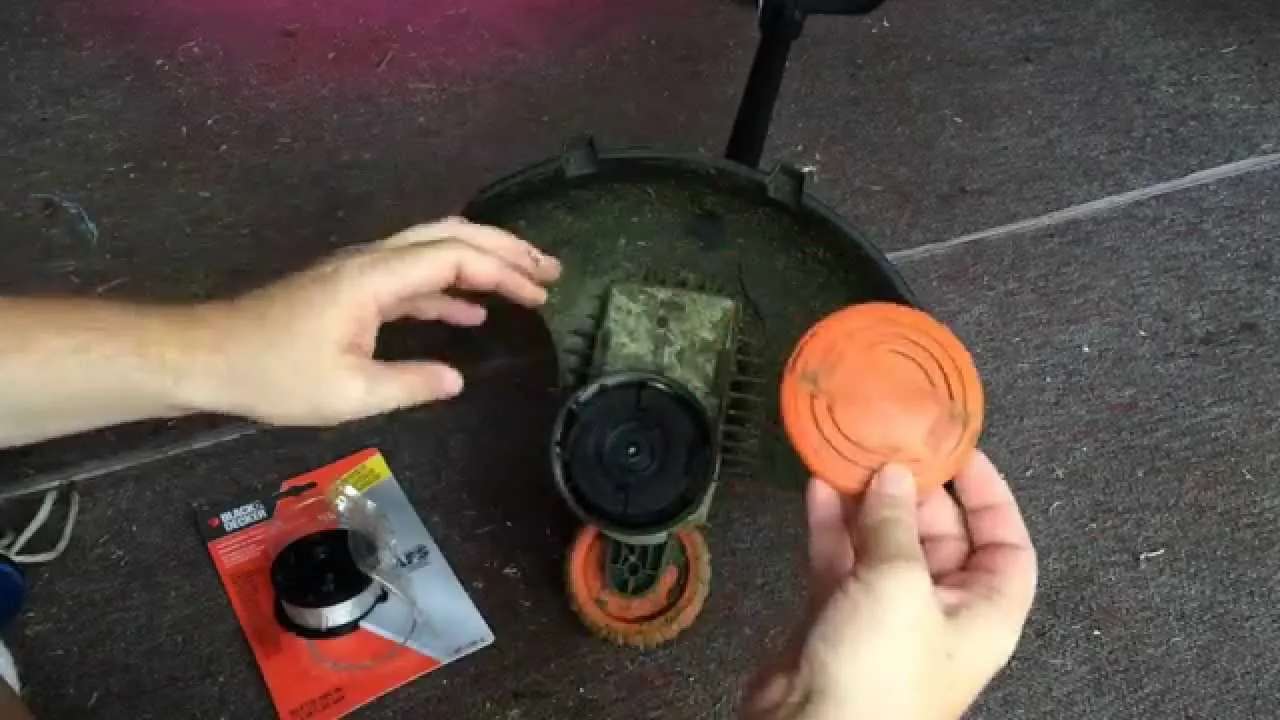
A tangle is the primary reason the line stops advancing. When the trimmer line is wound unevenly or becomes crossed during operation, it creates a physical lock that the automatic feed mechanism can’t overcome. In some cases, the heat generated by the trimmer causes the plastic string to melt slightly and weld itself to the layers beneath, effectively gluing the coil into a single solid mass.
To confirm this, power off the unit and remove the battery or unplug the cord. Remove the spool cap and take out the spool to inspect the line winding. If you see lines crossing over each other or sections where the plastic looks fused, the mechanism is stuck.
You must unwind the entire length of the line, check for kinks or melted spots, and then rewind it neatly. If the line is damaged or brittle, replace it with new string that matches the diameter specified in the Black and Decker trimmer manual for your specific model.
If the line is in good condition, wind it back onto the spool with firm, even tension. Don’t overlap the lines or allow them to cross. If you find the line is brittle or has lost its flexibility, it’s time to discard that section and start fresh.
Most users find that rewinding the spool takes about 10 minutes of steady work. If you notice the line welding repeatedly, you’re likely running the trimmer too close to hard surfaces like concrete or stone, which increases friction and heat.
Incorrect line diameter or length
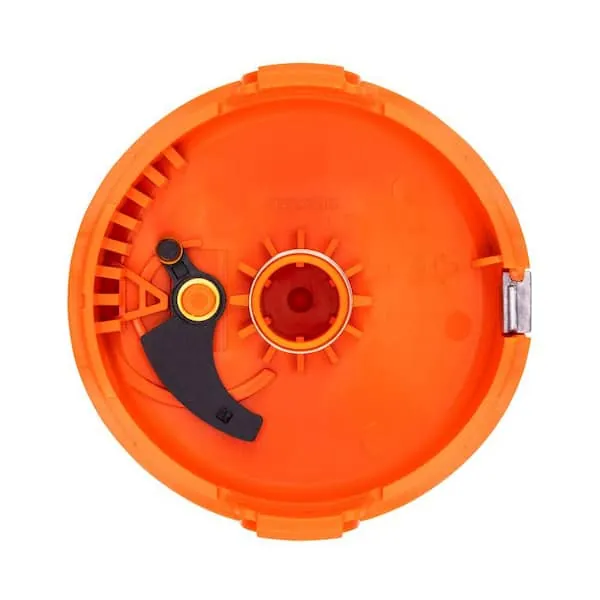
The automatic feed system relies on precise weight and balance to function. If you use a line that’s thicker than the manufacturer recommends, the motor may struggle to generate enough centrifugal force to pull the string through the eyelet. Conversely, if the line is too thin, it may snap off inside the housing before it can be fed, leading to a situation where the spool has plenty of string but none of it’s visible outside the head.
Check your user guide to confirm the required line diameter, which is typically between 0.065 and 0.080 inches depending on the trimmer power rating. If you’re using a thicker line, the automatic feed won’t work regardless of how clean the spool is. Additionally, if the spool is nearly empty, there’s often not enough mass to pull the line out.
If the line is the correct size but still fails to feed, ensure that the ends of the line are properly threaded through the eyelets on the trimmer head. If the line is pulled too tightly or is caught in the plastic notches of the spool cap, the automatic mechanism will remain stuck.
Always ensure the ends are trimmed to the recommended length before starting the motor, as extra-long lines put unnecessary strain on the feed system and can cause the motor to overheat or stall.
Debris and mechanical obstructions
Small bits of grass, dirt, and dried weeds often work their way into the spool housing. Over time, this debris packs down into a hard layer that prevents the spool from rotating freely or moving forward to release the line. This is especially frequent when trimming damp grass, which creates a sticky paste that hardens once it dries inside the head.
Inspect the area around the spindle and the spring. If you see packed dirt or grass clippings, carefully clear them out using a soft brush or a dry cloth. Don’t use metal tools like screwdrivers to scrape the plastic, as this can create scratches that catch the line later. If the spring underneath the spool is bent or compressed permanently, it won’t push the spool back into the correct position to engage the feed.
If you find that the spring is deformed, it must be replaced. A spring that doesn’t have enough “bounce” will result in a failure to feed even if the line itself is perfectly wound.
If the housing is pristine and the spring is functional, yet the line still refuses to advance, the issue is likely internal to the plastic feed mechanism itself. In these cases, the internal components are usually not user-serviceable, and you should contact a repair shop for assistance.
Rare mechanical issues
A broken plastic tab on the spool cap prevents the mechanism from locking or releasing, requiring a cap replacement. If the cap spins freely without clicking, the tab is sheared. Replace the cap immediately to prevent the spool from flying off during high-speed operation.
The centrifugal weight inside the head may be jammed, which requires an expert to disassemble the motor housing. If the trimmer fails to engage at full throttle, stop using it. Forcing a jammed weight often burns out the motor windings, turning a simple debris removal into a total unit failure.
Severe motor vibration can cause the spool to seat incorrectly, leading to frequent jams that require professional inspection. If the housing has a crack, the alignment of the spool will be off, making a full head replacement necessary. Always check the housing for hairline fractures after any accidental impact.
Maintenance and repair requirements
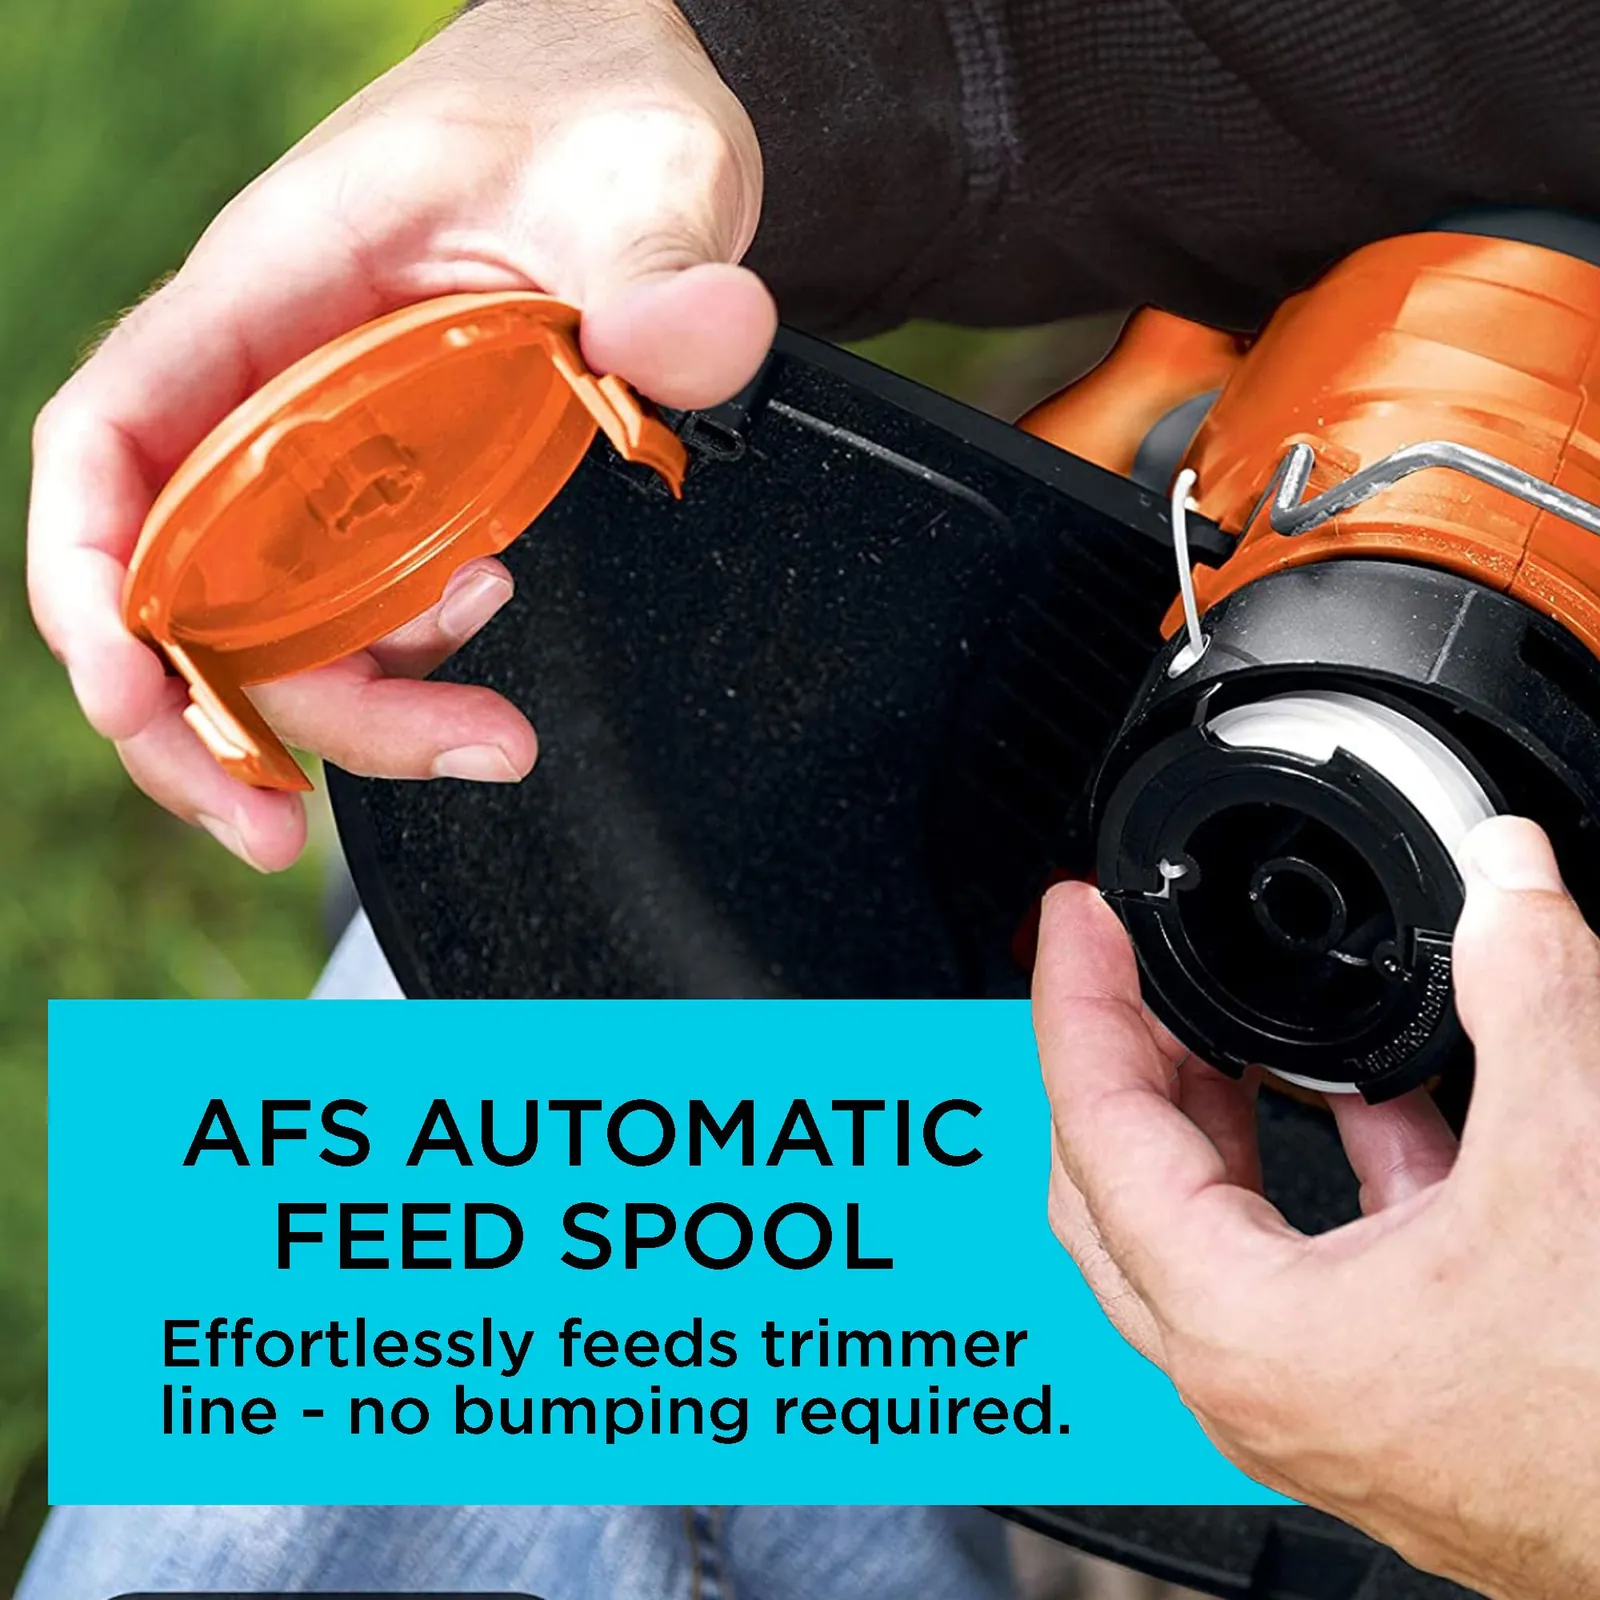
Fixing these issues usually involves basic cleanup or a simple replacement of the spool and cap. Time-wise, you should set aside about 15 minutes for a full inspection and re-spooling. If the problem is a worn spring or a broken plastic tab, these parts are inexpensive and generally cost a small fraction of a new trimmer. Always check your model number against the official parts list to ensure you purchase the correct spool size.
If you find that you need to replace the entire cutting head, the cost will be higher than just a new spool, but it’s still much cheaper than buying a new tool.
You can find the exact part numbers by looking at the label on the trimmer shaft or the base of the motor. If you ever feel that a repair requires taking the motor housing apart or dealing with electrical wires, stop immediately and take the tool to an authorized service center.
Related guides
Frequently asked questions
How long should the trimmer line be for a new spool?
You should wind approximately 15 to 20 feet of line onto the spool for most standard residential models. If you wind too much, the line will overlap and tangle, which causes the automatic feed to fail. Always check your specific owner’s manual to find the exact length recommended for your spool size, as exceeding this limit prevents the spool from turning freely inside the housing.
Is it safe to use a thicker line than recommended?
No, it isn’t safe because a thicker line increases motor strain and prevents the automatic feed system from working. Using a line that exceeds the diameter listed in your manual can lead to the motor overheating or the feed mechanism jamming permanently. Always stick to the diameter specified by the manufacturer to ensure the tool operates within its design limits and remains safe for use.
Why does my trimmer line keep breaking off?
Your line is likely breaking because it’s hitting hard objects like rocks or fences, which causes it to snap off inside the spool. If the line is old or has been stored in a very dry place, it can become brittle and snap easily during use. Store the line in a cool, dry place away from direct sunlight to maintain its flexibility and strength.
How often should I replace the spool spring?
You only need to replace the spring if it has lost its shape or no longer pushes the spool back into place. If the spring looks uneven or doesn’t spring back after you press it down, it’s likely the cause of your feeding issues. You can check the condition of the spring by removing the spool and testing it with your finger to see if it moves smoothly.
Can I fix a broken feed lever myself?
No, you can’t fix a broken internal feed lever because it’s usually built into the motor housing and requires professional tools to access. If the lever is broken, the automatic feed won’t trigger regardless of how you wind the line. Take the trimmer to an authorized service center if you suspect an internal mechanical failure, as opening the motor housing can void your warranty and cause injury.
What happens if I keep using the trimmer when it won’t feed?
If you continue to run the trimmer when it won’t feed, you risk causing the motor to overheat and potentially damaging the internal drive components. The motor is designed to spin a certain amount of weight; when the line fails to feed, the balance of the head changes. Stop the trimmer immediately if the line isn’t advancing to prevent costly repairs to the motor or spindle.
Conclusion
If you’ve checked these parts and the line still won’t advance, it’s likely time to replace the entire spool assembly. You shouldn’t struggle with a faulty trimmer when a fresh, pre-wound spool will get you back to your yard work quickly. It’s an easy upgrade that’ll make your gardening much smoother.
