
Countertop seams sit where the fabricator joins two slabs, usually in low-traffic spots that keep the joint out of sight and away from heavy use. Most kitchens place them along back walls, in corners, or beside sinks rather than across main work areas. The exact spot depends on slab size, cabinet layout, and where appliances sit.
Where countertop seams go
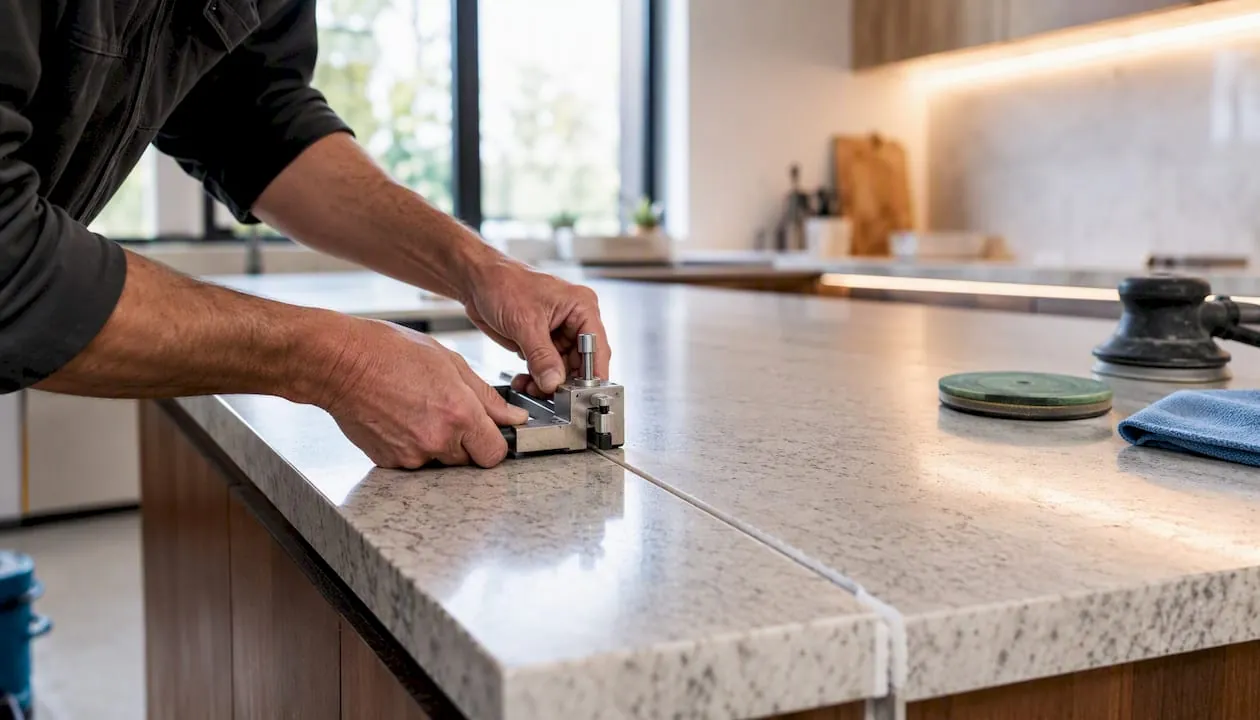
Place seams along back walls or in corners where cabinets meet, so the joint stays out of the main work zone. A seam hidden behind a faucet or appliance base rarely draws attention during daily use.
Keep seams at least 6 inches away from sink cutouts and cooktops, since cuts near openings weaken the stone. Dropping below this distance invites cracks that start at the edge and travel deep into the slab within months.
Avoid running a seam across the path between sink, stove, and fridge where daily traffic is heaviest. If your kitchen layout forces a joint here, expect chips on the edge every time a heavy pot slides over it.
Use one seam per run when slabs allow, rather than several short pieces joined end to end. Multiple joints in a single span look like a patchwork repair even when the color matches perfectly.
Match grain and color across the joint before cutting, because a visible mismatch draws the eye to the seam. Veins that stop abruptly at the glue line signal a poor layout choice to anyone walking by.
Let the fabricator choose the final spot after measuring your cabinets, since slab dimensions change the plan. A template made before the stone arrives often suggests a location that becomes impossible once the actual slab is uncrated.
Why countertop seam placement matters
Stone slabs come in fixed sizes, so most kitchens need at least one joint. Placing a seam in the wrong spot puts stress where counters take daily weight. The joint can crack or open over time.
A seam near a sink cutout removes support from an already weakened area. A seam across a main prep surface gets chopped on, spilled on, and wiped constantly.
The best spot balances three things: slab length, cabinet runs, and how you move through the kitchen. A fabricator measures the space, checks which way the grain runs, and picks a joint line that hides the seam and keeps the stone strong.
Never place a seam directly over a dishwasher. The steam venting upward during a dry cycle softens epoxy adhesives over time. This causes the joint to lift slightly and collect grime.
If your layout forces a seam within twelve inches of a sink, ask for mechanical fasteners beneath the stone instead of adhesive alone. Bolts hold the two halves tight even if moisture degrades the glue.
The one rule that never changes is to keep seams away from cooktops and sink edges. Heat and moisture attack the joint first. Your fabricator can show you the options before cutting begins.
When seam placement changes

When an island stretches longer than a single slab, the seam inevitably crosses the surface. Don’t place it where legs bump against the stone during breakfast. Push the joint to the far end, well away from any seating overhang, so feet never find the slight ridge.
L-shaped corners with short runs often trick installers into adding unnecessary breaks. If your layout allows even a tight fit, insist on using one continuous slab. That single decision removes the weakest point in the entire corner before it ever faces a spill.
Heat and steam from a nearby dishwasher will degrade adhesive over time if the seam sits too close. Move the joint to the far side of the cabinet run, where warm air rarely reaches. This simple shift adds years to the bond strength without changing the visual flow.
Slabs with strong vein patterns demand more than just careful cutting; they require rotation before the saw ever starts. Align the grain across both pieces while they’re still on the rack, not after they’re dry-fitted on the counter.
Hide seams under upper cabinets whenever possible by placing them directly below the cabinet run. Finally, if a joint falls in a main walk path, daily traffic will wear the edge down quickly. Shift it toward the wall where feet rarely tread.
How to place countertop seams
Measure every cabinet run and mark where walls meet to establish your longest clear span. Cross-reference these measurements against your slab dimensions to determine if a joint is strictly necessary.
Draw the work triangle between your sink, stove, and fridge, and keep seams entirely outside that high-traffic path. Position any seam at least 6 inches away from sink cutouts and cooktops to prevent stress fractures on the weakened stone edges. If your countertop exceeds 10 feet, expect a seam regardless of material, as most slabs can’t safely span that distance without risking a crack during transit.
Lay slabs side by side to verify that grain direction and color patterns align before approving the final cut. Ask the fabricator to mark the exact seam line on a technical drawing for your sign-off.
Prioritize placing the seam under upper cabinets or in a corner where it remains out of sight. If you have a large island, avoid placing a seam down the center, as the lack of cabinet support underneath makes the joint prone to sagging. Confirm the fabricator will use a color-matched epoxy and a tight, level joint before installation day. A visible gap wider than a credit card is a sign of poor craftsmanship.
Seam placement errors to avoid

Putting a seam directly behind a cooktop where heat cycles stress the joint and can crack the seal is a common failure point. Thermal expansion varies by material, but granite and quartz both suffer when the adhesive softens repeatedly under high temperatures.
Running a seam across the main prep area between sink and stove where knives and heavy pots land daily invites chipping. If your cooking style involves dropping cast iron or chopping aggressively, move this joint to a low-traffic zone near the refrigerator instead.
Joining pieces end to end in a short run when a single slab would eliminate the joint entirely often happens to save on transport costs. This false economy costs more later when the visible line disrupts the visual flow of a small kitchen.
Letting the seam fall too close to a sink cutout removes support from an already cut edge. Keep the joint at least six inches away from any cutout to ensure the underlying cabinet frame provides adequate stability for both sides.
Approving the cut without checking grain match leaves a visible line that draws attention to the joint. Demand a dry fit before final bonding so you can rotate slabs until the veining flows naturally across the connection point.
Related guides
- Best Countertop Dishwasher Under 400 in 2026
- 5 Best Hot Pads for Quartz Countertops: Our Top Picks in 2026
- 10 Best Woods for Kitchen Countertops: Expert Selection in 2026
Frequently asked questions
Can I put a seam anywhere I want?
No. The fabricator sets the seam based on slab size, cabinet layout, and structural support, though you can ask for a specific spot if it works with the stone.
How long does a countertop seam last?
A well-made seam lasts as long as the countertop itself, often many years, provided it stays away from heat and moisture and the epoxy holds.
Is a seam safe near a sink?
Not right next to the cutout. Keep seams at least 6 inches away because the area around a sink opening is already weakened and water can reach the joint.
Does seam placement affect resale value?
Poorly placed or mismatched seams stand out to buyers, while a tight, hidden joint reads as quality workmanship.
What happens if a seam cracks?
A fabricator can re-glue and re-polish the joint, but repeated cracking means the seam is in a high-stress spot and may need to be relocated.
Does seam placement matter for quartz as well as stone?
Yes. Quartz slabs also come in fixed lengths, so joints follow the same rules: away from cooktops, sinks, and main traffic paths.
Conclusion
The best seam is the one nobody notices. It sits in a corner or along a back wall, clear of heat, water, and daily chopping, with grain matched so the joint disappears into the stone.
