
A simple toilet seat wont stay up fix involves adjusting the hinge tension or realigning the seat mounting bolts. If the seat falls forward immediately, the hinge friction has loosened or the seat isn’t level on the bowl.
Most problems stem from loose mounting hardware or worn plastic hinge caps. You can usually solve this by tightening the screws under the hinge covers, though some premium models with soft-close mechanisms require replacement rather than adjustment if the internal dampener fails.
Why your toilet seat wont stay up
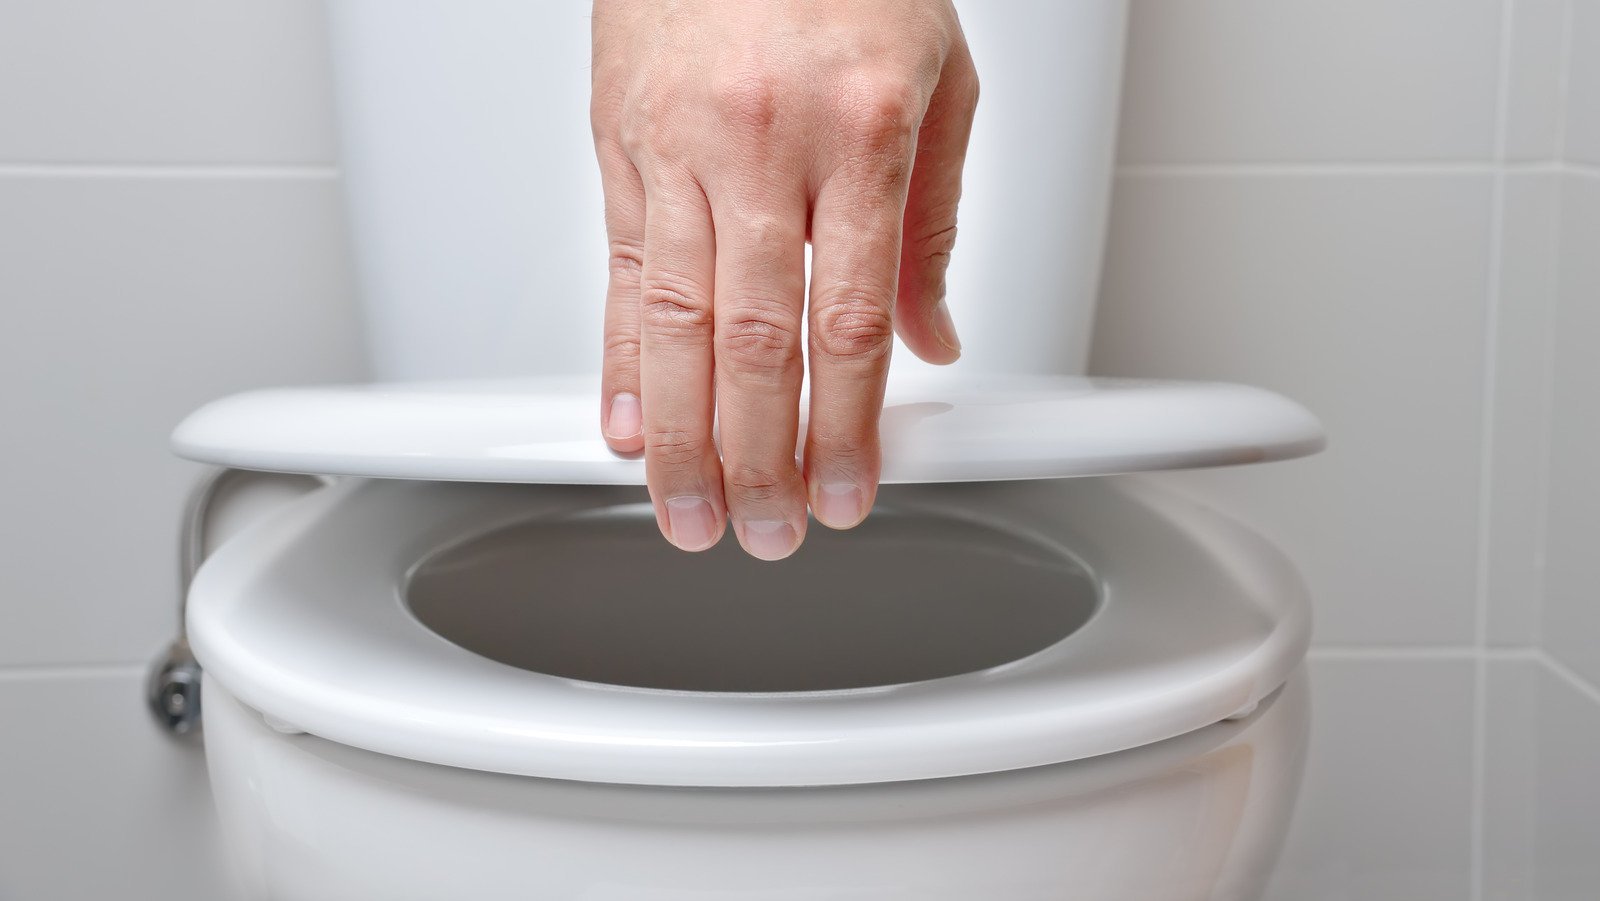
This guide serves homeowners who have a standard seat that refuses to stay upright, making cleaning or use difficult. We assume your toilet is a standard gravity-flush model with a seat attached by two bolts passing through the ceramic bowl.
This page is best for people who want to perform a simple, tool-based adjustment to improve their existing hardware. It isn’t for people looking to repair a broken ceramic bowl or those who need to replace the entire toilet unit. If your seat is cracked, severely stained, or the hinge itself has snapped, these instructions won’t help you; you should replace the unit entirely. This article assumes you have access to the underside of the toilet bowl to reach the mounting nuts. If your toilet is built into a wall or has a skirted design where the bolts are inaccessible, you need a specific top-fixing kit provided by the manufacturer. We don’t cover advanced plumbing work, so if you notice water leaking near the bolts, you must call a licensed plumber to prevent damage to your bathroom floor.
Hinge Mechanics and Stability
Several factors influence why a seat refuses to remain in a vertical position. Understanding these helps you decide if a quick tighten is enough or if the seat has reached the end of its life.
The most common cause is loose mounting bolts. When the bolts under the bowl loosen, the entire seat shifts forward or backward. This shift changes the center of gravity, causing the seat to tip forward. You can check this by trying to wiggle the seat side-to-side; if it moves, the bolts need tightening.
Hinge tension is the second factor. Many modern seats use friction hinges to hold the seat upright. If the internal plastic or metal friction pads wear down, they no longer provide enough resistance to fight gravity. You can’t easily adjust these pads; if they’re worn, the seat won’t stay up regardless of how tight the bolts are.
The bowl shape also plays a role. If the toilet bowl isn’t perfectly level, or if the seat isn’t the correct size for the rim, it will lean forward naturally. Use a spirit level on the rim of the bowl to see if your toilet is installed on an uneven floor.
Finally, the hinge cover position matters. If the covers aren’t snapped down properly, they can interfere with the hinge movement. Always check that the cover isn’t catching on the hinge arm, which keeps the seat from reaching a full vertical angle. People often mistake a loose bolt for a broken hinge, which costs them the price of a new seat when a simple screwdriver turn would have worked.
Step by step
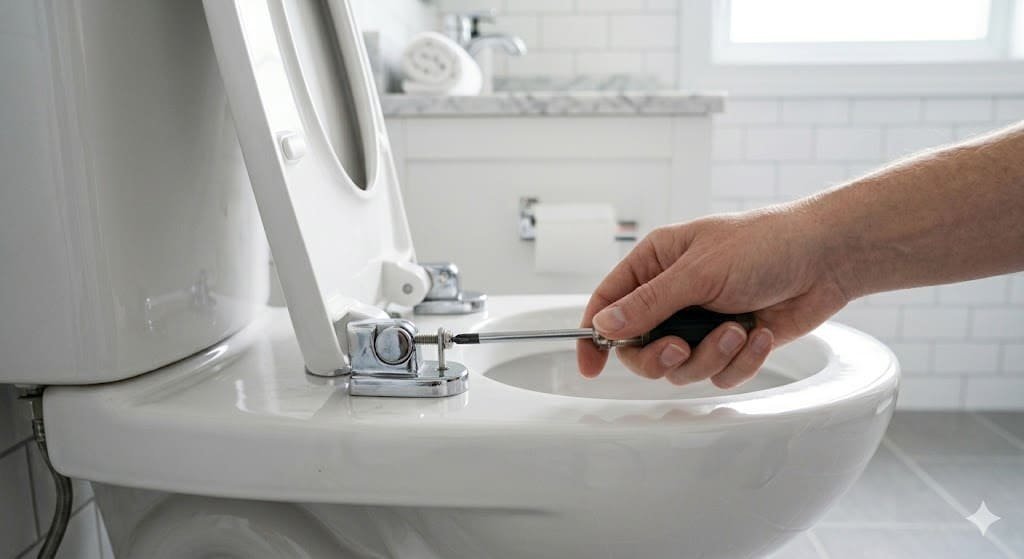
- Lift the decorative plastic caps that cover the hinge bolts. Use a flat-head screwdriver if they’re tight, but be careful not to crack the plastic.
- Locate the mounting nuts underneath the toilet bowl. You’ll need a pair of adjustable pliers or a basin wrench to hold these steady while you work from the top.
- Use a large screwdriver to tighten the bolts on top of the hinges. Turn them clockwise until they feel firm.
- Check the seat alignment. Before tightening fully, shift the seat so it’s perfectly centered on the bowl.
- Tighten the nuts underneath the bowl while keeping the top bolts stationary. Don’t overtighten, as you risk cracking the porcelain.
- Snap the hinge covers back into place. Ensure they click firmly so they don’t slide during use.
- Test the seat by lifting it to a full vertical position. If it stays upright without falling, the adjustment is successful.
- If the seat still falls, check the hinge friction. If the hinge is loose, look for a small adjustment screw on the side of the hinge housing. If no screw exists, the dampeners are likely worn out and the seat needs replacement.
The judgement call here is knowing when to stop tightening. If the bolt is tight but the seat still moves, the mounting holes in the bowl might be too large for your bolts. In this case, you need rubber washers to fill the gap.
Common Symptoms and Adjustments
| The Situation | What to do | Effort Required | Watch For |
|---|---|---|---|
| Seat shifts sideways | Tighten base bolts | Low | Cracks in bowl |
| Seat falls immediately | Check hinge friction | Medium | Worn plastic parts |
| Seat hits the tank | Adjust hinge forward | Low | Tank clearance |
| Bolt spins freely | Hold nut underneath | Medium | Stripped threads |
| Seat covers loose | Snap back in | Minimal | Broken tabs |
If your seat shifts despite tightened bolts, the rubber gaskets beneath the mounting plate have likely perished. Replace these immediately. Using the seat with worn gaskets allows the plastic to grind against the porcelain, which creates hairline fractures that eventually shatter the bowl.
When checking hinge friction, test the resistance by lifting the seat to a forty-five-degree angle. If it drops instantly, tighten the tension screw located under the hinge cap. If the screw is already flush, the internal friction mechanism is likely worn out and requires a full hinge replacement.
Many users mistake a loose bolt for a stripped thread. If the bolt spins without tightening, reach under the rim to secure the wing nut with needle-nose pliers. If you force the bolt from above without securing the nut, you’ll strip the plastic threading entirely. Once the threads are gone, the only fix is a complete hardware kit. Always check the underside for corrosion before attempting to force a seized bolt.
What separates a good result from a poor one
Preparation and Alignment
Experienced fixers always clean the area around the hinges before starting. Old soap, grime, and mineral deposits create a slippery surface that prevents the hinge from gripping the porcelain properly. By wiping the bowl surface with white vinegar, you remove the debris that allows the seat to slide out of position. They also ensure the seat is centered before the final tightening. A seat that’s off-center by even a few millimeters will put uneven pressure on the hinges, causing them to loosen again within a few weeks.
Handling the Hardware
The difference between a lasting fix and a temporary one lies in the use of washers. Experienced people check the underside of the toilet to ensure the plastic or rubber washers are sitting flat against the porcelain. If these washers are missing or pinched, the bolt will never hold tight enough to keep the seat upright. If you find the hardware is rusted or the threads are stripped, don’t try to force it. Buying a new, matching bolt kit is inexpensive and prevents the frustration of a seat that falls down every time the bathroom door closes.
What goes wrong, and what to do
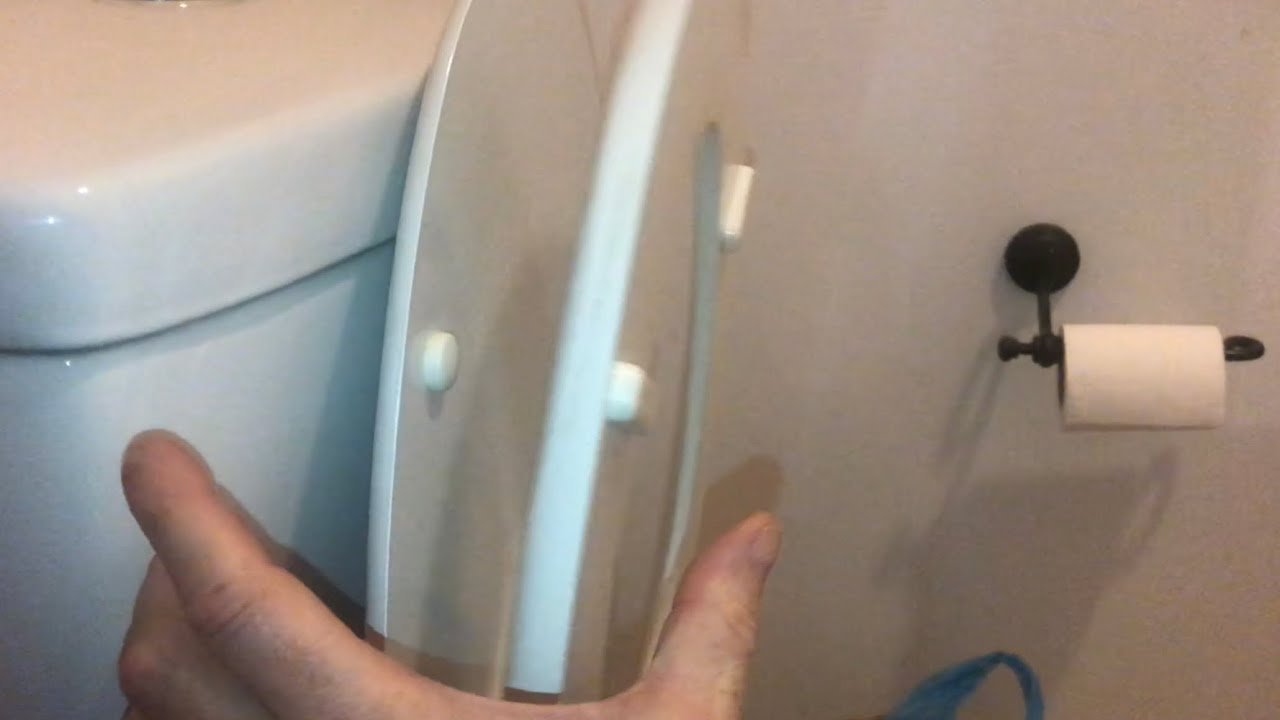
| What you notice | What it usually means | What to do first | How to stop it |
|---|---|---|---|
| Seat keeps slipping | Loose bolts | Tighten base nuts | Use rubber washers |
| Hinge makes noise | Dry friction | Apply silicone grease | Clean hinge area |
| Seat hits tank | Wrong alignment | Move hinges forward | Check bolt holes |
| Plastic cover pops | Broken tab | Replace cover | Handle with care |
| Seat feels flimsy | Worn dampeners | Replace seat | Buy quality hinges |
Most people assume a slipping seat is a hardware failure, but it’s usually just a lack of friction. If you tighten the nuts and the seat still shifts, you’re likely missing the rubber washers that grip the porcelain. Adding these prevents the metal-on-ceramic slide that causes bolt fatigue.
When a seat hits the tank, check if the hinge plate is reversible. Many manufacturers design hinges to rotate 180 degrees, which can shift the seat position by half an inch. If you force the seat down while it’s misaligned, you risk cracking the ceramic tank.
If the seat feels flimsy, press down on the rubber bumpers underneath. If they’re flattened or brittle, they no longer distribute weight evenly. Replace them immediately to prevent the plastic seat from bowing and eventually snapping under pressure. Buying high-density polyethylene hinges instead of standard plastic versions will stop this cycle of wear.
The rules of installation
These standards ensure that hinges are robust enough to withstand typical household use. If your toilet is a specialized commercial model, check the manufacturer’s technical data sheet for specific torque settings. Never use power tools to tighten bolts on a toilet; the torque is far too high for ceramic and will cause the bowl to crack. If you find the porcelain itself is cracked, stop immediately. A cracked bowl is a hygiene and safety hazard, and you should contact a professional plumber to evaluate if the entire fixture requires replacement. Don’t attempt to repair cracks in the ceramic with glue, as these aren’t structural repairs and will fail under the weight of a user.
What it costs you
The cost of fixing a seat that won’t stay up is usually limited to your time and perhaps a small amount for hardware. If the bolts are simply loose, the cost is zero. If you need to replace the mounting kit, expect to pay a modest price for a universal hardware set at a local hardware store. The biggest cost is the effort required to reach behind the toilet; if you have limited mobility, this task can be physically demanding. If you determine the hinges are worn out, a new seat costs a variable amount, depending on the material and features like soft-close mechanisms. Prices vary by model, so check the label on your current seat or the underside of the lid for a brand name and model number before heading to the store. Comparing these details online helps you avoid buying a seat that doesn’t match your bowl’s dimensions or mounting hole spacing.
Keeping it right afterwards
To maintain a stable seat, inspect the hinge covers and bolt tightness regularly. If you notice the seat starting to wiggle or drift, address it immediately. Letting a loose seat go unchecked puts unnecessary stress on the porcelain mounting holes, which can lead to permanent damage over time. If the seat requires constant adjustment, the hinges have likely lost their structural integrity and should be replaced. You can clean the hinges with a damp cloth and mild soap, but avoid harsh chemicals that can degrade the plastic components. If you notice any rust on the bolts, replace them immediately to prevent staining the porcelain. The sign that your seat is in good condition is a firm, wiggle-free connection that holds the seat upright without sagging. If it starts to sag, simply re-tighten the base nuts using the steps provided earlier.
When this is the wrong approach
This guide isn’t for people with wall-hung toilets or concealed cisterns where the bolt holes aren’t accessible from below. In these cases, you must use a top-fixing expansion bolt kit specific to your toilet model. Don’t force standard bolts into these systems, as you risk damaging the internal mounting frame.
If your toilet bowl is cracked or the mounting holes in the ceramic have broken away, no amount of adjustment will keep the seat up; you must replace the toilet bowl entirely. Attempting to anchor a seat into compromised porcelain often leads to the ceramic shattering under pressure.
If you feel unsure about working under the bowl or have difficulty reaching the nuts, don’t force the issue. A professional plumber has the correct tools to reach tight spaces without damaging your plumbing or your back.
The decision rule is simple: if you can’t see the nut or if the bolt spins without tightening, stop immediately. Applying extra torque at this stage usually snaps the bolt head or strips the internal threads, turning a twenty-minute repair into a costly fixture replacement. Always prioritize your safety over the cost of a simple repair.
Frequently asked questions
Can I fix a soft-close seat that falls down?
No, most soft-close hinges are sealed units. If the internal dampening mechanism fails, the hinge can’t be repaired and the entire seat or hinge set must be replaced.
Is it safe to use glue on the hinges?
No, glue won’t hold the weight of a toilet seat and will create a mess. If the hinges are broken, replace the hardware or the seat.
How long does this repair take?
About 15 to 20 minutes for a standard seat. This assumes you have the correct screwdriver and your mounting bolts aren’t rusted or stuck.
What happens if I overtighten the bolts?
You risk cracking the porcelain toilet bowl. This is a permanent and expensive mistake, so tighten until firm, not until the bolt stops moving.
Does it matter if the seat is slightly crooked?
Yes, a crooked seat puts uneven pressure on the hinges. This causes them to loosen quickly and makes the seat uncomfortable to use.
Why does the seat fall even when tight?
The friction pads inside the hinge are likely worn out. If the bolts are tight but the seat still falls, the hinge mechanism has lost its tension.
What to do next
Start by checking the bolts under your toilet bowl to see if they’re loose. If they’re tight, test the hinge friction by moving the seat manually to see if it holds its position.
If the seat still falls, it’s time to order a replacement hinge kit or a new seat that matches your bowl dimensions. Measure the distance between the two mounting holes on your porcelain bowl before buying. Standard toilets usually measure 5.5 inches from center to center.
A common mistake is assuming all seats are universal. If you have an elongated bowl, a round seat will leave an uncomfortable gap and eventually crack under pressure.
If the hinge is plastic, look for signs of hairline fractures near the pivot point. If you see white stress marks, the plastic has fatigued and no amount of tightening will restore the grip. Replace the hardware immediately to prevent porcelain scratches.
Related guides