
You can fix the issue when cadence and resistance not working on peloton bikes by power cycling the monitor and checking the sensor cable connection. This problem usually happens because the console loses its digital connection to the bike’s internal sensors, or the physical wire that carries data from the resistance knob and cadence sensor has become loose during regular use. If the screen shows no numbers while you pedal, the bike isn’t receiving data from the flywheel.
Fix Peloton cadence and resistance not working
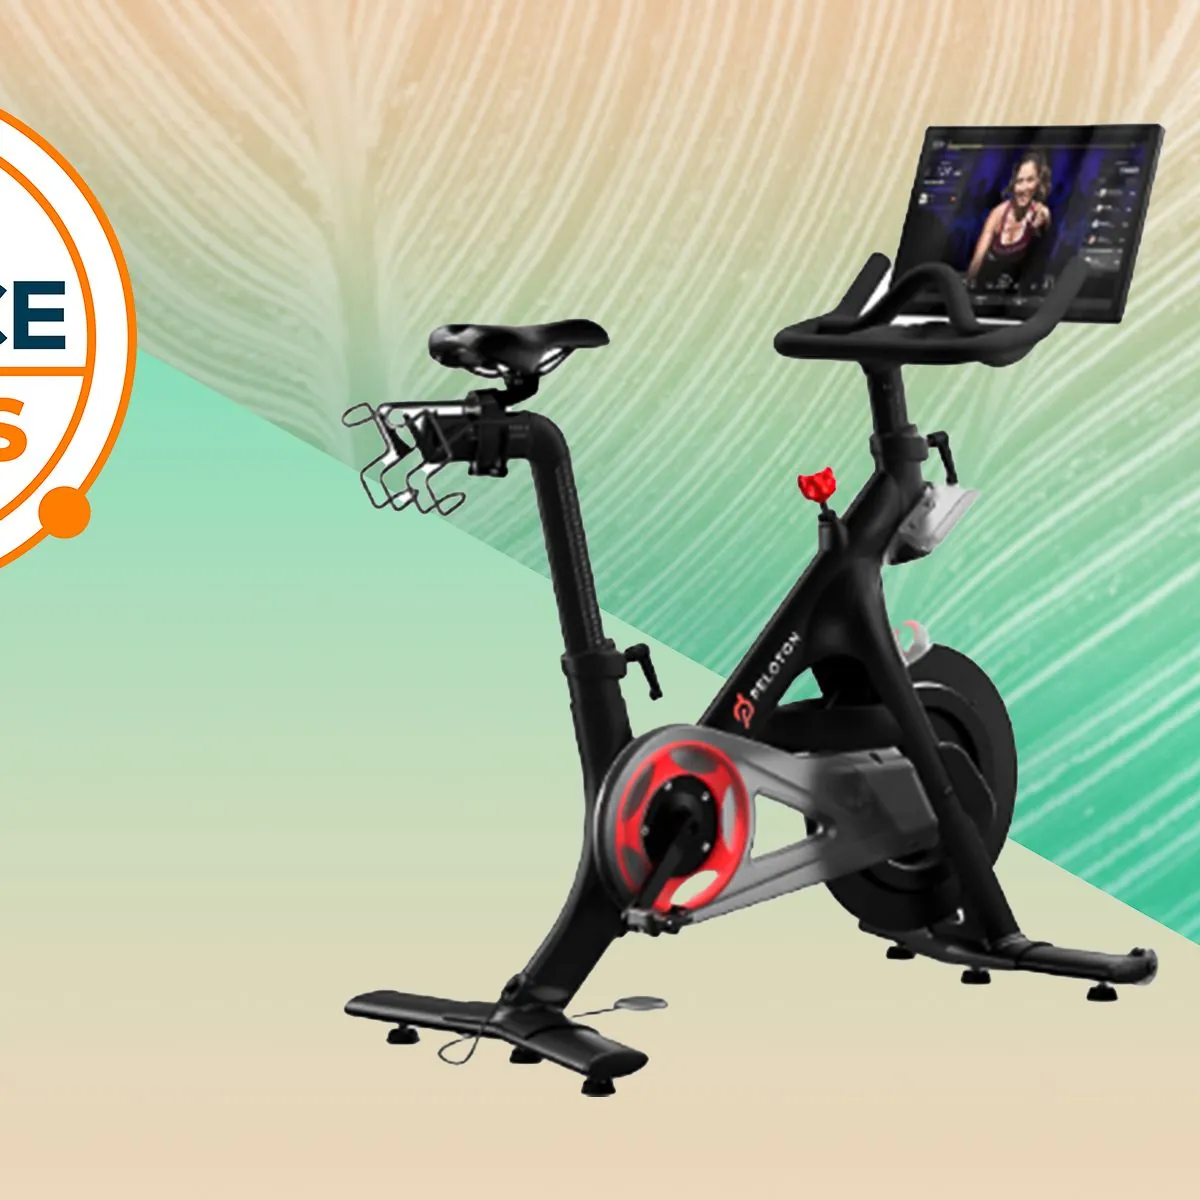
The most common reason for missing data is a communication error between the bike’s frame sensors and the touchscreen. When you pedal, the cadence sensor detects the rotation of the crank, while the resistance sensor tracks the position of the magnetic brake. If the computer board inside the console stops “talking” to these sensors, the numbers on your screen will stay at zero or become stuck on a single value.
Another frequent cause involves the physical integrity of the data cable. This cable runs from the frame, up through the handlebar post, and plugs into the back of your screen. Over time, the vibrations from intense workouts can cause the connector pins to loosen or the cable to pull slightly out of its port. If the connection isn’t tight, the signal will be intermittent or fail entirely.
Environmental factors also play a role. Static electricity can sometimes interfere with the bike’s sensitive electronic components, especially in dry climates. If you have recently moved the bike or performed a deep cleaning, you might have accidentally bumped the sensor housing located near the flywheel. You can verify the status of your hardware by checking the official Peloton support troubleshooting guide for specific error codes or connectivity steps.
Power cycle the console
If your metrics are frozen, the first step is to perform a full power cycle of the touchscreen. This clears the temporary memory and forces the system to re-scan for connected hardware.
To do this, hold down the power button on the back of the screen for about 10 seconds until the menu appears, then select “Shut Down.” Once the screen is completely black, unplug the power cord from the wall outlet and wait at least 60 seconds before plugging it back in.
After the screen reboots, check to see if the numbers appear while you pedal. If the screen remains blank, check the cable connection at the rear of the monitor. Ensure the cable is pushed firmly into the port and that there’s no debris inside the connector.
If you feel resistance when plugging it in, don’t force it, as you could bend the delicate internal pins. If you have a second person available, have them hold the screen steady while you inspect the cable to ensure it’s fully seated.
Inspect the sensor wiring
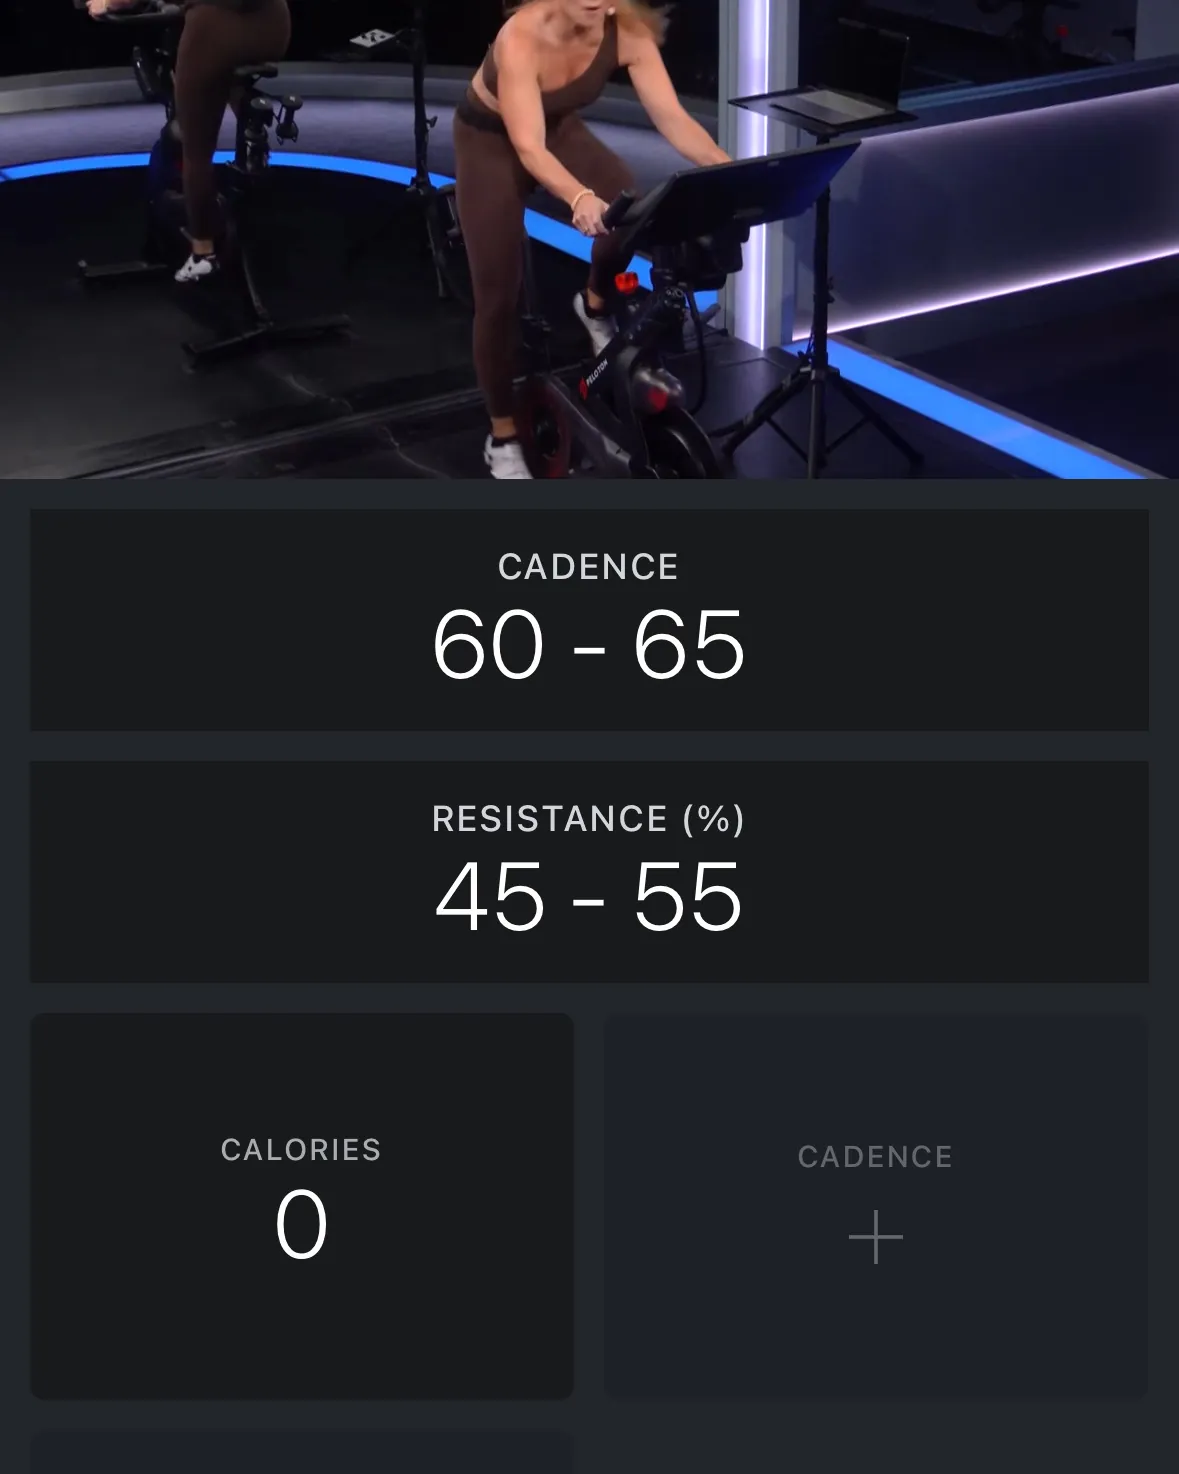
If power cycling didn’t restore your metrics, you should inspect the sensor wire where it exits the frame near the bottom bracket. This wire is responsible for sending the cadence data to the console. Look for any visible signs of damage, such as frayed insulation or a pinched wire caused by the bike’s adjustment levers. If the wire looks intact, ensure the small sensor plug near the flywheel is pushed all the way into its socket.
A common mistake is assuming the connection is secure simply because the plug appears flush. You must physically disconnect the plug and check for bent pins or debris inside the port before reseating it until you hear an audible click. If the console remains blank, test the cable by gently wiggling it while watching the screen for a momentary flicker of data.
If you find that the wire is severed or the internal housing is damaged, don’t attempt to solder or repair the electronics yourself. Amateur repairs often create short circuits that can permanently fry the console motherboard.
Contact the Peloton support team to discuss professional repair options or replacement parts. They can verify your serial number and determine if your bike is still eligible for service under the standard limited warranty. If your warranty has expired, ask specifically for the sensor replacement kit, which is a modular part designed for user installation.
Tighten the console connections
The connection between the touchscreen and the handlebar post is a common point of failure for data transfer. Sometimes the cable becomes slightly unseated due to the constant motion of the handlebars during out-of-the-saddle climbs. To address this, remove the plastic cover on the back of the screen to reveal the cable inputs. Gently unplug the main data cable, inspect the pins for any dust or corrosion, and plug it back in until you hear a distinct click.
If the numbers still don’t move, check the mount itself for any wobbling. If the screen isn’t firmly attached to the mount, it may lose contact with the internal data pins. Tighten the screws on the back of the monitor mount using a standard hex key, ensuring they’re snug but not overtightened.
If the screen remains unresponsive after these steps, the internal circuit board within the monitor may have failed. This is a rare issue, but it requires a specialized diagnostic tool that only authorized service technicians possess.
Popular myths to ignore
Resetting to factory settings wipes your personal data, yet users often attempt this to solve hardware sensor glitches. If the sensor fails to register a signal on the console, the issue is physical, not software-based. A reset only forces you to reconfigure your profile settings without restoring the connection.
Never spray WD-40 or household cleaners into the housing. These chemicals leave a conductive residue that shorts out delicate circuits. If the sensor is dirty, use only a dry, lint-free microfiber cloth to wipe the exterior.
Many users waste time searching for a battery compartment. If your console displays a signal error, check the wiring harness behind the frame instead. Hard-wired models draw power directly from the console, so a dead display usually indicates a loose connection at the port, not a drained cell.
Resistance issues are magnetic, not mechanical. Tightening the flywheel bolts won’t fix a digital error. If the resistance feels stuck, the magnet carriage is likely jammed. If the magnet moves but the screen reading remains static, the sensor is misaligned.
How to manage your hardware
Instead of assuming the worst, compare your current setup to the recommended maintenance routine. If you’re experiencing persistent issues, consider how often the bike is moved or adjusted.
| If you’re doing this | Do this instead | Why |
|---|---|---|
| Moving the bike often | Keep it in one spot | Reduces cable strain |
| Cleaning with water spray | Use a dry microfiber cloth | Prevents liquid damage |
| Ignoring loose handlebars | Tighten the adjustment knobs | Protects the internal cables |
| Pulling on the screen | Support it while adjusting | Keeps the data pins secure |
Most riders fail to check their tension bolts until a rattle develops. By then, the vibration has already stripped the threading. Aim to inspect every bolt once every thirty days. If you hear a metallic clicking while pedaling, stop immediately and check the crank arm torque.
A loose crank arm can ruin the bottom bracket in under fifty miles of use. If the unit remains unstable on a level floor, adjust the leveling feet rather than adding shims. Shims shift under weight and create uneven pressure on the frame.
Related guides
Frequently asked questions
How long does it take for the screen to reset?
The screen typically takes two minutes to complete a power cycle and reconnect to the sensors. Wait for the Peloton logo and home screen to load before pedaling. If metrics fail to appear after three minutes, the issue is likely a loose cable or faulty sensor.
Why is my resistance stuck at a high number?
High resistance readings often indicate a stuck magnetic brake or a misaligned sensor. If the knob turns but the screen number remains static, the sensor isn’t detecting magnet movement. Check if the brake guard is touching the flywheel, but don’t force the pedals.
Is it safe to ride without cadence numbers?
It’s safe to ride without metrics, as they’re informational and don’t affect mechanical safety. You’ll be unable to track output or follow class zones. Monitor your physical exertion closely, as the lack of feedback can lead to accidental overtraining.
What happens if I unplug the bike while it’s on?
Unplugging the bike while it’s on won’t cause permanent damage, but it can occasionally lead to corrupted cache files on the touchscreen. If you must unplug the unit, always use the “Shut Down” command on the screen first. If you experience a sudden power loss, simply perform a standard power cycle by leaving it unplugged for 60 seconds to allow the internal capacitors to discharge completely.
How do I know if the sensor cable is broken?
You can identify a broken cable by looking for visible cuts, deep kinks, or exposed wiring. If the exterior appears intact but metrics remain missing, the break is likely internal. Don’t attempt to splice the wires yourself, as the system requires specific shielding.
Can I fix a misaligned sensor myself?
No, you shouldn’t attempt to adjust the sensor alignment yourself, as it requires precise calibration using specialized tools. The sensor is set at the factory to a specific distance from the magnets, and moving it even a few millimeters can cause the screen to read incorrect numbers or fail entirely. If the sensor is physically loose or damaged, contact the support team to have a technician perform the adjustment correctly.
Conclusion
If you have tried all the steps above and the bike still fails to display metrics, the most likely cause is a fault in the sensor module or the main logic board. At this point, the repair requires parts that aren’t available for consumer installation. Contact the support team and provide your bike’s serial number so they can verify if your warranty covers the necessary replacement parts and labor.
