
The best result for a whole bird comes from a two-stage approach, but 425°F is the most effective temperature to ensure crispy skin while keeping the meat juicy. Using this heat level for the entire duration allows for consistent browning, though you must adjust the timing based on the bird’s weight.
This range of heat changes depending on your goals for the skin versus the texture of the breast meat. If you prefer a slower roast for easier timing, you might drop the heat, while a faster roast requires more attention to the internal temperature to avoid drying out the white meat.
Choosing the right oven temperature for roasting chicken
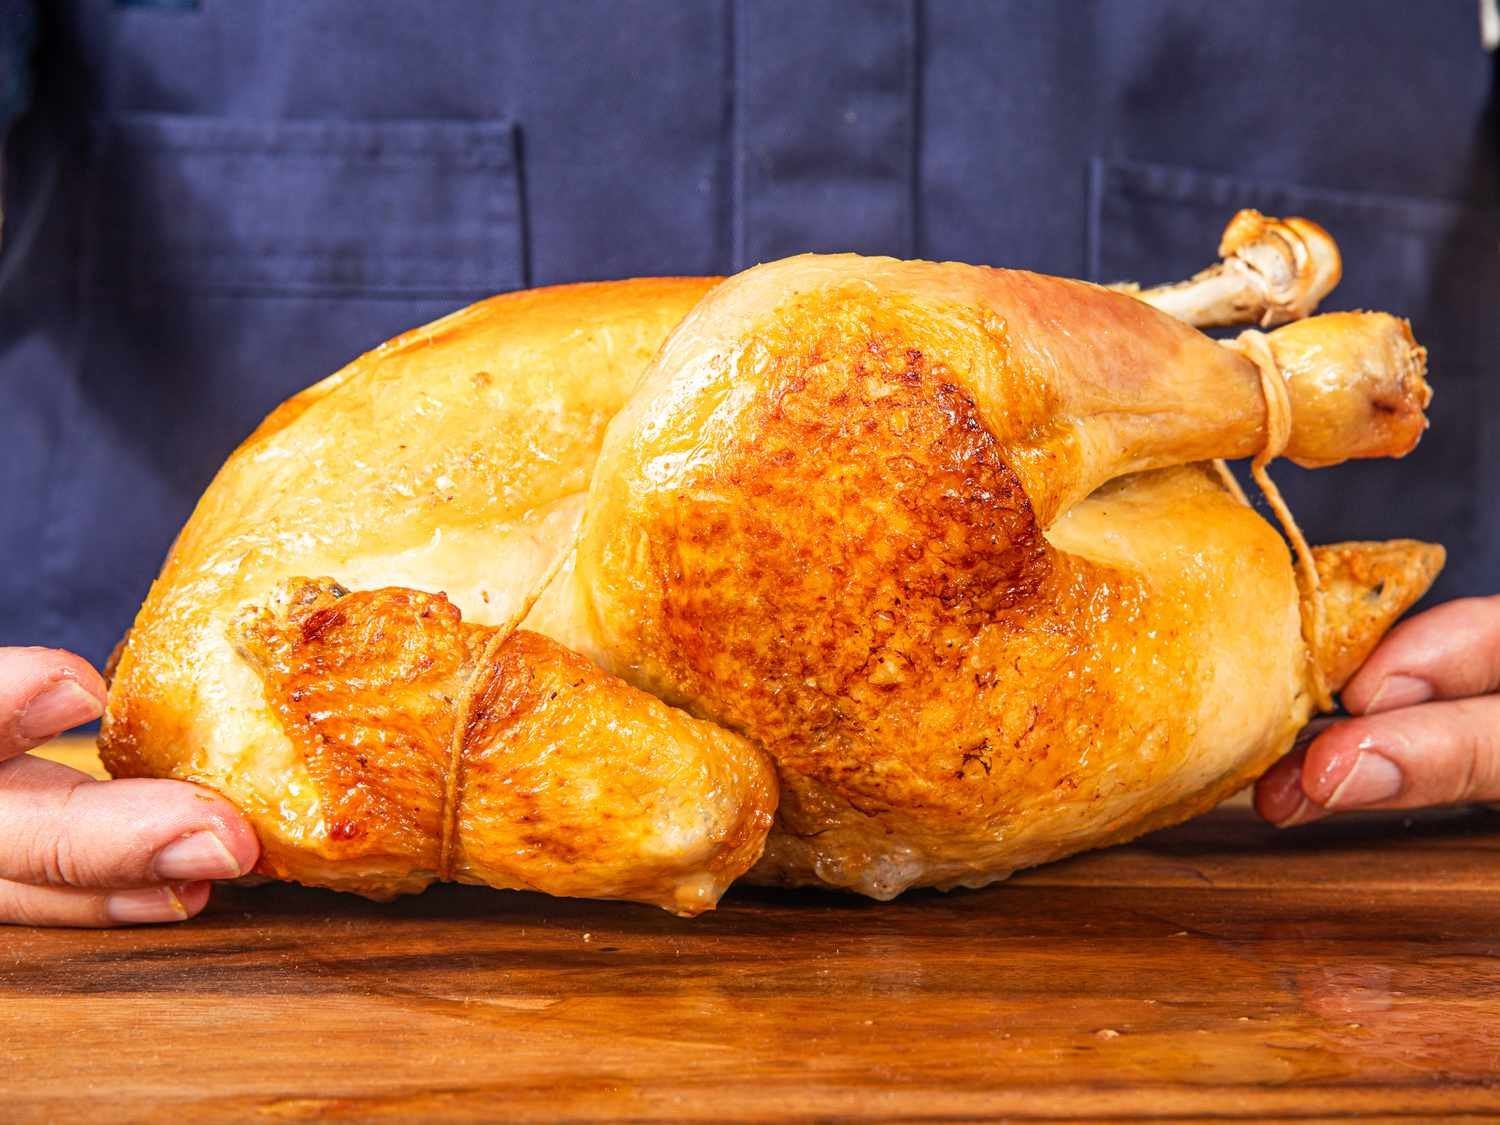
This information serves home cooks who want to move beyond basic roasting to achieve a restaurant-quality finish at home. These readers typically have a standard electric or gas oven and a digital probe thermometer, which is the only reliable way to judge doneness.
We assume you’re using a standard roasting pan or a cast-iron skillet that allows air to circulate around the bird. If you’re using a glass dish, the heat transfer will be slower, which often leads to soggy skin on the bottom. This page isn’t for those using convection settings or rotisserie attachments, as those methods change the physics of heat distribution entirely.
Heat levels and their effects
The oven temperature you choose dictates the speed of the Maillard reaction, which is the chemical process that creates the brown, flavorful crust on the skin. A higher heat produces a better crust, but it also increases the risk of burning the fat before the deep muscle tissue is fully cooked.
Most people make the mistake of setting the oven to 350°F for the entire duration, which often results in rubbery skin. While 350°F is safe for cooking, it doesn’t provide enough thermal intensity to crisp the fat layer effectively. If you want crispy skin, you must start at 425°F for the first 20 minutes before dropping to 375°F for the remainder of the cook.
The size of the bird acts as a major variable. A large bird, such as a 6-pound roaster, needs lower heat for a longer time to ensure the interior reaches the safe threshold without the surface turning black. Conversely, a small bird can handle higher heat for the full duration. You should always consult your oven manual to see if it runs hot, as many home units fluctuate by 25 degrees.
Getting the bird ready
- Take the chicken out of the refrigerator 30 minutes before roasting to allow the chill to leave the surface.
- Pat the skin completely dry with paper towels; moisture on the surface creates steam, which prevents browning.
- Preheat your oven to 425°F for at least 20 minutes to ensure the heat is stable throughout the entire cavity.
- Rub the skin with a thin layer of oil or butter to conduct the heat evenly across the surface.
- Place the bird on a rack inside the pan so that hot air can reach the underside of the chicken.
- Roast at 425°F for 20 minutes to jumpstart the browning process.
- Reduce the oven temperature to 375°F and continue roasting until the thickest part of the thigh reaches 165°F.
- Use a digital meat thermometer to confirm the reading according to the safe minimum internal temperatures set by federal food safety guidelines.
- Remove the bird from the oven and let it rest for 15 minutes before carving to allow juices to redistribute.
The critical decision is the resting period. If you cut the bird immediately, the juices will run out onto the board, leaving the meat dry regardless of how perfectly you timed the oven temperature.
Temperature strategies for different results
The choice of temperature depends on how much time you have and how much you value texture over convenience.
| Goal | Temperature | Time (per pound) | What to watch |
|---|---|---|---|
| Crispy skin | 425°F to 375°F | 20 minutes | Watch for burning |
| Even cooking | 375°F constant | 25 minutes | Check thigh meat |
| Fast roast | 450°F | 15 minutes | Check breast often |
| Slow roast | 325°F | 30 minutes | Use a thermometer |
If you prioritize skin texture, start at 425°F for the first 20 minutes to render fat, then drop to 375°F. This prevents the skin from turning bitter while the interior finishes.
For consistent results, stick to 375°F. This is the “set it and forget it” zone. If you go higher, you risk drying out the breast before the thigh reaches the safe 165°F mark.
The most common mistake is relying on the clock rather than a probe. Smaller birds heat faster because of their surface-area-to-mass ratio.
If the skin darkens too quickly, tent it with foil. This protects the exterior while the heat migrates to the center.
Managing the roasting process
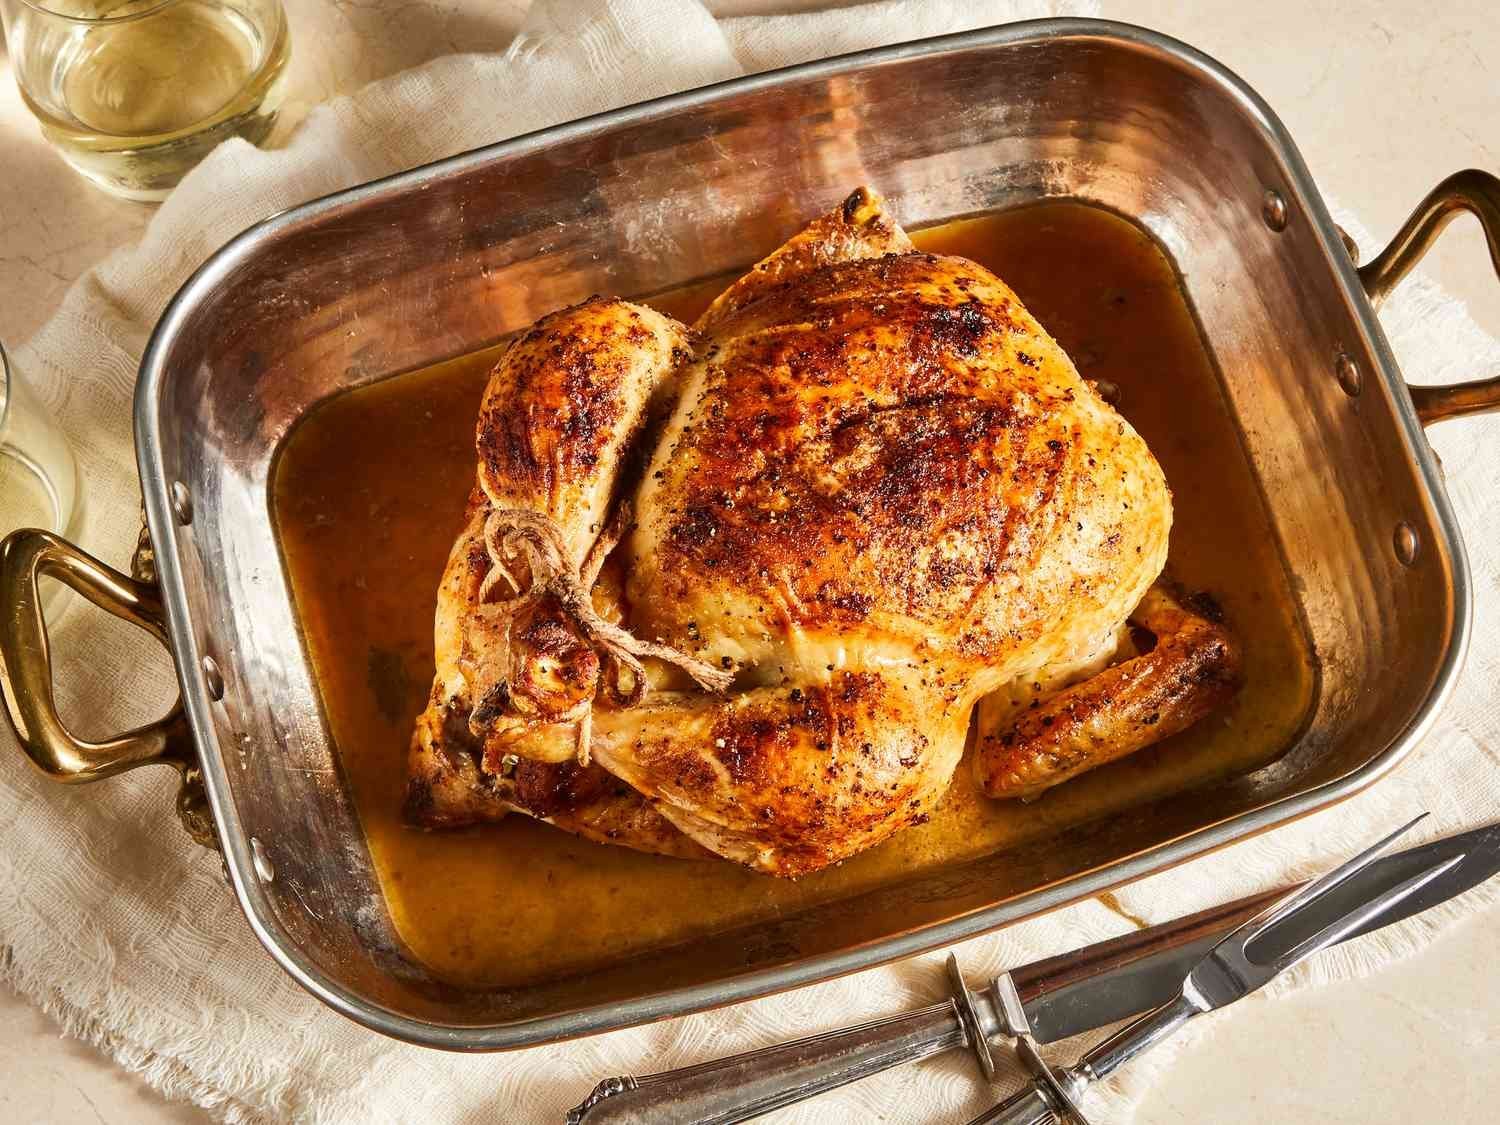
Preparing the environment
The primary goal of preparation is to minimize the time the oven door stays open. Every time you open the door to baste or check the bird, you lose significant heat, which can add 5 to 10 minutes to the total roasting time. Experienced cooks use a probe thermometer that stays in the bird with a lead running outside the oven, so they never have to open the door until the final check.
Avoiding common errors
The most frequent error is crowding the pan with vegetables. If you put potatoes and carrots directly under the chicken, they will soak up the juices and release steam, which makes the bottom of the chicken soggy. If you want to roast vegetables, use a separate pan or place them on a rack that sits above the chicken juices. Always verify your thermometer reading in the thickest part of the thigh, not touching the bone, as the bone conducts heat faster and will give you a false, high reading.
Identifying and fixing common issues
| What you notice | What it means | What to do first | How to stop it |
|---|---|---|---|
| Dark skin, raw meat | Heat was too high | Lower heat by 50°F | Use lower setting |
| Pale, soft skin | Heat was too low | Increase heat to 425°F | Dry skin better |
| Dry breast meat | Overcooked | Check at 160°F | Remove at 165°F |
| Burnt bottom | Pan is too hot | Move to upper rack | Use roasting rack |
Many beginners mistake a dark crust for a finished bird. If the skin looks mahogany but the juices run pink, your oven temperature is likely 50 degrees too high. You must lower the heat immediately to allow the center to reach a safe 165°F without scorching the exterior.
Conversely, pale skin indicates the oven never reached the threshold required for the Maillard reaction. If the skin feels rubbery, you failed to pat the bird dry before seasoning. Moisture on the surface creates steam, which prevents browning. Always use paper towels to remove surface water until the skin feels tacky to the touch.
The most common mistake is relying on time rather than internal temperature. A chicken left in the oven for a set duration will almost always dry out. Use a digital probe thermometer inserted into the thickest part of the thigh, avoiding the bone.
If your bird consistently burns on the bottom, your roasting pan is conducting too much heat. Switch to a heavy-gauge stainless steel pan or place a baking sheet on the rack below the bird to deflect direct heat. If you lack a rack, create a trivet using thick-cut carrots and onions to elevate the meat.
Standards for safe handling
Food safety depends on reaching the correct internal heat level to eliminate pathogens like Salmonella. The United States Department of Agriculture requires that all poultry reach an internal temperature of 165°F at the thickest part of the meat. Never rely on the “juices run clear” method, as this is unreliable and not based on scientific testing.
Always insert your digital probe thermometer into the center of the breast or the thickest part of the thigh, avoiding bone contact. Bone conducts heat differently than muscle, which can lead to inaccurate readings if the probe touches the bone. If you’re cooking a whole bird, check both sides to account for uneven heating patterns.
If your oven temperature dial is off by more than 10 degrees, you may need an independent oven thermometer to verify the actual heat inside the chamber. This is a common issue with older gas ranges where the thermostat may be out of calibration. If you find your oven is consistently hotter or cooler than the dial indicates, adjust your target temperature accordingly.
Never attempt to calibrate the internal thermostat yourself, as this can void your warranty or lead to gas leaks; contact a qualified appliance technician for adjustments. If you notice a persistent smell of gas or a pilot light that fails to stay lit, stop using the oven immediately. These signs indicate a mechanical failure that simple temperature adjustments can’t fix.
Understanding the true costs
The cost of roasting a chicken is mostly determined by the energy usage of your oven and the quality of the bird. A standard residential electric oven uses between 2 and 3 kilowatt-hours of electricity for a two-hour roast. Depending on your local utility rates, this usually costs a small amount per session.
You can lower this cost by roasting two birds at once, which uses roughly the same amount of energy as one, or by using a smaller countertop convection oven if the bird fits. If you’re cooking for a single meal, the efficiency loss of heating a large, empty cavity is the primary source of waste.
The most significant “cost” is actually the risk of an overcooked meal, which happens when you guess the time instead of using a thermometer. Relying on a timer often leads to dry, inedible breast meat that forces you to discard the most expensive portion of the bird.
Investing in a reliable digital probe thermometer, often a cheap part, will save you the cost of ruined protein by ensuring you never pull the bird out too early or too late. If the internal temperature hits 165 degrees Fahrenheit in the thickest part of the breast, pull it immediately.
If you find yourself frequently throwing away leftovers, your portion sizing is the hidden variable. Aim for one pound of raw weight per person to ensure you maximize the value of your oven’s energy output.
Maintaining the roasting equipment
After the bird is finished, allow the oven to cool completely before cleaning. If you have significant grease splatter, use a damp cloth with mild soap, but avoid harsh chemicals that can damage the heating elements. If your oven has a self-cleaning function, use it only after removing the racks and heavy debris, as high heat can cause grease fires.
Check your oven door seal regularly by closing it on a piece of paper; if the paper pulls out easily, the seal is worn and heat is escaping. A faulty seal will make it impossible to maintain a steady 425°F, leading to uneven roasting. When the seal fails, replace it using the manufacturer’s specific part number found on the data plate inside the door frame.
The most common mistake is ignoring the convection fan intake. If you notice a faint burning smell while roasting, check the fan guard for carbonized residue. If the fan is obstructed, the oven will cycle the heating element excessively, causing premature component failure.
If your oven displays an error code, don’t reset it immediately. Consult the manual to see if it indicates a sensor malfunction or a ventilation blockage. If the error persists after a power cycle, call a technician before the internal thermostat fails entirely.
When to avoid this method
Roasting a whole bird at high temperatures isn’t the right approach if you’re dealing with a bird that has been injected with a saline solution. These “enhanced” birds have high water content and will often steam rather than roast, leading to poor skin texture. In this case, you should use a lower, constant temperature of 350°F to slowly evaporate the excess moisture.
If you’re roasting a bird that weighs more than 12 pounds, don’t use the high-heat start method. The sheer mass of the bird will result in the exterior burning long before the center reaches 165°F. For large birds, a consistent 325°F is the only way to ensure the interior is safe without ruining the exterior. If you’re ever unsure about the safety of the meat after cooking, don’t consume it; professional food safety inspectors advise discarding any poultry that has been held in the “danger zone” between 40°F and 140°F for more than two hours.
What temperature should I use for a small chicken?
Use 425°F for the entire duration if the bird weighs under 3 pounds. A smaller bird cooks faster, so it doesn’t need the temperature drop required for larger roasters to prevent burning. Start checking the internal temperature at 45 minutes to ensure you don’t overshoot the 165°F mark.
Why is my chicken skin soggy?
Your skin is likely soggy because the bird was wet when it entered the oven or the pan was too crowded. Pat the skin with paper towels until it’s bone-dry before seasoning. Also, ensure the bird is elevated on a rack so that steam can escape from the bottom of the pan.
How long does it take to roast a 4-pound chicken?
It takes about 75 to 90 minutes at 375°F. You should always use a meat thermometer rather than a timer to decide when it’s done. The bird is ready the moment the thickest part of the thigh reaches 165°F, regardless of what the clock says.
Is it safe to roast chicken at 325°F?
Yes, it’s safe to roast at 325°F as long as you use a thermometer to verify the internal heat reaches 165°F. This lower temperature is ideal for larger birds that need more time to cook through to the center. It will take longer than a high-heat roast, often requiring 20 to 30 minutes per pound.
Does the oven need to be preheated?
Yes, you must preheat the oven for at least 20 minutes before putting the chicken inside. Putting a bird into a cold oven prevents the skin from crisping and causes the meat to steam in its own juices. A stable, hot environment is necessary for the Maillard reaction to occur.
How do I know when the chicken is finished?
The chicken is finished when a digital thermometer inserted into the thickest part of the thigh reads 165°F. Don’t rely on color or the appearance of juices, as these aren’t reliable indicators of safety. Always insert the probe into the meat, being careful to avoid the bone.
Start by preheating your oven to 425°F and preparing the bird with a dry surface. Once the oven is ready, roast the bird until the thickest part of the thigh hits 165°F. If the thermometer reading doesn’t reach 165°F within the expected time, keep cooking in 10-minute increments. Practice this method next time to master your oven’s unique heat distribution.