
Replacing a failing bathtub drain mechanism is straightforward when you choose the best bathtub trip lever kits for your specific plumbing setup. These kits include the handle, the linkage, and the overflow plate needed to seal the drain or allow water to flow. While many designs look similar, they differ primarily by how they connect to the drain shoe and whether they use a mechanical linkage or a cable system to move the stopper. Selecting the right one ensures a watertight seal and reliable operation for years to come.
Comparison of common drain kits
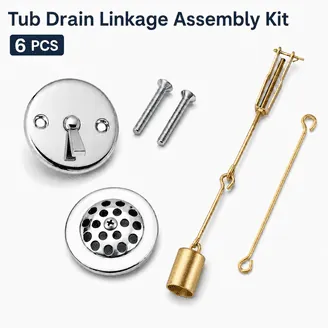
Most homeowners find that choosing a replacement depends on the existing overflow plate style and the type of drain stopper currently installed in their tub. The following table outlines the most common options available for standard residential bathtubs.
| Kit Type | Best For | Common Example |
|---|---|---|
| Trip Lever | Simple, mechanical operation | Traditional toggle handle |
| Cable-Driven | Modern, hidden linkages | Rotary faceplate control |
| Push-Pull | Durability and easy cleaning | Spring-loaded stopper |
| Lift-and-Turn | Long-term reliability | Twist-to-lock stopper |
| Toe-Touch | Hands-free convenience | Click-to-close button |
If your tub has a two-hole overflow plate, you’re likely locked into a trip lever system. These rely on a metal plunger inside the pipe. If you switch to a modern toe-touch, you must verify the drain shoe thread compatibility. Most standard bathtub drains use 1-1/2 inch fine threads, and you must ensure your new stopper matches this specification. Forcing a mismatch will strip your drain shoe, leading to a permanent leak behind the tub wall.
If you value longevity, avoid push-pull stoppers in hard-water areas. Calcium deposits seize the internal spring mechanism within eighteen months. In these environments, a simple lift-and-turn stopper is superior because it lacks internal springs. You simply unscrew the top cap to clear hair buildup without needing specialized tools.
Determine your current setup by checking the overflow plate. If it has no lever or hole, you have a cable-driven system. These are difficult to repair; if the cable snaps, you must replace the entire internal linkage. If you’re replacing a drain in a deep-soaking tub, ensure the kit includes an extended plunger rod.
Standard kits fall short by two inches, leaving the drain permanently stuck in the open position. Always test the seal with a full tub of water before caulking the overflow plate. A slow drip at the gasket will rot the subfloor long before you notice a stain on the ceiling below.
Traditional trip lever kits
A traditional trip lever kit uses a metal rod and a rocker arm inside the overflow pipe to lift and lower the drain stopper. This design suits people who prefer a classic, heavy-duty mechanical feel that doesn’t rely on complex springs or cables. These kits are often made from solid brass or zinc, which provides a long service life if kept clean of mineral buildup.
- Reliable mechanical action that works even if the stopper is slightly misaligned.
- Easy to adjust the linkage length by turning the threaded rod at the bottom.
- Compatible with most older cast-iron or steel tubs that have a standard two-hole overflow plate.
You’ll typically use this by lifting the handle on the faceplate, which pushes the rod down to open the drain. For example, if your current overflow plate has two screws and a lever that moves up and down, you should measure the distance from the center of the top screw to the center of the bottom screw to ensure a perfect fit.
Cable-driven bathtub kits
Cable-driven kits replace the rigid metal rods with a flexible steel cable that connects the faceplate to the drain stopper. This design suits tubs where the overflow pipe has tight bends or where a traditional rod would hit the back of the tub. Because the cable is enclosed, these kits often provide a cleaner look with fewer visible parts inside the overflow area.
- Smooth, quiet operation that requires very little force to actuate.
- Fits into irregular pipe shapes where rigid linkages might bind or scrape.
- Simplified installation process since you don’t need to drop a long rod into the overflow pipe.
These systems are ideal for deep soaking tubs or whirlpools where space is limited. When installing, ensure the cable isn’t kinked during insertion, as a sharp bend will make the stopper difficult to move. A common mistake is cutting the cable too short; always check the product installation manual provided by the manufacturer to see the required length for your specific tub depth.
Push-pull stopper kits
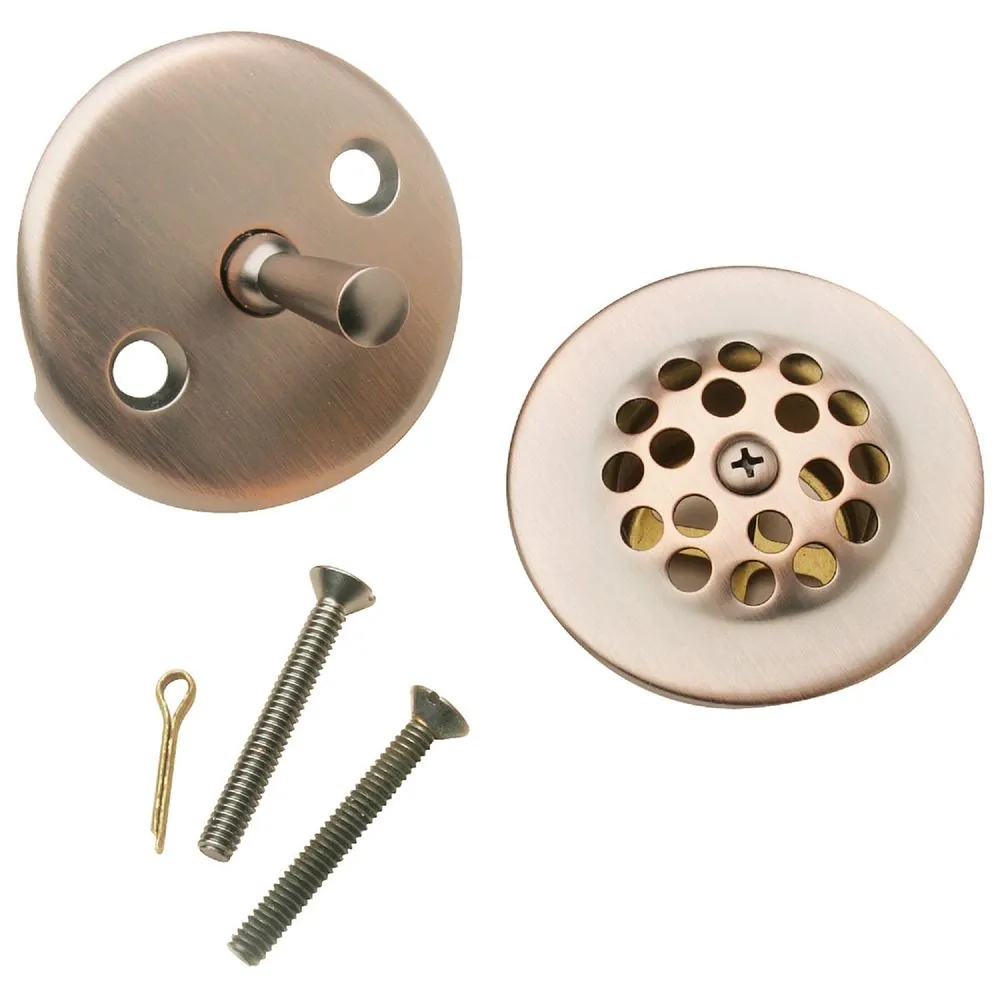
Push-pull kits are the most durable option because they eliminate the linkage entirely, relying on a simple threaded post inside the drain. This design suits households that want a low-maintenance solution that’s easy to remove for cleaning hair and debris. If you have a busy family, this is the most reliable choice because there’s no internal rod to break or lose.
Minimal internal parts mean there’s less to rust or malfunction over time. You should prioritize this mechanism if your local water supply has high mineral content, as the simple vertical action avoids the complex pivot points where calcium deposits typically seize up.
Easy to clean by unscrewing the stopper cap to reach the drain crosshairs. Simply twist the knob counter-clockwise until the entire assembly lifts out, allowing you to clear hair clogs in seconds without needing a snake or chemical drain cleaner.
Highly resistant to the buildup of soap scum and mineral deposits. Because the mechanism sits entirely within the drain flange, it avoids the hidden crevices where grime accumulates in traditional trip-lever systems.
If the stopper fails to hold water, you usually only need to tighten the small set screw on the side of the knob. If the stopper still drifts upward after tightening, the internal O-ring has likely flattened; replace this rubber gasket, which is inexpensive relative to the alternative, rather than buying a new kit.
This isn’t for someone who prefers a decorative lever on the wall, as this system is operated directly at the drain hole in the floor of the tub. You must be comfortable reaching into the water to engage the stopper.
Choose this style if your tub lacks an overflow plate, as the push-pull mechanism functions independently of any wall-mounted hardware. If your current tub has an existing trip-lever plate on the wall, you must replace that overflow cover with a blank plate to maintain a clean appearance. Failure to swap the plate leaves an unsightly, non-functional lever that confuses guests and creates a redundant point of failure in your plumbing system.
Lift-and-turn stopper kits
Lift-and-turn kits use a rotating cap that locks into place when turned to keep water in the tub. This design suits those who want a simple, classic look that doesn’t require a bulky lever on the overflow plate. These are often used as replacements when the overflow plate is replaced with a simple, decorative cover that lacks a lever hole.
Installation is straightforward. You simply tighten the center screw directly into the drain crosshairs. Because the entire mechanism is contained within the stopper, you never need to adjust internal linkages or snake wires through the overflow pipe. This eliminates the common frustration of a stopper that drifts open while you bathe.
If you’re replacing a complex linkage system, these kits simplify your setup significantly. However, you must block off the existing overflow hole with a matching decorative plate if you move away from a lever-style system. Failing to seal that hole will leave an unsightly gap that exposes the plumbing behind the tub wall.
Check your drain threads before purchasing a kit. If your drain shoe has no internal threads, you must choose a glue-in or compression-style stopper instead. A lift-and-turn stopper requires a threaded metal crossbar to function; if your crossbar is broken or missing, the stopper will have nothing to grip.
Most homeowners make the mistake of overtightening the center screw during the final step. This can strip the soft brass threads inside the drain shoe, turning a ten-minute job into a full plumbing repair. Tighten the screw until the stopper feels firm, then stop.
If the seal leaks, check that the rubber gasket underneath the cap is seated flat against the drain flange. A small piece of debris trapped under that gasket is the most common cause of a slow drain. If the water level still drops, replace the rubber washer before assuming the entire mechanism has failed.
Other drain replacement options
Toe-touch kits feature a spring-loaded button that closes or opens the drain with a simple tap of your foot. They’re best for people who want to avoid bending over or using their hands to drain the tub after a bath.
If your tub drain has a crossbar that’s broken or missing, skip this option entirely. A toe-touch mechanism requires that sturdy bridge to anchor the spring housing, or the entire unit will simply float away when you try to engage it.
Flip-it kits use a rubber toggle that flips to seal the drain. They’re designed for quick, tool-free installation, making them a great choice for a temporary fix in a rental property or a guest bathroom.
Because these units rely on a friction-fit O-ring to grip the inside of the drain pipe, they’re prone to slipping if the pipe wall is coated in years of soap scum or calcium buildup. Scrub the interior pipe walls with a stiff nylon brush and white vinegar before installation to ensure a watertight seal.
If you have a vintage tub with an unusual drain diameter, avoid universal kits that claim to fit everything. These often rely on thick rubber gaskets that degrade within six months in hot water, leading to slow leaks. In these cases, measure the internal diameter of the shoe with calipers.
If the measurement isn’t a standard 1.5 inches, prioritize a threaded metal insert kit over a friction-fit rubber toggle. A threaded connection provides a permanent, mechanical seal that won’t shrink or loosen over time, saving you from the hidden water damage that follows a slow, unnoticed drain leak.
Choosing the right kit
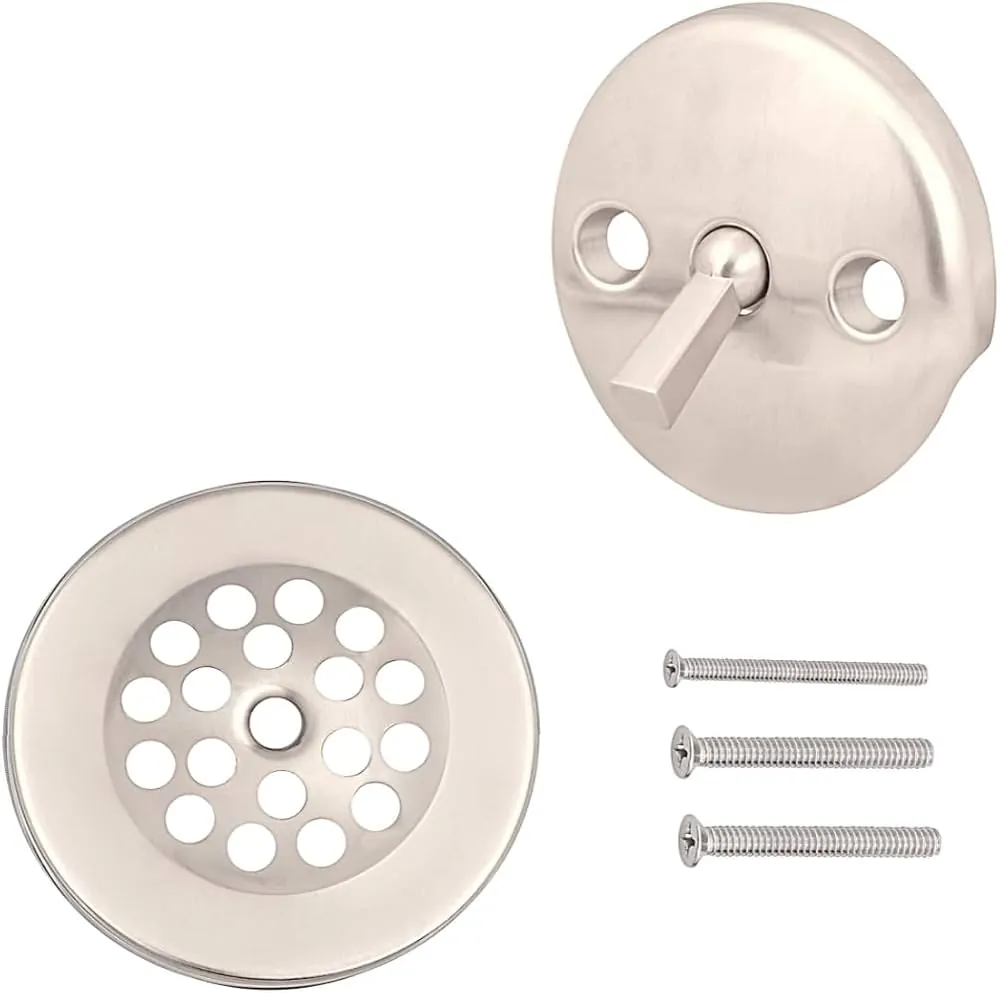
Deciding which kit to buy depends on three factors: the number of screws on your overflow plate, the condition of your existing drain piping, and your personal preference for operation. If you have a two-screw overflow plate, stick with a trip lever or cable-driven system to avoid having to replace the entire plumbing assembly. If you only have one screw or no overflow hole, a push-pull or toe-touch stopper is your best path forward.
If your pipes are old and fragile, avoid kits that require heavy force or complex adjustments. Picking one system usually means you can’t use parts from the others; for instance, you can’t use a trip lever handle with a push-pull drain stopper. Always check if your current drain shoe is threaded or if it uses a compression seal, as this determines which stopper type will fit into the drain hole itself.
Before you buy, unscrew the existing drain flange to verify the thread type. If the threads don’t match your new kit, you must replace the drain shoe itself. Most DIYers make the mistake of measuring the drain hole diameter alone, but the thread count is what dictates compatibility. If you force a mismatched thread, you’ll strip the brass shoe, turning a twenty-minute swap into a full-day plumbing renovation.
If your tub is cast iron, use a rubber gasket kit to ensure a watertight seal against the rough surface. For fiberglass or acrylic tubs, a thin bead of silicone is sufficient. If you’re unsure of your pipe material, tap the drain shoe with a screwdriver. A dull thud indicates plastic or PVC, while a sharp, metallic ring confirms brass. Use plastic-compatible kits for PVC to avoid chemical degradation over time.
If you have less than two inches of clearance behind the overflow plate, skip the cable-driven kits. These systems require significant space to coil properly without kinking. If you lack that room, choose a mechanical linkage system instead. It relies on a simple vertical rod that operates reliably even in cramped, narrow wall cavities.
Related guides
- TF-100 vs K-2006: Which Pool Test Kit Is Right for You in 2026
- Can Wall Ovens Be Installed in Cabinets: Installation Guide in 2026
Frequently asked questions
How long do bathtub trip lever kits last?
Most kits last 10 to 15 years with regular use. Hard water can cause mineral buildup on the linkage, which might cause the mechanism to stick after 5 to 7 years. You can extend the life of your kit by rinsing the drain with white vinegar to remove deposits.
Is it safe to replace a drain kit myself?
Yes, it’s safe for most homeowners to replace these kits using basic hand tools like a screwdriver and pliers. You don’t need to open the wall or change the plumbing pipes behind the tub. Stop immediately and contact a licensed plumber if you find leaking pipes.
What happens if the lever doesn’t hold water?
The most common cause is that the linkage rod is set too short, preventing the stopper from fully seating. You can fix this by adjusting the length of the threaded rod until the stopper hits the drain bottom firmly. Check the rubber gasket for cracks if the seal remains poor.
How do I know which screw pattern I need?
You can identify the pattern by counting the screws on your current overflow faceplate. Most older tubs use a two-screw pattern, while many modern kits use a single-screw mounting system. You may need a conversion plate if your new kit doesn’t match your current plate’s hole configuration.
Does the material of the kit matter?
Yes, the material affects how long the finish lasts and how well the parts resist corrosion. Solid brass is the most durable, while zinc or plastic options are lighter but may show wear or pitting within a few years. Choose solid metal for high-traffic bathrooms to avoid frequent replacements.
Can I change my drain style completely?
Yes, you can switch from a trip lever to a push-pull style by removing the old linkage and installing a blank cover plate. The new stopper then screws directly into the existing drain shoe. This is a common way to modernize your bathtub without replacing the entire unit.
Conclusion
Start by removing your existing overflow plate and pulling the linkage out to see how the current system connects. If the linkage is clean and the stopper moves freely, you may only need to adjust the rod length to get a better seal. If the parts are corroded, take the old unit to a hardware store to compare the size before buying a replacement.