
The best oven recipes for beginners are sheet pan roasted chicken with seasonal vegetables and simple baked salmon fillets because they rely on steady heat and minimal active preparation time. These dishes are forgiving, allow you to use a single piece of equipment, and produce consistent results even if you’re just starting your culinary journey. This guide covers how to manage oven temperatures, the importance of uniform ingredient sizing, and the safety standards you must follow to ensure your meals are cooked perfectly every time.
Simple oven recipes for beginners

Oven cooking is a dry-heat method that surrounds food with hot air, allowing it to cook evenly without the need for constant stirring or flipping. It’s ideal for home cooks who want to prepare large batches of food with minimal effort.
The main misconception beginners have is that every oven works exactly the same way. In reality, every unit has “hot spots” or slight temperature variations that can affect your timing. You can map these zones by placing slices of white bread across the entire rack and baking them at 350 degrees for five minutes. The slices that brown the fastest indicate where your heating elements are most aggressive.
The fundamental mechanism of the oven involves a heating element that cycles on and off to maintain a set temperature. Because air circulates inside, the food cooks from the outside in. This creates the Maillard reaction, a chemical process that browns the surface of proteins and starches to create complex, savory flavors.
If you’re using a convection oven, a fan circulates this air faster, which can shorten cooking times by roughly 25 percent compared to a standard thermal oven. This speed is a double-edged sword. If you bake delicate items like soufflés or cakes, the high-velocity air can cause them to rise unevenly or set before they have properly expanded. Use convection for roasting vegetables or browning meats, but stick to the standard thermal setting for sensitive pastries.
Always check your appliance manual to see if you need to adjust your temperature or time settings when using a convection mode. Many modern ovens perform this conversion automatically, but older models require you to manually drop the temperature by 25 degrees. Failing to make this adjustment often leads to a burnt exterior while the center remains raw.
If you’re uncertain about your oven’s accuracy, an inexpensive external oven thermometer is the most reliable tool to verify the actual heat inside. Built-in thermostats often drift over time, meaning your dial might say 375 degrees while the chamber is actually holding at 350.
Use this decision rule for your workflow: if you’re cooking a single dish that requires a precise rise, use the center rack and standard heat. If you’re cooking multiple trays at once, use convection to ensure the air reaches every surface. Always rotate your pans 180 degrees halfway through the cooking time to compensate for the natural variance in heat distribution. This simple habit prevents one side of your dish from finishing long before the other.
Essential Sheet Pan Roasting Method
- Preheat your oven to 400°F. This temperature is standard for most roasted vegetables and poultry cuts.
- Prepare your ingredients by cutting them into uniform pieces, roughly one inch in size, to ensure they finish at the same time.
- Toss the vegetables and protein in a bowl with two tablespoons of olive oil, one teaspoon of kosher salt, and half a teaspoon of black pepper.
- Spread the mixture in a single layer on a rimmed baking sheet. If you crowd the pan, the food will steam instead of roast.
- Place the pan on the middle rack. Roast for 20 to 25 minutes.
- Check for doneness. Poultry must reach a safe internal temperature of 165°F to be safe to eat, as outlined in FoodSafety.gov’s safe minimum internal temperatures.
- Remove from the oven and let the food rest for five minutes before serving.
The judgement call that defines your success is the size of your cuts. If you cut vegetables too small, they will turn to mush before the chicken is done. If you cut them too large, the centers will remain raw while the edges burn.
Key Numbers and Oven Settings
| Situation | What to use | How long | What to watch for |
|---|---|---|---|
| Whole Chicken | 375°F | 60–90 mins | Juices run clear |
| Salmon Fillets | 400°F | 12–15 mins | Flesh flakes easily |
| Root Vegetables | 425°F | 30–40 mins | Golden brown edges |
| Thin Asparagus | 400°F | 8–10 mins | Tender but firm |
| Chicken Breast | 400°F | 20–25 mins | Internal 165°F |
The most common mistake is failing to account for oven recovery time. When you open the door to insert your tray, the ambient temperature often drops by 25 to 50 degrees. If you don’t wait for the oven to signal it has returned to the set temperature, your cook times will be inaccurate. Always add five minutes to your timer if your oven is older or poorly insulated.
For whole chickens, size is the deciding factor. If your bird is larger than average, drop the heat and increase the duration by twenty minutes. This prevents the breast meat from drying out while the dark meat reaches a safe temperature. Use a probe thermometer to confirm the thickest part of the thigh hits 175°F.
When roasting root vegetables, overcrowding the pan is a fatal error. If the pieces touch, they steam instead of caramelizing. You should see at least one inch of space between each cube.
For salmon, the thickness of the fillet dictates the outcome. If the fish is thicker than one inch, pull it from the heat when the center reaches 135°F. It will continue to cook on the hot tray for three minutes after removal. If the flesh resists the fork, it’s underdone; if it looks chalky white, you have exceeded the optimal window.
How to Achieve Consistent Results
Uniform Preparation
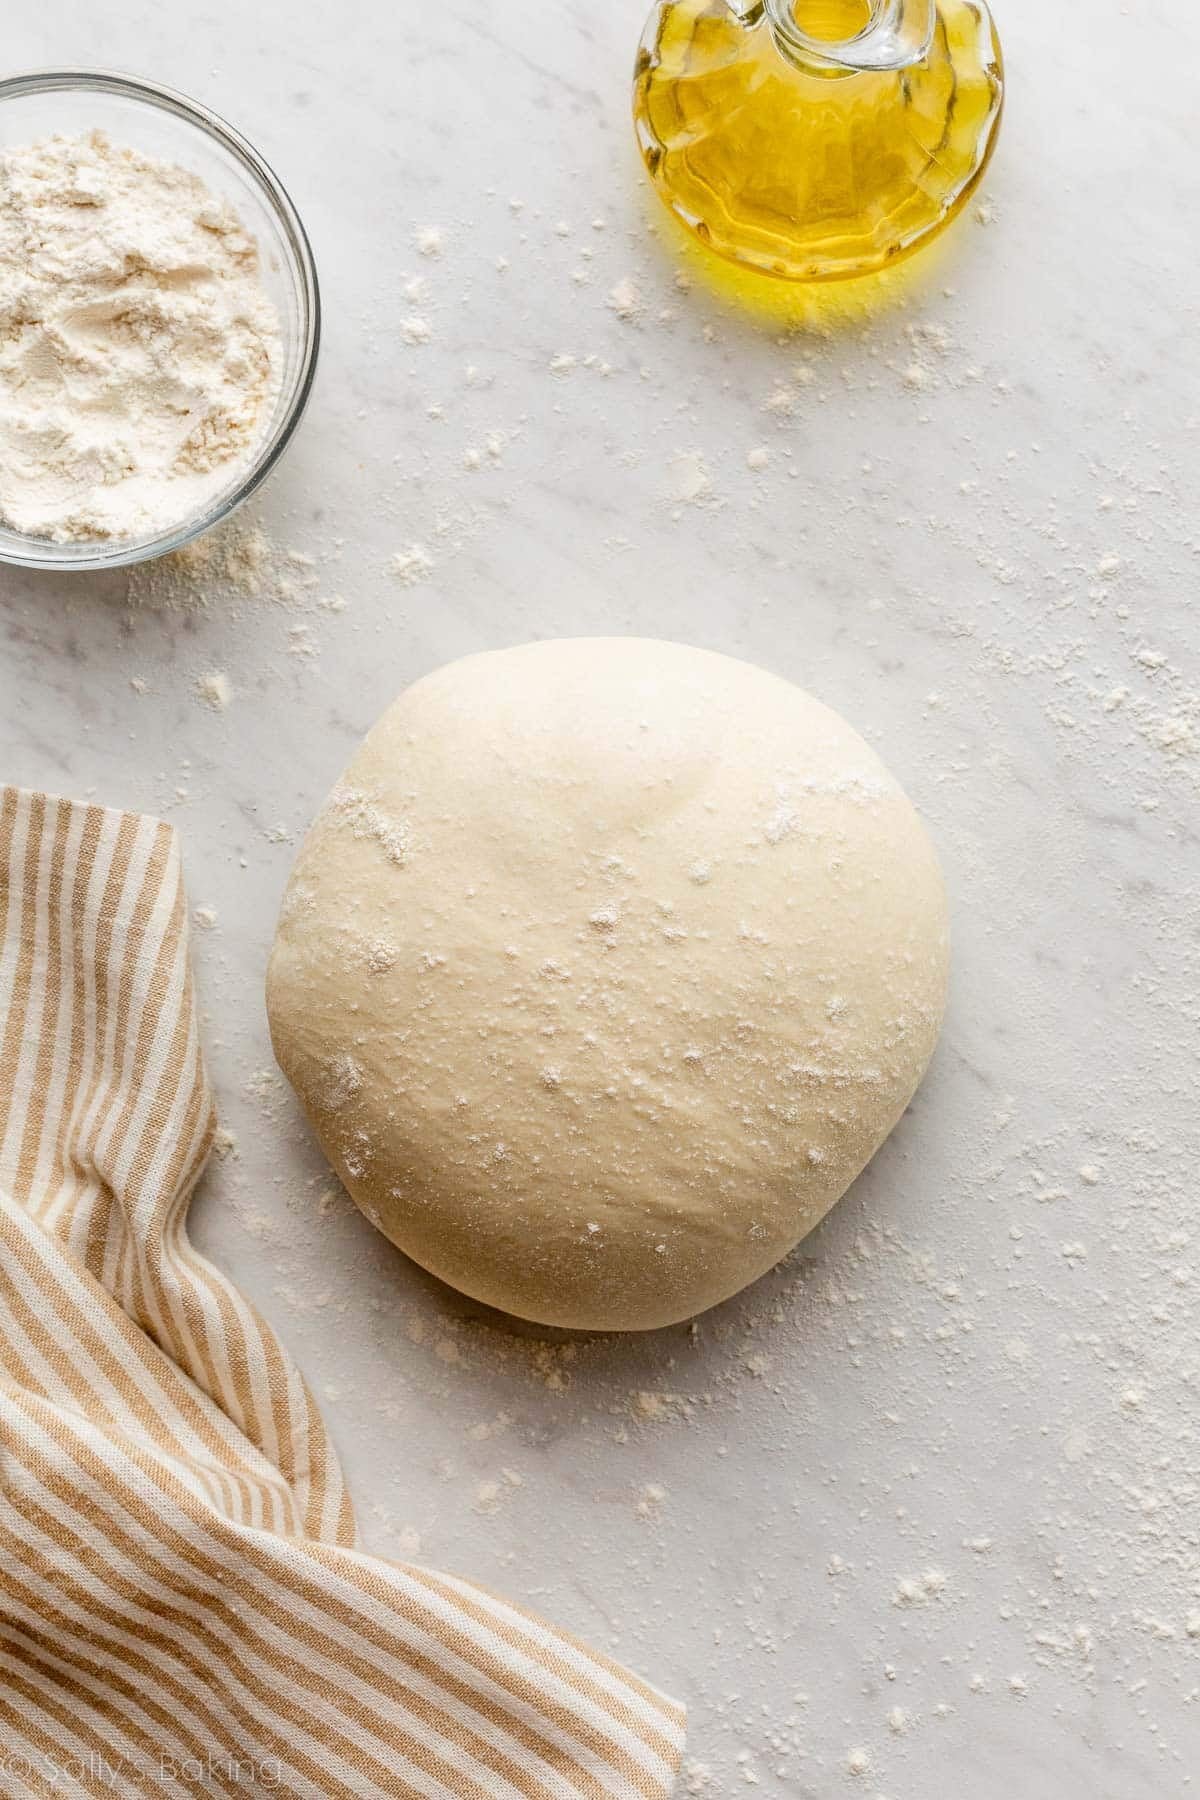
The secret to success is consistency in size. When you prepare ingredients, aim for pieces that are identical in volume. If you have some pieces that are tiny and others that are massive, the small ones will dry out while the large ones remain undercooked. Experienced cooks group ingredients by their cooking speed. If you’re roasting a mix of hard vegetables like carrots and soft ones like zucchini, add the zucchini halfway through the process to keep the textures balanced.
Managing the Oven Environment
Never open the oven door unnecessarily. Every time you open it, you lose a significant amount of heat, which forces the oven to work harder and extends the cooking time. If you need to check the food, use the oven light and look through the glass. If you’re using a glass baking dish instead of metal, reduce the oven temperature by 25°F, as glass is a poor conductor and retains heat differently than metal.
Common Problems and Quick Fixes
| What you notice | What it usually means | What to do first |
|---|---|---|
| Food is burning on top | Rack is too high | Move to a lower rack |
| Food is soggy | Pan is overcrowded | Use a second baking sheet |
| Edges are charred | Temperature is too high | Lower setting by 25°F |
| Centers are cold | Pieces are too large | Cut into smaller pieces |
When food burns on top but stays raw inside, the rack position is the primary culprit. Heat radiates most intensely from the top element. If your item sits in the upper third of the oven, move it to the center rack immediately. This simple shift prevents the surface from sealing before the heat penetrates the core.
Soggy results often stem from steam trapped by overcrowding. When pans are packed, moisture can’t escape, effectively steaming the food rather than roasting it. If you can’t see at least one inch of space between items, grab a second sheet. This allows air to circulate freely, ensuring a crisp exterior.
Charred edges act as a warning that your oven is running hot. If you notice this pattern, drop your dial by 25°F. To compensate for the lower heat, extend the total cook time by about ten minutes. Check the progress frequently to avoid overshooting your target.
Cold centers suggest the food pieces are too thick to cook evenly. If you’re preparing dense vegetables or thick meats, uniform sizing is critical. Aim for one-inch cubes to ensure consistent heat absorption. If you must cook large items, sear them on the stovetop first to bridge the gap between the exterior and the interior.
A common mistake is opening the door too often to check progress. Every time you peek, the oven loses up to 50°F. This fluctuation creates uneven textures and extends cook times significantly. If you’re unsure if the item is done, use a probe thermometer rather than relying on visual cues. If the internal temperature hits 165°F, it’s safe to pull, regardless of how the surface looks.
The Rules That Apply
Food safety isn’t optional when you’re cooking at home. The USDA mandates that all poultry must be cooked to 165°F to eliminate pathogens like Salmonella. For whole cuts of fish, the target is 145°F. Never rely on the color of the meat alone, as it can be misleading. Always use a calibrated digital food thermometer inserted into the thickest part of the protein.
Beginners often make the mistake of measuring the temperature near the bone. Bone acts as an insulator, which often results in a false low reading in the surrounding meat. This error leads to undercooked meat near the center of the cut. Always aim for the deepest part of the flesh, avoiding direct contact with the bone or gristle.
If you’re cooking for people with compromised immune systems, these temperatures are essential. This extra margin accounts for potential cold spots within the oven or uneven heat distribution across the pan.
If you find your oven is consistently running 20 degrees hotter or cooler than the setting, you should contact the manufacturer or a certified technician to calibrate the thermostat. Don’t attempt to repair the internal heating elements or electrical wiring yourself. These components involve high-voltage electricity and should only be serviced by professionals.
Use this simple decision rule to verify your oven’s accuracy. Place an oven-safe thermometer in the center of the middle rack. Set the dial to 350°F and wait at least 30 minutes for the temperature to stabilize. If the reading fluctuates by more than 15 degrees, your thermostat is likely failing. In this case, stop using the oven for delicate baking or roasting until a professional completes the repair. Ignoring this variance often leads to uneven cooking, which leaves some portions of your meal in the danger zone for bacterial growth.
Keeping It Working Afterwards
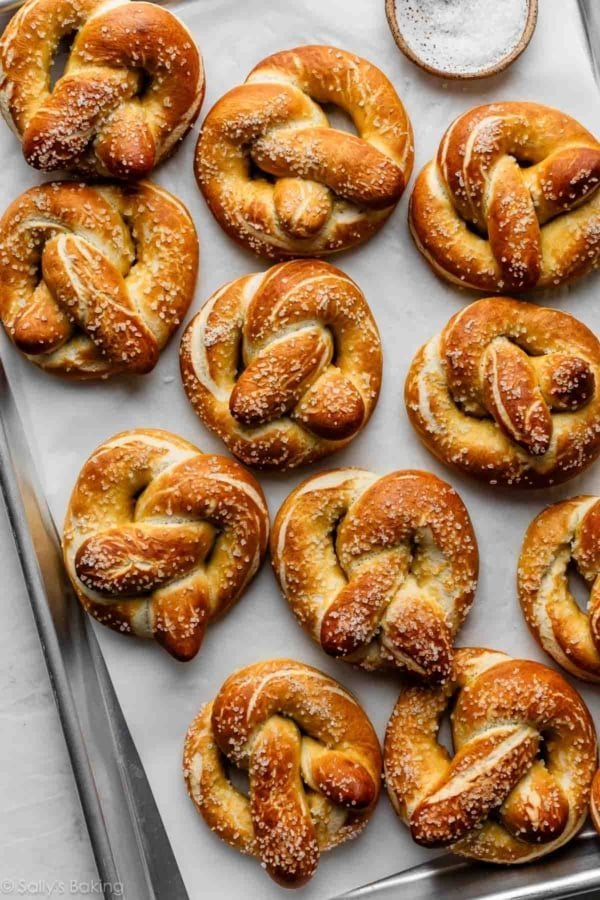
Once your meal is done, proper maintenance ensures your equipment stays reliable. Clean your baking sheets immediately after they have cooled to prevent grease buildup, which can smoke during your next session. Use hot soapy water and a non-abrasive sponge; if you use harsh metal scrubbers, you’ll damage the non-stick coating or finish of the pan.
The most common mistake is soaking pans for hours. This invites rust along the rim where the metal is folded. If you see brown spots forming, scrub them with a paste of baking soda and water to halt the oxidation before it pits the surface.
For the oven itself, wipe down the interior once it’s cool to the touch. If you have a self-cleaning function, use it only when the oven is heavily soiled and follow the manufacturer’s ventilation instructions, as this process creates significant fumes. If you notice a buildup of carbonized food, it’s time to perform a deep clean to maintain oven hygiene.
Decide based on the debris: if the spill is sugary, wipe it manually with a damp cloth before it burns. If it’s fat-based, wait for the oven to cool, then use a degreaser. Only trigger the high-heat self-clean cycle if you have at least three hours of time and can open your kitchen windows.
Always store your baking sheets in a dry place to prevent rust, which can compromise the structural integrity of thin metal pans over time. If your storage area is humid, place a small packet of silica gel near your pans to absorb moisture. This simple habit adds years to the life of your equipment.
When to Use a Different Approach
If you’re looking for a crispy, fried texture, the oven is the wrong tool. While you can achieve a nice roast, you’ll never get the crunch of deep-fried food because the oven environment is too dry and lacks the rapid heat transfer of hot oil. In this case, use a dedicated deep fryer or a high-heat stovetop method.
Additionally, if you’re attempting to make delicate pastries like soufflés, a standard oven might be too unpredictable. These recipes require precise, consistent heat that only a professional-grade convection oven or a specialized baking oven can provide. If you’re a beginner, stick to robust recipes like sheet pan meals or casseroles before attempting high-stakes baking.
Can I use aluminum foil to line my pans?
Yes, using aluminum foil makes cleanup much easier and is perfectly safe for roasting. It helps reflect heat and can protect the bottom of your food from burning, but be sure to keep the foil away from the direct heating elements at the bottom of the oven.
Why is my food drying out?
Your food is likely drying out because it’s being cooked for too long or at a temperature that’s too high. Use a meat thermometer to pull your protein out exactly when it hits the safe temperature, and remember that food continues to cook for a few minutes after you remove it from the oven.
How do I know if my oven is accurate?
You can test your oven’s accuracy by placing a standalone oven thermometer on the center rack and setting the oven to 350°F. Wait 20 minutes for it to stabilize, then compare the reading on the thermometer to your dial or digital display to see if there’s a discrepancy.
Is it safe to cook vegetables and meat together?
Yes, it’s safe to cook them together as long as you ensure the meat reaches its required internal temperature. To avoid cross-contamination, always wash your hands thoroughly after handling raw meat and before touching your vegetables or oven controls.
How often should I calibrate my oven?
You should check your oven’s calibration once a year or whenever you notice that your food consistently takes longer or shorter to cook than your recipes suggest. If you find the temperature is off by more than 25°F, contact a professional to adjust the sensor.
The key to mastering the oven is to keep things simple and focus on the internal temperature of your ingredients rather than just the clock. By following these guidelines, you’ll build the confidence to try more complex dishes over time.
Related guides