
A basic starter kit is inexpensive relative to the alternative, depending on whether you choose manual tools or power-operated versions. Most tasks are medium-difficulty, meaning you need basic hand-eye coordination and a clear workspace. Before you start any project, you must have a dedicated storage area to keep your equipment dry and organized.
Essential equipment for home projects
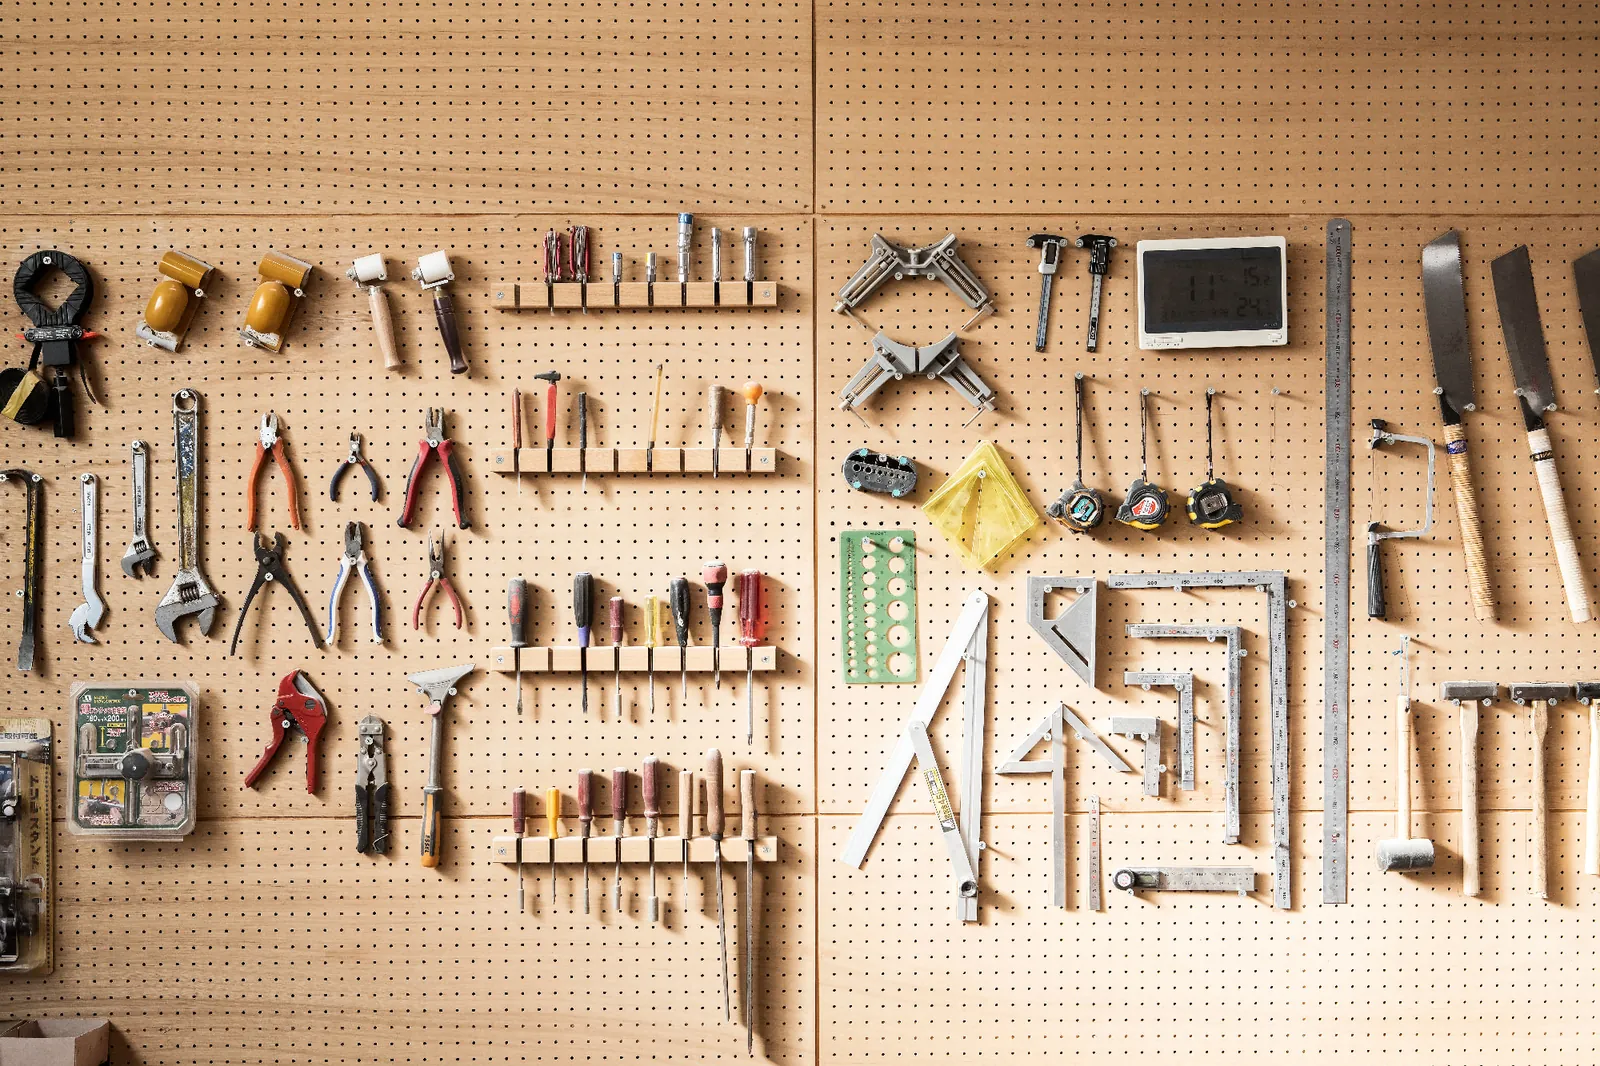
You should keep your gear in a clean, dry box to prevent rust and damage. If you use power tools, check the cords for any fraying before each use. Never use a tool that feels loose or broken, as it could cause an injury.
Most beginners make the mistake of buying cheap, multi-piece kits that fail after one project. You pay for these tools twice: once for the bargain set and again for the quality replacement that actually holds an edge. If you’re doing light assembly, a multi-bit screwdriver suffices. If you’re framing or structural work, you need dedicated drivers to prevent stripping the screw heads.
| Item | How much | Why it’s needed | A substitute |
|---|---|---|---|
| Tape measure | 16-25 feet | Accurate length cutting | None — don’t swap this |
| Claw hammer | 16-ounce head | Driving and pulling nails | None — don’t swap this |
| Screwdriver set | 4-6 sizes | Tightening various fasteners | Multi-bit handle tool |
| Utility knife | 1 blade | Cutting materials precisely | None — don’t swap this |
| Pliers | 8-inch length | Gripping and bending wire | None — don’t swap this |
| Level | 24-inch length | Ensuring straight alignment | Smartphone app level |
Always match your tool to the task density. Use the 24-inch level for wall-mounted shelves, but switch to a torpedo level for tight corners. If the bubble sits off-center, rotate the tool 180 degrees; if it stays off, the tool is calibrated incorrectly.
Preparing your workspace
Clear a flat surface of at least 4 by 4 feet to ensure you have enough room to move safely. Cramped quarters lead to clumsy mistakes, especially when handling long boards or heavy tools that require a full range of motion.
Switch off all power sources if you’re working near electrical outlets or wiring. If you can’t confirm a circuit is dead, use a non-contact voltage tester to verify the line before touching any hardware.
Cover delicate floors with a heavy canvas drop cloth to prevent scratches from dropped metal. Plastic tarps are too slippery and can cause you to lose your footing while carrying heavy loads.
Move any flammable liquids or chemicals to a separate, ventilated storage cabinet before starting work. Vapors can ignite from a single stray spark, turning a simple project into a fire hazard.
If you’re working with power equipment, wear safety goggles at all times. A standard pair of glasses is insufficient, as debris often ricochets around the sides of the frames.
If a task requires heavy demolition or electrical wiring beyond basic repairs, stop immediately and hire a licensed professional. Attempting to bypass a permit or code requirement will void your homeowners insurance if a fire occurs.
Steps for using equipment safely
-
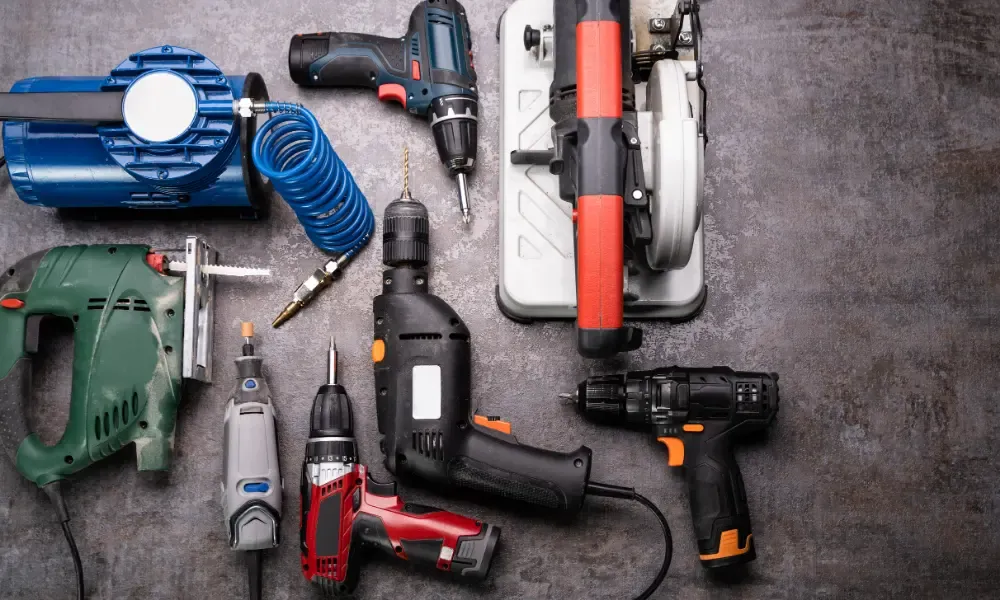
Inspect your chosen item for loose screws or cracked handles. Verify the integrity of the tool by giving the head a firm tug; if there’s any audible clicking or visible movement, set the tool aside immediately to avoid a mechanical failure during use.
-
Set your work piece on a stable surface, such as a workbench or a heavy table. Clamping the material down is essential if you’re working alone, as it prevents the piece from sliding when you apply force.
-
Measure your material twice. If the numbers don’t match, re-measure until you have the exact length. A common mistake is measuring from the end of a tape that has a loose hook; always hook the metal tab firmly against the edge before pulling.
-
Mark your cut line with a pencil to ensure a clear visual guide. Use a sharp lead to keep the line under 1/32 of an inch wide, as a thick mark often leads to cumulative errors.
-
Position your tool at the start of the mark. Keep your fingers at least 3 inches away from the active blade or hammer head.
-
Apply steady, even pressure. Sudden, jerky motions often cause the tool to skip, which ruins the finish and risks injury.
-
Check your progress every 30 seconds by stopping to look at the alignment. If the cut begins to wander, stop and realign before continuing.
-
Clean the tool after you finish. Wipe it with a dry cloth to remove dust, metal shavings, or wood debris.
-
Return the item to its designated storage case or wall hook to prevent the blade or tip from dulling against other metal tools.
Signs your work is successful
A successful result means your fasteners are tight, your cuts are straight, and your materials aren’t split or damaged. If you’re driving a screw, it should sit flush with the surface without turning loosely in the hole. If the screw spins, you have stripped the wood, and you should move the fastener 1 inch to the side.
Test for tightness by applying firm pressure with your thumb. If the head sinks deeper than the surface plane, you have over-driven the fastener and compromised the wood fibers. Back the screw out, fill the hole with a wood plug or a toothpick dipped in glue, and reset the screw nearby once the adhesive cures.
If you’re cutting wood, the edges should be smooth and square to the face of the board. If you notice jagged edges or splintering, your blade is likely dull or you’re moving too fast. A second round of sanding with 120-grit paper can fix minor rough edges.
If the piece is structurally loose, you should remove the fasteners and re-align the joint. Always ensure that the final assembly feels rigid before putting any weight on it or using it as part of your home structure. Check for “racking” by pushing diagonally against the frame. If it shifts, your joints lack the necessary squareness.
Handling common tool problems
| What happened | Why | What to do |
|---|---|---|
| Dull blade | Normal wear | Sharpen or replace |
| Rust spots | Moisture exposure | Scrub with steel wool |
| Loose handle | Shrinking wood | Tighten or replace wedge |
| Stripped screw | Too much force | Use a larger screw |
| Stuck mechanism | Dried debris | Clean and oil hinge |
When your blade stops biting into the wood, test the edge with a fingernail. If the metal slides across without catching, the edge is rounded and requires a diamond stone. Don’t attempt to force a dull tool, as the extra pressure increases the risk of the blade slipping into your hand.
If you find rust, scrub the surface with fine-grade steel wool soaked in mineral oil. Deep pitting indicates the metal integrity is compromised; retire these tools immediately to prevent snapping under load.
For loose handles, never rely on glue alone. Drive a metal step-wedge into the eye of the tool to expand the wood grain against the steel. If the handle remains wobbly, the wood has rotted from the inside out. Replace the handle entirely to avoid the head flying off during a swing, which poses a severe safety hazard to everyone nearby.
How often to maintain your gear
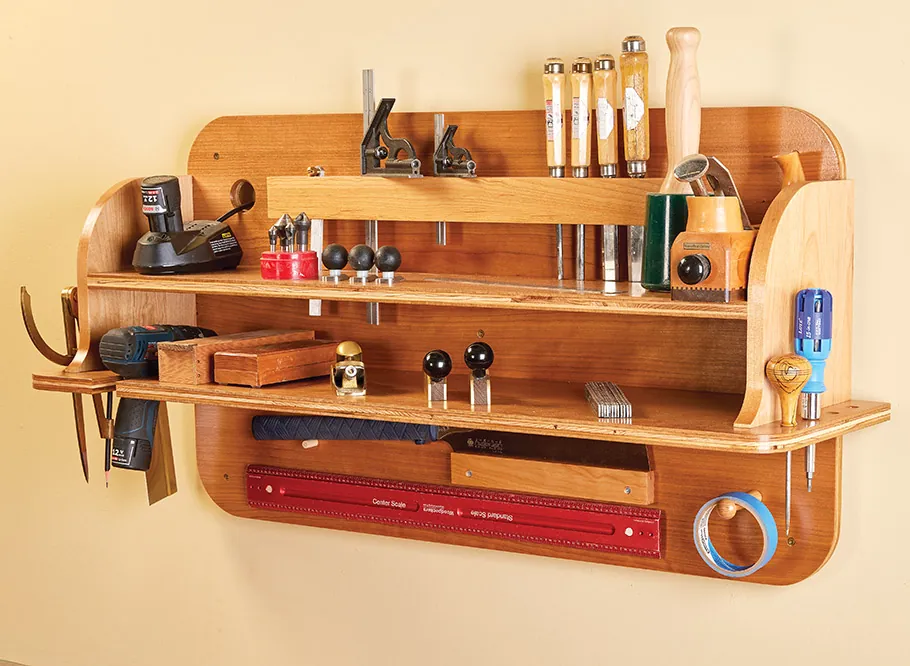
You should perform a full inspection of your equipment based on how often you use it, as the owner’s manual is the final authority on service intervals. This advice assumes you use your tools for light home repairs on weekends. If you use your tools daily for heavy construction, you must check them more frequently to account for faster wear.
If you live in a high-humidity area, you should check for rust more often regardless of use. Maintaining this schedule prevents the buildup of grime that causes mechanical failure. By keeping your gear clean and dry, you ensure it remains reliable for years of projects. Always read the manual that came with your specific tool for unique lubrication requirements, as some items need oiling more often than others.
Related guides
- Best Plumbing Tools 2026: Essential Kit for Home Repairs in 2026
- Best Septic Riser Kits: A Practical Guide to Easy Maintenance in 2026
- Best Plumbing Tool Kits: How to Build Your Essential Repair Set in 2026
Frequently Asked Questions
Can I sharpen my own blades?
Yes, you can sharpen most blades using a sharpening stone or a dedicated file. Hold the blade at the original manufacturer’s angle, which you can find in the tool’s manual, and move it across the stone in smooth strokes. If the edge is chipped or heavily damaged, you should replace the blade entirely rather than trying to fix it yourself.
Is it safe to leave tools in a garage?
It’s safe if your garage is dry, but you must keep tools off the floor to avoid moisture. Use a wall-mounted rack or a plastic storage bin with a tight lid to protect your metal items from damp air. If your garage has high humidity, place a silica gel packet inside your toolbox to absorb excess moisture and prevent rust.
How do I know if a tool is broken?
A tool is broken if it has visible cracks, loose handles, or parts that don’t move smoothly when you apply light pressure. Don’t attempt to weld or glue structural parts of a hammer or pliers, as these repairs won’t hold under stress. If a tool fails a visual inspection, throw it away or recycle the metal to prevent accidental injury during use.
Why do my screws keep stripping?
Screws strip because you’re using the wrong size screwdriver bit or applying too much speed. Ensure the tip of your screwdriver fits snugly into the head of the screw without any wiggle room. If the screw is still difficult to drive, drill a small pilot hole first to make the path easier for the threads to follow.
How long should a hammer last?
A quality steel-head hammer lasts for many decades if you keep it dry and use it only for its intended purpose. You’ll know it’s time to replace it if the head becomes loose or if the grip begins to crack and fall off.
Does it matter which brand I buy?
It matters for the long-term comfort and availability of parts, but basic functionality is the same across most brands. If you’re a beginner, buy a reliable mid-range brand that offers a warranty on its products. Avoid extremely cheap sets, as they often use soft metals that wear down quickly and can make your work more difficult than it needs to be.
Conclusion
Proper storage and regular cleaning are the most effective ways to keep your equipment in good working order for many years. Always prioritize your personal safety by using the right gear for the right job and keeping your workspace free of clutter. When in doubt about a repair, consult the manufacturer’s guide or reach out to a local professional to avoid damaging your home or hurting yourself.
