
You’ll find that the best plumbing tools 2026 for a home kit include a heavy-duty pipe wrench, a basin wrench, and a reliable plunging tool. These items allow you to handle most common leaks and clogs without needing to call a professional plumber for every small issue. This guide focuses on the durable, professional-grade equipment that lasts for years, rather than cheap alternatives that break during the first use. It covers how to select the right size for your specific pipe diameters and identifies the maintenance tasks you can safely perform at home.
Must have plumbing tools for repairs
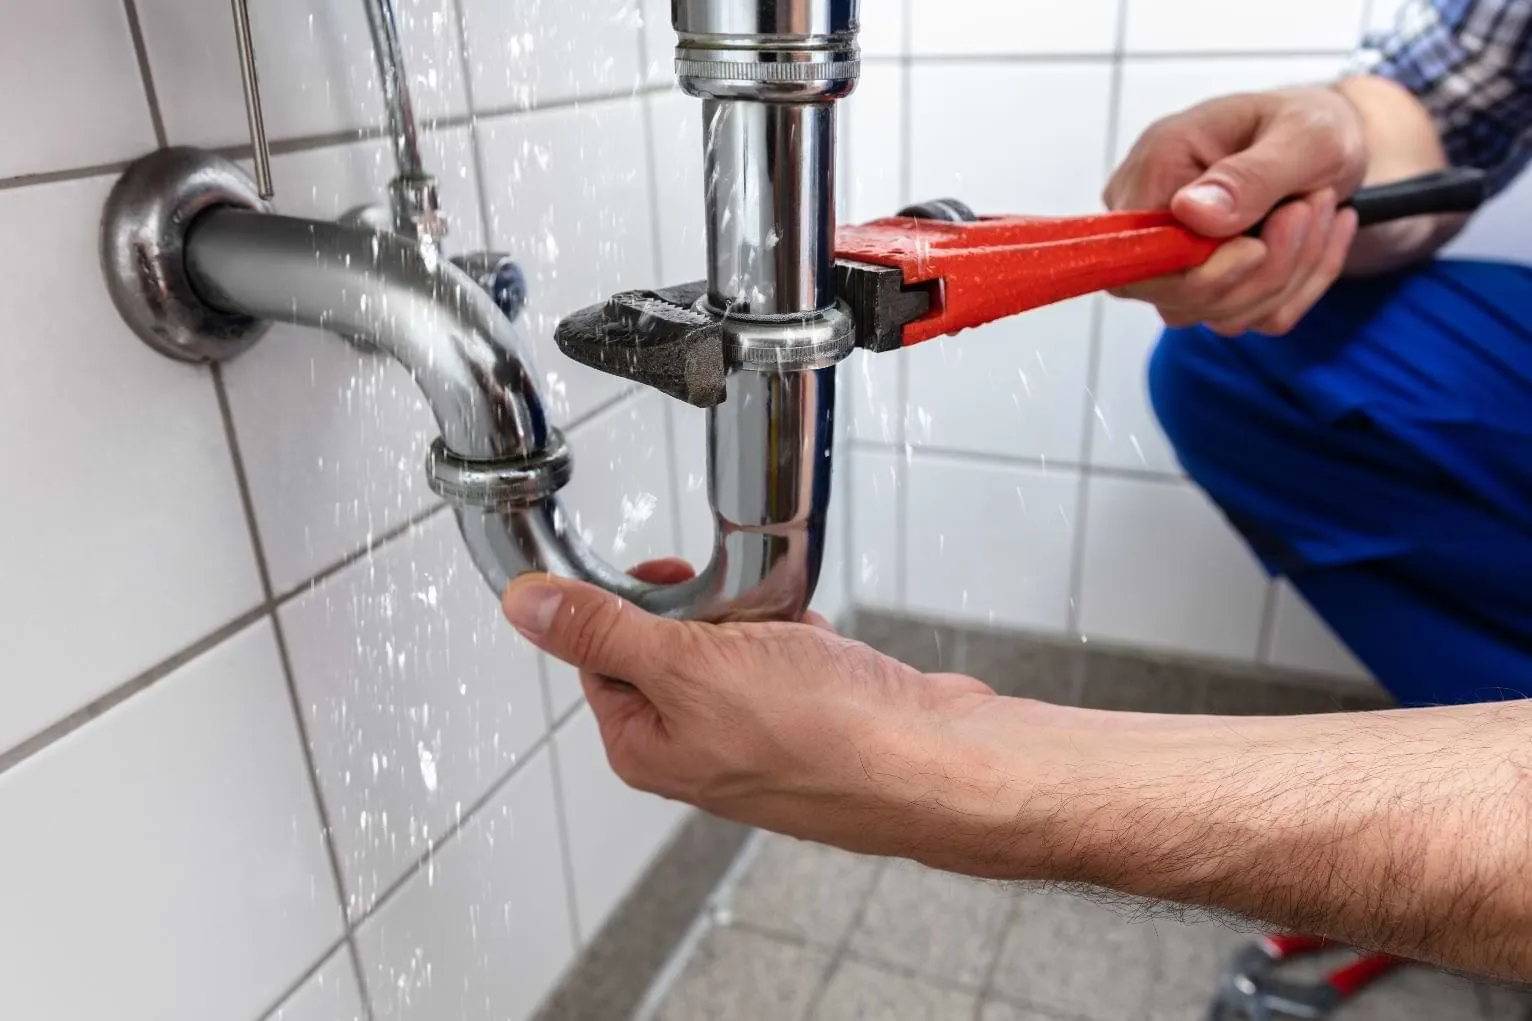
Plumbing tools are specialized instruments designed to grip, turn, or clear pipes and fixtures. For the average homeowner, these tools are used to clear sink blockages, tighten loose connections under a vanity, or replace a simple faucet washer. The most common misconception is that you need a vast collection of specialized gear to fix a basic drip. In reality, most household plumbing relies on a small set of high-quality tools that provide enough mechanical advantage to loosen stuck fittings.
The core mechanism of most plumbing tools relies on leverage or displacement. A pipe wrench, for example, uses an adjustable jaw that bites into the pipe surface, meaning the harder you pull, the tighter the grip becomes. If you’re working with soft materials like chrome or plastic, you must use a strap wrench instead of a metal-toothed wrench to avoid permanent damage. Always check your local building codes to ensure your repairs meet safety standards for drinking water systems.
How to Use Your Plumbing Kit
- The Basin Wrench: Use this to reach nuts in tight spaces behind a sink. Slide the T-bar handle to the top, position the claw around the nut, and turn counter-clockwise.
- The Pipe Wrench: Use two wrenches for steel pipes; one to hold the pipe steady and the other to turn the fitting. This prevents the pipe from twisting inside the wall.
- The Plunger: Fill the sink or toilet with enough water to cover the rubber cup. Place the cup over the drain, ensuring a tight seal, and push down firmly 10 times.
- The Teflon Tape: Wrap this tape clockwise around the threads of a pipe fitting 3 times. This creates a seal that prevents water from leaking through the threads.
- The Tubing Cutter: Place the pipe between the rollers and the cutting wheel. Tighten the knob until it touches the pipe, rotate it around the pipe, and repeat until it cuts through.
The decision to stop and call a professional is vital. If you encounter a leak that doesn’t stop after tightening a fitting, or if you see water near electrical outlets, stop immediately. These scenarios require a licensed professional to avoid water damage or serious injury.
Reliable Tools and Settings
| Situation | What to use | How long | What to watch for |
|---|---|---|---|
| Clogged sink | Cup plunger | 2 minutes | Splashing water |
| Loose faucet nut | Basin wrench | 30 seconds | Scratched finishes |
| Metal pipe leak | Pipe wrench | 5 minutes | Cracked threads |
| Thread sealing | Teflon tape | 1 minute | Over-tightening |
| Plastic pipe cut | Tubing cutter | 2 minutes | Burrs on edges |
When using a cup plunger, block the overflow drain with a damp rag first. This creates the airtight seal necessary to force pressure into the clog rather than letting air escape. If water still refuses to drain after two minutes of rhythmic pumping, stop immediately. Continued force on a stubborn blockage often blows out the P-trap seal below the sink.
For basin wrenches, always wrap the nut in a thin microfiber cloth before engaging the teeth. This prevents the metal jaws from marring chrome or brass finishes, which are expensive to replace. If the nut is seized by corrosion, apply a penetrating oil and wait ten minutes before attempting the turn.
When sealing threads, wrap the Teflon tape in the direction of the clockwise tightening motion. If you wrap against the thread, the tape will bunch up and fail to create a seal as you screw the fitting on. Use three full wraps for standard connections. If you find yourself needing more than five layers, the threads themselves are likely damaged and require a new fitting.
Finally, when using a tubing cutter, rotate the tool around the pipe while tightening the knob only a quarter turn per rotation. Many beginners crush the pipe by tightening too aggressively. If the cut creates a jagged edge, use a reaming tool or fine-grit sandpaper to smooth it. A burr left inside the pipe will catch debris and create a secondary clog within weeks.
Precision and Preparation Methods
Experienced plumbers prioritize preparation before they ever touch a pipe. They clear the area under the sink entirely, place a bucket or heavy towel down to catch residual water, and turn off the water supply valve before starting any repair. A common mistake beginners make is skipping the water shut-off step, which turns a five-minute washer replacement into a flooded room. Always verify that the water is fully off by opening the faucet until no more water flows.
When working on fittings, experienced users observe the “one-turn” rule. If you have tightened a fitting by hand and then used a wrench, don’t force it more than one full turn past the hand-tight position.
Over-tightening is the primary cause of cracked plastic nuts and stripped metal threads. If the connection still leaks after one turn, remove the fitting, inspect the washer or seal for debris, and try again. Never use force to overcome a leak that persists after proper assembly.
Troubleshooting Common Plumbing Issues

| What you notice | What it usually means | What to do first |
|---|---|---|
| Water dripping from nut | Loose connection | Tighten 1/4 turn |
| Sink drains very slowly | Debris in P-trap | Clean the trap |
| Handle feels stiff | Mineral buildup | Apply lubricant |
| Faucet sprays water | Aerator is clogged | Remove and soak |
When tightening a leaking nut, never force it past a quarter turn. Over-tightening often cracks the plastic washer or strips the threads, turning a minor drip into a full-blown pipe failure. If the leak persists after the adjustment, you likely need to replace the washer entirely rather than applying more torque.
Slow drains usually stem from hair or soap scum trapped in the P-trap, the U-shaped pipe beneath the basin. Place a bucket underneath before unscrewing the slip nuts to catch the stagnant water. If the pipe is clear but the sink remains slow, the blockage resides deeper in the wall branch. In that case, stop using liquid chemical cleaners, which can corrode older metal pipes and cause leaks behind your drywall.
Stiff handles are almost always caused by calcium deposits from hard water. If a silicone-based lubricant doesn’t restore smooth movement, the internal cartridge is likely calcified. You must shut off the water supply valves under the sink before attempting to remove the handle assembly.
A spraying faucet indicates sediment trapped in the aerator screen. If soaking the aerator in white vinegar for an hour doesn’t clear the mesh, replace the part. These components are inexpensive relative to the alternative and are universal in size. If the spray continues even after a new aerator is installed, check the faucet body for internal cracks that may be redirecting the water flow.
Legal Rules and Safety Limits
Local jurisdictions often have specific rules regarding who can perform plumbing work. In many areas, you’re permitted to replace fixtures and clear clogs yourself. However, any work involving the main sewer line or structural changes to the water supply piping requires a permit and a licensed professional. You can find the specific requirements for your area by checking your local municipal building department website.
If your project involves cutting into a wall or floor, assume you’ll hit a utility line. A mistake here often results in a punctured gas pipe or a severed electrical circuit, costing thousands in emergency repairs and potential hospital bills.
If you can’t identify the exact path of the supply lines using a stud finder or utility map, stop immediately. You’re in the professional-only zone if the repair requires soldering, specialized pipe-pressing tools, or access to the main shut-off valve for the entire building.
Safety remains the most important factor when working with water systems. If you’re dealing with gas-powered water heaters or any pipe that runs near electrical wiring, you must treat those areas with extreme caution. If you’re unsure about the location of gas lines or electrical conduits, don’t attempt the repair. The risk of fire or shock far outweighs the cost of hiring a professional to handle complex systems.
Apply this simple rule: if the repair involves moving an existing pipe more than six inches or connecting to a pressurized main line, hire a contractor. If the job is limited to replacing a washer, a faucet, or a P-trap, you’re safe to proceed. Always verify your local code before starting, as some regions require a permit for even minor water heater replacements.
If your municipal office mandates a permit, failing to secure one can cause your homeowners insurance to deny a claim if a leak causes structural damage later. Protecting your home’s value starts with knowing exactly when to put down the wrench and pick up the phone.
Maintenance After the Repair
Once you have finished your repair, clean your tools thoroughly. Metal tools, especially pipe wrenches, should be wiped down with a light coat of machine oil to prevent rust. Store them in a dry, cool place, preferably inside a plastic tool chest or on a wall rack.
Never leave your tools in a damp basement, as humidity will cause the adjustable jaws to seize up over time. If you notice orange or brown oxidation on the steel, scrub it immediately with a wire brush and re-oil the surface before the pitting compromises the tool’s structural integrity.
Inspect your repairs based on your specific usage, referring to the owner’s manual for guidance. If you notice mineral deposits forming around a joint, it’s a sign of a chronic, slow leak that requires inspection. You can usually bring a joint back to life by gently cleaning the threads and applying fresh thread sealant. If the leak returns after a second attempt, replace the washer or the entire fitting, as the material may be fatigued.
Distinguish between a slow weep and a structural failure by observing the color of the moisture. Clear water indicates a loose connection or a degraded O-ring that requires a simple tightening or replacement. If the liquid is discolored or leaves a chalky white residue, the pipe itself may be corroding from the inside out. In this case, stop adjusting the joint and replace the pipe section entirely to avoid a catastrophic burst.
A common mistake is overtightening a joint in a panic when a small drip appears. This often cracks the housing or strips the threads, turning a five-minute fix into a major plumbing overhaul. If the fitting doesn’t stop leaking after a quarter-turn past hand-tight, don’t force it further. Instead, disassemble the connection to inspect the seat for debris. Small grains of sand or metal shavings are often the culprits that prevent a perfect seal.
When to Seek Professional Help

This DIY approach is effective for minor leaks and clogs, but it isn’t for every situation. If you’re dealing with a burst pipe, a major sewer backup, or a water heater that’s failing, you should stop. These tasks require specialized training and insurance that most homeowners don’t possess. Attempting to force a fix on a main supply line can lead to catastrophic water damage that your home insurance may not cover if the work wasn’t performed by a licensed professional.
Look for the shut-off valve. If you can’t locate it within sixty seconds of a leak starting, call a professional immediately. Every minute spent searching while water sprays increases the risk of structural rot and mold growth in your subfloor.
Furthermore, if your home uses older galvanized steel pipes that are heavily corroded, DIY repairs can cause the entire section to crumble. In these cases, a professional plumber will have the equipment to replace the section safely without damaging the rest of your system.
Many homeowners make the mistake of using chemical drain cleaners on persistent clogs in these aging systems. This is a costly error. The harsh chemicals can eat through thin, corroded metal, turning a slow drain into a full-blown flood. If you have tried a plunger twice with no success, stop adding chemicals.
Use this rule to determine your path: If the water source is pressurized, like a supply line, hire a pro. If the water is gravity-fed, like a P-trap under a sink, you can attempt the repair yourself.
Check the age of your home’s infrastructure. If your pipes were installed before 1970, assume the fittings are brittle. Don’t attempt to tighten any connection in an older system without a backup wrench to stabilize the pipe. Without that second point of contact, you risk snapping the pipe behind the wall.
Knowing when to step back is the mark of a responsible homeowner and will save you significant money in the long run. Professional intervention prevents the compounding damage that occurs when a temporary patch fails under pressure.
Related guides
- Best Power Station for Home in 2026
- Best Foosball Tables for Home: 5 Top Picks in 2026
- 8 Best Swamp Cooler Picks for Effective Home Cooling
Frequently asked questions
Can I fix a leak without professional tools?
Yes, you can fix many minor leaks with a standard adjustable wrench and a roll of Teflon tape. These tools are sufficient for tightening loose nuts under a sink or sealing a threaded connection. However, if you’re working with large pipes or deep-set fixtures, you’ll find that a dedicated basin wrench or pipe wrench makes the job much easier and safer for your hands.
How long should a plumber’s wrench last?
A high-quality steel pipe wrench should last a long time if it’s kept dry and free of rust. The main factor that decides its lifespan is the environment where you store it. If you keep your tools in a damp garage or basement, the metal will oxidize, and the adjustable screw will eventually seize. Always wipe your tools clean after use to ensure they remain functional for years.
Is it safe to use chemical drain cleaners?
No, it’s generally safer to use a plunger or a plastic drain snake instead of chemical cleaners. These chemicals can damage older pipes and create dangerous fumes in small, enclosed spaces like bathrooms. If a mechanical method like a plunger doesn’t clear the clog after 3 or 4 attempts, it’s time to call a professional rather than pouring harsh chemicals down your drain.
How often should I check my pipes for leaks?
You should check your visible pipes for moisture or mineral buildup based on your specific usage, referring to the owner’s manual for guidance. This is a simple visual inspection that takes less than 5 minutes. If you notice white, chalky residue or a damp spot on the floor under a pipe, it’s a sign that you have a slow leak. Catching these small issues early prevents costly water damage to your cabinets and flooring.
What happens if I overtighten a plastic pipe fitting?
If you overtighten a plastic fitting, the threads will likely strip or the nut will crack, causing a worse leak than you started with. Plastic is much less forgiving than metal, so you should always tighten these fittings by hand first. If you must use a tool, use only the lightest pressure and stop immediately if you feel the fitting stop turning or hear a clicking sound.
Conclusion
Investing in quality gear saves you time and stress when an unexpected leak happens. Don’t wait for a pipe to burst before you check your supplies. Take a look at your current kit today, replace anything that’s rusted or worn, and you’ll be ready for whatever comes your way next.