
You can find the model number for a wayne dalton door by looking for a small silver or white sticker located on the inside edge of the door panel. This label usually sits on the end cap of the second or third panel from the bottom. This guide covers how to identify your specific model, perform basic maintenance, and troubleshoot common issues so you can keep your system running smoothly.
Understanding your Wayne Dalton door system
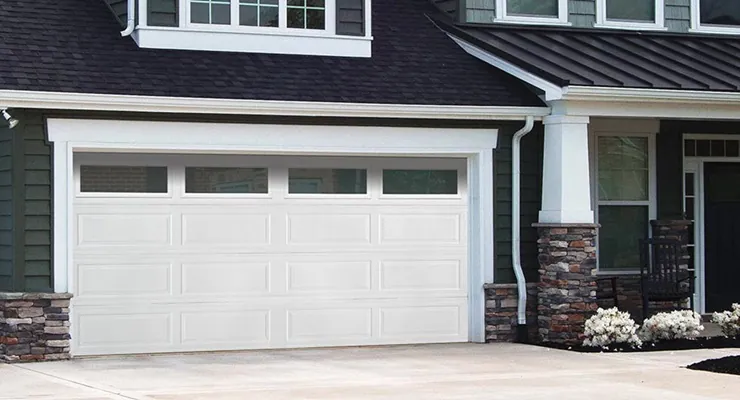
This brand is a common manufacturer of residential and commercial garage door systems. These units use a variety of spring systems, including the TorqueMaster, which is a unique internal spring design that keeps the tension hidden inside a tube. This design is intended for safety, as it prevents the spring from being exposed to the elements or accidental contact.
People often mistake the model number for a serial number or a generic part code. The model number is essential because it tells you which specific parts, like rollers or hinges, will fit your setup. If you have the TorqueMaster system, you should know that it requires specific tools to adjust. If you aren’t sure which system you have, look for a tube running above the door; if the spring is inside that tube, it’s a TorqueMaster.
Steps for inspecting your equipment
- Clear the area under the door to ensure you have enough room to work safely and stand on a stable ladder.
- Locate the identification sticker on the interior end cap of the second panel from the floor.
- Write down the model number and the date of manufacture found on this label.
- Inspect the cables on both sides of the door for signs of fraying or rust.
- Check the rollers to see if they spin freely without excessive wobbling or grinding noises.
- Verify that the tracks are clear of debris and that the mounting brackets are tight.
If your door feels heavy or moves unevenly, the spring tension is likely off. Because garage door springs are under extreme tension, you should never attempt to adjust them yourself. Always contact a qualified garage door technician to handle spring adjustments or cable replacements to avoid serious injury.
Essential figures and settings
Understanding your hardware requirements helps you avoid buying the wrong replacement parts for your system. The following table provides guidance based on typical residential setups.
| Component | What to use | How long | What to watch for |
|---|---|---|---|
| Tracks | Silicone-based spray | Monthly | Dirt buildup |
| Hinges | White lithium grease | Quarterly | Squeaking sounds |
| Rollers | Silicone lubricant | Quarterly | Excessive play |
| Door Balance | Visual check | Monthly | Uneven lifting |
| Safety Sensors | Soft dry cloth | Monthly | Alignment lights |
Use a silicone-based spray for tracks, but never apply grease. Grease attracts dust, which creates a grinding paste that destroys the finish within six months. If your door hesitates during operation, check the rollers for flat spots. A roller with a flat edge will cause vibration that loosens structural bolts over time.
For door balance, disconnect the opener and lift the door halfway by hand. If it stays in place, the spring tension is correct. If it drops or flies upward, the spring is dangerous and requires a professional technician. Never attempt to adjust or replace torsion springs yourself, as they hold enough force to cause severe injury.
This assumes a standard residential installation. For commercial doors, consult the manufacturer’s manual for specific weight ratings. Commercial springs often require specialized tools and higher-grade lubricants to handle the increased cycle counts of heavy-duty hardware.
Achieving consistent performance
Successful maintenance relies on using the right materials and keeping a regular schedule. Experienced owners always use silicone-based lubricants because petroleum-based products attract dust and grime, which can cause the track to clog over time. If you notice the door is sticking, don’t force it open. Instead, check the track alignment and ensure there’s no physical blockage.
Preparation is the key to a long-lasting door. Before you apply any lubricant, wipe the tracks and rollers clean with a dry cloth to remove old grease. Never apply grease to the floor or the door seal, as this can make the door slide or trap moisture. If the door still binds after cleaning, check the mounting bolts for tightness, but don’t loosen the track bolts if you aren’t prepared to realign them.
Troubleshooting common issues
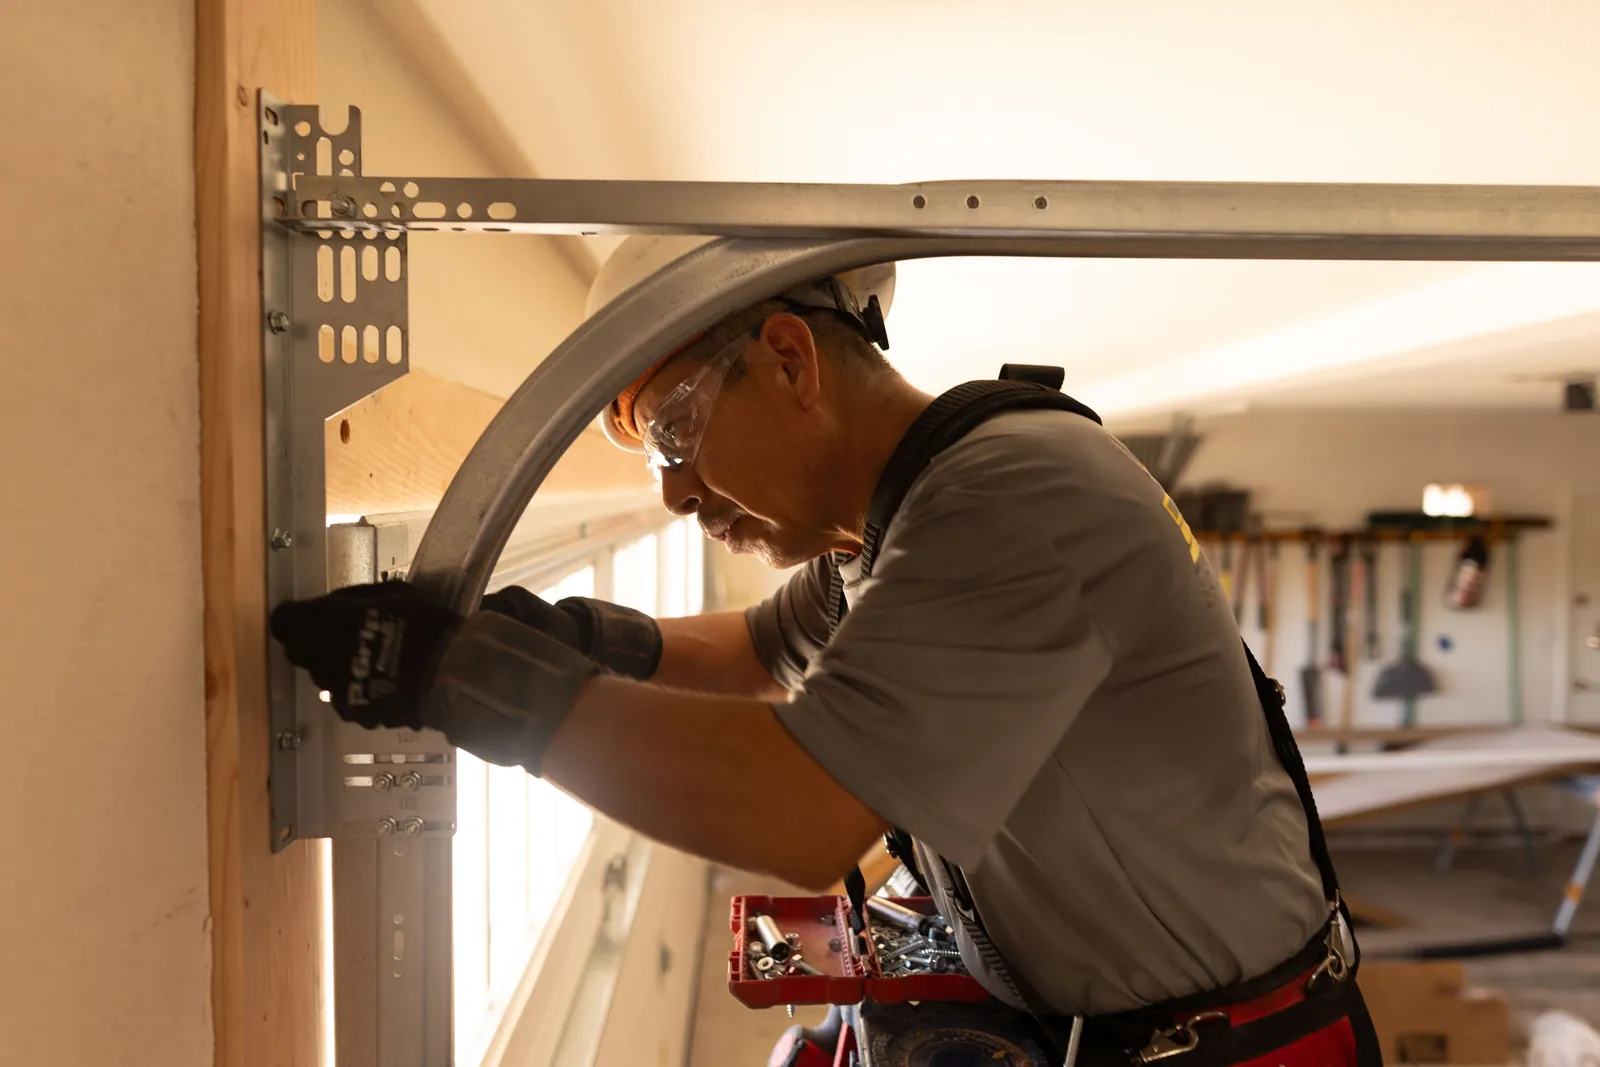
If your door isn’t acting right, look at the symptoms below to find the most likely cause.
| What you notice | What it usually means | What to do first |
|---|---|---|
| Door reverses quickly | Sensor misalignment | Clean the sensor lenses |
| Loud grinding noise | Dry rollers or hinges | Apply silicone lubricant |
| Door won’t open | Broken spring | Call a professional |
| Door feels heavy | Loss of tension | Check the cable condition |
If the door reverses immediately after touching the floor, your force settings are likely too low. Adjust the sensitivity screw on the motor housing by a quarter turn. Never force the door down if it hits an obstruction, as this risks stripping the gears.
When the door vibrates during travel, check for loose mounting bolts on the track. Tighten these with a socket wrench, but stop before you crush the metal. If the door hangs unevenly, inspect the cable drum for fraying. A cable with more than three broken strands requires immediate replacement to prevent a snap. Always disconnect the power before performing any mechanical maintenance.
Rules for safe operation
The Consumer Product Safety Commission provides strict guidance on garage door safety to prevent entrapment and injury. You must ensure that your door’s auto-reverse feature works correctly by placing a solid object, such as a two-by-four wood block, in the path of the closing door. If the door doesn’t reverse within two seconds of hitting the object, the sensitivity settings need immediate adjustment or the system requires professional repair.
Never attempt to modify the spring system or the bottom bracket. These components hold enough tension to cause fatal injury if released suddenly. If you notice a cable fraying or a spring appearing stretched, stop using the door entirely until a certified technician arrives.
If you need to replace a damaged panel, verify the manufacturer’s model number first to ensure the replacement matches the original specifications. Mismatched panels create uneven weight distribution that ruins the motor over time. Always keep remote controls away from children to prevent accidental operation. If your wall console lacks a lockout button, consider upgrading to a model that includes one to prevent unauthorized access during vacations.
Maintenance for long-term use
Once you have finished your inspection, keep a small log of the dates when you applied lubricant. Most residential doors require a full inspection at least twice a year. If you live in a coastal area with salt air, you should increase the frequency of your hardware cleaning to every three months to prevent oxidation on the metal tracks.
If you notice the door starting to hang lower on one side, don’t wait for it to stop moving entirely. This is often an early sign of cable wear or spring fatigue. A common mistake is ignoring these minor tilts, which forces the motor to work harder and eventually burns out the drive gear.
If the door binds during travel, clean the tracks with a dry cloth; never apply grease or oil to the tracks. Wiping down the exterior panels with mild soap and water every few months will also protect the finish from fading or peeling, keeping the door looking new for many years.
When to seek professional help
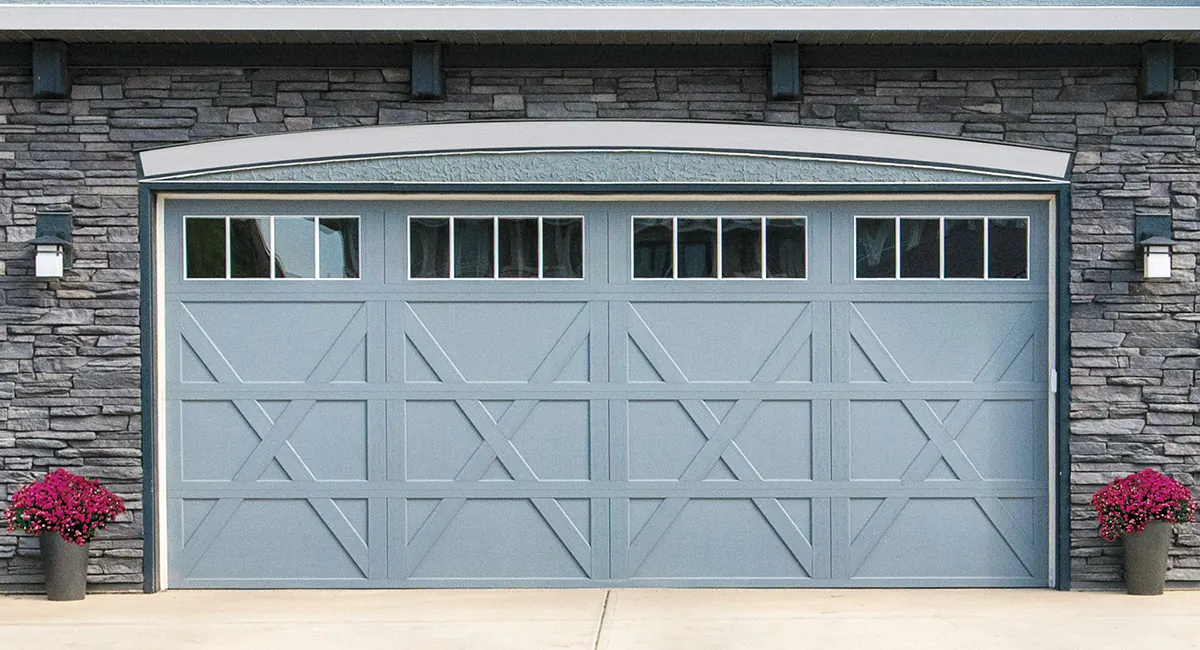
There are times when a DIY approach is the wrong choice for your safety. If you discover a broken spring, frayed cables, or tracks that have pulled away from the wall, you should stop all use of the door immediately. These repairs involve high-pressure components that require specialized training and tools to handle without risk of injury.
If the door fails to reverse when it hits an object, or if the safety sensors remain dark despite a clean lens, don’t attempt to adjust the internal wiring. A misaligned sensor can cause a door to crush a pet or child before it detects an obstruction.
If you find yourself tightening the same bolt more than twice in a month, the surrounding metal has likely fatigued beyond repair. Stop the work and call a licensed garage door service provider. Replacing a single component is affordable, but ignoring structural failure often results in a total system collapse.
Related guides
- Garage Door Cable Came Off Drum: How to Fix It Safely
- Hyundai Tucson Door Lock Button Not Working: Easy Fixes
- Chamberlain Garage Door Opener Troubleshooting: Easy Fixes
Frequently asked questions
Can I paint my garage door?
Yes, you can paint the door using a high-quality exterior latex paint. Ensure the surface is clean and dry before you start. Avoid using dark colors, as they can absorb too much heat and cause the panels to warp or buckle under direct sunlight.
How long does a typical spring last?
A standard torsion spring usually lasts for a specific number of cycles, with one cycle being one full opening and closing. If you use your door four times a day, you can expect the spring to last for a significant period before it needs to be replaced by a professional technician.
Is it safe to lubricate the tracks?
No, you should never lubricate the tracks themselves, as this will trap dirt and cause the rollers to grind. Only apply lubricant to the hinges, rollers, and bearings. If the tracks are dirty, simply wipe them clean with a dry cloth to ensure the rollers move smoothly.
Why is my door making a loud banging noise?
A loud banging noise usually means the rollers are worn out or the hinges are loose. Inspect the hardware for any visible gaps or loose bolts. If the rollers are plastic and have flat spots, replace them with new nylon rollers to reduce the noise and improve movement.
How do I reset the door travel limits?
You can adjust the travel limits by using the adjustment screws located on the side of the motor unit. Turn the screw slightly to change how far the door opens or closes. Always make small adjustments, testing the door after each quarter-turn to ensure it stops at the correct position.
What should I do if the power goes out?
You can open the door manually by pulling the red emergency release cord hanging from the center rail. This disconnects the door from the opener, allowing you to lift it by hand. Always ensure the door is in the closed position before pulling the cord to prevent it from slamming down.
Conclusion
Regular maintenance is the most effective way to extend the life of your door and avoid unexpected repair costs. By keeping the tracks clean and monitoring the sound of the hardware, you’ll spot minor issues before they become major problems. If you ever feel uncertain about a repair, prioritize your safety and call a professional.
