
If you find your vuse charger not working, the first step is to clean the magnetic contact points on both the device and the cable with a dry cotton swab. The most common cause for this issue is a buildup of debris or e-liquid residue that blocks the electrical connection. If cleaning doesn’t resolve the problem, you should check the USB power adapter or the wall outlet for faults, as these components often fail before the charging cable itself.
Why your Vuse charger isn’t working
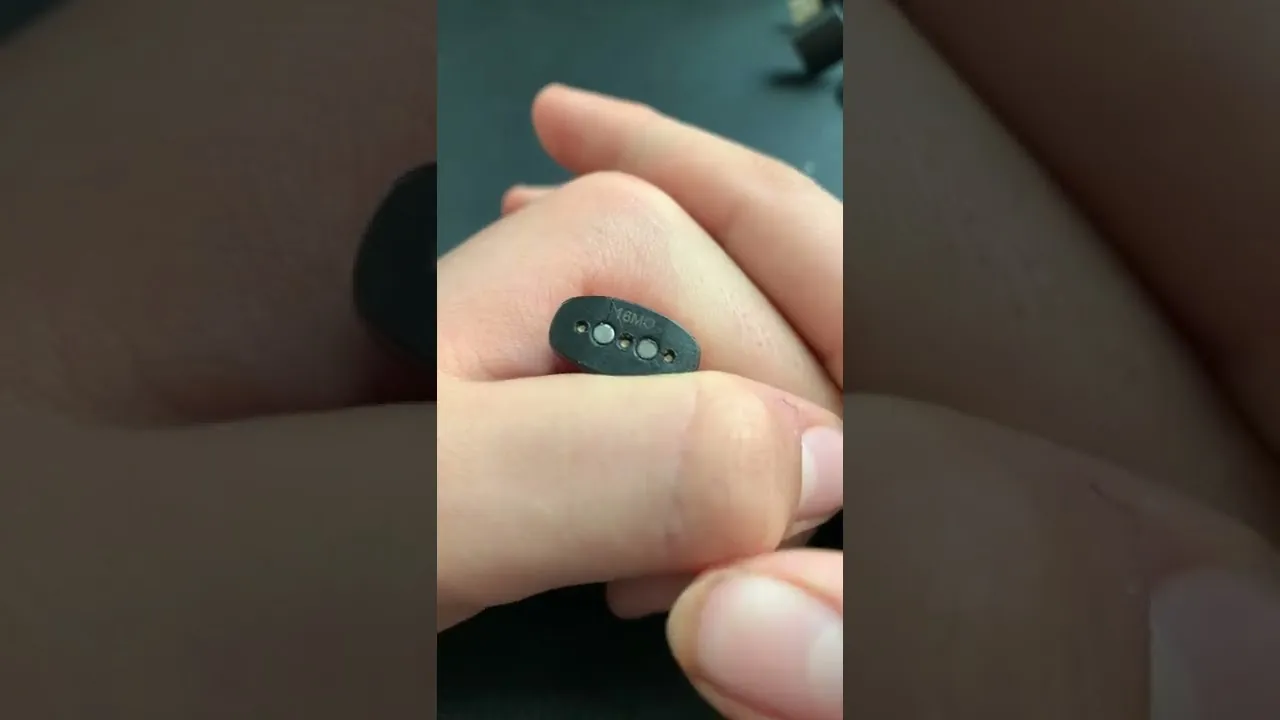
When your charging system stops, it’s usually because the connection between the power source and the battery has been interrupted. The magnetic pins on the charger are sensitive and can easily become coated with lint, dust, or sticky residue from the liquid in your device. This film acts as an insulator, preventing the electricity from reaching the battery contacts.
Another frequent cause is physical damage to the cable or the internal wiring. If the cable has been bent sharply or pinched in a drawer, the thin wires inside may snap. You should also consider the power source itself. If you’re plugging the cable into a computer port or a car adapter, it may not provide the consistent voltage required to trigger the charging cycle.
Finally, the battery in the device has a limited lifespan and will eventually stop holding a charge. If the light on your device blinks or stays off despite a clean connection, the battery might be at the end of its life.
Clean the contact points thoroughly
Before you assume the hardware is broken, you must ensure the connection points are pristine. Take a clean, dry cotton swab and gently wipe the gold-colored pins on the charging base. You should also inspect the bottom of your device where it attaches to the charger. If you see any dark gunk or residue, use a dry swab to gently rub it away until the metal looks shiny and clean.
Don’t use water, alcohol, or any cleaning sprays. These liquids seep into the device housing and trigger a short circuit. If you encounter stubborn, hardened debris that a dry swab can’t shift, use a soft-bristled toothbrush to gently agitate the surface. Never use metal tools like needles or tweezers to scrape the pins. One slip can permanently deform the contact springs, rendering the base useless.
If the metal pins appear bent or pushed into the plastic housing, they won’t make a firm contact with the device. In this case, the hardware is damaged, and you must replace the charging cable. This fix is intended for basic maintenance.
If you see signs of melting or charred plastic, stop using the charger immediately to avoid fire risks. If the device still fails to charge after a thorough cleaning, check the cable for internal breaks by gently bending it along its length while watching the charging indicator.
Test with a different power source
Many charging problems are actually failures of the wall adapter rather than the cable. Try plugging your USB charging cable into a different power outlet or a known-working wall block. If you have been using a high-power adapter from a laptop, try switching to a standard 5V wall plug. Some devices may not be compatible with certain high-wattage chargers if they don’t support the specific power delivery standards required by the device.
If the device still doesn’t light up, test the cable with a different USB port, such as one on a desktop computer. If the device starts charging, the issue was your original wall adapter. If it still fails to charge across multiple power sources, the cable itself is likely faulty.
A common mistake is assuming that any USB-C block is universal. If you see your device flickering between charging and idle states, the adapter is failing to maintain a steady voltage. In this case, stop using that block immediately to prevent damage to the charging port pins.
If you’re using a non-standard adapter that provides too much current, it can cause the battery to heat up excessively. This is a sign you should switch to a lower-output power source. If the device remains cool but refuses to draw power, the adapter may have suffered an internal component failure.
Inspect for physical hardware damage
If cleaning and switching power sources fail, you must look for signs of physical wear. Check the entire length of the cable for any cuts, exposed wires, or kinks that look permanent. A cable that has been wrapped too tightly often suffers from internal wire breaks that you can’t see from the outside. If the cable feels warm to the touch or if the plastic insulation is cracked, it’s time to discard it.
Run your fingers along the cable’s length while it’s disconnected. If you feel a sudden lump or a section that’s significantly thinner than the rest, the internal shielding has collapsed. Replace any cable that shows these deformities, as they indicate a high risk of a short circuit.
This level of troubleshooting is for the cable and the charging dock only. If the device itself has been dropped, submerged in liquid, or shows signs of internal rattling, don’t attempt to force it to charge. If you suspect the internal battery is damaged or swollen, you must stop using the device entirely.
A battery that has expanded will often cause the screen to lift slightly or the rear casing to bulge. If you see this gap, stop charging immediately. For safety reasons, never attempt to open the device casing or repair internal components yourself, as this can lead to battery venting or fire.
Avoid common charging mistakes
Never use a frayed or damaged cable. Even a small tear in the insulation creates a significant fire hazard and can short-circuit the sensitive pins inside your device’s charging port. If you see exposed wire, discard the cable immediately.
Avoid leaving your device plugged in overnight. Modern batteries prefer to hover between 20% and 80% capacity. Constant trickle charging keeps the battery at its chemical limit, which accelerates degradation and shortens the total lifespan of the cell.
Don’t use generic third-party chargers that provide higher voltage than your manufacturer recommends. If the charger’s output exceeds your device’s input capacity, you risk frying the internal power management chip. Check the fine print on the brick; if the wattage is significantly higher than your device’s peak intake, don’t use it.
Never force a magnetic connection. If the charger doesn’t snap into place instantly, stop. Debris or metallic dust is likely trapped in the magnets. Use a soft brush or compressed air to clear the port before trying again to prevent scratching the contact surface.
Stop charging issues from recurring
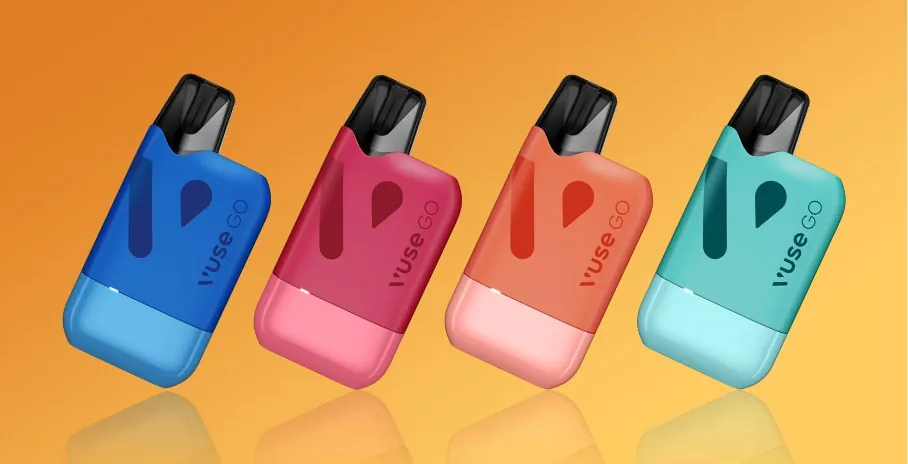
To keep your equipment running, you must balance your usage habits with the physical needs of the hardware. If you notice the device getting very hot while charging, unplug it and let it cool down before trying again. If the light doesn’t turn on even after a thorough cleaning, the internal battery might be permanently exhausted.
| If you’re doing this | Do this instead | Why |
|---|---|---|
| Leaving it in a hot car | Store in a cool, dry place | Heat destroys battery life |
| Using any USB cable | Use the original cable | Ensures correct voltage |
| Charging on a soft bed | Charge on a hard surface | Prevents overheating |
| Forcing the connection | Clean contacts first | Prevents pin damage |
Most users mistake a slow charge for a dying battery. If your device takes longer than four hours to reach full capacity, check the port for compressed lint or debris using a non-conductive wooden toothpick. A blockage prevents the pins from making full contact, which forces the charger to cycle repeatedly. This cycle generates excessive heat that degrades the lithium cells over time.
If your device remains unresponsive, check the voltage output on your wall adapter. If the adapter provides insufficient power, it may result in slower charging times. Always match the adapter’s output to the specific rating printed on the device casing. Using a mismatched brick is the most common cause of premature port failure.
Related guides
- Best Power Station for Home in 2026
- How to Fix Power Recliner Stuck in Open Position: Easy Steps
- 10 Best Home Generators for Power Outages: Our Top Picks in 2026
Frequently asked questions
How long does it take for a full charge?
Most devices reach a full charge in 60 to 90 minutes using a standard 5V wall adapter. Charging speed depends on your remaining battery level and the power source output. Note that significantly longer charging times may indicate a degraded battery or a faulty cable.
Is it safe to leave it plugged in?
No, you should never leave your device plugged into a power source unattended or overnight. While modern chargers have safety features, continuous charging once the battery is full can lead to heat buildup and premature battery degradation. Always disconnect the device once the indicator light shows a full charge to ensure the longest possible life for your battery and to minimize any potential electrical risks.
Why is the light blinking while charging?
A blinking light indicates a connection issue or a battery error. First, ensure the device is firmly attached to the charger and the contacts are clean. If the blinking persists, try a different wall outlet or a new charging cable to rule out hardware failure.
Can I use a phone wall adapter?
Yes, you can use a standard phone wall adapter, but it must provide a low-voltage output, typically 5V. While most modern chargers are safe, ensure your adapter meets the voltage requirements specified by the manufacturer. If the device feels hot to the touch while using a phone adapter, switch immediately to a lower-output power source or a computer USB port.
What should I do if the device is hot?
If the device feels hot while charging, unplug it immediately and let it cool for 30 minutes. Excessive heat indicates a problem with the power flow or the battery. If the device consistently overheats, the internal battery is likely damaged and you should replace the unit.
Conclusion
If these simple fixes don’t get your device powered up again, it’s time to reach out to the manufacturer’s support team. They’ll help you determine if your hardware is still under warranty. Don’t hesitate to contact them, as they’re usually happy to send a replacement if your equipment is truly faulty.
