
You can resolve most garage door issues by checking the power supply, clearing the safety sensors, and inspecting the door path for physical obstructions. Effective lift master troubleshooting starts with confirming the unit has electricity, as a tripped breaker or a loose plug is the most frequent cause of a completely unresponsive system. If the motor hums but the door won’t move, the issue is often a disconnected trolley or a physical jam in the track.
Troubleshoot your LiftMaster garage door issues
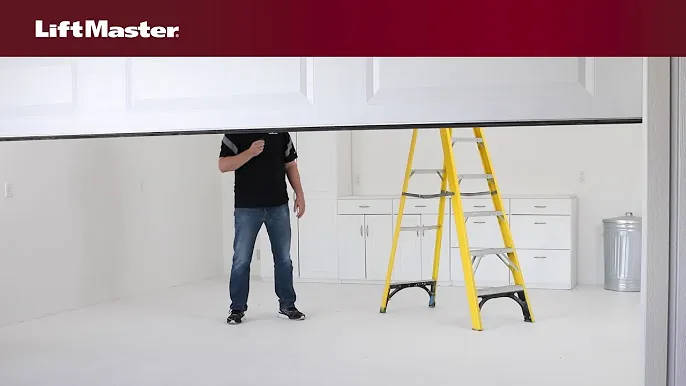
Most operational problems stem from three common issues: power loss, sensor misalignment, or track debris. If the motor is silent when you press the button, the unit is likely not receiving power.
Check your home’s main electrical panel to see if the circuit breaker for the garage has tripped. If the breaker is fine, ensure the power cord is pushed firmly into the ceiling outlet and that the outlet itself has power by testing it with a lamp or small appliance.
The second common cause involves the safety sensors located near the floor on both sides of the door. These infrared beams must be perfectly aligned to allow the door to close; if the beam is blocked by a box, a stray tool, or even a spider web, the system will refuse to operate for safety reasons.
You can verify this by looking for the status lights on the sensors. A solid light usually indicates proper alignment, while a flickering or off light means the sensors are obstructed or misaligned.
Finally, physical friction often prevents the door from moving smoothly. Check the tracks for bent sections, hardened grease, or debris that might stop the rollers. If the door feels heavy or sticks at a specific point, the springs or cables might be under too much tension or failing. Never attempt to adjust or touch the high-tension springs yourself, as these carry enough force to cause severe injury.
Check the safety sensor alignment
This fix is intended for homeowners who notice the door reverses immediately after starting to close. To align the sensors, look at the small lenses on the units mounted at the base of your door tracks. Each sensor should have an LED light that glows steadily when the connection is secure. If one light is off or blinking, gently adjust the angle of the sensor bracket until the light turns solid.
Keep in mind that sunlight hitting the sensor lens directly can sometimes interfere with the infrared signal. If the system works at night but fails during the day, try adding a small cardboard shade over the receiving sensor to block the glare. Ensure the wires running from the sensors to the motor head aren’t cut or frayed, as a damaged wire will prevent the signal from reaching the controller.
If you find that the wires are loose, tighten the connections at the motor terminals. If the wires are broken or chewed by pests, you must replace the entire sensor wire assembly. If you don’t feel comfortable working with low-voltage wiring, or if the sensors remain unresponsive despite perfect alignment, contact a qualified garage door technician.
Clear the path and inspect tracks
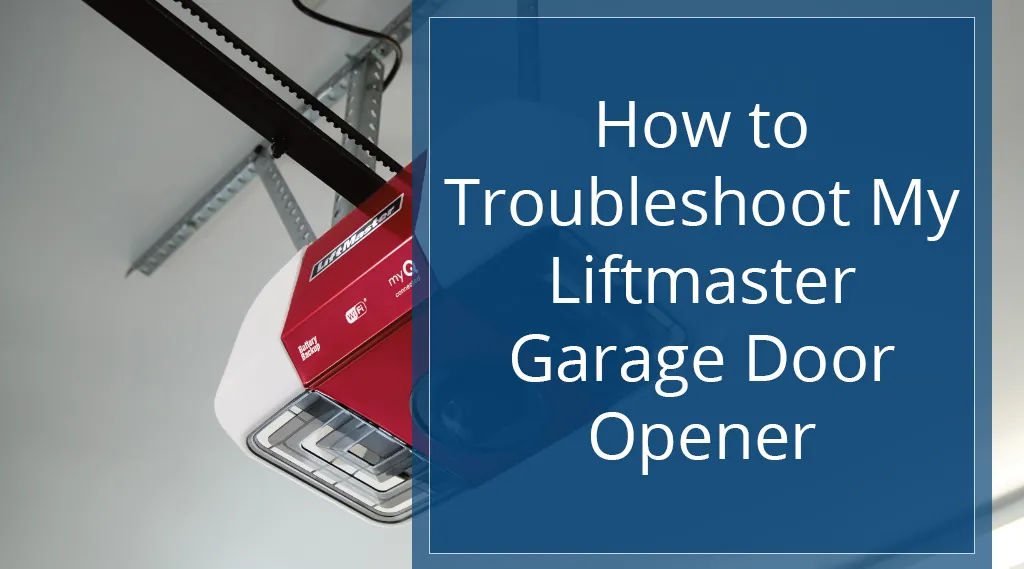
This step helps if your door stops halfway or makes a loud grinding noise during operation. First, pull the emergency release cord—usually a red handle—to disconnect the motor from the door. Manually lift the door to the halfway point and let go; a balanced door should stay in place.
If it slams down or flies upward, the spring system is unbalanced, and you must call a professional immediately to prevent damage. Don’t attempt to adjust springs yourself, as they hold enough tension to cause severe injury.
While the door is disconnected, walk the length of the tracks to check for bent metal or loose bolts. Tighten any loose hardware you see, but don’t overtighten the track bolts, as this can cause the metal to warp.
If you find a dent, use a rubber mallet to gently tap the track back into alignment. Remove any hardened debris or old, sticky grease from the inside of the tracks using a clean rag. Apply a small amount of silicone-based lubricant to the track surfaces where the rollers travel.
Avoid using heavy grease or oil on the tracks, as these attract dirt and dust that create a thick, abrasive paste. Only apply lubricant to the track surfaces, not the rollers themselves, unless your manufacturer guide specifies otherwise. If the door still binds or feels extremely heavy even when disconnected from the motor, the rollers may be worn out.
Check for flat spots on the nylon wheels; if they don’t spin freely, replace the entire set to avoid burning out your motor. If the door panels remain misaligned after track adjustments, the door may have shifted on its hinges.
Reset the travel and force settings
Use this method when the door opens or closes only partially before stopping or reversing. Most modern openers have adjustment screws or digital buttons on the side or back of the motor housing to control how far the door travels. If the door hits the floor and reverses, the “down” travel limit is set too low and needs to be adjusted.
Turn the adjustment screw slightly in the direction indicated by the arrows on the housing—usually a quarter-turn at a time. After each adjustment, run the door through a full cycle to see if it closes properly without reversing. If the door stops before reaching the floor, you need to increase the travel limit. This process requires patience, as small movements make a large difference in the door’s final position.
This fix is for users who have confirmed that the tracks are clear and the sensors are aligned. If you have an older unit without these visible adjustments, or if the door continues to reverse after three attempts, there may be an internal issue with the motor’s force sensor.
In such cases, avoid forcing the door to run, as this can strip the internal gears. Reach out to a certified technician to inspect the motor’s internal logic board or drive system.
Avoid these common maintenance mistakes
Spraying WD-40 inside the motor housing damages plastic gears and electrical components. This solvent breaks down factory-applied lubricants, leading to total opener failure within weeks. Use only white lithium grease if the manufacturer explicitly permits lubrication in your manual.
Forcing the door to close by holding the wall button overrides safety sensors. This bypasses the infrared beam, allowing the door to crush objects or people. If your door refuses to close, check for misaligned sensors first rather than bypassing the safety circuit.
Never attempt to tighten spring tension bolts yourself. These components hold enough energy to cause fatal injuries if they snap. If the door feels heavy or hangs unevenly, call a professional.
Ignoring a grinding motor noise strips internal nylon gears. A minor adjustment of the travel limit often fixes the issue early. If you wait until the motor struggles, you turn a simple repair into a full unit replacement.
Prevent future operational failures
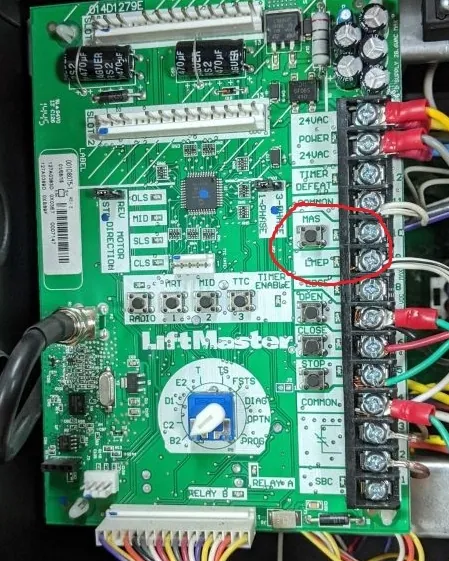
To keep your system running smoothly, establish a habit of inspecting the hardware twice a year. A well-maintained garage door opener can last for many years if you keep the moving parts clean and the safety features calibrated. If you find yourself needing to troubleshoot the same issue every few weeks, it’s likely that a component is nearing the end of its useful life.
When you hear a grinding noise during operation, check the drive chain tension immediately. If the chain sags more than a half-inch below the rail, it will eventually snap or derail the trolley. Tightening this bolt now prevents a catastrophic failure that could leave your vehicle trapped inside the garage.
Most owners mistakenly wait for a complete breakdown before calling a technician. If the door reverses before touching the floor, don’t simply bypass the sensor. Instead, verify that the alignment beams are perfectly level. If the light on the sensor blinks red, the lenses are misaligned or obstructed by debris.
| If you’re doing this | Do this instead | Why |
|---|---|---|
| Using thick grease on tracks | Use silicone-based spray | Grease attracts dirt and creates friction |
| Pulling the release cord often | Fix the underlying obstruction | Frequent release wears out the trolley |
| Leaving the door half-open | Close the door fully | Keeps the internal tension balanced |
| Ignoring a flickering sensor | Clean the sensor lens | Dust causes false safety reversals |
Related guides
- Coax Outlet Not Working Apartment: How to Fix Your Connection
- How to Reset Amana Ice Maker: Simple Steps to Fix Your Unit
- Fixing Common Onkyo DX C390 Problems: Troubleshooting Guide
Frequently asked questions
How long should a garage door opener last?
Most garage door openers last between 10 and 15 years with regular maintenance. This estimate assumes you perform basic tasks like lubricating tracks and checking sensor alignment annually. If you exceed four cycles per day, the motor will likely wear out closer to the 10-year mark.
Why does my garage door open by itself?
A garage door opening on its own is usually caused by a faulty wall button or a signal conflict. Check the wiring behind the button for loose connections or moisture. If the issue persists, you may need to clear the memory and reprogram your remotes.
Is it safe to use the door without sensors?
No, it isn’t safe to use a garage door without functional safety sensors. Modern openers reverse automatically when the infrared beam is broken to prevent injury. Bypassing these sensors means the door won’t stop if a person or vehicle is in the way.
How do I know if my garage door spring is broken?
You can identify a broken spring by a visible gap in the coil or by the door feeling extremely heavy when lifted manually. If the motor struggles to move the door, a spring has likely snapped. This is a dangerous condition requiring a professional technician.
What happens if I pull the red emergency release cord?
Pulling the red cord disconnects the door from the motor, allowing you to operate it by hand. This is useful during power outages, but you should only pull it when the door is fully closed. Pulling the release cord while the door is open can cause the door to fall if the spring system is broken or improperly balanced.
Conclusion
If your door still refuses to cooperate after these checks, don’t hesitate to contact a professional technician. They’ll have the specialized tools to diagnose hidden mechanical failures safely. It’s better to get an expert’s help than to risk an injury, so reach out for support if you’re feeling stuck.
