
You can achieve a golden, crunchy texture by soaking cut potatoes in cold water to remove excess starch before roasting them at a high temperature. To make crispy fries in the oven, you must coat the dried sticks in a thin layer of oil and space them out well on a preheated baking sheet.
This guide is for home cooks who want a reliable method for potato fries without using a deep fryer. It assumes you have a standard fan-assisted oven and basic kitchen equipment like a sharp knife and a heavy-duty metal baking tray.
Choosing the best potatoes for crispy oven fries
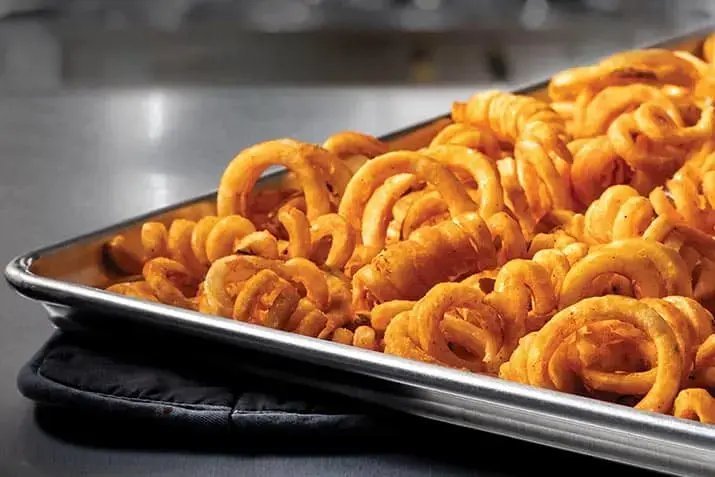
The secret to a crunch that lasts is selecting a starchy potato variety, such as Russets or Maris Piper. These potatoes have a high starch content and low moisture, which allows the exterior to dehydrate and crisp up while the inside stays fluffy. Waxy potatoes, like new potatoes or red-skinned varieties, contain too much water and sugar, often resulting in a soft or burnt fry.
If you choose a starchy potato, you get a light, airy interior; if you use a waxy one, you’ll get a dense, heavy fry. Most cooks make the mistake of skipping the soak, which leaves surface starch on the potato. This starch turns into a sticky paste in the oven instead of a crisp crust. You need to soak your cut fries in a bowl of cold water for at least 30 minutes to wash away this surface starch. After soaking, you must dry the potatoes thoroughly with a clean kitchen towel. Any leftover water on the surface creates steam, which prevents the heat from creating a crunch. This is a trade-off: you spend more time on preparation, but you gain a significantly better texture.
How do I make crispy fries in the oven: Step-by-step
- Preheat your oven to 425°F (220°C). Place your empty, heavy-duty baking sheet in the oven while it heats; a hot tray helps start the browning process immediately.
- Peel 2 pounds of Russet potatoes and cut them into sticks that are 1/2-inch wide. Uniformity is the rule here—if some are thin and some are thick, they won’t cook at the same rate.
- Place the sticks in a large bowl, cover with cold water, and let them soak for 30 minutes. This step is essential for removing excess starch.
- Drain the water and lay the potato sticks on a clean, dry towel. Pat them until they’re completely dry to the touch.
- Transfer the dry potatoes to a clean bowl and toss them with 3 tablespoons of high-smoke-point oil, such as grapeseed or avocado oil.
- Carefully remove the hot baking sheet from the oven and spread the potatoes in a single layer. Ensure they don’t touch; overcrowding traps steam and leads to soggy fries.
- Bake for 20 minutes, then use a metal spatula to flip each fry.
- Continue baking for another 15 to 20 minutes until they’re deep golden brown and feel rigid to the touch.
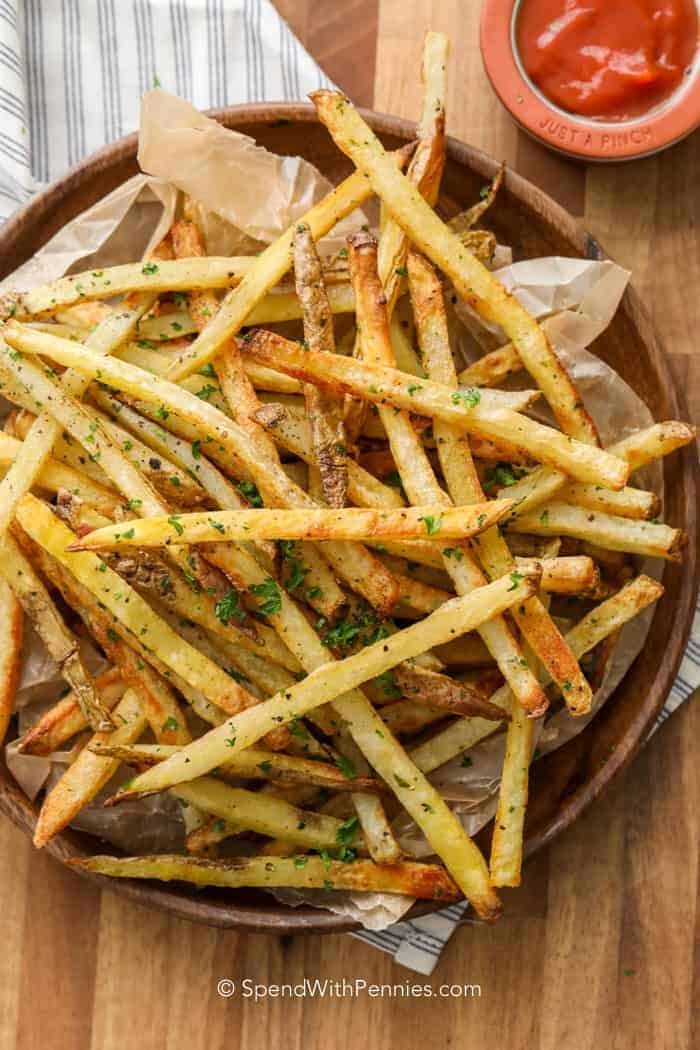
- Remove from the oven and sprinkle immediately with fine sea salt while they’re still hot so the salt adheres to the oil.
The judgement call that separates a professional result from a home-cooked one is the final color. You want a deep, uniform tan; if they look pale, they will be limp.
Comparing potato preparation methods
| Method | Texture | Time Required | Effort Level |
|---|---|---|---|
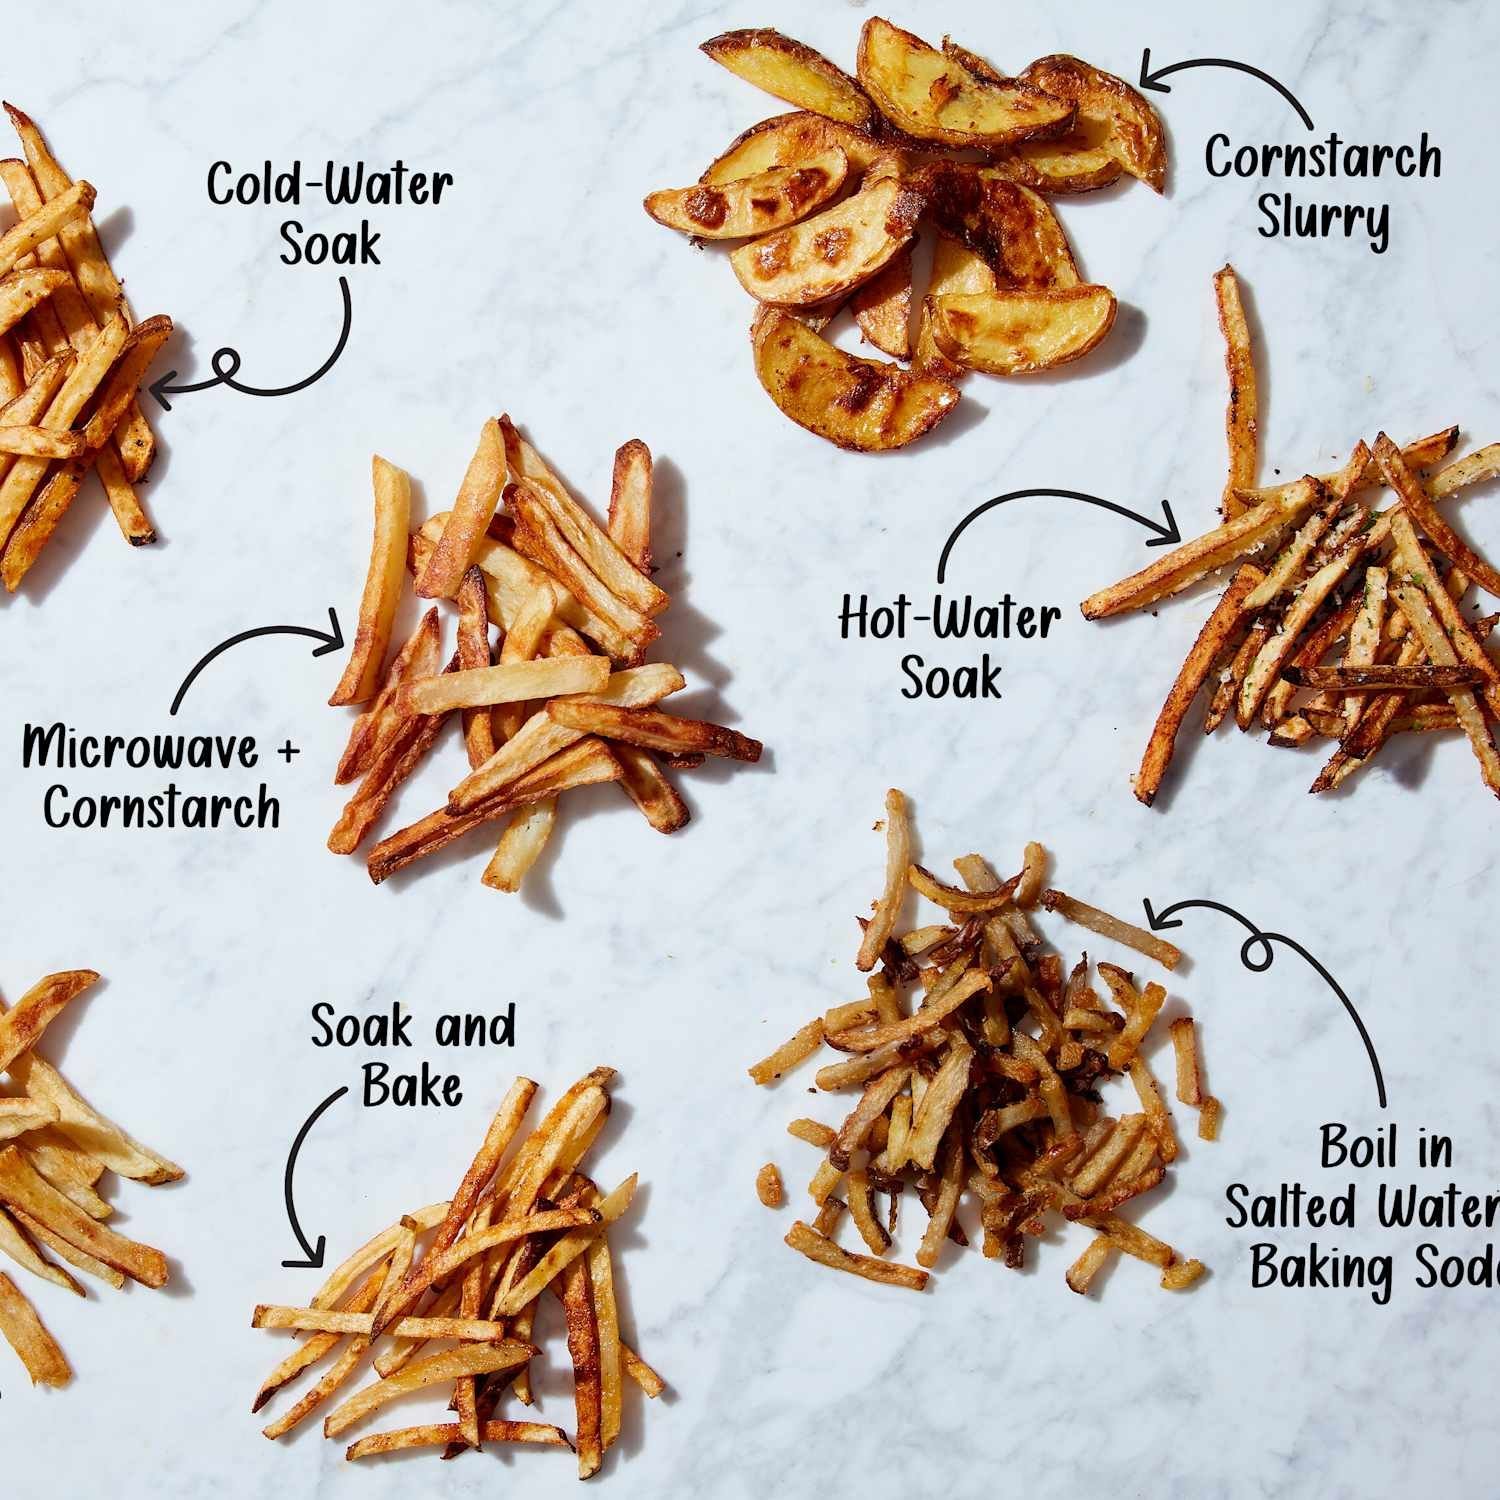
| Cold water soak | Very crisp | 45 minutes | Medium |
| Double bake | Extra crunchy | 60 minutes | High |
| Air fryer | Light crunch | 20 minutes | Low |
| No soak | Soft/limp | 30 minutes | Low |
The cold water soak works by leaching excess surface starch into the liquid. This prevents the sugars from burning before the center cooks through. If you skip this, your potatoes will brown unevenly and taste gummy.
Double baking creates a glass-like exterior that holds up to heavy gravies. You must roast the potato once at 350°F until tender, then chill it completely before the second blast at 450°F. If you try to bake them twice in one session without the cooling step, the internal steam will ruin the crust.
Air frying is the best choice for weeknight meals because it mimics deep frying with minimal oil. Use this method when you need texture in under 25 minutes. Don’t crowd the basket, or the potatoes will steam rather than crisp. If the pieces touch, they become limp.
The no-soak method is a common mistake that results in a mealy, unappealing texture. It costs you the structural integrity needed for a satisfying bite. Only use this approach if you plan to mash the potatoes immediately after cooking. If you want a crisp finish, you must remove the surface starch.
Choose the cold soak if you’re hosting guests and need a premium finish. Choose the air fryer if you’re cooking for one. If you’re preparing a large batch for a crowd, the double bake is one effective way to ensure the potatoes stay firm.
The keys to success
Preparation and heat management
The most common error is failing to manage the surface moisture of the potato. Even after soaking, if you don’t dry the potatoes until they’re bone-dry, the oven will spend the first 10 minutes steaming the potatoes rather than roasting them. If you’re using a non-stick pan, check the manufacturer’s limit, as many non-stick coatings begin to degrade above 450°F. For the best result, use a heavy-gauge aluminum or stainless steel sheet.
Spacing and airflow
Airflow is the primary driver of crispiness in a home oven. If you crowd the pan, the moisture released by the potatoes gets trapped between them. According to the USDA food safety guidance, while potatoes don’t have a specific internal temperature for safety, you should always ensure they’re cooked until the centers are soft and the exterior is fully dehydrated. If you’re cooking a large batch, use two separate trays on different racks rather than piling them onto one.
Troubleshooting common issues
| What you notice | What it means | What to do first | How to stop it |
|---|---|---|---|
| Fries are soggy | Too much steam | Increase oven spacing | Dry better next time |
| Burnt edges | Heat is too high | Lower by 25 degrees | Use a thicker tray |
| Pale color | Not enough oil | Lightly coat again | Add more oil |
| Uneven cooking | Different sizes | Use a ruler | Cut more carefully |
Soggy fries often occur because the potato surface remains damp before seasoning. If you notice limp textures, pat the raw strips with a paper towel until they feel tacky. This simple step removes excess surface starch that can create a gummy texture.
Burnt edges indicate your tray is too thin to regulate heat. A dark, flimsy pan absorbs thermal energy too quickly, scorching the exterior before the center softens. Switch to a heavy-gauge aluminum sheet to ensure even browning.
If your fries remain pale, you likely under-applied the oil. You need enough fat to conduct heat directly into the potato skin. Aim for a light sheen on every surface, but avoid pooling oil at the bottom of the tray.
Uneven cooking usually stems from inconsistent cutting. If your pieces vary by more than a quarter-inch, the smaller bits will dehydrate while the thicker ones stay raw inside. Use a mandoline for precision.
The most common mistake is overcrowding the pan. If the fries touch, they steam rather than roast. Leave at least one inch of space between each piece for proper airflow. If you can’t fit them all, use two separate trays.
Follow this rule: If the fries are limp, increase the temperature by ten degrees for the final five minutes of baking. If they’re dark but raw, lower the heat and extend the time by ten minutes.
Understanding the rules
The primary rule of oven roasting is that fat and heat are the only ways to achieve a brown crust. Since you can’t achieve a Maillard reaction—the chemical process that creates browning—without sufficient heat and surface dryness, you must respect the temperature limits of your specific oven. This varies by model — check the label on your oven door for the maximum safe temperature. If your oven has a “convection” or “fan” setting, use it, as this circulates dry air and speeds up the moisture removal process. Don’t attempt to use parchment paper if you want the absolute crispest result, as it can sometimes insulate the bottom of the fry from the direct heat of the metal pan.
The real cost of quality
The cost here is almost entirely in your time, not the ingredients. Potatoes are an inexpensive staple, but the 30-minute soak and the 45-minute bake require you to plan ahead.
If you try to rush the process by turning the heat up to 500°F, you’ll likely burn the outside before the inside is cooked through. The exterior turns into a bitter, carbonized shell while the center remains raw and starchy.
The cost of failure is a batch of soggy potatoes that don’t satisfy the craving. This represents a total loss of both the electricity and the produce. You have effectively paid for a meal that ends up in the compost bin.
To keep costs low, buy potatoes in bulk bags. These are significantly cheaper per pound than buying individual loose potatoes. A five-pound bag often costs half as much per unit as picking out three premium tubers.
Use this simple decision rule to avoid waste: if you have fewer than 75 minutes of total lead time, don’t start the process. If you have the time, commit to the soak. Skipping the soak leaves excess surface starch, which prevents the crispness you’re paying for with your labor.
The true investment isn’t the produce price, but the schedule management. When you treat the soak and the bake as essential steps, you ensure the result justifies the effort. If you find yourself frequently rushing, you’re better off choosing a different recipe entirely. Consistency is the only way to ensure your time investment yields a high-quality return.
Keeping your results consistent
Once your fries are finished, they’re best eaten immediately. If you have leftovers, don’t store them in a sealed container, as the residual heat will create steam and make them soft. Place them in a container with a paper towel to absorb moisture, but expect a loss of texture.
To reheat, place them back in a 400°F oven for 5 to 7 minutes on a wire rack. This allows air to circulate underneath, helping to restore some of the original crunch. If they turn dark brown or smell acrid, the oil has oxidized, and they should be discarded.
The most common mistake is using a microwave to reheat fries. This method traps steam inside the potato, turning the exterior into a soggy, starchy mess that can’t be salvaged. If you lack an oven, use a heavy skillet over medium-high heat. Toss the fries frequently for three minutes to ensure even browning without burning the edges.
You can determine if your fries are salvageable by checking their internal structure. If the potato has become translucent or feels gummy to the touch, the starch has already broken down too far. In this case, reheating will only result in a bitter, dry product.
Follow this decision rule: if the fries are merely soft, use the oven method to regain texture. If they have developed a metallic or rancid smell, discard them immediately. Oil oxidation happens faster in potatoes with high sugar content, so keep a closer watch on batches that appear darker straight out of the first fry. Proper storage in the fridge should never exceed 24 hours for the best results.
When this is the wrong approach
This method fails when you’re hosting more than six people. Standard home oven racks lack the surface area to circulate air around enough potatoes to prevent steaming. When you crowd the pan, the moisture released by the potatoes gets trapped, turning your intended fries into limp, soggy strips.
If you must feed a crowd, pivot to par-boiling. Boil your cut potatoes in salted water for exactly four minutes before roasting. This technique gelatinizes the exterior starch, allowing the fries to crisp at a lower temperature in a shorter window. If you skip this step for a large batch, you’ll spend your entire evening rotating pans instead of enjoying your guests.
The decision rule is simple: if you’re cooking for fewer than six, use the oven method. If you’re cooking for more, consider using a deep fryer or the par-boil method. Many people make the mistake of crowding the tray to save time. This error costs you the texture you worked for, resulting in a batch that’s simultaneously burnt on the edges and raw in the center.
Delicate fingerling potatoes also require a different approach. Because of their thin skins and high sugar content, they often shrivel under the direct, high-heat exposure required for standard fries. You’ll know you’re in this category if your potatoes feel soft to the touch before they’re even cut.
For fingerlings, abandon the fry shape entirely. Leave them whole or halved, toss them in high-smoke-point oil, and roast them at a moderate 375 degrees. This preserves their natural creaminess while allowing the skin to blister properly. Trying to force a delicate potato into a fry shape will only leave you with dry, flavorless shards that lack the structural integrity to hold up to high heat.
Frequently asked questions
Can I use olive oil for crispy fries?
Yes, you can use olive oil, but it has a lower smoke point than avocado or grapeseed oil. If you use extra virgin olive oil, keep your oven temperature at 400°F to prevent the oil from burning and creating an acrid taste.
How long do I bake the fries?
You should bake them for 35 to 40 minutes at 425°F. Start checking them at the 30-minute mark, as ovens vary in power; if they aren’t yet golden brown, continue for another 5 to 10 minutes.
Is it safe to eat raw potatoes?
Raw potatoes are generally not recommended for consumption due to their high starch content and potential solanine levels, which can cause digestive discomfort. Always cook them until they’re tender throughout and the exterior is golden, which also ensures they’re safe for consumption.
Why do my fries stick to the pan?
Your fries are sticking because the pan wasn’t hot enough when you added them or you didn’t use enough oil. Ensure the pan is preheated for at least 10 minutes and use a thin, even coating of oil on every side of the potato sticks.
What happens if I skip the soak?
If you skip the soak, the surface starch will stay on the potato and turn into a sticky, gummy layer in the oven. This prevents the potato from dehydrating properly, which is the main reason fries turn out limp instead of crispy.
Does it matter if I cut them thick or thin?
Yes, the thickness of your cut dictates the cooking time and final texture. If you cut them thicker than 1/2-inch, you’ll need to add about 10 minutes to the total baking time to ensure the centers are fully cooked.
To get started, preheat your oven and prepare your first batch of potatoes using the soaking method described above. You’ll know you have succeeded when the fries are rigid and golden brown.
Crispy fries, in short
Once they’re golden brown and fragrant, serve them immediately with your favorite dipping sauce. Don’t be afraid to experiment with different seasonings like smoked paprika or garlic powder next time. You’ll find that practice makes perfect, and you won’t even miss the deep fryer once you’ve tasted these at home.
Related guides