
If your garage door remote or wall-mounted keypad has stopped responding, you likely need to change battery liftmaster garage door opener components to restore full functionality. This is a routine maintenance task that typically takes less than five minutes and requires no specialized tools. Depending on the specific model of your remote or keypad, the replacement cost is generally between $3.00 and $12.00 per unit, covering the price of high-quality coin cell or alkaline batteries. Whether you’re dealing with a flickering keypad light or a remote that only works when you’re standing inches from the garage door, fresh power is almost always the solution.
Key Takeaways
- Identify your remote or keypad model number before purchasing replacement batteries to ensure compatibility.
- Most LiftMaster remotes utilize 3V coin-style lithium batteries, while keypads often use 9V or AA alkaline batteries.
- Always replace all batteries simultaneously in a single device to prevent uneven power drainage and performance issues.
- Avoid touching the surface of new lithium batteries with bare fingers, as natural oils can impede electrical conductivity.
- Test the remote or keypad immediately after installation; if it fails, check for proper battery orientation and terminal cleanliness.
How to identify your battery type
Before you start, you must determine which power source your specific device requires. LiftMaster manufactures a wide range of accessories, and the battery type varies significantly between older and newer models. Most modern handheld remotes utilize a CR2032 or CR2016 lithium coin cell, while older “Security+” models might use a 12V A23 battery. Keyless entry pads are larger and frequently rely on 9V batteries or two AA batteries.
To find the correct battery, look for a model number printed on the back of the remote or inside the battery compartment cover. You can cross-reference this model number with the LiftMaster product support documentation to confirm the exact specifications. Using the wrong voltage can damage the internal circuitry of your remote, while using the incorrect physical size will prevent the housing from closing properly.
Common battery specifications
| Device Type | Battery Model | Typical Voltage |
|---|---|---|
| Keychain Remote | CR2032 | 3V |
| Visor Remote | A23 / MN21 | 12V |
| Wireless Keypad | 9V Alkaline | 9V |
| Universal Remote | CR2016 | 3V |
How to open the battery casing
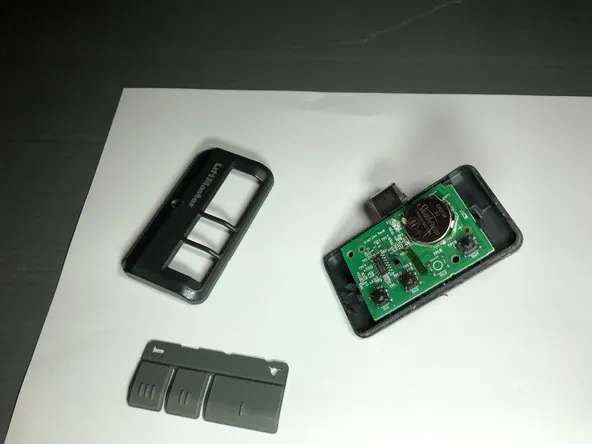
Opening the casing is usually the most delicate part of the process. For handheld remotes, look for a small notch on the bottom or side of the plastic housing. You can use a flat-head screwdriver or even a sturdy coin to gently pry the cover open. If you’re working with a wireless keypad, it’s often mounted to the door frame with a sliding cover or a single screw at the bottom.
Warning: Use gentle, consistent pressure when prying plastic tabs. Older plastic becomes brittle over time due to temperature fluctuations in the garage, and excessive force can snap the locking clips, rendering the housing unable to stay shut. If the casing feels stuck, inspect it for a hidden screw that may be obscured by a rubber plug or a brand logo.
Steps to change a LiftMaster garage door opener battery
Once the casing is open, slide the old battery out of its clip. Pay close attention to the orientation; the positive (+) side usually faces upward or is marked on the plastic holder. If you’re unsure, take a quick photo of the battery in its housing before removing it so you have a reference for the new installation.
Clean the metal contact points inside the remote with a dry, lint-free cloth. Over time, these contacts can accumulate microscopic dust or oxidation, which increases electrical resistance. After cleaning, insert the new battery, ensuring it’s seated firmly within the metal prongs. Snap the plastic cover back into place until you hear an audible click, confirming the housing is secure.
Changing the wireless keypad battery
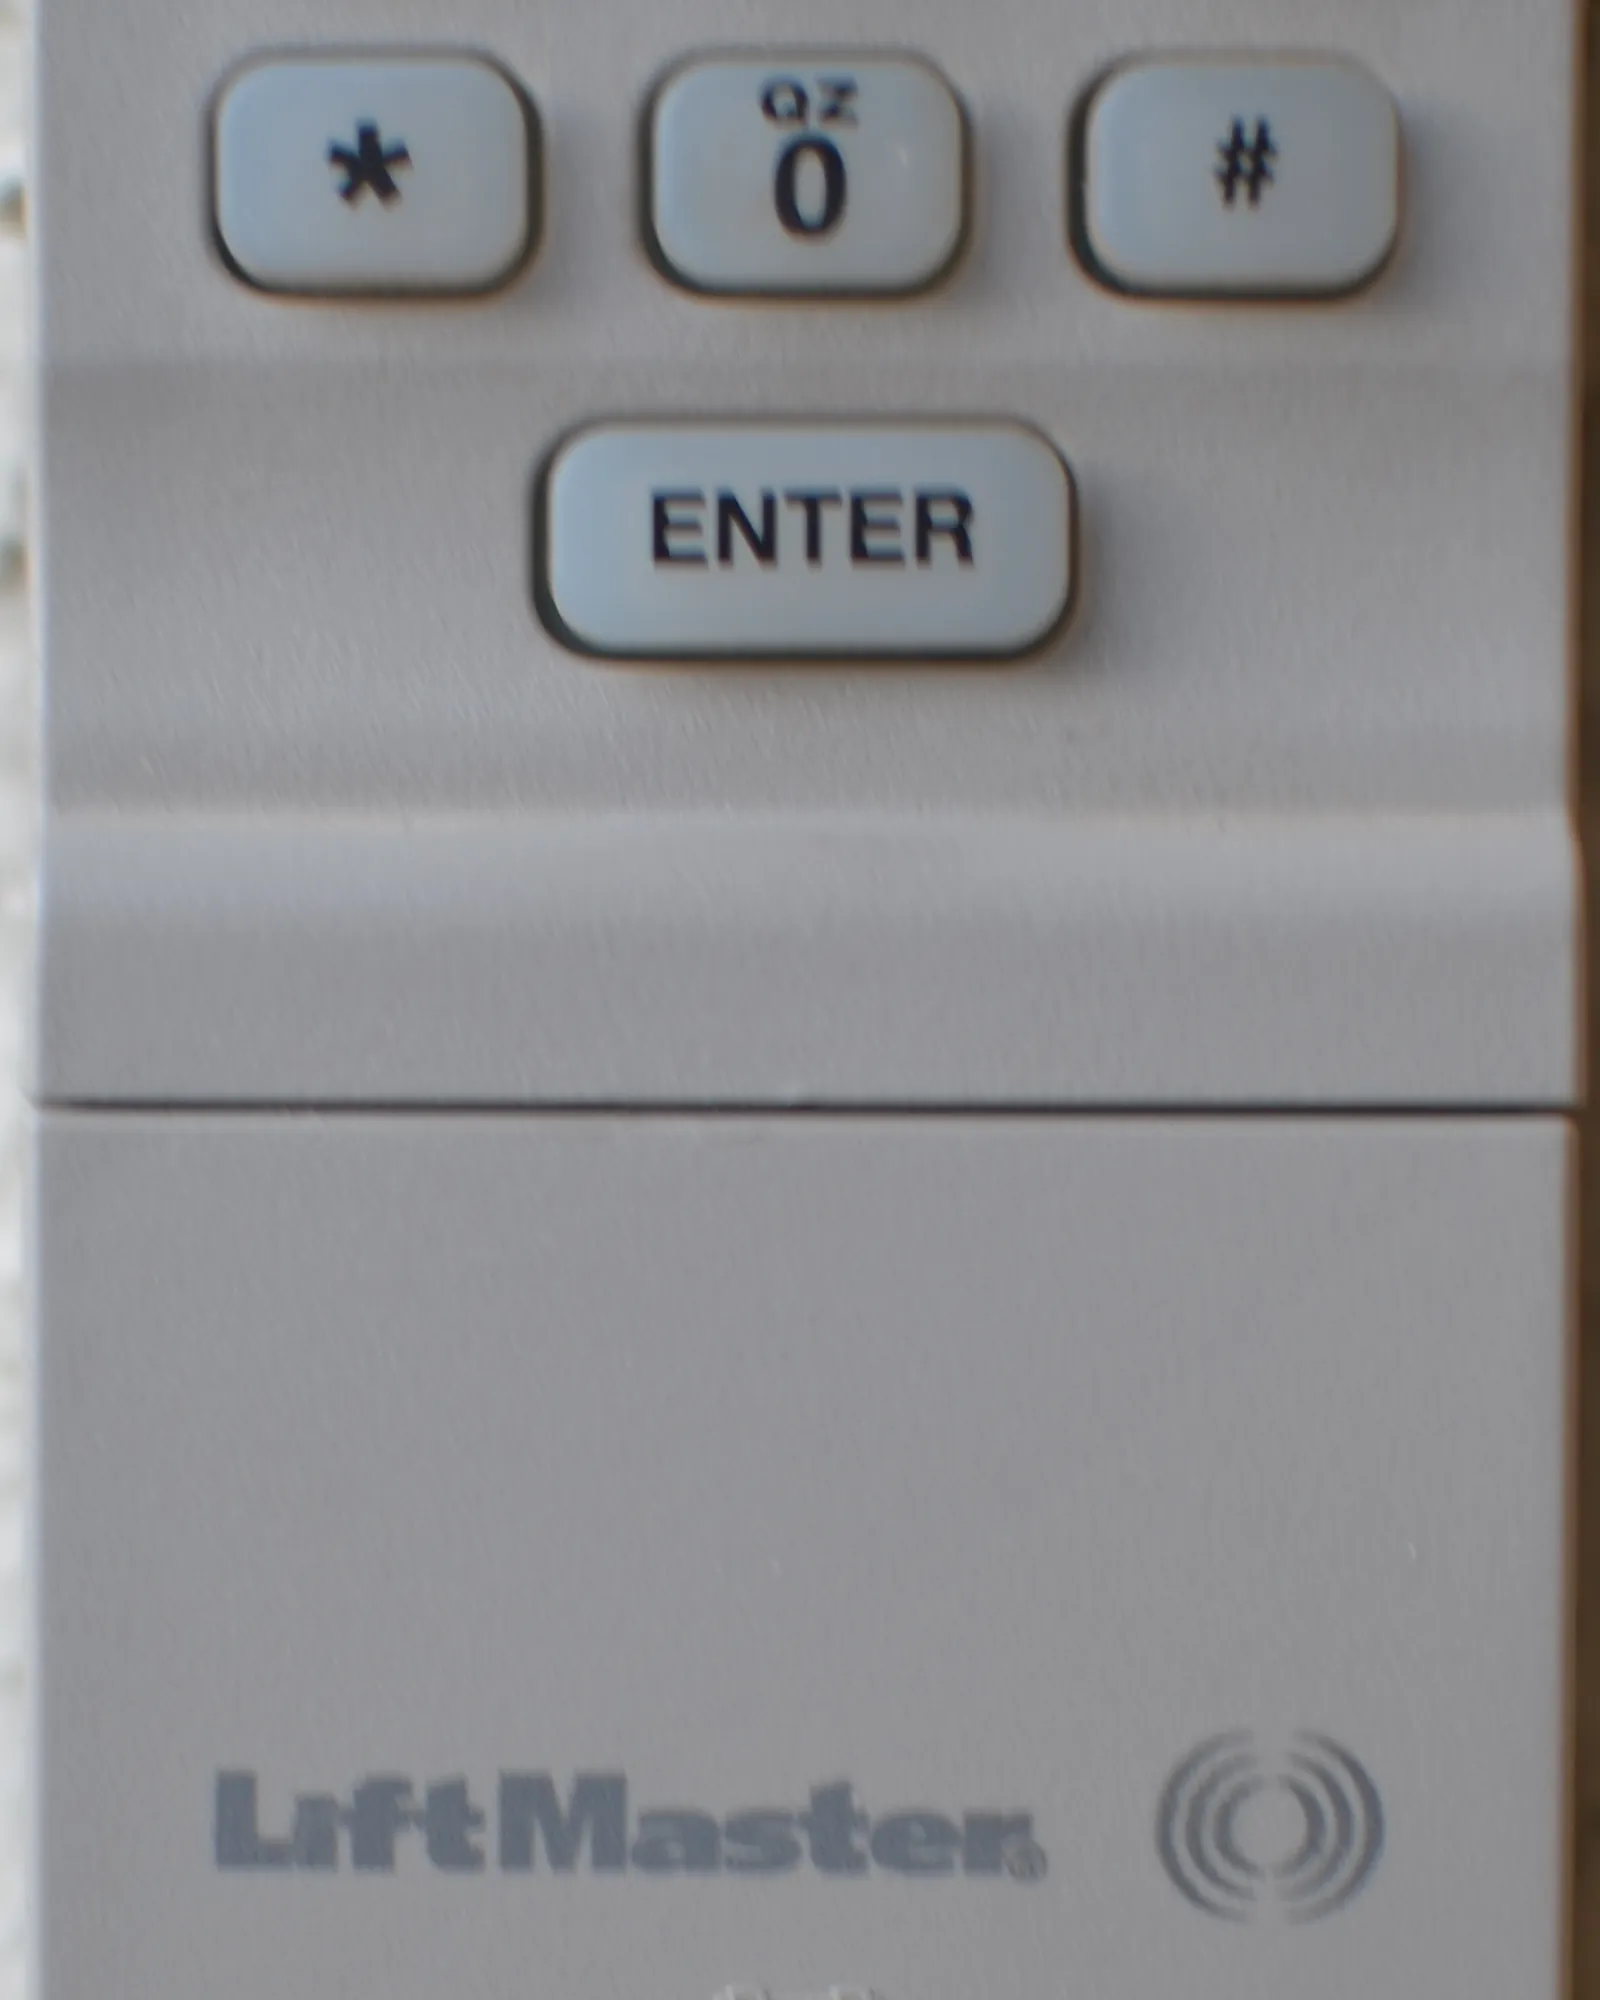
Wireless keypads are exposed to more environmental stress than handheld remotes, so the battery compartment is often sealed with a small screw. Remove this screw and slide the cover down or pull it forward. Because keypads are often mounted outdoors, you might notice white, powdery residue on the terminals.
If you see corrosion, use a small amount of white vinegar on a cotton swab to neutralize the acid, then wipe it clean with a dry cloth. Once the terminals are clean and dry, insert the new battery. Ensure the battery wires (if using a 9V) are tucked neatly away from the hinges so the cover closes without pinching the cables.
Troubleshooting common battery issues
If you have installed fresh batteries but the opener still doesn’t respond, the issue may be a synchronization error or a deeper hardware fault. First, verify that the battery isn’t installed backward; this is the most common reason for a “dead” device after a fresh install. If the battery is correct, check the LED light on the device.
If the LED doesn’t light up at all, the battery might be defective or the terminals might be bent too far away from the battery surface. Use a small screwdriver to gently nudge the metal tabs closer together to ensure they make solid contact with the battery. If the LED flashes but the door doesn’t move, your remote may have lost its programming link to the garage door motor.
Troubleshooting steps checklist
- Inspect the battery polarity against the diagram inside the housing.
- Ensure the battery is fully seated in the retention clips.
- Check for debris or corrosion on the metal battery contacts.
- Attempt a hard reset of the remote by holding the button for 10 seconds.
- Verify the garage door opener itself is plugged in and has power.
Why does my battery drain quickly?
If you find yourself replacing batteries every few months, you may have a “stuck” button. This happens when the rubber button pad inside the remote becomes misaligned or dirty, causing the circuit to remain closed and continuously transmit a signal. This constant transmission will drain even a high-quality lithium battery in a matter of weeks.
Another cause is environmental. Extreme cold slows the chemical reactions inside alkaline batteries, which can lead to a significant drop in voltage. If your garage is uninsulated, consider switching to “Lithium” version batteries for your keypad, as they perform much better in freezing temperatures compared to standard alkaline alternatives.
Can I use rechargeable batteries?
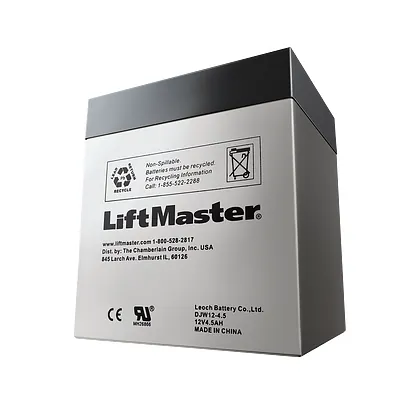
While it’s technically possible to use rechargeable batteries for some garage door accessories, it’s generally discouraged. Rechargeable batteries often have a lower nominal voltage than their primary (non-rechargeable) counterparts. For example, a standard 9V alkaline battery provides a steady voltage, whereas some rechargeable 9V batteries provide only 7.2V or 8.4V.
This voltage deficit can cause the remote to have a significantly reduced range or result in intermittent signal failure. Additionally, rechargeable batteries have a higher “self-discharge” rate, meaning they lose power even when the device isn’t in use. For the reliability required of a security device like a garage door opener, stick to high-quality primary alkaline or lithium batteries.
Related guides
- LiftMaster vs Chamberlain: Which Garage Door Opener Is Best
- LiftMaster vs Overhead Door Garage Door Openers: The Verdict
- LiftMaster vs Genie Garage Door Openers: The Best Drive Types
Frequently Asked Questions
Do I need to reprogram my remote after changing the battery?
Usually, no. Most modern LiftMaster remotes store their programming code in a non-volatile memory chip that retains data even when the power is disconnected. You should only need to reprogram the remote if the battery was dead for a very long period or if the remote suffered a power surge during the removal process.
How often should I change my garage door remote battery?
You should typically change the batteries every 12 to 24 months. If you notice the range of your remote decreasing, or if the indicator light on the remote or keypad appears dim, it’s time for a replacement. Proactive replacement prevents the inconvenience of being locked out of your garage when you’re in a hurry.
What should I do with the old batteries?
Don’t throw lithium or alkaline batteries in your standard household trash. Many local hardware stores, such as Home Depot or Lowe’s, have dedicated recycling kiosks for used batteries. Properly disposing of them prevents harmful chemicals from leaching into the environment and is a responsible way to manage hazardous household waste in your community.
Will a low battery affect the security of my door?
A low battery won’t compromise the security of your garage door encryption, but it can cause the remote to fail to send the signal correctly. This might result in a “partial” code transmission, which the garage door opener will simply ignore. Your garage remains secure, but you may be unable to open or close the door until the battery is replaced.
Why does my keypad light up but the door won’t move?
If your keypad lights up, it means the battery has enough power to illuminate the LEDs, but it might not have enough current to transmit the radio frequency signal. Alternatively, the keypad may have become desynchronized from the motor unit. Try performing a fresh programming cycle by pressing the “Learn” button on the garage door opener motor and following the keypad pairing instructions.
Conclusion
To ensure your garage door system remains reliable, check your remote and keypad batteries at the start of every season or whenever you change your smoke detector batteries. Keeping a spare set of the correct battery models in your kitchen junk drawer will save you a trip to the store when the inevitable happens. Start by checking your model number today so you know exactly which batteries to buy.
