
Four dashes across the screen means your Caldera spa can’t read its water temperature sensor, so the control board shuts the heater down. The most common cause is a corroded plug where that sensor connects to the main circuit board. Unplug the spa, open the equipment bay, find the small two-wire plug, clean any crust off the pins, and push it back in until it clicks.
Why your Caldera spa shows four dashes
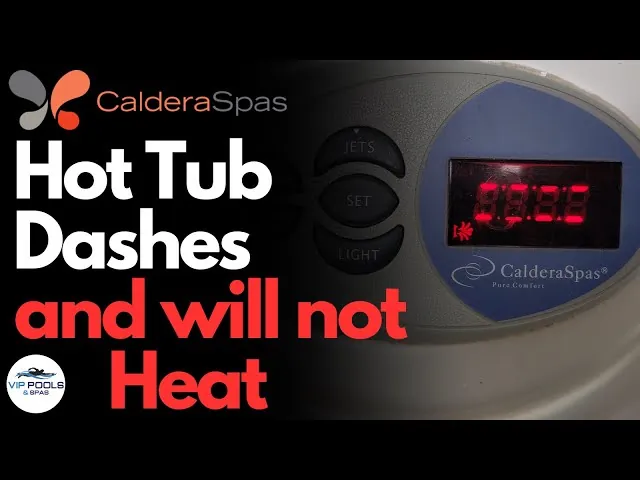
The control system runs a simple check every time it powers up. It sends a tiny electrical signal through the temperature sensor and measures what comes back. That returned signal tells the board how hot the water is. When the path breaks or the reading falls outside the expected range, the board replaces the normal numbers with four dashes. It won’t guess at a temperature, because guessing wrong could let the water overheat.
A broken connection at the plug is the first thing that goes wrong. The equipment bay gets hot when the pump runs and cools down fast when it stops. That daily heating and cooling slowly works the plastic clip loose.
Moisture from rain or splash-out creeps into the gap. Once water reaches the bare copper pins, corrosion starts eating the metal. A thin layer of green oxide blocks the signal completely, even though the plug still looks attached from the outside.
The sensor itself fails less often, but it does happen. The probe sits inside a dry well—a small metal tube welded into the heater plumbing—so water never actually touches the electronic tip. Still, the constant heat cycles wear out the thermistor material packed inside the brass housing. When that material degrades, it stops changing its resistance as the water warms up. The board reads one stuck value, decides something’s wrong, and throws the error.
Physical damage to the wire causes the same result. Rodents nesting under the spa skirt chew through soft insulation. A technician might also pinch the cable against the frame while putting the panel back after a filter change. If the copper strands inside snap, the circuit opens instantly.
You don’t need a multimeter to confirm which of these three problems you have. If wiggling the plug makes the dashes flicker back to real numbers, the connection is loose or corroded. If the plug feels tight and clean but the dashes never leave, the sensor has likely failed internally.
If you spot a bare wire hanging near the floor of the cabinet, that’s your break. For the official list of fault codes tied to your specific control generation, check the Caldera Spas owner resources page, since the board version changes which errors map to which symbols.
Clean the sensor plug on the board
This fix is for anyone whose four dashes appeared gradually or started showing up only after heavy rain. You’ll need a flathead screwdriver, some fine sandpaper or an emery board, and a can of electrical contact cleaner if you have one. Turn off the breaker feeding the spa before you touch anything inside the cabinet. Don’t just press the top-side buttons; the board stays live unless you cut power at the source.
Remove the equipment access panel. Look for the main control box—usually a grey or black plastic enclosure bolted to the frame. Undo the screws holding the cover and lift it off carefully. Inside, you’ll see the circuit board covered in smaller plugs. Find the temperature sensor wires. They run from a thick rubber cable directly into a small white or black two-pin connector seated on the edge of the board.
Press the tiny tab on the connector and pull it straight out. Don’t yank the wires themselves, or you’ll rip them out of the plastic housing. Hold the plug up to the light. If the metal pins inside look dark brown, dull grey, or fuzzy green, that corrosion is blocking the signal.
Take your sandpaper and gently rub each pin until the shiny metal shows through again. Two or three strokes are enough. Spray a quick burst of contact cleaner onto the pins if you brought a can. Let it dry for five minutes. While you wait, check the socket on the board itself. Blow out any dust or debris sitting inside those tiny holes.
Push the plug back into the socket until you hear the tab click. Route the wire so it doesn’t rest against the heater tube or the pump motor, where vibration will shake it loose again. Screw the control box lid back on. Flip the breaker.
If the screen now shows actual water temperature instead of dashes, the cleaning worked. Run the jets for ten minutes and watch the screen. If the numbers stay steady, you’re done. If the dashes return while the pump vibrates, the socket on the board is worn out. That requires soldering work you shouldn’t attempt yourself; call a certified spa technician to replace the board or re-pin the socket.
Replace the temperature sensor
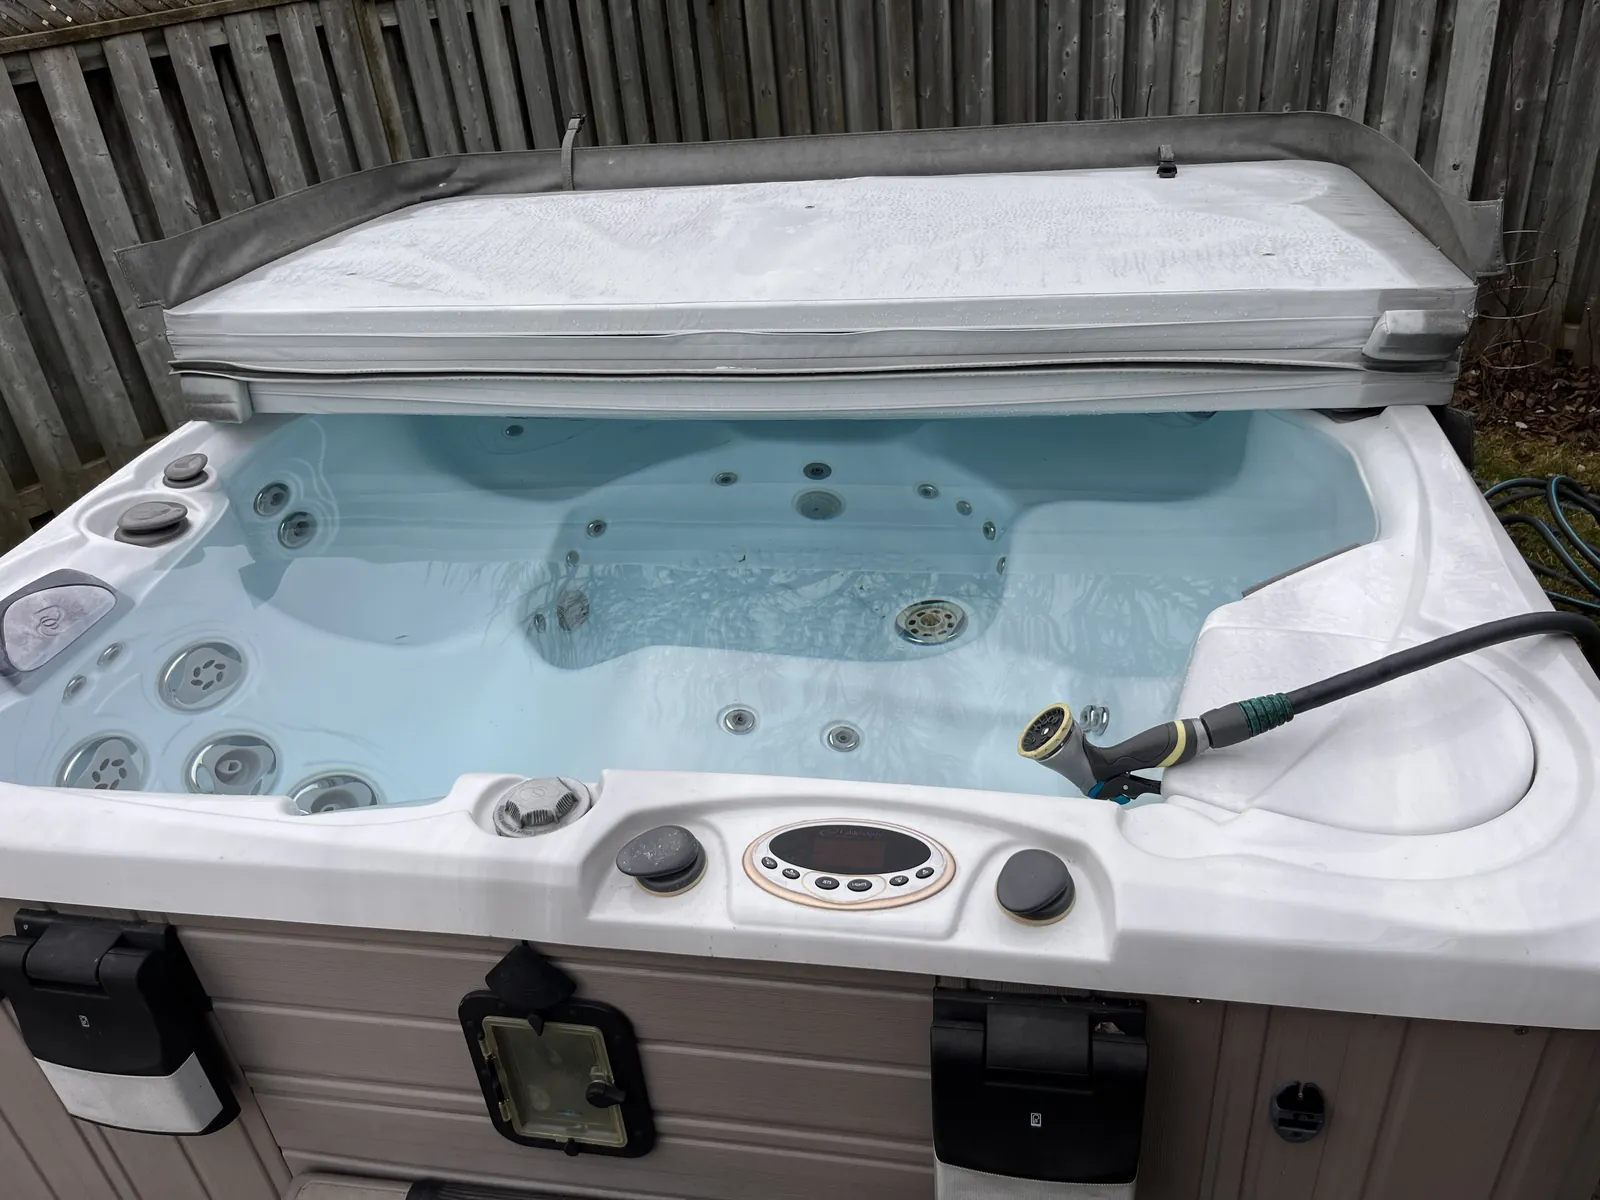
When cleaning the plug doesn’t clear the dashes, the sensor has failed inside its housing. This fix swaps the dead probe for a new one. You’ll need the correct replacement part—always match the part number on your old sensor’s tag—and a pair of channel-lock pliers. Shut off the breaker and leave it off during the entire job.
Trace the sensor wire from the board plug you just cleaned down toward the heater assembly. The wire leads to a brass cylinder threaded into a metal tube on the heater manifold. This is the dry well. Water flows around the outside of this tube, but the inside stays dry. Because of that design, you can unscrew the sensor without draining the tub.
Grip the brass hex nut at the base of the sensor with your pliers. Turn it counterclockwise. It might resist at first if mineral deposits built up around the threads. Keep steady pressure until it breaks free. Pull the old sensor straight out of the well.
Before you slide the new one in, wrap the threads twice with PTFE plumber’s tape. Go clockwise so the tape doesn’t bunch up when you thread it in. Push the new sensor into the dry well and tighten it by hand first. Finish with the pliers, but stop as soon as you feel firm resistance.
Plug the new sensor’s connector into the board. Make sure the tab clicks. Restore power at the breaker. The screen should begin showing a temperature reading shortly after power is restored, stabilizing at the actual water temperature as the sensor equilibrates. If it displays real numbers and holds them, the swap succeeded.
If the four dashes come back immediately with a brand-new sensor plugged in tightly, the fault lives deeper inside the control board’s logic chip. That diagnosis requires specialized testing gear. Leave that step to an authorized dealer rather than buying parts blindly.
Swap the control board when sensors fail
Replacing the main circuit board is the last option, reserved for cases where a fresh sensor and a clean plug still leave four dashes on the screen. This means the board’s input circuit—the part that reads the sensor’s signal—has burned out.
It’s worth doing only if the rest of your spa runs perfectly and the tub itself isn’t rotting. If your pump groans, your heater trips constantly, and the shell has cracks, pouring money into a new brain won’t save a dying machine.
Order the exact board model listed on your spa’s data plate. Installing the wrong voltage version will fry the new part the second you flip the breaker. Take a clear photo of every wire connected to your old board before you remove a single plug. You’ll need that picture to put the new one together correctly.
Shut off the breaker. Unscrew the mounting bolts holding the board tray. One by one, unplug each harness, matching it to your reference photo. Lift the old board out. Set the new one in the tray and secure the bolts. Reconnect every plug, checking colors and pin counts against your photo.
Turn the power back on. Watch the startup sequence. A working board will cycle through its display test and land on the actual water temperature within a minute. If the four dashes remain after installing a verified good sensor and a brand-new board, the wiring hidden inside the spa’s walls has a break you can’t reach.
Tracing internal harnesses involves stripping panels and risking shock from capacitors that hold charge long after the power dies. That work belongs to a licensed electrician who handles wet environments daily.
Caldera spa fixes that make it worse
- Resetting the breaker over and over. Flipping the power off and on repeatedly won’t clear a hardware fault. Each surge of electricity hits the damaged component harder. If the first reset doesn’t bring the numbers back, the fifth one might burn out the relay that controls your heater.
- Spraying WD-40 on the circuit board. Standard lubricants leave behind an oily film that attracts dust and traps moisture against the solder joints. Over a few weeks, that trapped dampness bridges connections that should stay separate, turning a simple sensor error into a shorted board that costs far more to replace.
- Splicing the sensor wire with electrical tape. Temperature sensors rely on precise electrical resistance to report accurate readings. Twisting two broken ends together and wrapping them in tape adds random resistance to the circuit. The board reads that extra resistance as a wildly wrong temperature, which either keeps the error active or tricks the heater into running when it shouldn’t.
- Draining the whole tub to change the sensor. The probe lives inside a sealed dry well, meaning no water touches it directly. Draining fifty gallons wastes chemicals and solves nothing. Leave the water where it’s and just unscrew the brass fitting.
- Bypassing the safety limits with jumper wires. Some online videos suggest connecting the two pins on the board directly to trick the system into starting. The four-dash warning exists to prevent the heater from firing blind. Removing that guard lets the water boil unchecked, which melts plumbing and creates a severe burn risk for anyone stepping in.
Keeping your Caldera spa sensors clear

Small habits around the equipment bay decide how long your temperature probes last. Moisture and vibration cause almost every failure, so your routine should target both. Match what you currently do against the adjustments below to keep the screen showing real numbers.
| If you’re doing this | Do this instead | Why |
|---|---|---|
| Hosing down the equipment bay when washing the shell | Wipe the bay floor with a dry rag | Spraying water near the board pushes moisture into the sensor plugs, starting the corrosion that causes the dashes. |
| Resting the sensor wire loosely across the pump motor | Zip-tie the wire to the frame rail | Pump vibration shakes loose plugs free over time; securing the cable absorbs that movement before it reaches the pins. |
| Leaving the access panel off after checking filters | Screw the panel back on immediately | An open bay invites mice looking for warmth, and they chew through soft sensor insulation faster than anything else. |
| Ignoring a slow drip from the union fittings | Tighten or replace the gasket | Even a drop a minute raises the humidity inside the cabinet enough to oxidize bare copper contacts within a month. |
| Using standard twist-on wire nuts for repairs | Use marine-grade heat-shrink connectors | Standard caps loosen under thermal expansion; heat-shrink seals the joint completely against the steam rising off the pipes. |
| Running the spa without a fitted cover | Keep the insulated cover latched down | Wind drives rain sideways into the cabinet vents, soaking the components that sit directly beneath the top lip. |
Related guides
- 10 Best Phosphate Removers for Pools, Spas, and Aquariums in 2026
- 10 Best Motion Sensor Outdoor Lighting Picks for Your Home in 2026
- 10 Best Motion Sensor Light Bulbs for Reliable Home Lighting in 2026
Frequently asked questions
Can I use my Caldera spa with four dashes?
No, the spa won’t heat the water while that error is active. The control board disables the heater entirely because it can’t verify the current temperature. Fix the sensor connection before trying to soak.
Why did my spa show dashes after a storm?
Heavy rain driven by wind finds gaps in the cabinet skirt that normal showers miss. When water pools on the equipment bay floor, it splashes against the lowest plugs on the control board. Even a few drops bridging the metal pins disrupt the resistance reading enough to trigger the shutdown.
How long does a spa temperature sensor last?
A quality thermistor typically survives several years in a residential hot tub, assuming the cabinet stays relatively dry. Heat cycles degrade the sensing material faster than time alone does. You’ll know yours has reached the end of its life when cleaning the plug stops fixing the four-dash error.
Is it safe to change the sensor myself?
Yes, provided you shut off the dedicated breaker at your main electrical panel before opening the cabinet. The sensor itself operates on very low voltage, but the wires run alongside the main power feeds. As long as the power is verified dead, replacing the probe is a straightforward mechanical task.
What happens if I ignore the four dashes?
Your water will go cold and stay that way. Without a functioning temperature reading, the software locks out the heating element permanently to prevent overheating. Cold standing water loses its sanitizer effectiveness quickly, allowing bacteria to multiply in the plumbing lines.
How much does a replacement sensor cost?
An original equipment thermistor for a Caldera spa generally falls between $25 and $60, depending on the specific board generation your tub uses. Aftermarket versions might be slightly cheaper, but they don’t always match the exact resistance curve the factory software expects. Check the part number printed on your old sensor’s tag before ordering.
Conclusion
Once that connection is secure, you’ll see your heater kick back to life and warm water return in no time. If the dashes stay put after cleaning, grab a multimeter to check the sensor itself before calling a pro. Soon enough, you’ll be soaking in clean, hot water again without any digital headaches.