
You can fix most control errors by unplugging your roper washing machine for exactly one minute, then plugging it back in and opening and closing the lid six times within 12 seconds.
Items required to reset your Roper machine
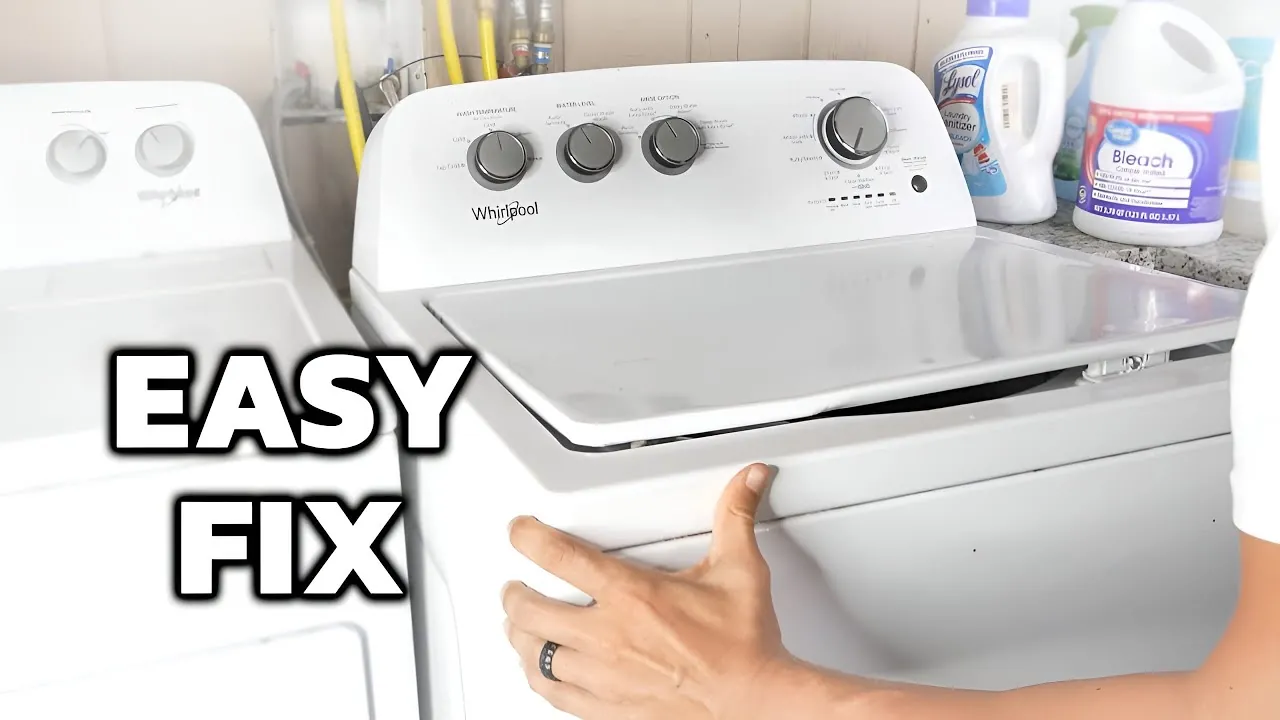
To perform this reset correctly, you don’t need any specialized tools or technical training. You only need to be able to reach the power outlet and operate the lid of your machine. Before you start, ensure you have the following items ready:
- A steady step stool if your outlet is located high behind the unit.
- A flashlight to see the status lights on the control panel clearly.
- Your machine’s owner’s manual.
- A clear workspace so you can move the lid fully without hitting any nearby cabinets.
If your washer is built into a tight closet, you might need someone to help you move it forward to access the plug. Most units weigh over 150 pounds; don’t attempt to slide them alone on delicate flooring, as the leveling feet can leave deep gouges.
If you find that your machine has a digital display rather than a physical knob, look for a “Cancel” or “Drain/Spin” button. If the display shows an “F” followed by a number, the machine has a stored error code that a simple power cycle might not clear. In that case, you must record the code before unplugging the unit.
You should never attempt to bypass the reset by forcing the control knob or pressing buttons repeatedly, as this can damage the internal circuit board. If you don’t have the manual, look up your specific model number on the manufacturer’s website to see if your unit has a unique reset sequence. If the lights remain dark after the reset, verify the circuit breaker hasn’t tripped.
Steps to Perform the Reset
-
Turn your washer’s cycle selector knob to the “Normal” position and ensure all indicator lights are off. If the lights remain illuminated, rotate the dial one full circle clockwise to clear any lingering sensor errors before starting.
-
Unplug the power cord from the wall outlet and leave it disconnected for at least 60 seconds. This duration allows the internal capacitors to discharge completely, effectively clearing the volatile memory on the control board.
-
Plug the power cord back into the wall outlet.
-
Lift and lower the lid of the washer six times within a 12-second window. You must complete the full motion—opening the lid at least two inches and closing it fully—to trigger the reed switch.
-
Wait for the status lights on the control panel to blink, which confirms the board is in test mode. If the lights stay dark, you likely moved too slowly; unplug the unit and attempt the sequence again at a brisker pace.
-
Start a cycle on the “Rinse/Spin” setting to see if the machine operates normally. If the washer fills but fails to agitate, the issue is likely a failed motor capacitor rather than a software glitch.
-
Check that the lid is closed securely before the cycle begins. The machine won’t start if the lid sensor detects it’s open.
Never attempt to open the metal housing of the control panel or touch internal wiring. High-voltage capacitors can hold a dangerous electrical charge even when unplugged; leave internal repairs to a qualified technician.
Variations by Machine Type
The reset process varies based on the age and control type of your machine. Older mechanical timers behave differently than modern electronic touchpads, and you should always verify your specific model’s requirements if these steps don’t work.
If your washer has a digital screen, start with a hard power cycle by unplugging the unit for sixty seconds. This clears the volatile memory without risking a deep-system error.
If you attempt a complex key combination on a simple dial machine, you risk engaging a factory test mode. These modes often lock the door and require a service technician to bypass. If you hear a rapid, rhythmic clicking after pressing buttons, stop immediately and pull the plug.
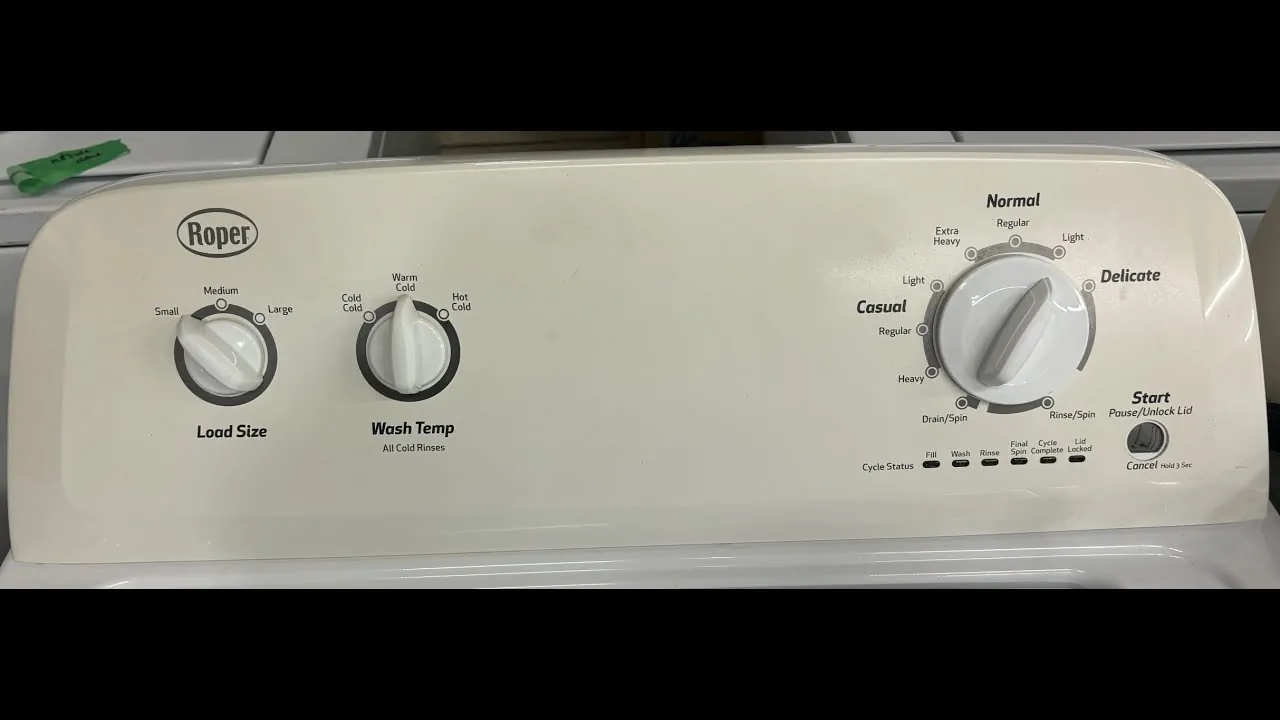
Distinguish your machine by the tactile feedback of the interface. If the dial physically rotates during a cycle, treat it as mechanical. If the interface is a flat membrane with no moving parts, it’s digital.
If the error code returns within thirty seconds of startup, the issue is likely a faulty sensor rather than a software glitch. In that case, no amount of button-mashing will solve the underlying hardware failure.
Verifying a Successful Reset
A successful reset results in the control panel returning to its default state without any blinking error lights. If the machine was stuck mid-cycle, the water should drain or the motor should reset to its starting position. When you start a new load, the machine should fill with water and begin the agitation process as expected.
Listen for the specific sound of the drain pump engaging within ten seconds of selecting a new cycle. If the pump remains silent while the timer advances, the control board has failed to register the reset command. In this case, you must unplug the unit for a full ten minutes to discharge the residual voltage stored in the capacitors.
If the machine still shows an error or fails to start, the issue might be a faulty lid switch or a failed motor capacitor. These parts wear out over time and can’t be fixed by a software reset.
If you notice a burning smell or hear a loud grinding noise, stop using the machine immediately. Contact a professional appliance repair service to avoid further damage to the motor. Don’t attempt to force a cycle if the drum doesn’t spin freely by hand.
Rules and Maintenance Standards
The safety standards for residential laundry appliances are set by the Consumer Product Safety Commission, which emphasizes keeping cords and outlets free of dust and debris to prevent fire risks. After you reset your machine, wipe down the control panel with a dry cloth to prevent moisture from entering the electronics. You should check the power cord for any signs of heat damage based on your usage and the recommendations in your owner’s manual.
If the insulation on the cord feels brittle or shows discoloration, replace the entire cable immediately. A common mistake is using an extension cord for a washer or dryer, which creates a significant fire hazard due to the high amperage draw. Always plug the machine directly into a dedicated wall outlet.
If the machine continues to fail after a reset, don’t attempt to bypass safety interlocks or sensors. These components prevent the drum from spinning while the door is open. Any repair involving the motor, timer, or internal wiring carries a risk of electrical shock or fire.
If you aren’t comfortable testing the outlet voltage or replacing minor parts like a lid switch, hire a licensed technician. If your machine is under warranty, opening the sealed casing will void your coverage entirely.
Alternative Methods to Troubleshoot
Power Cycle the Breaker
If unplugging the machine doesn’t work, go to your home’s main electrical panel and flip the circuit breaker off for the laundry room. Leave it off for five minutes before turning it back on. This clears power surges that might be trapped in the home’s wiring, which sometimes affects the machine’s control board more than a simple plug pull.
Check for Load Imbalance
Sometimes the machine appears broken when it’s simply detecting an unbalanced load. Remove all clothes, open the lid, and distribute the items evenly inside the drum. If the machine senses that the weight is off-center, it will refuse to spin. A manual reset won’t fix this; you must balance the load for the sensor to allow the cycle to proceed.
Inspect the Drain Hose
If your machine doesn’t advance to the spin cycle, it might be a drainage issue rather than a computer error. Check the drain hose behind the washer for kinks or clogs. If the water can’t leave the tub, the control board will pause the cycle to prevent flooding. Straightening the hose often solves the problem instantly without needing a reset.
Related guides
Frequently asked questions
How long does a reset take?
A full reset takes about two minutes, including the time to unplug the unit and perform the lid-lifting sequence. Ensure you give the machine the full 60 seconds while unplugged, as the internal capacitors need that time to discharge completely for the memory to clear.
How often should I reset my washer?
You should only reset your washer when it displays an error code or becomes unresponsive during a cycle. It isn’t a form of routine maintenance and shouldn’t be done regularly, as doing so doesn’t prevent future mechanical failures.
Is it safe to reset a washer while it’s full of water?
It’s safe to perform the reset while the tub contains water, but be aware that the machine may immediately attempt to drain once it powers back up. Keep the lid closed during the reset process to prevent any accidental splashing or damage to the lid sensor.
What happens if I lift the lid too many times?
If you lift the lid more than six times, the control board might exit the reset mode or enter a diagnostic test mode. If this happens, simply unplug the machine for one minute to exit the test mode and try the six-lift sequence again.
Can a reset fix a machine that won’t turn on at all?
No, if your machine has no power and shows no lights, the issue is likely the power outlet, a tripped breaker, or a blown thermal fuse. A reset only works if the control board has power and is receiving a signal from the internal sensors.
Why does my washer keep showing an error code?
If the error code returns immediately after a reset, the machine has detected a permanent hardware fault, such as a broken sensor or a failed pump. You should write down the specific code and look it up in your manual to identify which part needs professional replacement.
Conclusion
If the cycle still won’t start after you’ve tried this, there might be a deeper issue with your lid switch or the control board. Don’t worry if it doesn’t work right away; you can always check your owner’s manual for specific error codes or reach out to a local technician for help.
