
To fix your swollen surface, [how to repair water damaged mdf table top] begins with letting the board dry out, carving away the soft fibers, and leveling the spot with wood filler. Spilled liquid sitting on unsealed seams or edges causes almost all of this damage. Act quickly to keep the core from crumbling completely.
How water damages an MDF table
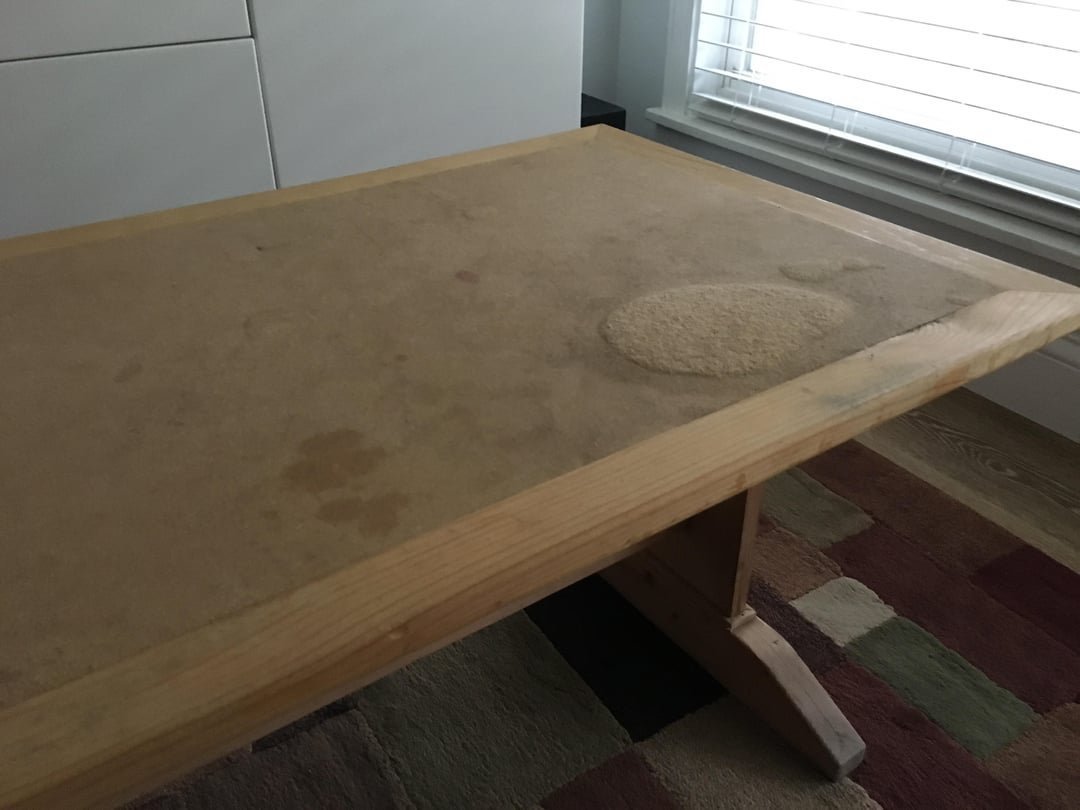 Photo: www.reddit.com on Google
Medium-density fiberboard is made of wood fibers glued together with resin under heat. The factory seals the top with veneer or laminate, but the edges and underside often stay exposed. When water touches a raw seam, the fibers soak it up like a sponge.
The glue breaks down as the wood cells expand. Natural wood expands and shrinks back as it dries, but manufactured boards don’t return to their original shape on their own. Once the fibers swell, the internal bond is broken permanently. The wood stays puffy, soft, and brittle until you cut the loose material away and replace it with a solid compound.
Dry the board and scrape loose fibers
This fix is for small, localized bubbles that feel spongy under your fingers. First, dry the area completely for 24 hours using a gentle room fan. Don’t use direct heat. If the surface is damp, filler won’t stick; if it’s completely dry, you can begin repairs.
Take a sharp utility knife and cut away the raised, puffy laminate. Dig out all soft, crumbly wood dust until you reach hard board underneath. Sanding these dry fibers releases fine dust that contains cured resins; according to the OSHA wood dust guidance, working with wood dust requires good ventilation and a snug particulate mask. Vacuum the crater thoroughly. You’ll know it worked when running your thumb over the depression reveals firm, solid material that doesn’t flake away.
Fill and level the depression
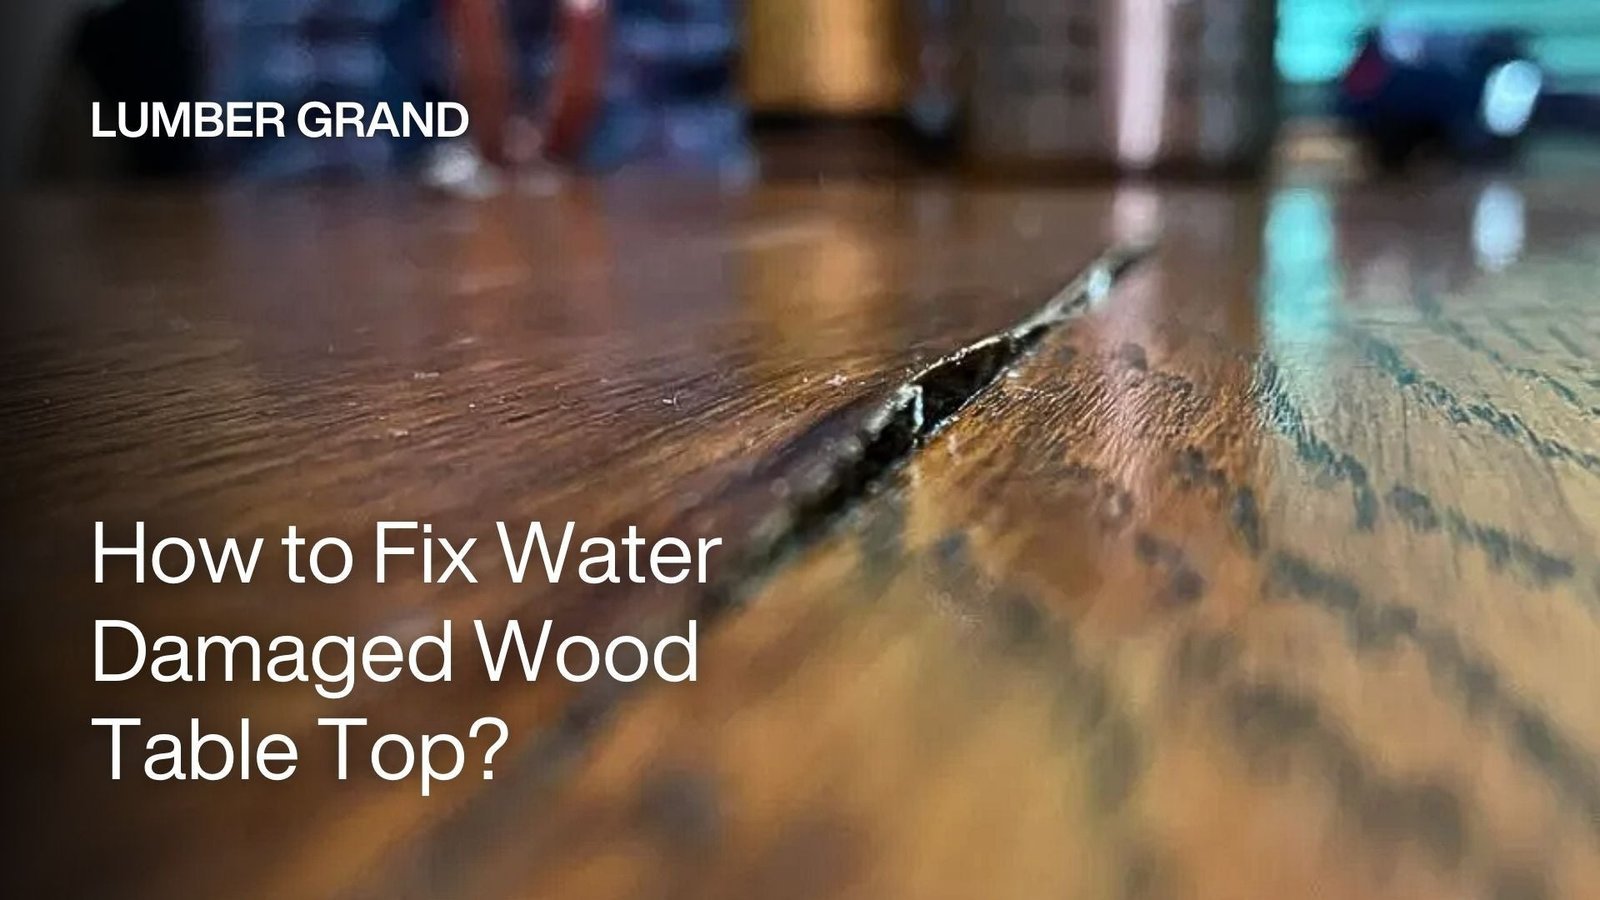 Photo: lumbergrand.com on Google
This fix rebuilds the missing height using a solvent-based wood filler or two-part epoxy paste. Standard water-based wall spackle isn’t for this job because its water base will swell the raw MDF core all over again.
Scoop about one tablespoon of two-part filler onto a plastic putty knife. Press the paste firmly into the gouge to fill every tiny pocket. Mound the filler roughly one-sixteenth of an inch higher than the tabletop to allow for minor settling. Let it cure for two hours. Sand the patch flush with 120-grit sandpaper wrapped around a hard wooden block, finishing with 220-grit. The repair is successful when you close your eyes, slide your hand across, and can’t feel the patch edges.
Seal the patch with oil-based primer
This hard-case step is for bare patches larger than a drink coaster where moisture could easily strike again. It requires patience and strong paint fumes, so work outdoors or open two windows. Applying water-based paint straight to exposed fiberboard is a mistake people actually make, and it costs them the whole repair because the core swells instantly.
Apply two thin coats of oil-based or shellac primer over the sanded patch using a foam brush. Allow four hours of dry time between coats. Sand lightly with 320-grit paper, wipe off the dust, and coat with your matching topcoat. A trade-off here is that painted patches rarely match factory woodgrain laminate, so you may need to paint the entire tabletop for a uniform look. Check the label on your primer can for specific recoat windows.
What not to do
- Don’t iron the swollen bubble under a damp towel, because adding steam injects extra moisture into an already damaged core.
- Don’t apply heavy weights overnight expecting the bump to flatten out, since crushed wet fibers simply crack rather than compress back into shape.
- Don’t paint raw exposed fiberboard with latex paint, because the water content triggers immediate secondary swelling.
- Don’t scrub the damaged spot with wet household cleaners, as this drives liquid deeper into the exposed edges.
How to stop it happening again
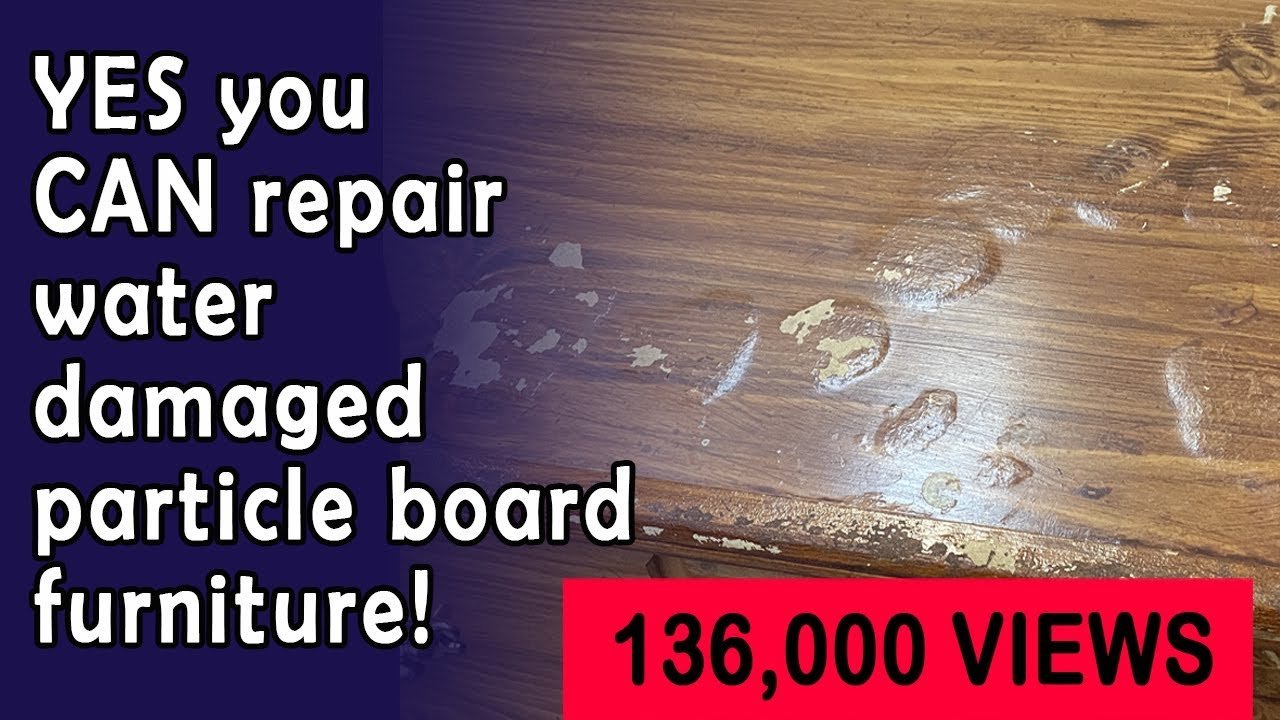 Photo: www.youtube.com on Google
Protecting fiberboard furniture comes down to managing spills before they reach an unsealed edge or seam.
| If you’re doing this | Do this instead | Why |
|---|---|---|
| Leaving cold drinks directly on the table | Place drinks on thick cork or silicone coasters | Prevents condensation puddles from soaking into the seams |
| Wiping tables with a dripping wet rag | Wipe surfaces with a lightly damp microfiber cloth | Stops excess liquid from running into joints and screw holes |
| Leaving factory edge seams unsealed | Brush clear polyurethane along exposed underside seams | Creates a watertight plastic shield over bare paper edges |
| Placing potted houseplants right on MDF | Rest pots inside glazed ceramic trays on felt pads | Stops slow, hidden drainage leaks from rotting the wood |
Frequently asked questions
Can swollen MDF shrink back on its own?
No, swollen MDF won’t shrink back to its original shape on its own. The internal glue breaks down when wet, permanently separating the packed fibers. Even after moisture leaves the board, the fibers stay expanded until you manually shave them flat.
How long does wet MDF take to dry out?
About 24 hours under normal indoor conditions with an electric fan blowing directly across the surface. Thicker table tops that sat in water for days can take up to 48 hours. Never apply heat guns or hair dryers, as extreme heat cracks the board.
Is it safe to sand damaged MDF indoors?
No, it isn’t safe to sand MDF without taking precautions. The fine dust irritates your lungs and contains urea-formaldehyde glue residues. Always wear an N95 dust mask, run an exhaust fan, and seal off interior doors before sanding damaged tabletops inside living spaces.
What happens if you leave water on an MDF seam?
The water seeps past the top seal within minutes and enters the core. Once inside, the compressed fibers expand outward, lifting the plastic veneer and creating bubbled ridges. If left for days, the wood rots into a soft mush that loses all screw-holding strength.
Can you use wood glue to flatten bubbled veneer?
Yes, but only if the swelling is minor and the wood core underneath hasn’t crumbled into dust. Slice a tiny slit in the bubble, squeeze in a small drop of wood glue, and clamp a flat wooden block over it for three hours to re-adhere the top layer.