
Repairing epoxy table top surfaces starts with matching the repair method to the damage depth, whether that means buffing light scuffs, filling deep gouges with fresh resin, or sanding the whole surface flat. Heavy daily use, dragged ceramic mugs, or dropped tools cause most of these flaws. You can fix almost any surface blemish at home with the right grit sandpaper and fresh resin.
Why epoxy table tops need repairs
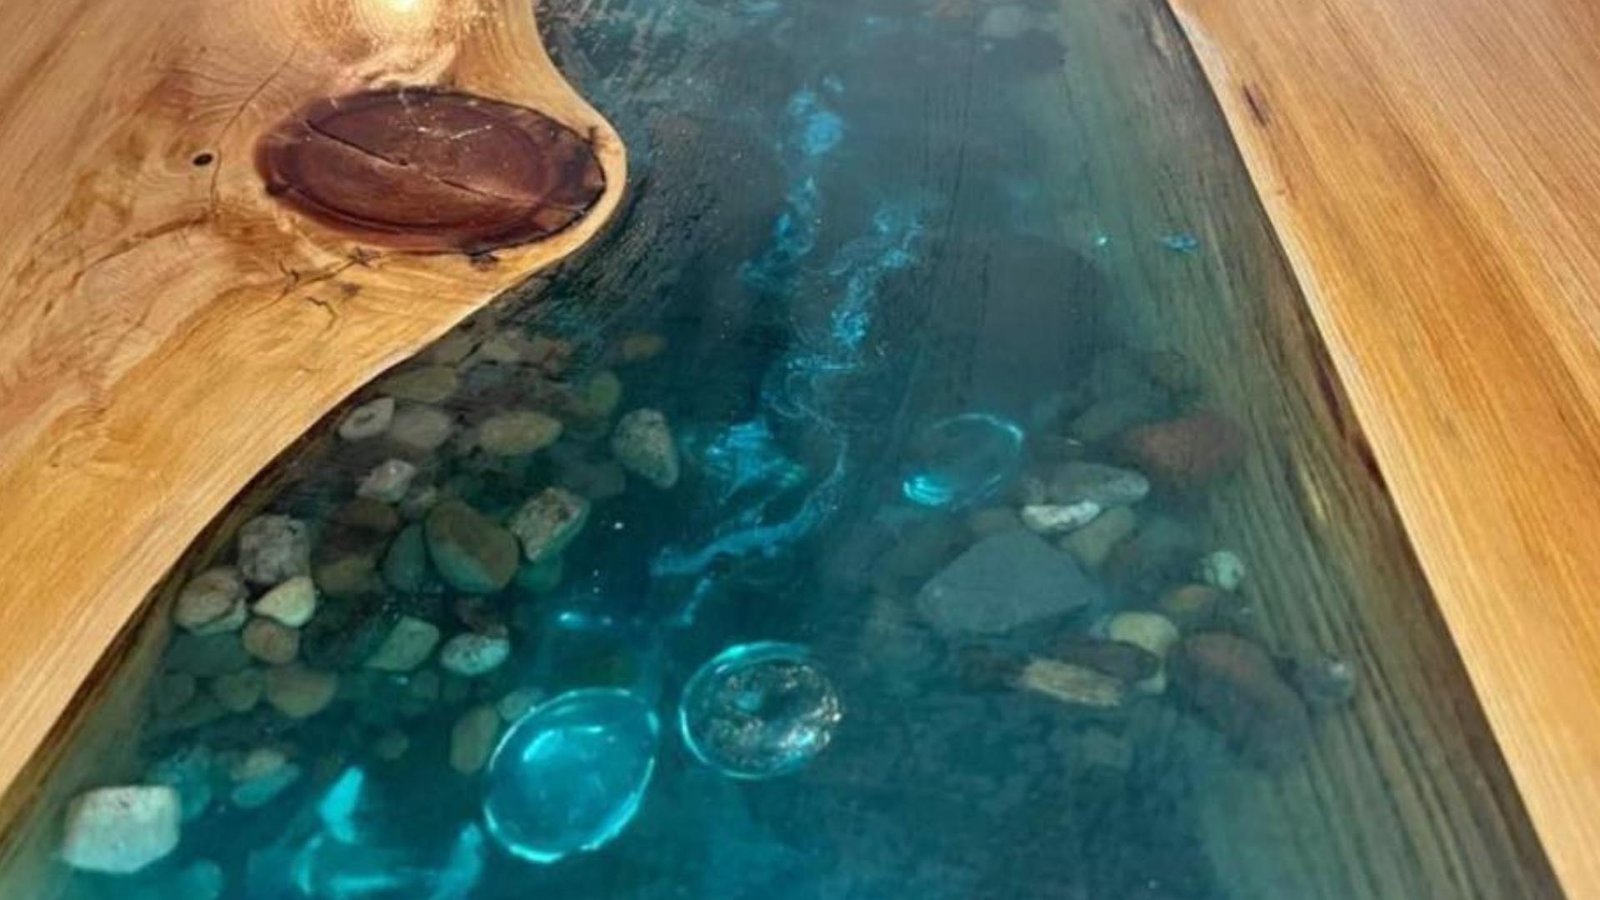 Photo: ihbv.at on Google
Epoxy cures into a hard, rigid plastic, but it isn’t scratch-proof. Everyday items like ceramic coffee mugs have rough, unglazed bottoms that act like sandpaper across clear resin. Heat softens the chemical bonds of standard tabletop epoxy when pots sit directly on the surface, leaving cloudy white rings. Direct sunlight breaks down epoxy through ultraviolet radiation, which turns clear resin yellow and brittle over time. Deep gouges happen when sharp, heavy metal objects impact the plastic with enough force to shear the cured polymer chains apart.
Buff out fine surface scratches
This fix is for light, hairline scratches that disappear when wet. Clean the tabletop with warm water and mild dish soap to remove grease. Apply a dime-sized drop of automotive polishing compound directly onto the scratch. Using a clean microfiber towel, rub the paste firmly in circular motions for about 2 minutes. The trade-off here is clear: hand buffing protects the surrounding flat surface from dips, but it takes much longer than a power tool. If your fingernail glides smoothly across the spot without catching, the buffing worked. For deep cuts that catch your nail, this method won’t work, so you must fill the void instead.
Fill deep chips and gouges
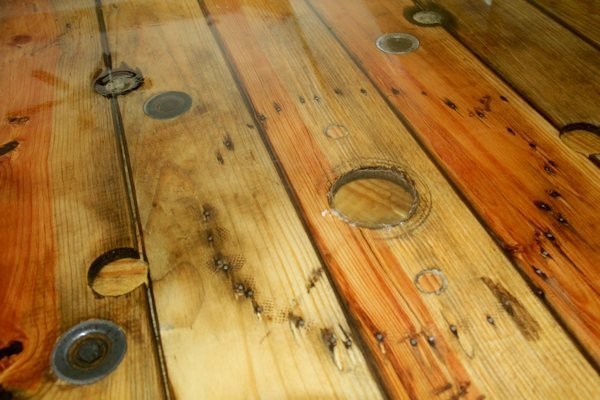 Photo: www.bestbartopepoxy.com on Google
This fix targets isolated gouges, chipped edges, or deep tears in the resin. Clean out the void with isopropyl alcohol and let it dry completely. Mix equal parts of clear 2-part epoxy resin—usually 10 to 15 milliliters is enough for a standard coin-sized ding—and stir slowly for 3 minutes to avoid bubbles. Carefully overfill the gouge by about 1 millimeter using a wooden craft stick. Let it cure according to the bottle, which takes about 24 hours at 70°F (21°C). Once rock hard, wet-sand the mound flat using 400-grit, 800-grit, then 1500-grit sandpaper wrapped around a hard block. It worked when the filled area feels flush with the surrounding wood and plastic.
Sand and pour a fresh flood coat
This method fixes wide areas of heavy wear, cloudiness, or multiple gouges across the entire slab. It isn’t for people who just have one small nick. Sand the entire tabletop evenly using an orbital sander with 220-grit paper until the whole surface turns completely dull and hazy. This gives the new liquid a mechanical grip. Vacuum all dust and wipe the top with denatured alcohol. Pour a self-leveling tabletop epoxy across the center, allowing roughly 1 quart for every 4 square feet of surface area at an 1/8-inch thickness. This takes real physical effort and workspace prep, but it saves an otherwise ruined table.
Liquid epoxy and fine sanding dust can irritate the respiratory system and skin, so protect yourself during the job. Review the OSHA eye and face protection guide before using power sanders or handling liquid hardeners. When cured, you’ll see a crystal-clear, mirror-smooth sheet.
What not to do
- Don’t use a heat gun too close to dry, cured epoxy to lift scratches, because direct high heat scorches the plastic brown and permanently damages it.
- Don’t pour new resin over a glossy surface without sanding first, because the new layer won’t stick and will peel off in sheets later.
- Don’t wipe the tabletop with solvents that leave a residue or trap moisture before pouring fresh epoxy, which can cause surface defects or adhesion failure.
- Don’t guess the resin-to-hardener mixing ratio with your eyes; an incorrect balance leaves the repair soft, tacky, and permanently uncurable.
How to stop it happening again
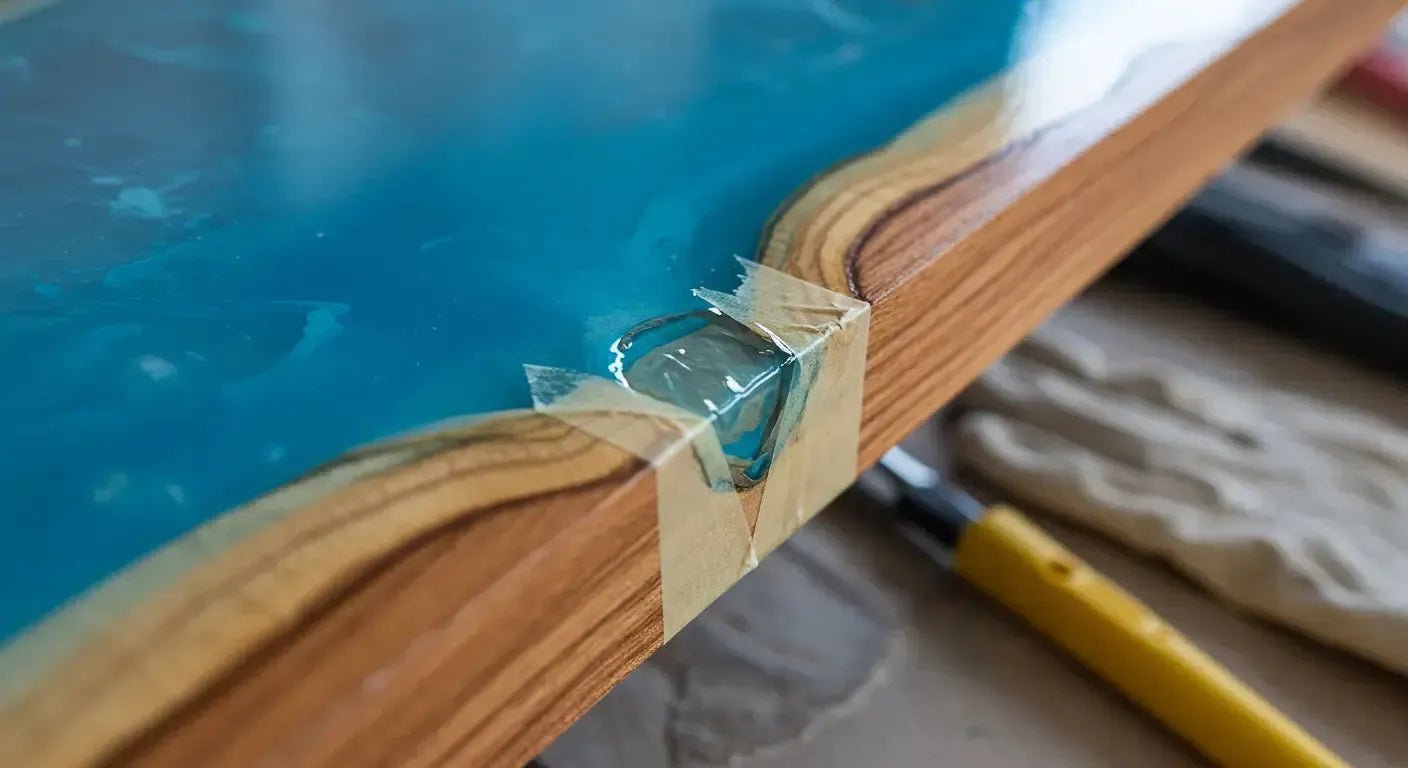 Photo: resinsociety.net on Google
Good habits and small barriers protect the plastic surface from sudden impacts, harsh heat, and sharp objects.
| If you’re doing this | Do this instead | Why |
|---|---|---|
| Setting hot pans directly on the surface | Use thick cork or silicone trivets | High heat softens cured resin and leaves permanent, cloudy rings |
| Sliding rough ceramic dishware across resin | Place felt stickers under cup and bowl bases | Unglazed ceramic bottoms act like coarse grit and score clear plastic |
| Placing the table near south-facing windows | Apply UV-filtering window film or pull blinds | Direct sunlight breaks polymer bonds and turns clear resin yellow |
| Scrubbing the top with abrasive bleach pads | Wipe with a clean microfiber cloth and mild soap | Coarse scour pads haze the shiny surface and strip the gloss layer |
| Chopping food directly over the epoxy | Always place a wood cutting board down | Steel knife blades cut deep grooves right into the plastic |
Frequently asked questions
Can you polish scratches out of an epoxy table?
Yes, you can polish out shallow scratches using a clean microfiber cloth and fine automotive compound. This works best when your fingernail doesn’t catch in the groove. Deep scratches require sanding through several progressive grits or filling the void with fresh epoxy resin before polishing.
What is the best sandpaper grit for epoxy?
Start with 220-grit if you plan to pour a new layer, or 400-grit for spot repairs. Sand progressively up through 800, 1000, 1500, and 2000-grit while adding water to lubricate the paper. Finish with a liquid polishing compound to restore a glass-like shine.
How long does an epoxy repair take to dry?
Most clear tabletop epoxies take 24 hours to cure hard enough to sand at 70°F (21°C). Cold rooms double this drying time. If your room is 60°F (15°C) or lower, don’t apply resin until you warm the space, because the chemical cure can fail entirely.
Why is my repaired epoxy still sticky?
Sticky epoxy means you used the wrong mixing ratio or didn’t stir the two parts thoroughly. Unmixed resin can’t cure on its own. You must scrape off the sticky liquid using a putty knife, clean the gouge with isopropyl alcohol, and mix a fresh batch correctly.
Can you use car wax on an epoxy table?
Yes, high-grade carnauba paste wax or automotive polish works well to protect epoxy and restore shine. Apply a thin layer with a foam pad, let it dry to a haze for five minutes, and buff it off using a soft microfiber towel. Check the wax manufacturer’s instructions for exact drying and buffing times.
Related guides