
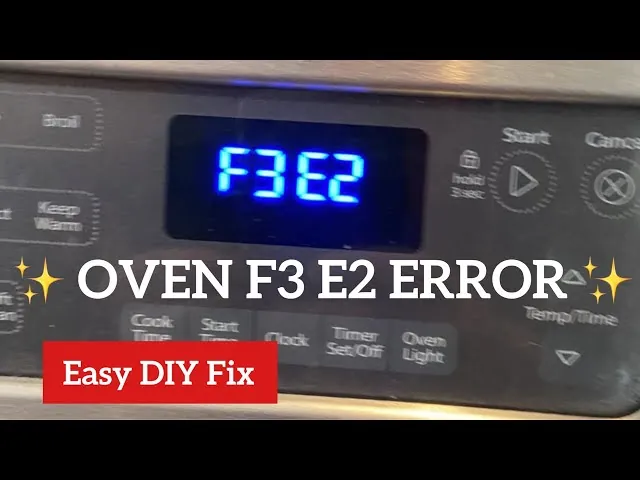
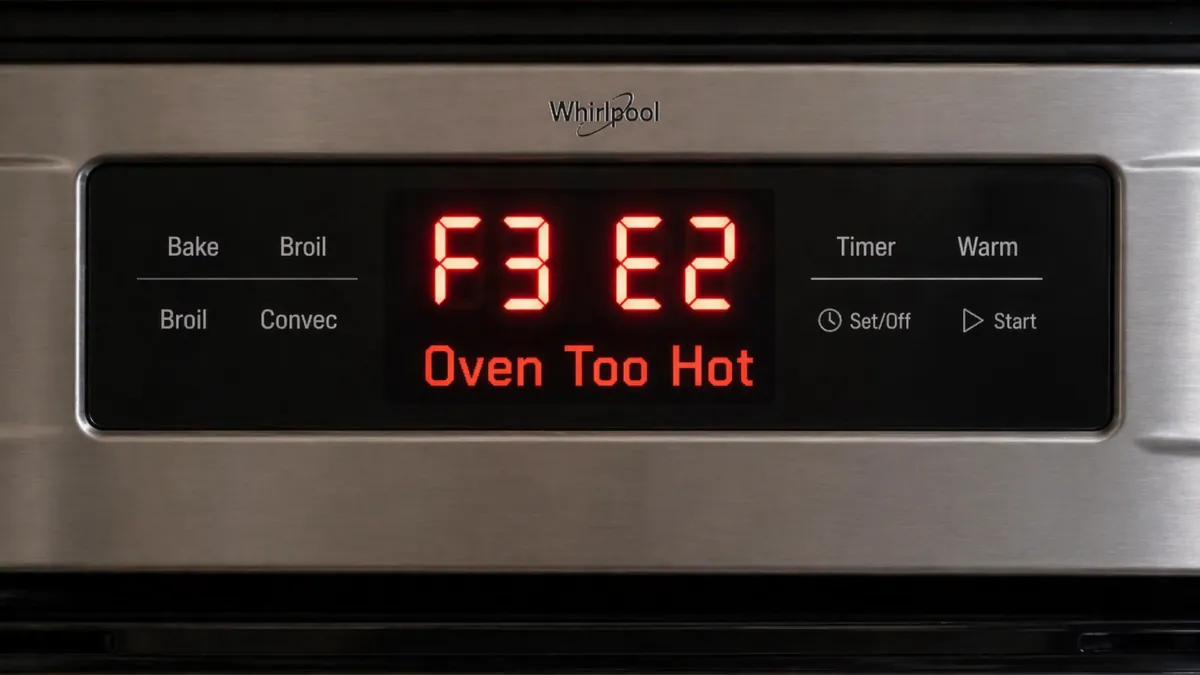
A whirlpool oven f3e2 is a diagnostic code that signals a failure in the oven’s temperature sensor circuit. This error means the control board can’t read the temperature inside your oven correctly because the sensor is disconnected, shorted, or broken. If you see this code, the oven will stop heating immediately to prevent overheating or food spoilage. You must fix the sensor connection or replace the part before the system will allow the oven to function again.
Troubleshoot your Whirlpool oven error
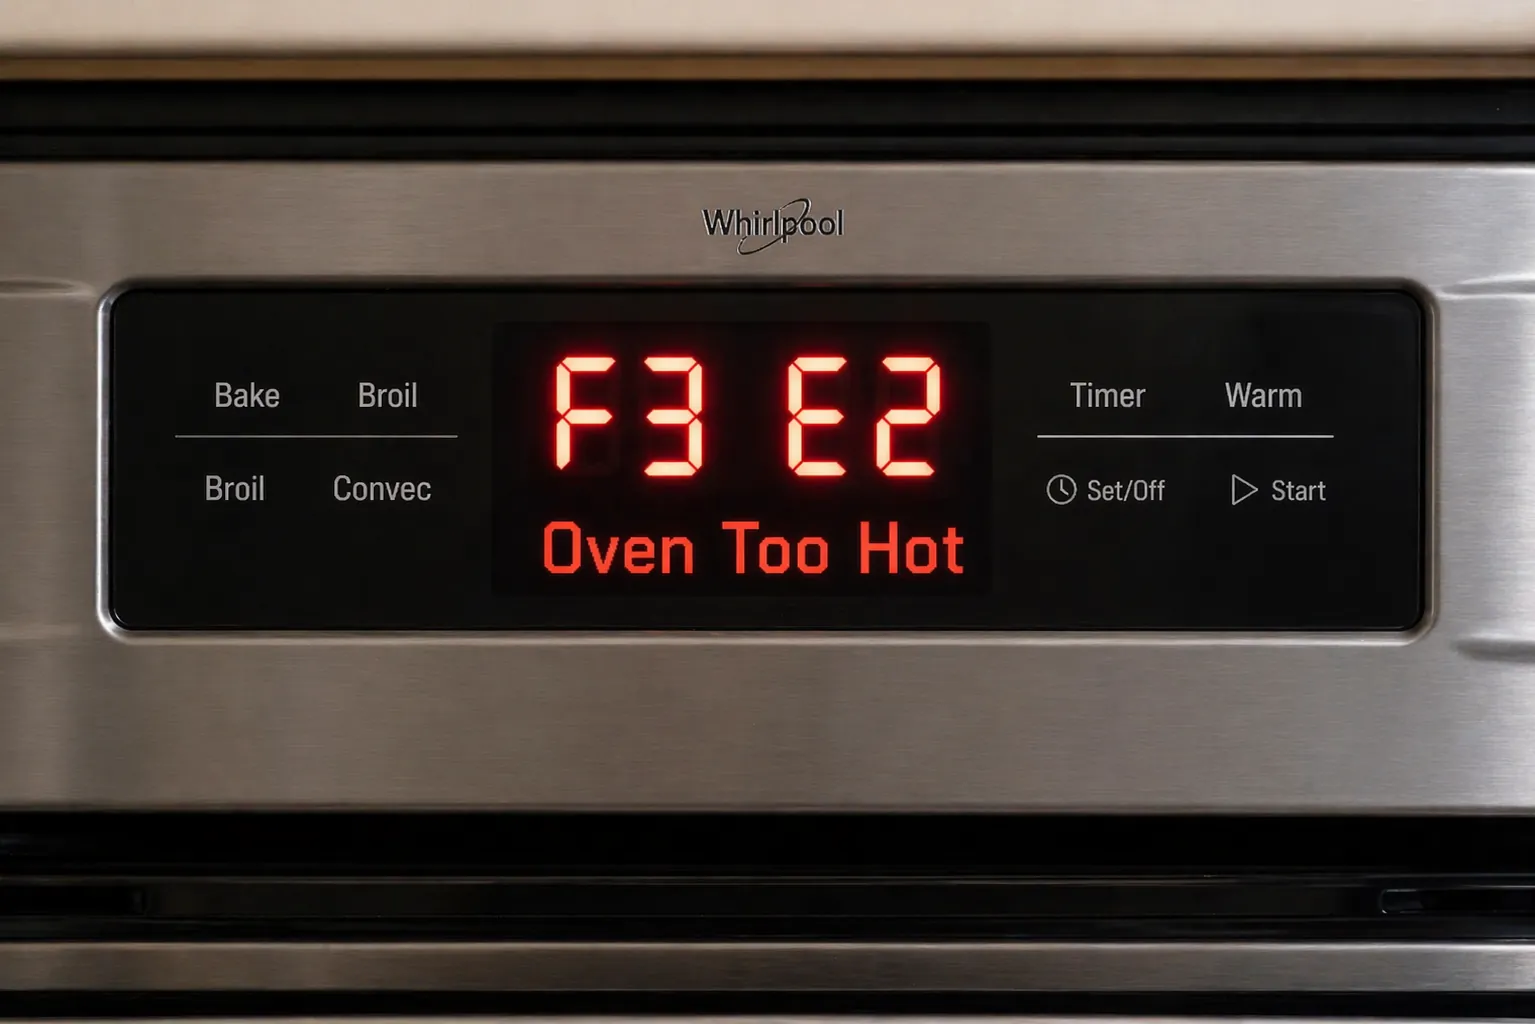
Turn off the power at the circuit breaker for 60 seconds to reset the electronic control board. This clears transient voltage spikes that often trigger false f3e2 codes.
Check the sensor wire harness behind the back panel for any loose, burnt, or disconnected pins. If you find charred plastic near the terminals, the harness itself is likely compromised and must be replaced alongside the sensor to prevent a recurring short.
Have a professional technician test the sensor resistance; if the sensor is faulty, it requires a replacement part.
Ensure the sensor probe inside the oven cavity isn’t touching the walls or racks, which causes false readings. Ensure the sensor probe is securely mounted to the back wall of the oven using the factory-provided bracket.
If the f3e2 code persists after these steps, inspect the control board for visible heat damage or bulging capacitors. If the board appears pristine but the error remains, the internal relay controlling the sensor circuit has likely failed. In this specific case, replacing the entire control board is the only viable path forward, as individual relay soldering is rarely a permanent fix for high-heat appliance environments.
Why the sensor fails
The temperature sensor, often called an RTD or Resistance Temperature Detector, is a small probe located inside the back of your oven. It monitors the heat levels and tells the control board how much power to send to the heating elements. When the board receives a signal that’s outside of the expected range, it triggers the f3e2 error code to keep the appliance safe.
This failure usually happens because the sensitive wires inside the probe have broken over time. Ovens go through constant cycles of extreme heat and cooling, which causes the metal inside the sensor to expand and contract. Eventually, this stress causes the internal circuit to break or short out. You can find the specific part number for your model on the official Whirlpool product help page.
If you aren’t a professional technician, don’t attempt to measure the resistance; a technician should check the sensor terminals to determine if the internal wiring has failed and the sensor must be replaced.
External factors also play a role in this fault. If you recently moved the oven or performed cleaning, you might have bumped the sensor probe. Ensure the probe is properly mounted to the back wall of the oven. This creates a short circuit that the control board detects as a sensor failure.
Many owners mistakenly replace the entire control board when the issue is merely a probe touching the oven wall. Always inspect the probe for physical damage or debris that might be interfering with its connection. Ensure the probe is securely mounted to the back wall of the oven.
When the code persists
| Situation | What changes | What to do instead |
|---|---|---|
| Sensor is fine | Wiring harness is damaged | Repair or replace the wire harness |
| New sensor installed | Error remains on display | Recalibrate the control board |
| Power reset fails | Control board is faulty | Contact a qualified service technician |
| Visible loose wire | Connection is unplugged | Secure the plug firmly |
| Probe looks normal | Resistance is incorrect | Install a new temperature sensor |
If your multimeter shows resistance within the manufacturer’s specified range, the sensor is functional. Don’t replace it. Check the harness for continuity instead. A break inside the insulation often hides behind a clean exterior.
If you replace the sensor and the error persists, you likely skipped the hard reset. Disconnect the unit from the power source for at least ten minutes. This drains the capacitors that hold the error code in memory. If the code returns immediately upon power-up, the control board has failed to clear its logic.
Many users assume a loose wire is the culprit when they see a disconnected terminal. However, if the terminal is corroded or burnt, simply plugging it back in will fail. The high resistance at the contact point will trigger the error again within hours. You must clean the terminal with electrical contact cleaner before reseating it.
If you’re unsure whether the fault lies in the board or the sensor, have a technician check the harness connector; they can determine if the board is no longer sending a signal or if the sensor is the point of failure.
How to replace the sensor
Disconnect the power to your oven at the main breaker panel to avoid any risk of electric shock. Don’t rely on the oven’s control panel to cut power; live current remains at the terminal block even when the display is dark.
Pull the oven away from the wall and remove the rear access panel using a 1/4-inch nut driver. Keep your screws organized in a magnetic tray, as these fasteners are easily lost behind the unit.
Locate the sensor wire connector, which is usually held in place by a plastic clip or a screw. If the connector is stuck, apply a small amount of contact cleaner rather than pulling the wires directly, which can cause internal breakage.
Unplug the old sensor wire and pull the probe out from inside the oven cavity by removing the mounting screws. If the probe is seized by carbon buildup, gently scrape away the debris or use a non-toxic cleaner.
Insert the new sensor probe, ensuring it’s centered and not touching any metal surfaces inside the oven. Ensure the sensor probe is securely mounted to the back wall of the oven.
Connect the new wire harness, reattach the rear panel, and turn the power back on at the breaker. Run a test bake cycle at 350°F for 15 minutes to verify the error code is gone. If the code persists, check the harness connection again for a loose pin.
Common mistakes that ruin the fix
Forgetting to cut the power at the breaker invites a short circuit that often fries the main control board. A replacement board frequently costs more than half the value of the entire appliance. Always verify the display is dark before you touch a single screw.
Using wire nuts or electrical tape to patch a damaged harness is a dangerous shortcut. The intense heat inside an oven cavity will cause tape adhesive to melt and wire nuts to vibrate loose, creating a fire hazard. Always replace the entire cable assembly to ensure a factory-rated connection.
Installing a generic sensor that fails to match your model’s specific resistance requirements will confuse the thermostat. If your oven shows a temperature variance of more than 25 degrees after installation, the sensor is likely incompatible. Check your manual for the exact ohm rating; if the part doesn’t match that number, return it immediately.
Related guides
- Softub Temperature Sensor: Efficient Hot Tub Control Secrets in 2026
- Are Oven Liners Safe in Electric Oven Models? The Verdict in 2026
Frequently asked questions
Can I clear the f3e2 code without replacing the part?
You can’t clear the code permanently without fixing the underlying issue, as the control board will immediately detect the faulty sensor again. Resetting the power at the breaker may clear the display for a few minutes, but the error will return once the board attempts to poll the sensor. If the sensor is physically broken or shorted, the only way to restore normal operation is to install a new, compatible temperature probe.
How long does an oven sensor usually last?
An oven sensor typically lasts for a certain period, depending on how often you use the high-heat cleaning cycle. Frequent use of the self-clean feature exposes the sensor to extreme temperatures that can accelerate the degradation of the internal wiring. If you notice your oven temperature is consistently off by more than 20 degrees before the code appears, the sensor is likely nearing the end of its lifespan.
Is it safe to use the oven with an f3e2 error?
It isn’t safe to use the oven while an f3e2 error is active because the control board can’t regulate the heat. Without a functioning sensor, the heating elements may stay on continuously, creating a significant fire hazard or burning your food. The system is designed to disable the heating elements automatically as a safety measure until the sensor circuit is restored to a normal working state.
What happens if I use a non-whirlpool replacement sensor?
Using a non-compatible sensor will likely result in inaccurate temperature readings or the immediate return of the f3e2 error code. Different oven models require sensors with specific resistance curves, and a generic part may not communicate correctly with your control board. Always check your oven’s manual or the manufacturer website to ensure the part number matches your specific serial number and appliance model.
Does it matter if the sensor touches the oven wall?
It matters because the sensor must be insulated from the oven frame to provide an accurate reading. Ensure the probe is mounted securely in the back wall using the factory-provided bracket. Ensure the probe is mounted securely in the middle of the back wall using the factory-provided bracket and that no part of the metal housing makes contact with the oven liner.
How much does a new temperature sensor cost?
A replacement temperature sensor is inexpensive relative to the alternative, depending on your specific oven model and where you purchase the part. Prices vary based on whether you choose an original equipment manufacturer part or an aftermarket alternative. Always verify the part number against your oven’s technical manual to ensure the item you buy is compatible with your specific unit’s control system.
Conclusion
If you aren’t comfortable handling electrical components, don’t hesitate to reach out to a certified technician. They’ll have the right tools to safely restore your appliance’s performance. Once the repair is finished, you’ll be back to baking your favorite meals in no time, and your kitchen will feel like home again.
