
For most home projects, a 16-ounce claw hammer is the right size to buy because this weight offers the right balance of force for driving common nails without being so heavy that it tires your arm during light tasks.
Different jobs require different tools. If you’re doing delicate finish work, you might prefer a lighter 12-ounce model. If you’re framing a wall or working with thick lumber, a 20-ounce or 22-ounce hammer provides the extra power needed to drive larger nails.
What size hammer a homeowner really needs
You’re likely looking for a tool that can handle a variety of repairs around the house. Most people who ask this question own a basic toolbox and need one hammer that works for everything from hanging pictures to building a small shelf. This page is written for that person.
If you’re a professional carpenter or a contractor, your needs are different. You likely have specialized tools for framing, roofing, and trim work. This guide focuses on the “all-purpose” hammer that serves a homeowner best. We assume you’re working with standard softwood lumber, which is the most common material used in residential construction.
If you find yourself mostly fixing furniture or doing crafts, a heavy framing hammer will be frustrating to use. It’s too bulky for small nails and can easily damage wood surfaces. Conversely, if you’re attempting to build a deck or shed, a tiny 12-ounce hammer will make the work take twice as long because you’ll have to swing harder to drive each nail.
Factors that change your choice
The weight of the head is the most important factor in your decision. A heavier head, such as 20 ounces or more, uses gravity to help drive long nails into thick wood. A lighter head, around 12 to 16 ounces, is easier to control for small tasks like tacking trim or hanging wall art.
The handle material also changes how the hammer feels. Wood handles are traditional and absorb vibration well, but they can break if you strike the handle against a nail. Steel handles are nearly indestructible but transmit more shock to your arm. Fiberglass handles provide a middle ground, offering durability and decent vibration control.
People often make the mistake of buying the heaviest hammer available, thinking it is “stronger.” A heavy hammer is only useful if you have the strength to control it accurately. If you struggle to hit the nail head squarely, a heavy hammer will cause you to dent the wood or bend the nails.
The grip style matters for comfort. A textured rubber grip helps prevent the tool from slipping if your hands are sweaty or wet. Smooth handles are easier to clean but can be harder to hold during long sessions.
Steps to select your tool
- Visit a hardware store and pick up several hammers of different weights.
- Hold each one by the end of the handle to feel the balance point.
- Check the weight stamped on the side of the head; 16 ounces is the standard starting point.
- Swing the hammer gently in the air to see if the weight feels comfortable for your wrist.
- Inspect the head to ensure it’s securely attached to the handle with no wiggle.
- Look for a claw design that’s slightly curved, as this is most versatile for removing nails.
- Test the grip by squeezing it to ensure it feels secure and comfortable in your palm.
- Choose a model that feels like an extension of your arm rather than a heavy weight.
The judgement call is finding the “sweet spot” of balance. A good hammer should feel like the weight is concentrated in the head, not the handle. If the handle feels too heavy, you’ll tire out quickly.
Hammer options at a glance
| Situation | Recommended Weight | Handle Type | Watch for |
|---|---|---|---|
| General home repair | 16 oz | Fiberglass | Secure head |
| Framing/heavy work | 20-22 oz | Steel | Vibration dampening |
| Finish/trim work | 12-14 oz | Wood | Smooth face |
| Frequent nail pulling | 16 oz | Steel | Sharp claw |
| Occasional use | 16 oz | Composite | Comfort grip |
A 16-ounce hammer covers most tasks around the house. That weight drives a standard framing nail without tiring your arm after ten minutes.
Wood handles absorb shock better than fiberglass. They cost less than steel, too. Check where the handle meets the head before buying. A loose joint means every strike vibrates straight into your wrist.
Framing requires more force per swing. A 20-ounce or 22-ounce steel hammer delivers it. The tradeoff is fatigue and joint strain over a long day. Look for a thick rubber grip that isolates vibration from your palm.
Without that dampening layer, you risk tendon pain by lunch.
Finish carpentry demands control rather than power. A 12-ounce or 14-ounce hammer lets you set small brads without denting the surrounding wood. Choose a smooth striking face instead of a waffle pattern.
Waffle faces leave circular marks on delicate trim. Wood handles offer the best feedback for these precise taps. You feel exactly when the nail seats flush.
Pulling nails happens constantly during remodeling. A sharp claw grips the shank below the head. Dull claws slip off and gouge the surface. Steel handles survive the leverage of prying out stubborn spikes.
Fiberglass snaps under heavy prying loads. Keep a dedicated demo bar nearby if you pry often.
If you hang pictures twice a year, pick comfort over performance. A composite handle with a soft grip prevents blisters.
Differences between quality and poor results
Preparing for the task
Experienced users inspect the nail and the wood before they start swinging. They ensure the nail is straight and the wood is steady, which prevents the nail from bending. Beginners often swing as hard as they can immediately, which leads to “hammer marks” on the wood surface. A clean result comes from controlled, rhythmic swings rather than brute force.
Maintaining control
Professionals hold the hammer near the end of the handle to maximize leverage. This allows the weight of the head to do the work. Beginners often “choke up” on the handle, holding it near the head. This removes the mechanical advantage, forcing the user to use more muscle and increasing the risk of missing the nail.
Fixing common issues
| What you notice | What it usually means | What to do first | How to stop it |
|---|---|---|---|
| Nail keeps bending | Too much force | Use lighter strikes | Check nail alignment |
| Hand feels sore | Excessive vibration | Take a break | Use rubber grip |
| Head feels loose | Loose attachment | Stop using now | Replace tool immediately |
| Wood is dented | Misaligned strike | Sand the surface | Use a nail set |
| Nail won’t go in | Hard wood density | Pre-drill a hole | Use thinner nails |
A bending nail almost always means your swing arc is off. You’re hitting hard but not straight. Lighten up and watch the tip, not the head.
If the nail starts to curve, pull it out right away. Driving a bent shank deeper splits the grain from the inside out. That split is invisible until the joint fails under load.
Sore hands point to vibration traveling down the steel shaft. The mistake people make here is gripping tighter to compensate. A death grip locks your joints and transfers every shock wave into your wrist.
Hold the handle near the end instead. Let the hammer weight do the work. If you still feel it after twenty minutes, slide on a rubber sleeve or wrap the grip with friction tape.
A loose head is the one issue where you must quit immediately. Don’t wedge a shim in the eye and keep swinging. That fix lasts maybe ten strikes before the head clears the handle at full speed.
Dented wood happens when the hammer face lands beside the nail head. This is common when you try to drive the last eighth of an inch with full swings. Switch to a nail set for those final taps. It sinks the nail flush while keeping the hammer face safely away from the surface.
When a nail stops dead, you have hit dense latewood or a hidden knot. Forcing it will bend the shank every time. Drill a pilot hole slightly smaller than the nail diameter.
Standards and safety rules
Safety when using hand tools is governed by standards that ensure the tool doesn’t fail during use. The American National Standards Institute provides guidelines for the testing of hand tools to ensure they can withstand repeated impact without the head detaching.
Those guidelines live in the ASME B107 series. That set of documents specifies the exact pull force a hammer head must survive before it separates from its handle.
A common mistake is treating any hardware-store hammer as equal. A framing hammer built to B107.11 handles far more stress than a light tack hammer meant only for upholstery pins.
If you’re working in an area with high safety requirements, such as a construction site, you must wear eye protection at all times. Safety glasses marked Z87+ meet the impact standard most job sites demand.
That plus sign means the lenses passed a high-velocity impact test. Glasses without it meet the basic impact standard but lack the extra high-velocity protection required for tasks like grinding or chiseling.
If you notice the head of your hammer moving even slightly, stop using it immediately. A head that flies off the handle can cause serious injury to you or others nearby. Never attempt to weld or glue a loose hammer head back onto the handle yourself.
Heat from welding changes the temper of the striking face. A hardened steel head that has been overheated can send sharp fragments outward on the very next swing.
Epoxy fails because wood swells and shrinks with humidity while cured resin stays rigid. That mismatch breaks the bond within days of normal use.
The decision rule is simple. If the head shifts at all, replace the handle or retire the entire tool. Soaking a wooden wedge in water to swell it’s a temporary fix that dries out fast.
Understanding the cost
The cost of a hammer varies based on the materials and the brand reputation. A reliable, standard-weight hammer for home use is inexpensive relative to the alternative. Higher prices usually reflect better steel quality, which stays sharp and resists chipping. They also cover advanced vibration-dampening technology in the handle.
Avoid the cheapest options found in discount bins. These often have poor balance and heads that aren’t properly tempered. An inexpensive hammer might seem like a bargain at the register. It will cost you more in frustration and replacement time if it breaks. It can also damage your projects. Always compare the weight and grip feel rather than just the price tag.
One common mistake is buying a framing hammer for general household tasks. Framing hammers weigh 20 to 32 ounces and carry a steep price. Using one to hang picture frames or assemble flat-pack furniture tires your arm fast. It also leaves dents in soft wood trim.
If your work involves driving nails into framing lumber outdoors, buy the heavier tool. If you mostly do indoor repairs or light assembly, stick to a 16-ounce claw hammer. That single decision rule prevents most overspending at the hardware store.
Another hidden cost comes from handles. Wood handles absorb shock naturally but snap under heavy lateral force. Fiberglass costs slightly more upfront but survives accidental overstrikes that shatter hickory.
Steel one-piece hammers last nearly forever but transfer all impact straight to your elbow. People who swing a hammer daily often develop joint pain from ignoring this trade-off. Paying slightly more for a cushioned grip saves you medical bills later.
Keeping your tool in shape
After you finish your work, wipe the hammer head with a clean cloth to remove dust or debris. If the head is made of raw steel, a light coating of machine oil can prevent rust if you live in a humid area. Store the hammer in a dry toolbox or hang it on a wall rack.
If the handle is wood, check it occasionally for cracks or splinters. If the wood feels dry or brittle, you can rub a small amount of linseed oil into the grain to keep it supple. If the head starts to wobble, it’s time to retire the tool, as it’s no longer safe to strike objects with force.
When to choose a different tool
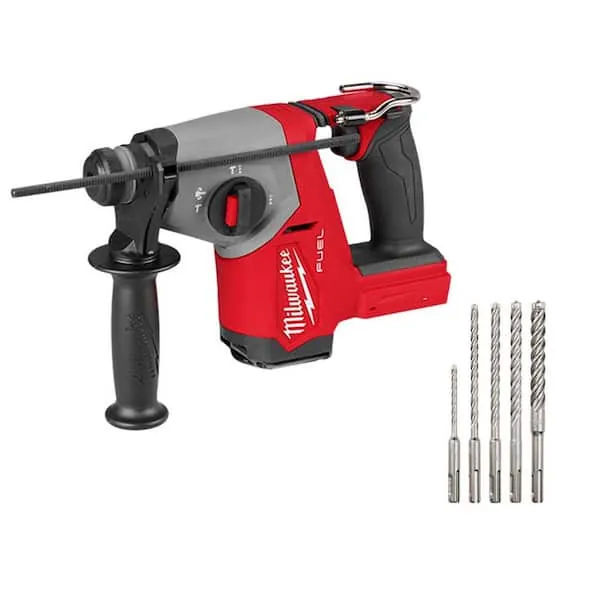
If your task involves driving very large landscape spikes or breaking up concrete, a standard claw hammer is the wrong choice. Use a sledgehammer or a specialized mallet instead. These tools are designed for heavy-duty demolition. They provide the mass required to move heavy objects without damaging your delicate claw hammer.
A common mistake here is trying to save time by using one tool for everything. People grab a sixteen-ounce framing hammer to tap trim into place. The extra weight crushes soft pine before you can stop your swing.
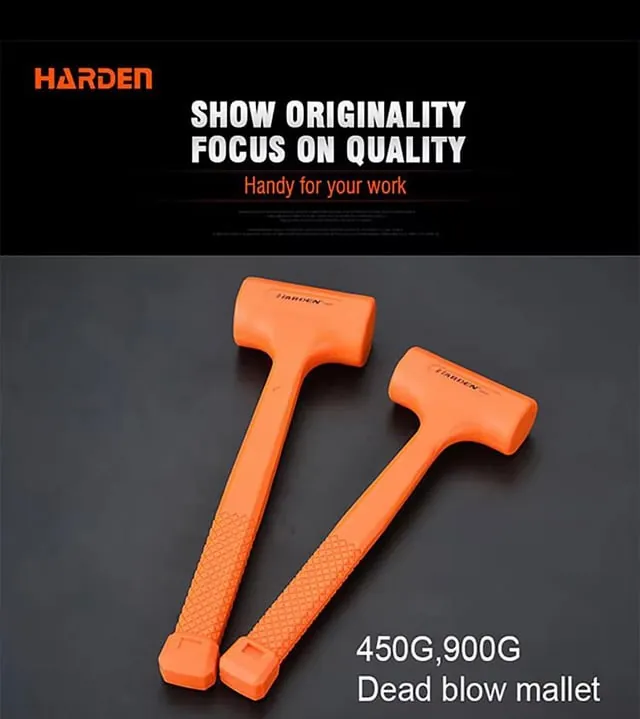
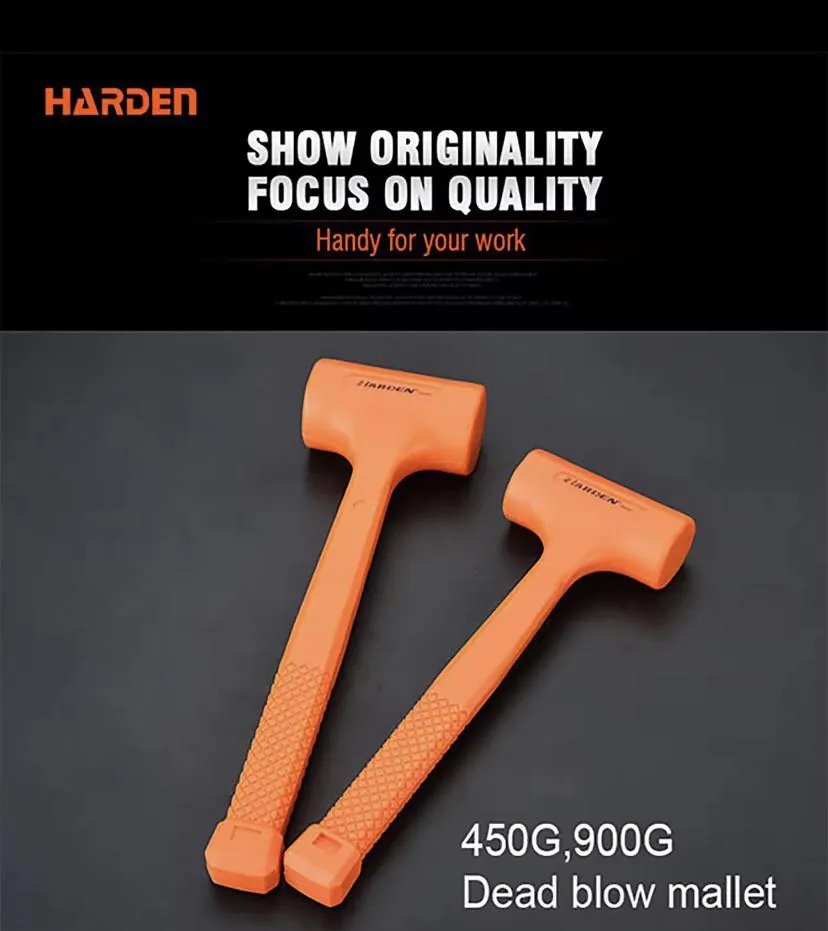
If you’re working with extremely hard materials like masonry or tile, a regular steel hammer will bounce and potentially shatter. In these cases, you need a hammer with a rubber or plastic head to protect the material. Never use a metal-headed hammer on stone or tile. The risk of flying debris is high.
The decision rule is simple. If the surface dents under your thumbnail, use a non-marring face. If it doesn’t dent, use hardened steel.
Precision work demands a different tool entirely. Setting hinge screws requires control that a framing hammer can’t offer. A small tack hammer weighs just a few ounces. It lets you seat hardware without splitting the wood around the screw holes.
Overhead work changes the math too. Swinging a heavy hammer above your shoulders tires your arms fast. Fatigue leads to missed strikes. Switch to a lighter hammer when you must work above eye level. You trade some force for accuracy. That trade keeps your knuckles intact.
Frequently asked questions
Can I use a heavy hammer for everything?
No, a heavy hammer is often too clumsy for small tasks. Using a 22-ounce framing hammer to hang a small picture frame will likely result in damaged walls and bent nails. Stick to a 16-ounce tool for general household work to maintain the best control.
Why do some hammers have a smooth face?
A smooth face is used for finish work where you don’t want to leave marks on the wood. Hammers with a “waffle” or textured face are meant for framing, where the grip on the nail head is more important than protecting the appearance of the lumber.
Is it safe to use a rusted hammer?
It’s safe to use a rusted hammer if the rust is only on the surface and the head is still securely attached. Use steel wool to remove the rust and then apply a light coat of oil to prevent it from returning. If the rust has eaten into the metal, replace the tool.
How long should a hammer last?
A high-quality hammer can last for many decades if it’s used properly and stored in a dry place. The main sign that it’s time to replace it’s a loose head or a cracked handle, both of which indicate the tool is no longer safe for impact.
Does the handle length matter?
Yes, a longer handle provides more leverage, which makes it easier to drive large nails with less effort. However, a longer handle is also harder to control for delicate work. For most home users, a standard 13-inch to 16-inch handle length is the ideal compromise.
What happens if I hit the handle?
Hitting the handle against a nail or a hard surface can cause it to crack or snap, especially if it’s made of wood. This creates a dangerous situation where the head could fly off during your next swing. Always focus on hitting the nail with the face of the hammer.
Conclusion
Start by visiting a local home improvement store to hold a few different models. You should feel comfortable with the weight in your hand as you simulate a light swing. If the hammer feels too heavy to control or the grip is too wide for your palm, put it back and try a different weight or handle style until you find the perfect fit.
Related guides