
For most household tasks, you should choose a pair of 7-inch or 8-inch pliers because these sizes provide the best balance of leverage and control for common repairs. While smaller tools fit into tight spaces, they lack the force needed for tougher jobs, and larger tools become difficult to manage with one hand. When deciding what size pliers to buy, consider that your hand strength and the specific material you need to cut or grip will ultimately dictate the most comfortable option.
Who should buy general-purpose size pliers
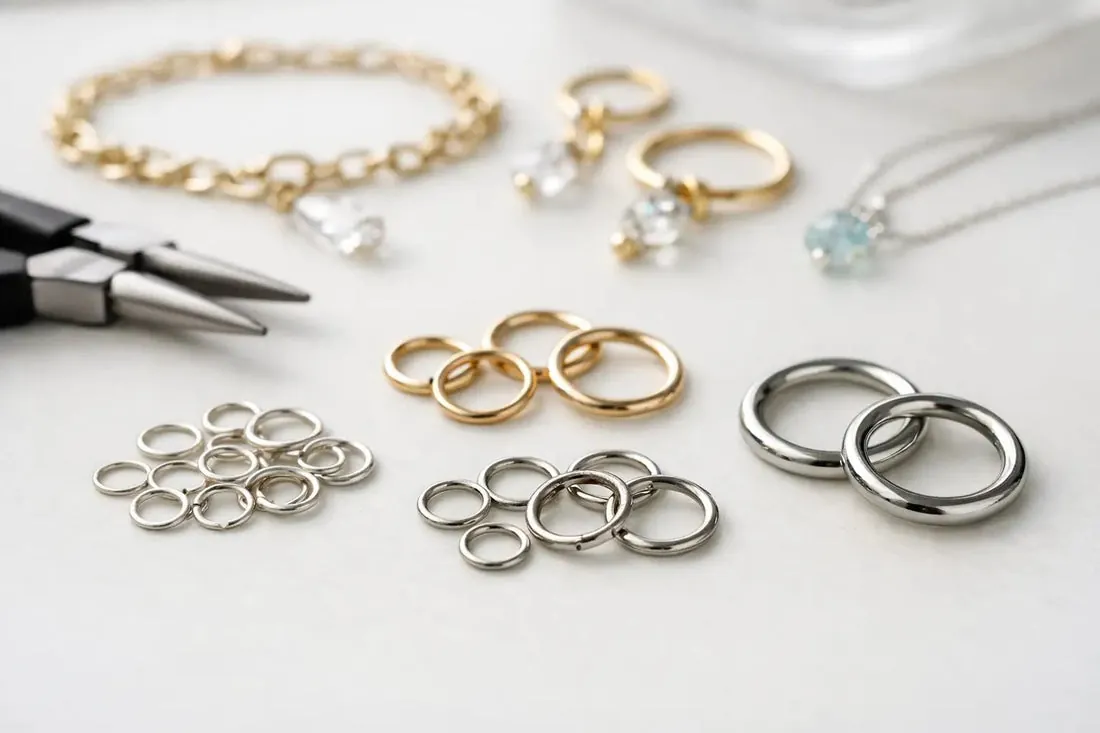
You likely want a versatile tool that handles everything from tightening a loose bolt to pulling a stubborn nail. These users usually own a basic toolbox and need a single pair that covers 90% of home maintenance tasks. If you’re doing light electrical work, you need a pair with insulated handles that meet safety standards.
Professional tradespeople require specialized tools for specific tasks, such as long-nose pliers for reaching into circuit boards or heavy-duty linesman pliers for thick copper wire. If you’re a professional, this overview of household plier selection will feel too basic for your needs, as you likely already rely on specific brands for their ergonomic design or specific jaw hardness.
This guide assumes you’re a homeowner or a DIY beginner who wants one reliable tool. You need a pair that fits your hand comfortably without causing strain during brief use. If you have smaller hands, you might find an 8-inch tool feels heavy or awkward, while those with larger hands may find a 6-inch tool too small to grip firmly.
Factors that change your choice
The amount of force you need is the biggest factor when choosing a tool. If you’re cutting through thick metal wire, you need longer handles to provide extra leverage. A 10-inch pair offers significantly more cutting power than a 6-inch pair, but it adds weight and takes up more space in your drawer.
The second factor is the space where you work. If you’re reaching into a crowded engine bay or a small electrical box, a long-nose pair is necessary. These tools are thinner at the tip, allowing you to grab objects in tight corners where standard pliers can’t fit.
Hand size is the third factor, and it’s the one people ignore most often. If your hand can’t open wide enough to grip the handles comfortably, you’ll lose control of the tool. Try holding the tool in the store; if your fingers are fully extended just to open the jaws, the tool is too large for you.
Finally, consider the jaw type. Some pliers have flat teeth for gripping, while others have curved jaws for turning pipes. If you plan on working with plumbing, you need a specialized jaw shape rather than a standard flat one.
How to select your pliers
- Identify the primary material you’ll work with, such as soft copper wire or steel bolts.
- Hold the tool in your dominant hand to ensure the handles don’t feel too wide or slippery.
- Check the pivot point for smooth movement; the jaws should open and close without catching.
- Look for the American National Standards Institute markings on the packaging or the tool itself to ensure it meets quality and safety requirements.
- Test the grip by clamping onto a small object to see if the jaws meet perfectly along their entire length.
- Verify that the cutting edge is sharp and free of gaps when the tool is fully closed.
- Confirm the handle insulation is rated for the voltage you might encounter if you’re working near electricity.
The judgment call that separates a pro from a beginner is knowing when the tool has reached its limit. If you have to use both hands to force the jaws shut, you’re using the wrong size tool for the job.
Comparison of common sizes
| Tool size | Best use case | Effort level | Watch for |
|---|---|---|---|
| 6-inch | Precision work | Low | Tight spaces |
| 7-inch | General household | Medium | Versatility |
| 8-inch | Electrical wiring | Medium | Handle comfort |
| 10-inch | Heavy-duty gripping | High | Extra weight |
| 12-inch | Large pipe work | Very high | Storage space |
The jump from six to seven inches matters more than people expect. You feel it immediately when pulling a stubborn nail.
Six-inch pliers fit inside standard electrical boxes without scraping the wires. A seven-inch tool will wedge itself against the drywall edge. You then have to twist your wrist at an awkward angle just to get a grip.
Most homeowners buy one pair and leave it in a kitchen drawer. Seven inches is the correct choice for that single-pair strategy. It opens wide enough for a half-inch nut while staying light enough for small picture hooks.
A common mistake is buying ten-inch pliers because they look more capable. They are, but only if your hands can sustain the squeeze pressure. Fatigue sets in after about four minutes of continuous use for most adults.
Eight-inch models hit the sweet spot for stripping wire or bending conduit. The jaws stay aligned under higher torque than the seven-inch version. Electricians prefer them because the handles clear standard junction box covers.
Twelve-inch pliers belong on a plumbing truck, not in a toolbox. They weigh nearly two pounds and require a dedicated slot. If your tool bag lacks a bottom sleeve, they will crush smaller items during transport.
Use this rule when deciding between two adjacent sizes. Pick the smaller one unless you regularly face rusted bolts over three-eighths of an inch. Rust demands the leverage that only the next size up provides.
Precision versus power
Why length matters for leverage
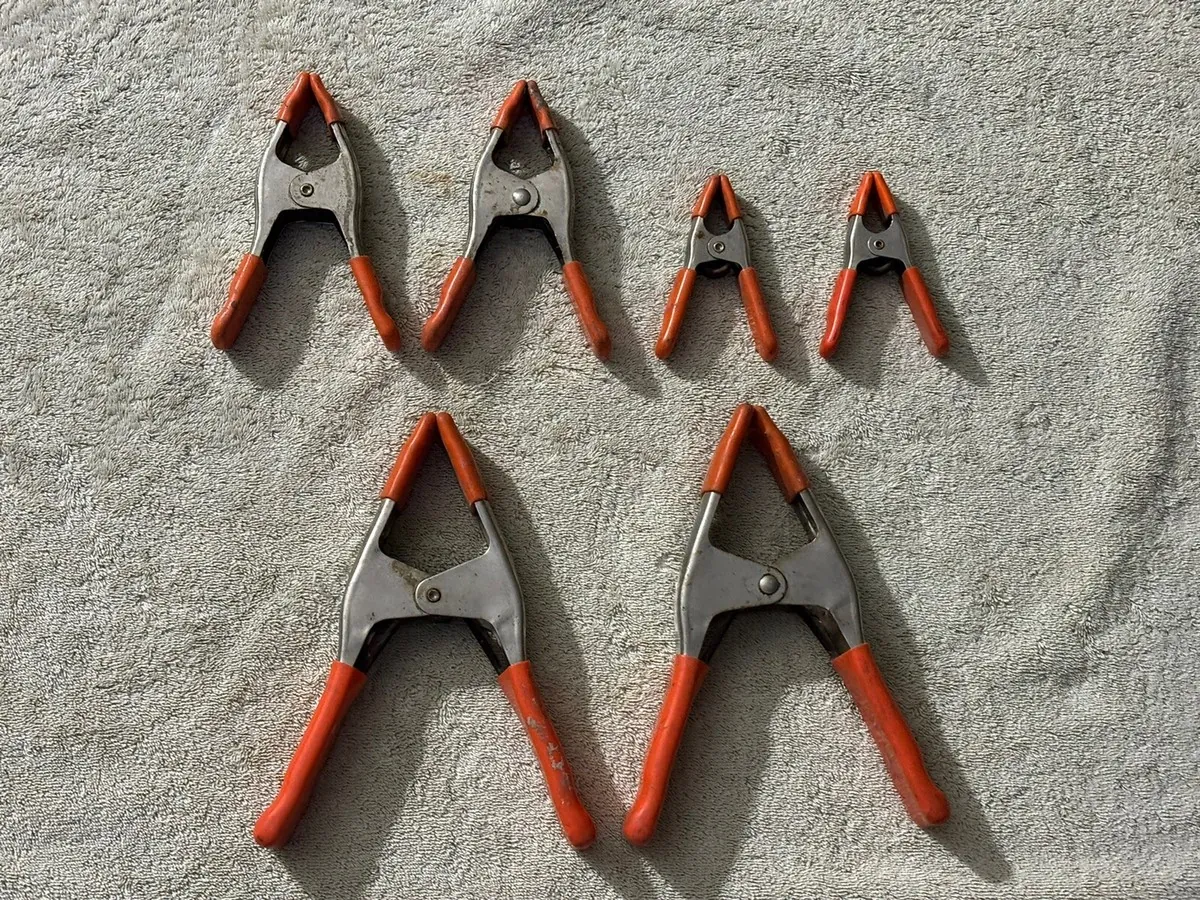
The length of the handle acts as a lever. Experienced users know that a longer handle multiplies the force applied at the tip. Beginners often buy short pliers for heavy tasks, which leads to hand fatigue and broken tools. Always match the tool length to the resistance of the material you’re cutting.
When to leave the tool alone
Experienced people know that pliers aren’t a substitute for a wrench. If you use pliers on a bolt, you’ll likely round off the corners and damage the fastener. Always use the right tool for the job to avoid costly repairs later.
Troubleshooting common issues
| What you notice | What it means | What to do first | How to stop it |
|---|---|---|---|
| Jaws don’t meet | Tool is worn | Replace the pliers | Avoid over-torquing |
| Handle feels loose | Poor construction | Tighten pivot screw | Buy quality steel |
| Rust on the head | Moisture exposure | Clean with oil | Store in dry box |
| Slipping on bolts | Wrong jaw shape | Use a wrench | Use proper tool |
| Hand cramping | Tool too large | Use smaller size | Take regular breaks |
Regulations and safety rules
Safety standards are essential when you choose tools for electrical work. The International Electrotechnical Commission sets the rules for insulated tools, ensuring they protect you against shock.
The specific standard governing these hand tools is IEC 60900. It requires every certified tool to withstand a high-voltage test without breakdown, which a technician must verify. This proves it can safely handle its rated working voltage.
If you’re working on live circuits, you must use tools specifically rated for that voltage. That rating is clearly marked on the handle. Look for the IEC 60900 marking and voltage rating stamped on the tool.
A common mistake is trusting a red plastic grip as proof of electrical protection. Many standard hardware store tools have red handles for visibility only. They lack the thick dielectric layer required by the standard.
Using such a tool in an energized panel offers zero arc flash protection. The resulting fault current can vaporize metal directly into your face and hands. Never use standard household pliers on high-voltage lines.
Insulation also degrades over time through mechanical wear or chemical exposure. A small nick in the outer jacket compromises the entire protective barrier. Inspect every tool under bright light before each shift.
Run your thumb along the insulated shafts to feel for cracks or gouges. If you find any damage, remove the tool from service immediately. Don’t wrap it with electrical tape and hope for the best.
If you’re unsure about the safety rating, consult the manufacturer’s documentation. Using an uninsulated tool in an electrical box can lead to severe injury or death.
Regulations also dictate how these tools must be stored between jobs. Tossing them loose in a metal toolbox damages the insulation quickly. Keep them in dedicated pouches away from sharp edges and solvents.
Always check the official website of the tool manufacturer to confirm the insulation rating before starting any electrical project.
Understanding the real cost
The price of a pair of pliers varies based on the steel quality and the handle material. A basic pair is inexpensive relative to professional-grade tools. You pay more for hardened steel that stays sharp longer. You also pay for ergonomic handles that reduce the risk of injury.
The hidden expense isn’t the purchase price but the damage a bad tool causes to your workpiece. Soft jaws mar polished brass or strip soft fasteners instantly. That single scratched fitting often costs more than the upgrade you skipped at the register.
Avoid the cheapest options in the bin. These tools often use soft metal that deforms the first time you grip a hard object. Spending a little more now saves you from replacing the tool after one or two uses.
Look for chrome vanadium or chrome molybdenum stamped directly into the steel near the pivot.
The joint where the two halves meet determines how much force actually reaches the work. A sloppy pivot spreads under load instead of clamping down tight. Squeeze the handles before buying to check for side-to-side play in the joint. Any wobble means wasted effort every time you pull.
Use this rule when deciding what to buy. For occasional household tasks like pulling a cotter pin, an inexpensive option is fine. For daily electrical work or automotive repair, buy forged joints and induction-hardened cutting edges. The difference between those categories is exactly where cheap tools fail you.
Maintaining your tools
Keep your pliers in a dry, clean area to prevent rust. After using them in a damp environment, wipe the metal clean with a light machine oil. This protects the finish and ensures the hinge continues to move smoothly.
Store them loose in a drawer rather than jammed into a tight tool roll. Constant pressure against other steel tools wears down the jaw teeth over time. A cheap canvas pouch with individual slots costs very little and prevents this damage entirely.
If the hinge becomes stiff, apply a drop of light lubricant to the pivot point. Work the jaws back and forth to distribute the oil, then wipe away any excess. Leaving oil on the handles is a mistake that costs you grip strength. It attracts sawdust and dirt until the handle feels permanently slick.
If the jaws become dull after years of use, you can touch them up with a file. Never remove too much material. Use a fine mill file and follow the original angle of the jaw teeth exactly. Removing more than a few thousandths of an inch changes how the jaws meet. Once they no longer align flush, the pliers will slip under load and mar your workpiece.
Check the return spring on spring-loaded models every few months. These small springs fatigue first because they flex constantly during normal use. If the handles stop snapping open on their own, replace the spring instead of forcing the joint wider. Forcing it bends the pivot pin, which ruins the tool permanently.
Wipe off adhesive residue from electrical tape immediately after each job. Leftover adhesive hardens overnight and bonds dust directly to the steel surface.
When to use a different tool
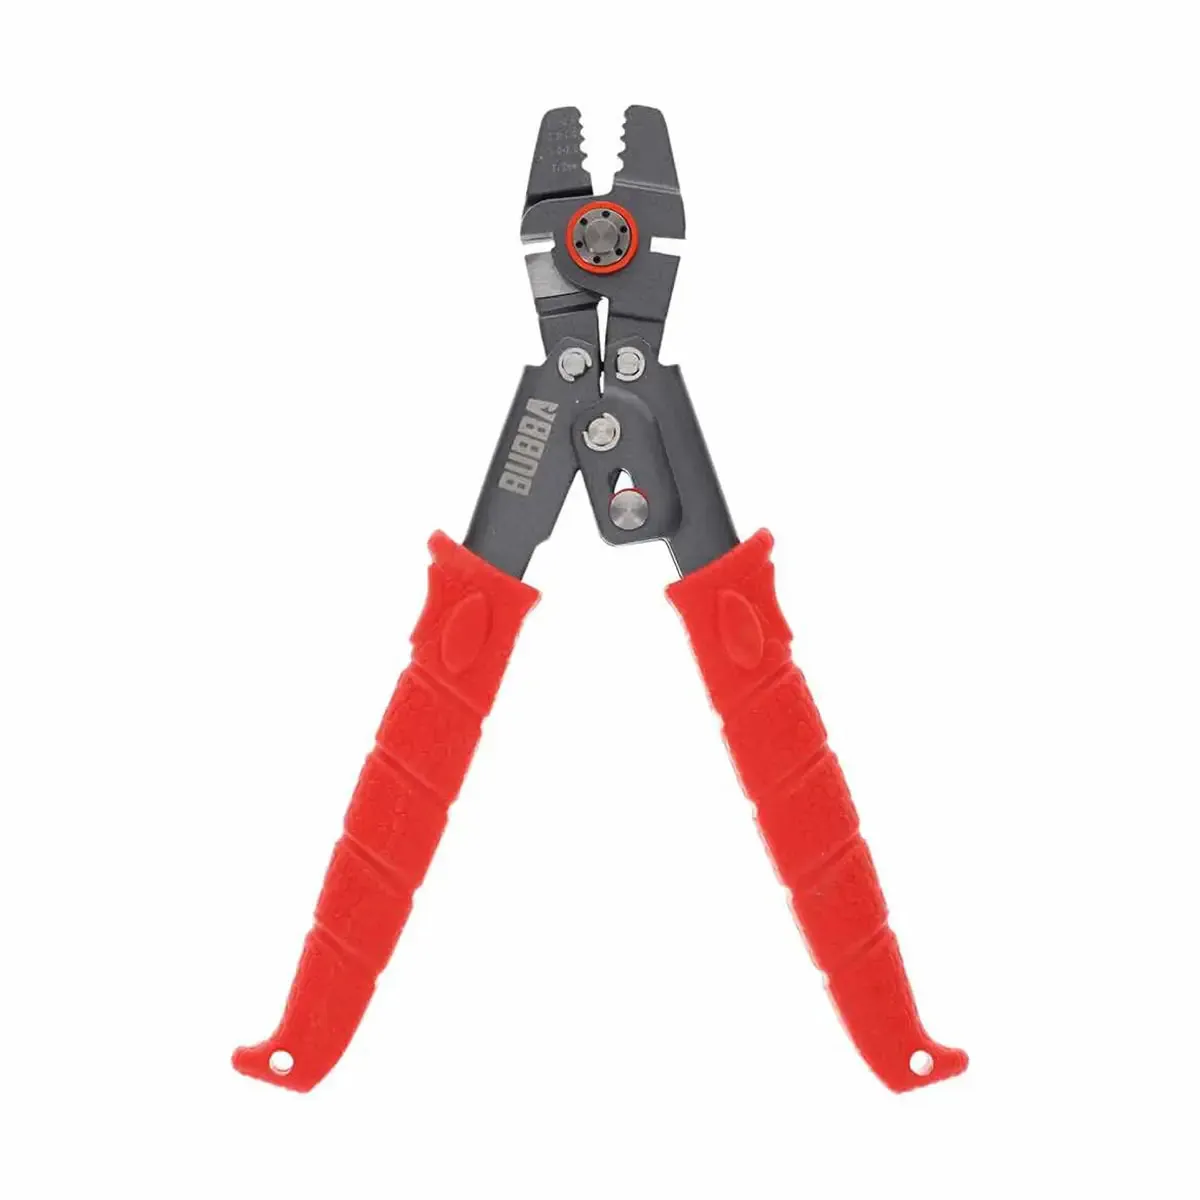
If you’re working on plumbing, standard pliers will struggle to grip smooth, round surfaces like pipes. Use a pipe wrench instead, as it provides a much stronger grip and prevents the tool from slipping.
A pipe wrench has serrated jaws that bite into metal under pressure. The tighter you pull, the harder they hold. Standard pliers lack this self-tightening action. They slide off copper or galvanized steel the moment torque increases.
If you’re removing a bolt, use a socket or an open-end wrench. Pliers are designed for gripping and cutting, not for turning nuts and bolts. Using the wrong tool can strip the bolt head, which makes it much harder to remove later.
A stripped fastener often forces you to drill it out entirely. That turns a ten-second job into twenty minutes of careful extraction work. A six-point socket contacts the flat faces of the nut. Pliers only pinch two opposing corners, rounding them off quickly.
The decision rule is simple: if the fastener has machined flats, use a wrench. If it’s a smooth cylinder, use pliers or a pipe wrench. Mixing these up damages both the hardware and your tools.
Electrical work presents another boundary. Never use standard pliers on live circuits. Lineman’s pliers rated for electrical work have insulated handles tested to specific voltages. Regular grips offer no protection against shock.
Bent or rusted cotter pins also demand the right choice. Needle-nose pliers reach into tight spaces where bulkier tools can’t fit. Trying to force large slip-joint pliers into a narrow gap usually bends the surrounding bracket.
Frequently asked questions
Can I use pliers for every home repair?
No, pliers aren’t a universal solution for every repair. While they’re great for gripping and cutting, they can’t replace specialized tools like wrenches for bolts or screwdrivers for fasteners. Using the wrong tool often causes damage to the parts you’re trying to fix.
How long should a good pair of pliers last?
A high-quality pair of pliers should last for many years if you keep them clean and dry. The lifespan depends on how often you use them and the hardness of the materials you cut. If the jaws become rounded or the pivot becomes loose, the tool has reached its end.
Is it safe to use pliers on electrical wires?
It’s only safe if your pliers are specifically rated for electrical work with insulated handles. You must check that the tool has the correct voltage rating stamped on the handle. If the insulation is cracked or damaged, you must stop using the tool for electrical tasks immediately.
What happens if I buy pliers that are too big?
Buying pliers that are too big makes it difficult to apply force effectively and increases the risk of hand strain. You’ll find that the tool feels heavy, unbalanced, and hard to control in tight spaces. Always choose a size that fits comfortably in your hand for maximum control.
Does the brand matter for pliers?
Yes, reputable brands use better steel and precision manufacturing that ensures the jaws meet perfectly. Cheaper brands often have gaps in the jaws or soft metal that wears down quickly. A better brand provides a tool that performs consistently and lasts much longer under regular use.
How do I know if the tool is high quality?
A high-quality tool has a smooth pivot, perfectly aligned jaws, and a comfortable, secure grip. You can check the alignment by holding the tool up to a light source; if you see gaps between the jaws when closed, the quality is poor. Reliable brands also clearly list their manufacturing standards.
Conclusion
Start by measuring the size of the objects you work with most often. If you can grip the tool comfortably and it feels sturdy in your hand, it’s likely the right choice for your needs. If the tool feels awkward or requires two hands to operate, put it back and choose a smaller model.
Related guides