
Welding is the process of joining metal pieces by applying heat or pressure until they fuse into a single part. Common methods include arc welding like MIG and TIG, gas welding such as oxy-fuel, and resistance welding like spot welding, with each type suited to specific materials and project requirements.
A bare number without its condition is useless here. A 120-volt machine handles up to 1/8-inch steel; use a 240-volt unit for thicker material. Check the manufacturer’s duty cycle chart before setting your amperage.
How to choose between different welding types
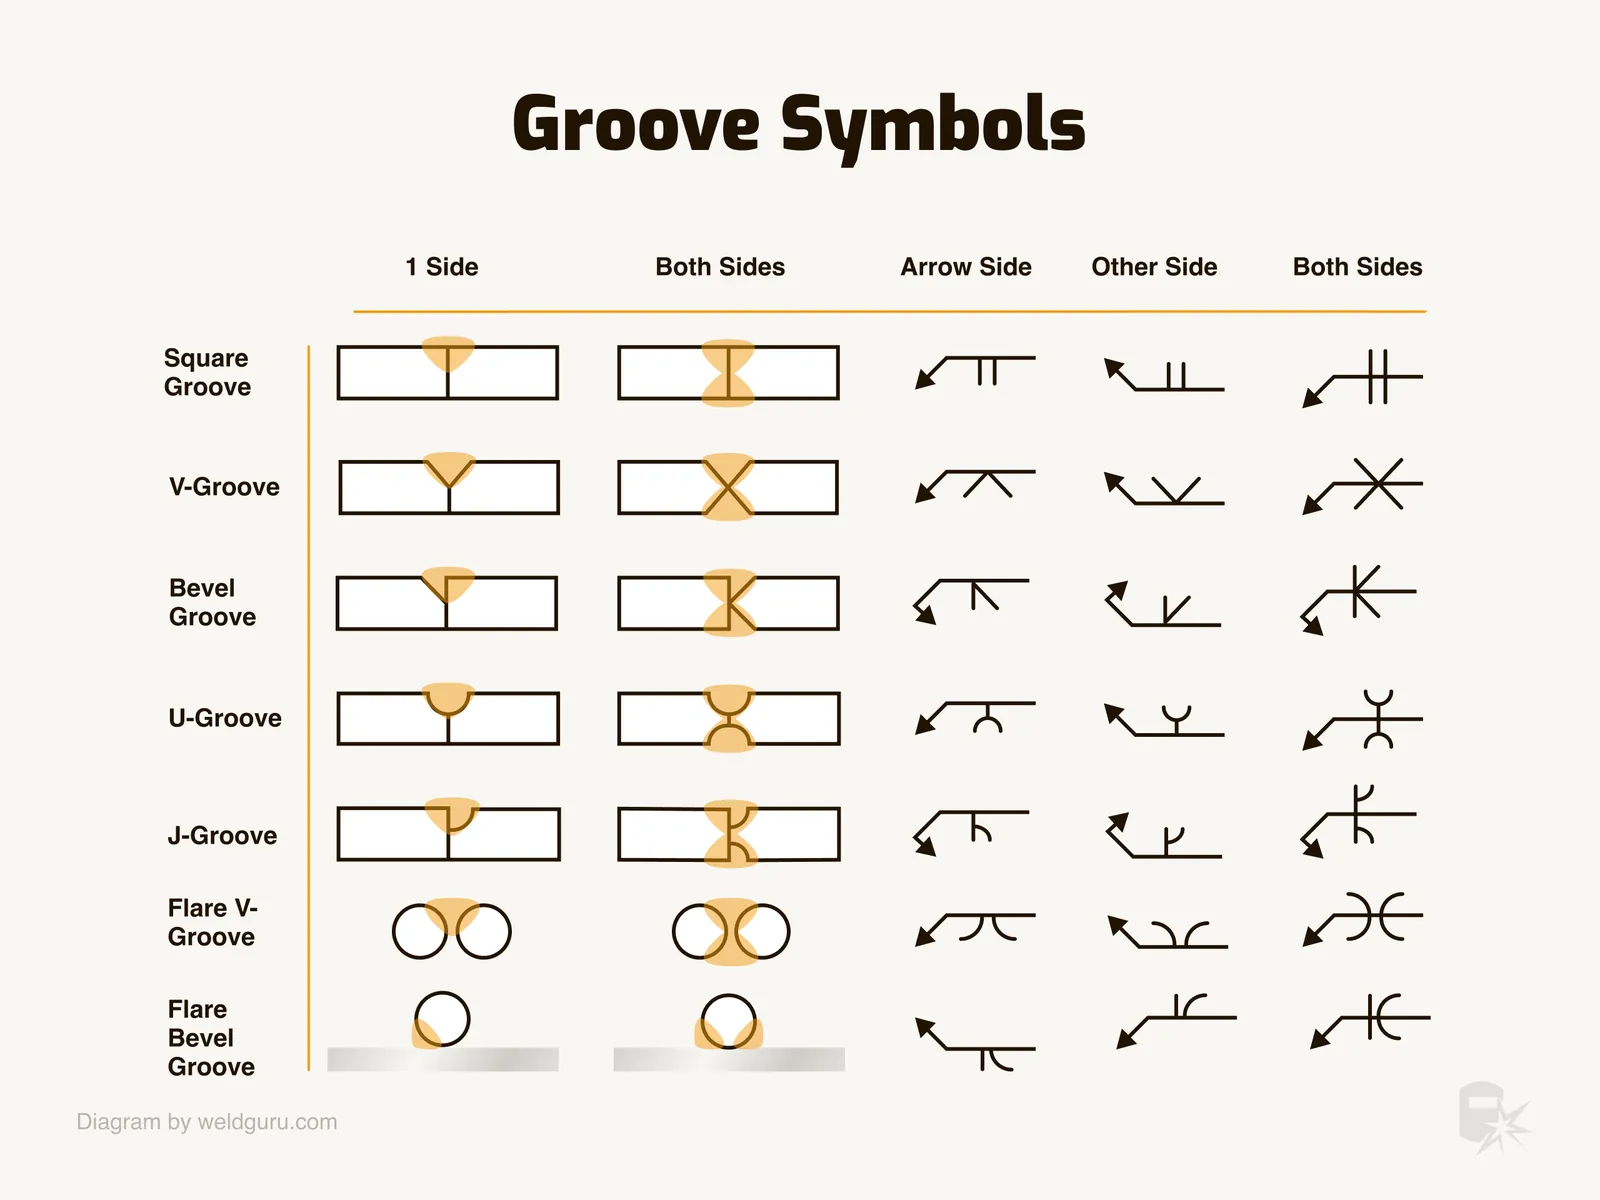
Picking the correct process depends entirely on your material, thickness, and workspace. You don’t use the same tool for auto body repair that you’d use for structural beams.
Here are the four processes you’ll actually use, along with when each one earns its keep.
-
Select MIG (GMAW) for general fabrication. Feed a continuous wire electrode through the gun while carbon dioxide or an argon mix shields the puddle from air. It works best on mild steel from 24 gauge up to 1/4 inch thick using a 120V or 240V machine. Tip: If your wire keeps stubbing into the base metal instead of melting smoothly, your voltage is too low for your wire feed speed. Raise the voltage by half a volt at a time until the arc sounds like frying bacon.
-
Use TIG (GTAW) for precision work on thin or exotic metals. Hold a non-consumable tungsten electrode in one hand and manually feed a filler rod with the other while argon gas covers the weld pool. This is the required choice for aluminum bike frames or stainless steel food equipment under 1/8 inch thick.
-
Choose Stick (SMAW) for outdoor construction or dirty steel. Strike an arc using a flux-coated consumable electrode that generates its own shielding gas as it burns. It pushes through rust and paint better than any other process, making it the standard for farm repairs and structural ironwork over 1/8 inch thick.
-
Apply Flux-Cored (FCAW) for heavy, fast outdoor deposits. Run a tubular wire filled with flux, either with or without external shielding gas depending on the wire type. Self-shielded flux-core cuts through wind that would blow away a MIG gas blanket, but it leaves a heavy slag layer you must chip off after every pass. Tip: Don’t drag the nozzle tight against the work like you do with stick. Keep a 3/4-inch stick-out distance on your wire, or the flux inside won’t melt properly and you’ll trap slag inclusions in the joint.
If you’re joining car panels under 20 gauge, use TIG or a low-amp MIG setup; if you’re building a trailer frame from 3/16-inch tubing, switch to flux-cored or stick. For specialized tasks like aerospace titanium, the procedure requires strict atmospheric control that goes beyond standard shop setups. In those cases, contact a certified fabricator who follows AWS D17.1 fusion welding specifications for aircraft structures.
How long each welding process takes
Speed isn’t just about how fast you move your hands. The setup time, the deposition rate, and the cleanup between passes all change how long a joint actually takes to finish. A process that lays metal down quickly might demand ten minutes of grinding afterward, wiping out the time you saved.
| Process | Typical travel speed | What changes it | What to watch for |
|---|---|---|---|
| MIG (short circuit) | 15–25 inches per minute on 1/8″ steel | Wire diameter and voltage setting | Spatter buildup slowing your travel |
| TIG | 3–8 inches per minute on 1/16″ aluminum | Tungsten tip shape and foot pedal control | Overheating and warping thin edges |
| Stick (E7018) | 8–15 inches per minute on 1/4″ plate | Amperage and rod angle | Slag trapping if you move too fast |
| Flux-Cored | 20–35 inches per minute on 3/8″ steel | Contact tip-to-work distance | Heavy slag requiring chipping time |
These speeds assume flat-position welds on clean mild steel. If you’re welding overhead or vertically, cut these numbers roughly in half because gravity forces you to weave slower to keep the puddle from dropping out.
Signs your weld is finished correctly
You can’t guess if a joint is done just by looking at the top surface.
A proper weld shows uniform ripples spaced evenly across the entire length. The edges, called toes, should blend smoothly into the base metal without sharp notches or undercut grooves. There shouldn’t be any visible holes, cracks, or dark spots trapped inside the bead.
For MIG and flux-core jobs, chip away all the slag covering the bead using a chipping hammer and a wire brush. Once the bare metal is exposed, inspect the width. The weld face needs to cover the joint gap completely and extend at least 1/16 inch onto both sides of the base plates.
If the visual signs disagree—say the top looks wide enough but the edges show dark lines—the test that settles it’s a bend test. Cut a sample strip across the joint and bend it 180 degrees in a vise. If it cracks open at the root, you didn’t penetrate deep enough. The American Welding Society publishes acceptance criteria for these tests in their structural codes.
Mistakes that ruin welded joints
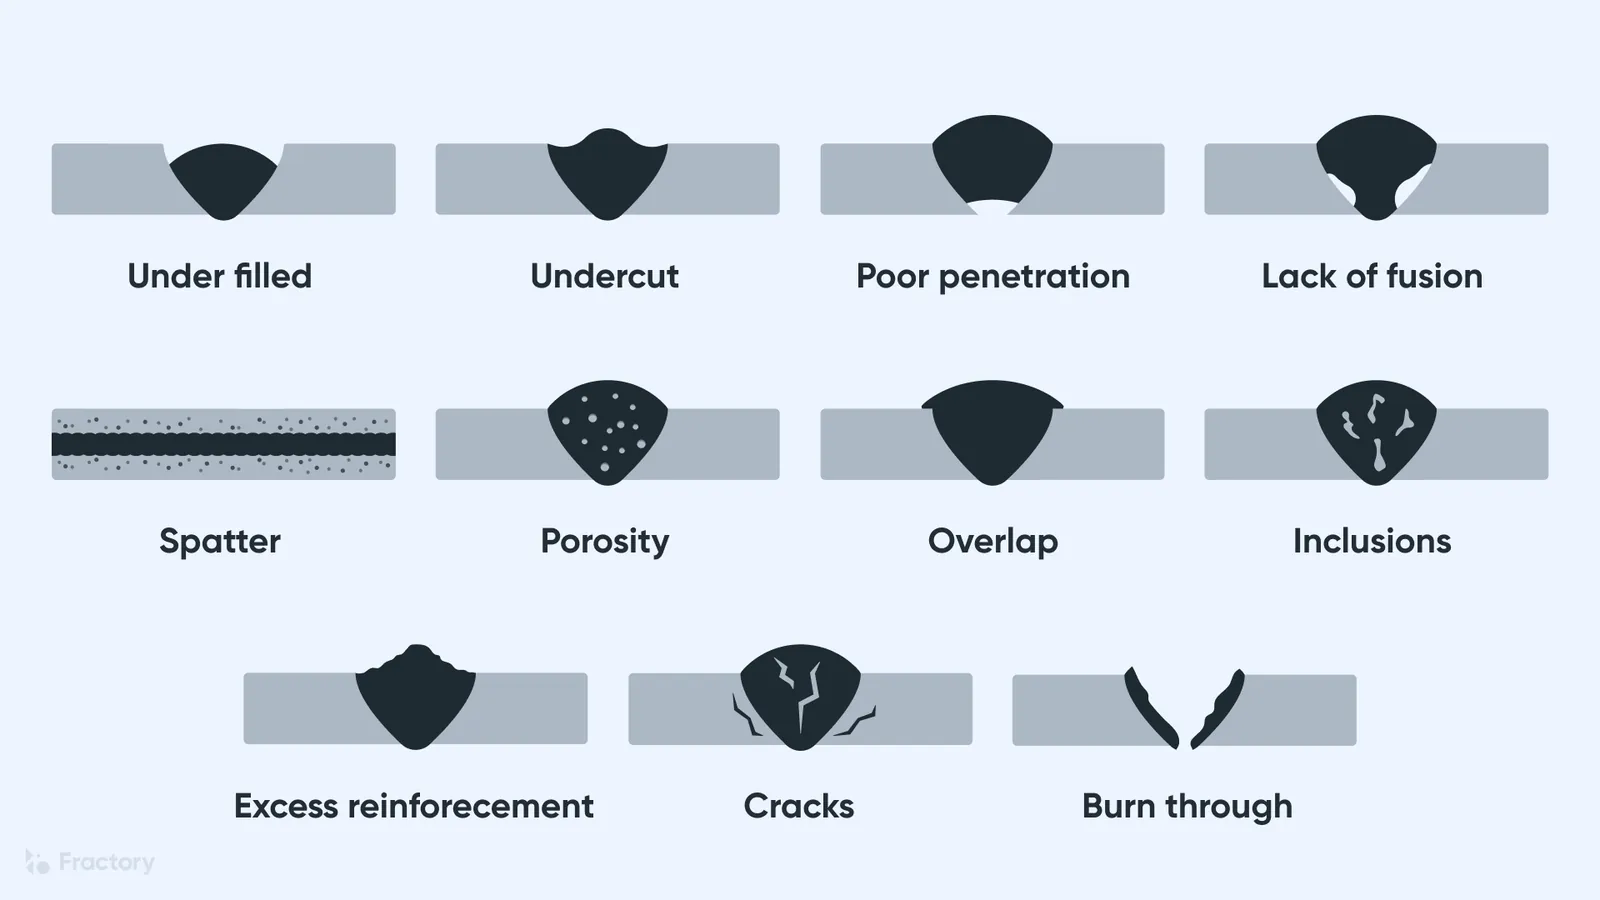
Bad habits don’t just make ugly beads.
-
Skipping the cleaning step. Oil, rust, and paint turn into gas when the arc hits them, leaving tiny bubbles called porosity inside the metal that destroy its strength. Grind your base metal down to bright, shiny steel at least half an inch back from the joint edge before striking an arc.
-
Using the wrong shielding gas. Running pure carbon dioxide on thin sheet metal causes excessive spatter and burns right through the material because the arc runs too hot. Switch to a 75% argon and 25% CO2 mix for short-circuit MIG transfer on anything under 1/8 inch thick.
-
Moving the torch too fast. Speeding down the joint to save time prevents the heat from reaching the root of the gap, creating a weld that sits on top rather than fusing through. Slow your travel speed until the leading edge of the molten puddle stays consistently wet and flows into both sidewalls.
-
Ignoring your ground clamp placement. Attaching the ground far away from the weld zone forces electricity to travel through the whole workpiece, causing an erratic, sputtering arc. Clamp the ground directly to the piece you’re welding, within six inches of your joint, for a stable electrical path.
This kind of heavy fabrication isn’t for someone trying to fix a cracked cast-iron engine block with a basic 120V wire feeder. That material requires pre-heating and specialty nickel rods to prevent shattering.
Related guides
- Ancillary Equipment Types and Examples: A Complete Guide
- What are the different types of branch connections
- How Curtain Walls Work: Materials and Types Explained
Frequently asked questions
Can I weld aluminum with a standard MIG welder?
Yes, but you need three specific modifications to run it successfully. Swap the steel liner inside your torch for a plastic or Teflon one so the soft aluminum wire doesn’t jam. Change to U-groove drive rolls instead of V-groove, and switch your shielding gas tank to 100% pure argon. Without all three, the wire will birdnest immediately.
Why does my stick welding rod keep sticking to the metal?
Your amperage is set too low for the diameter of the rod you’re using, or you’re holding the arc too close to the workpiece.
How thick of metal can a 120V welder handle?
A standard 120-volt MIG machine tops out at about 1/8-inch mild steel in a single pass when running 0.030-inch or 0.035-inch wire. For anything thicker, you’ll need to bevel the edges and make multiple passes, which risks overheating a small machine.
Is it safe to weld galvanized steel?
No, not without serious ventilation and respiratory protection. Heating the zinc coating releases zinc oxide fumes that cause metal fume fever, resulting in severe flu-like symptoms. If you absolutely must weld it, grind the galvanizing off completely at least an inch back from the joint on both sides, and wear a supplied-air respirator.
What happens if I weld without shielding gas?
The oxygen and nitrogen in the surrounding air will immediately react with your molten puddle. This creates a porous, brittle weld full of holes that has almost no structural strength. Processes like MIG and TIG require active gas coverage; only flux-cored and stick welding generate their own protection from the burning flux coating.
How long does it take to learn basic MIG welding?
You can learn to lay a decent bead on flat scrap steel in about 10 to 20 hours of focused practice. However, learning to read a puddle, adjust settings on the fly, and weld in vertical or overhead positions takes several months of consistent work. Start with 1/8-inch mild steel plate before moving to thinner automotive gauges.
Do I need a special helmet for TIG welding?
Use clear safety glasses or a clear face shield for grinding and setup. Variable shade lenses are essential for TIG welding because they allow you to adjust the shade level to the high intensity required for arc protection while maintaining visibility of the weld pool.
Conclusion
Welding isn’t just about melting metal; it’s a skill you’ll build over time with steady hands and practice. If you’re ready to try it yourself, grab some scrap steel from a local shop and set up a small workspace in your garage. You won’t regret starting today.
