
Closed-cell polyethylene foam is generally considered the best pipe insulation for most residential water lines because it combines high thermal efficiency with ease of installation. This material stops heat loss effectively and prevents condensation on cold water pipes. You can choose from various thicknesses depending on your climate and the local energy codes in your area. This guide covers how to select the right material, install it for maximum efficiency, and maintain your system over time.
Choosing the best pipe insulation for your home
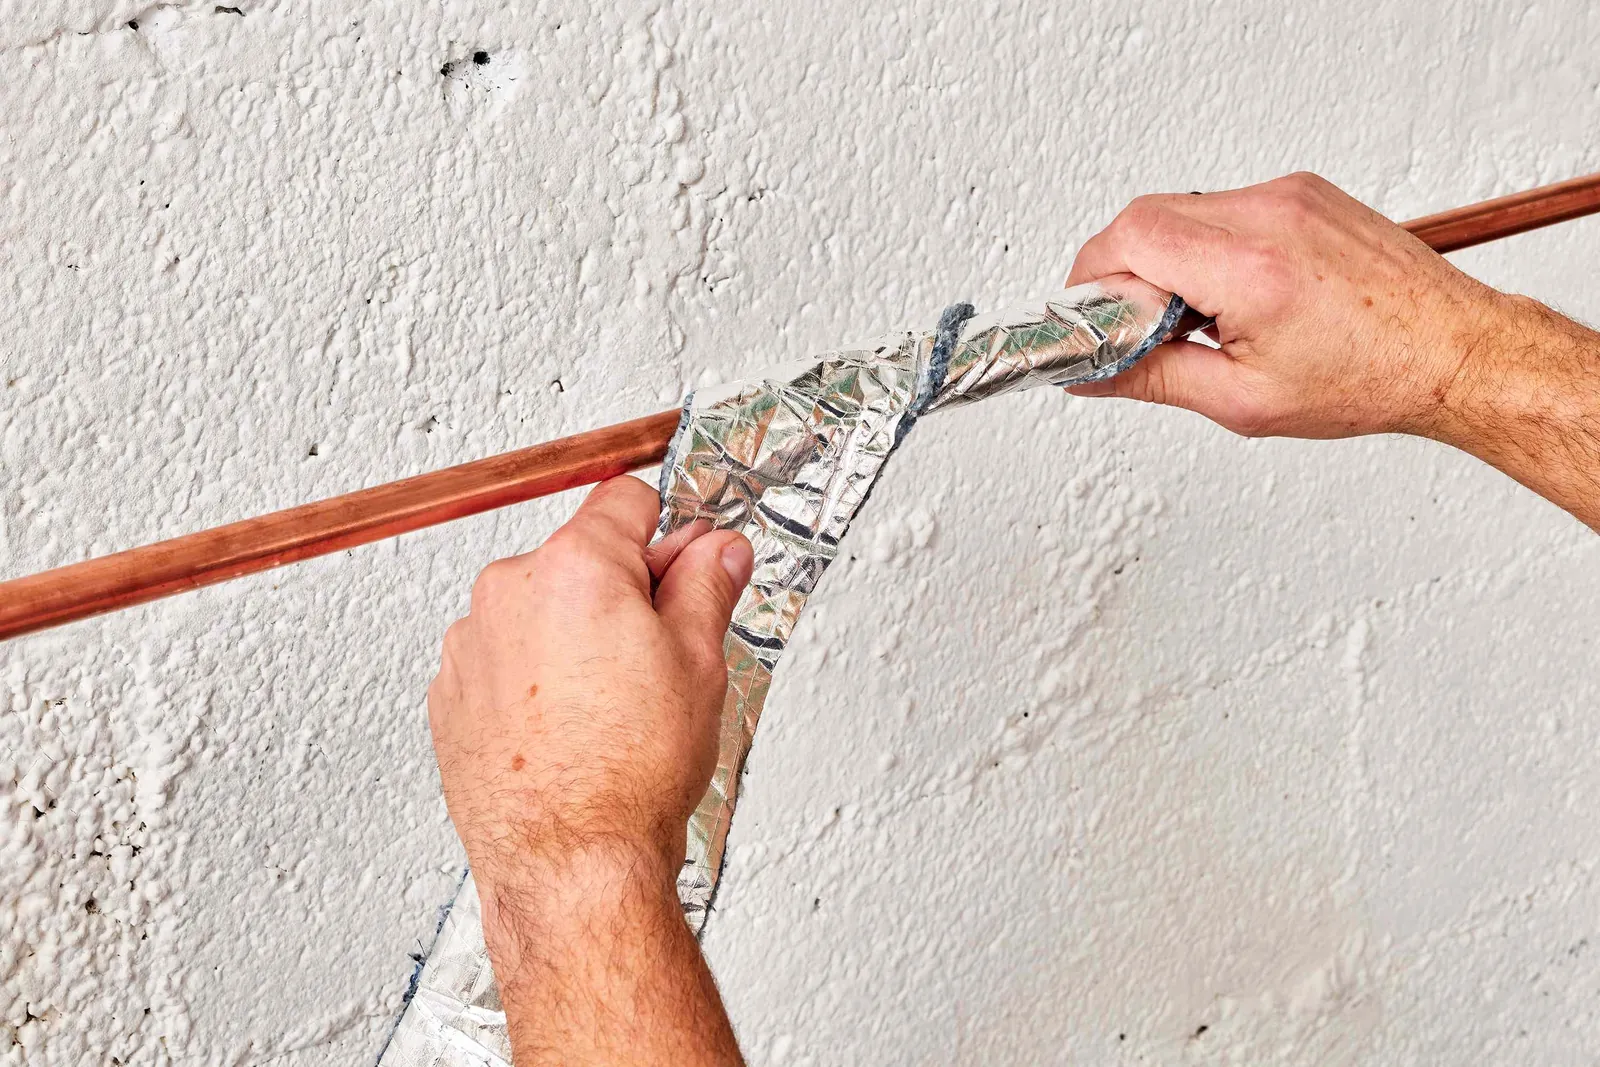
Insulation works by trapping air in small pockets to slow down heat transfer between the pipe and the surrounding air. When you pick a material, you must balance the R-value, which measures thermal resistance, against the physical space available around your pipes. Foam sleeves are the most common choice for DIY projects, while fiberglass is often used in commercial or industrial settings where higher fire resistance is required.
One common mistake people make is choosing insulation that’s too thin for the pipe’s function. If you’re insulating pipes in an unheated attic or crawlspace to prevent freezing, you need a higher R-value than you would for simple energy saving in a basement. It’s also important to remember that insulation doesn’t generate heat; it only slows the rate at which your pipes lose it.
You should check the specific energy efficiency guidelines published by the U.S. Department of Energy to see what R-value is recommended for your local climate zone. If your area experiences hard freezes, you may need a thicker foam wrap or even supplementary heat tape. Always verify your local building codes before starting, as some regions have specific requirements for materials used in fire-rated wall assemblies.
How to install foam pipe sleeves
- Clean the surface of the pipe with a dry cloth to remove dust and grease. This ensures the adhesive or tape will stick firmly.
- Measure the length of your pipe runs. Use a sharp utility knife or scissors to cut the foam sleeve to the exact length needed.
- Open the slit along the side of the foam sleeve. Place it over the pipe, pressing the edges together firmly.
- If the sleeve has a self-sealing adhesive strip, peel the backing off and press the edges shut. If it isn’t self-sealing, use high-quality duct tape or specialized pipe insulation tape to secure the seam every 6 inches.
- For joints and elbows, cut the foam at a 45-degree angle to create a snug fit. Seal these corners with tape to prevent air gaps.
- Check for any exposed metal at the valves or T-junctions. Wrap these areas with smaller pieces of foam or specialized insulation tape to ensure full coverage.
The critical moment in this process is sealing the seams. If you leave even a small gap, moist air will reach the cold pipe, create condensation, and eventually lead to mold or corrosion. If you’re working with pipes that are already sweating, ensure they’re completely dry before you apply the insulation.
Key insulation figures and settings
| Situation | What to use | How long | What to watch for |
|---|---|---|---|
| Hot water lines | Foam or fiberglass | 5-10 years | Adhesive peeling at seams |
| Cold water lines | Closed-cell foam | 5-10 years | Exterior moisture or mold |
| Attic/Crawlspace | High R-value foam | 7-12 years | Damage from pests or rodents |
| Outdoor pipes | UV-resistant foam | 3-5 years | Cracking from sun exposure |
| Tight wall gaps | Thin foam tape | 5-8 years | Compression of the material |
For hot water lines, prioritize fiberglass with a foil facing if your pipe temperatures exceed 140 degrees Fahrenheit. Standard foam can melt or lose its structural integrity near high-heat sources, leading to a total loss of thermal efficiency.
When insulating cold water lines, your primary enemy is condensation rather than heat loss. If you see water droplets forming on the exterior of the insulation, the foam is likely too thin. Replace it with a thicker closed-cell sleeve immediately to prevent long-term mold growth on your subfloor.
In attics, don’t rely on foam alone if you see signs of rodent activity. Mice often chew through standard foam to build nests, which creates a fire hazard. If you find droppings or shredded material, switch to mineral wool insulation, which is fire-resistant and deters pests.
Outdoor pipes require a specific UV-resistant rating. If the foam feels brittle or turns white, the sun has compromised the material. The frequency of replacement depends on your specific usage and environmental conditions; consult your owner’s manual for the authoritative maintenance schedule.
For tight wall gaps, avoid over-stuffing the space. If you compress the foam tape by more than 20 percent of its original thickness, you destroy the air pockets that provide insulation. If the gap is too narrow for the tape to fit without force, use a spray-foam sealant instead.
Always check your insulation during the shoulder seasons of spring and fall. These periods offer the best visibility for detecting moisture buildup or material degradation before the extreme temperatures of winter or summer arrive.
Achieving a professional result
Experienced installers always prioritize a continuous seal over the thickness of the material. When insulation is compressed, its R-value drops significantly because the trapped air pockets—the primary thermal barrier—are crushed. If you’re working in a tight spot, use a thinner, high-density foam instead of forcing a thick, low-density sleeve into a narrow opening. The goal is to keep the material as close to its original shape as possible.
A common mistake is assuming that a thicker product is always better. If your insulation is bulging, you have already compromised its efficiency. If you can see the material deforming, replace it with a lower-profile option. You’ll gain more thermal protection from a properly fitted, thinner piece than from a thick one that has been squeezed into place.
Another detail that separates a good job from a poor one is how you handle valves and joints. Beginners often skip these, thinking the insulation won’t fit. However, these are the points where most heat is lost and where condensation forms first. Use small, custom-cut pieces of foam to cover these odd shapes. If the joint is exposed, you’re inviting moisture to pool, which eventually leads to pipe corrosion.
Always overlap your tape by at least an inch to ensure a vapor-tight seal. If you’re working in an area with high humidity, apply a layer of silicone sealant to the seams before taping. This creates a secondary barrier that prevents air infiltration. When the tape begins to peel at the edges, it’s a sign that the adhesive has failed or the surface was dusty during installation.
Wipe every pipe down with isopropyl alcohol before applying any adhesive. This simple step improves the adhesion and longevity of your tape. If you’re working outdoors, use UV-resistant foil tape rather than standard duct tape, which will crack and fall off within a single season.
Common insulation problems and fixes
| What you notice | What it usually means | What to do first |
|---|---|---|
| Water dripping | Condensation buildup | Check for gaps in the seam |
| Loose sleeves | Wrong diameter chosen | Replace with proper size |
| Tape falling off | Dust or moisture present | Clean pipe and re-tape |
| Frozen pipes | Insufficient R-value | Add a second layer of foam |
Condensation often signals that the insulation seam isn’t airtight. If you feel a cold draft near the pipe, air is bypassing the foam. Seal these gaps with foil-backed tape to prevent moisture from reaching the cold surface.
Loose sleeves occur when the insulation diameter exceeds the pipe width by more than an eighth of an inch. Air pockets act as insulators for the wrong reasons, allowing heat to escape. If the sleeve slides easily, swap it for a tighter fit immediately.
Tape failure is almost always a surface preparation issue. If you apply adhesive to a pipe covered in dust or condensation, the bond will likely fail prematurely. Wipe the pipe down with a dry rag and use a high-tack, UV-resistant tape for outdoor runs.
Frozen pipes suggest the R-value is too low for your local climate. If your area experiences sustained temperatures below 20 degrees Fahrenheit, a single half-inch foam sleeve is rarely enough. Wrap a second layer of insulation over the first, staggering the seams so they don’t align.
Most homeowners make the mistake of compressing the foam to make it fit. Compression ruins the internal air bubbles that provide the thermal resistance. If the foam looks crushed at the joints, you have significantly reduced its thermal resistance. Replace those sections with a larger diameter sleeve to restore the original R-value.
Rules for pipe safety and compliance
Building codes often dictate the minimum R-value for pipes passing through unconditioned spaces. These rules are set by the International Code Council and are adopted by local municipalities to ensure energy efficiency and prevent burst pipes. If you’re performing a major renovation, your local building inspector will verify that you have used the correct thickness for your specific pipe diameter and material.
Aim for a minimum R-3 value for domestic hot water lines in unconditioned attics or crawlspaces. If you live in a climate where temperatures frequently drop below 20 degrees Fahrenheit, upgrade to R-5 to prevent freezing during prolonged cold snaps. A common mistake is assuming that standard pipe wrap provides enough thermal mass to stop a freeze; it only delays the process by a few hours. If the power fails, that insulation won’t save your pipes without a heat source.
If your pipes run through fire-rated walls, you must use fire-resistant insulation materials. Standard foam sleeves can melt or contribute to flame spread in these specific areas. Always consult the product’s technical data sheet to confirm its fire rating before installing it in walls or ceilings. Look for the ASTM E84 flame spread index; any material installed in a plenum or fire-rated assembly should carry a rating of 25 or less.
If you’re unsure about your local requirements, contact your city’s building department for the current guidance on residential insulation standards. If the pipe is located within three feet of a furnace or water heater, use mineral wool or fiberglass rather than polyethylene foam.
These inorganic materials won’t shrink or off-gas when exposed to the radiant heat of mechanical equipment. If you see a label marked “Class A,” it’s safe for use in fire-rated partitions. Always verify the stamp on the insulation itself, as packaging labels can be misleading.
Maintaining your pipe system
Once your insulation is in place, it requires very little maintenance. You should perform a visual inspection once every year, ideally before the start of the heating season. Look for any areas where the tape has pulled away from the foam or where the foam has become brittle due to heat or sunlight.
If you find a damaged section, you don’t need to replace the entire run; simply cut out the damaged piece and install a new sleeve, securing the joints with fresh tape.
If you notice the insulation becoming soft or discolored, this may indicate a slow leak in the pipe itself. Insulation can hide small drips for a long time, allowing water to damage the floor or framing beneath. If you see signs of moisture on the outside of the foam, remove it immediately to inspect the pipe. Maintaining a dry environment around your pipes will extend the life of your plumbing and the insulation itself.
When to use other insulation methods
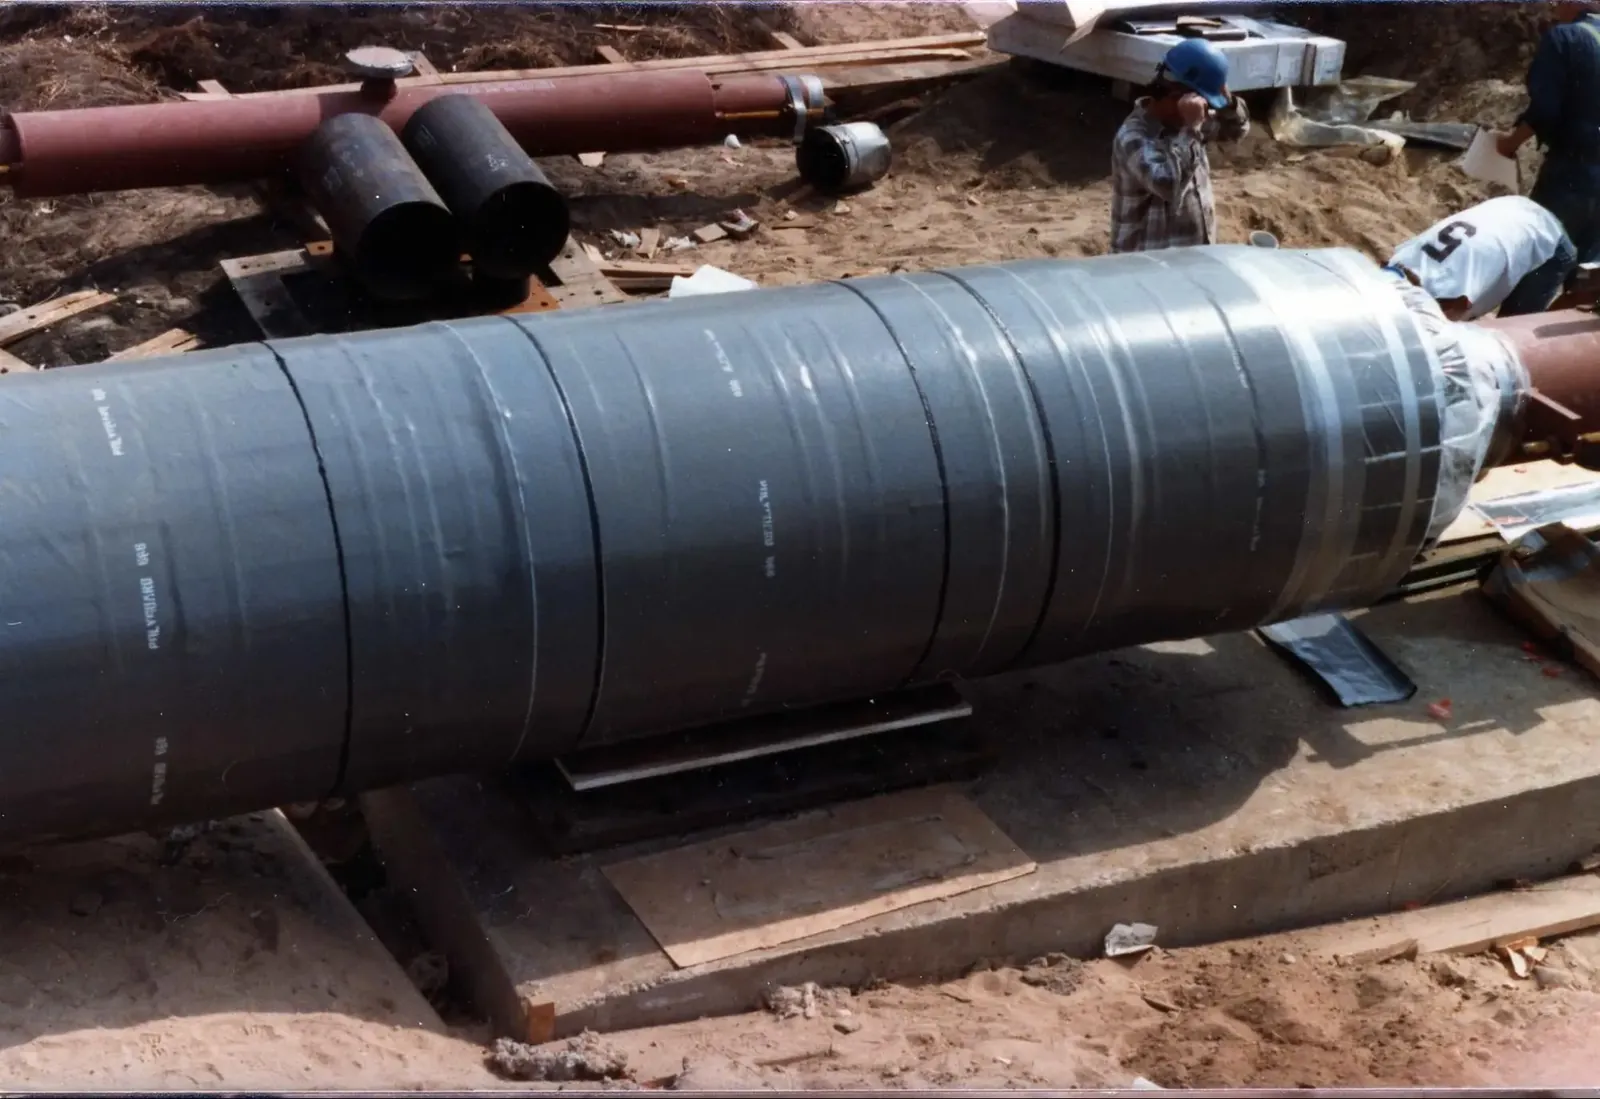
While foam is great for most homes, it isn’t the right choice for every situation. If you’re dealing with steam pipes exceeding 250 degrees Fahrenheit, foam will melt and create a fire hazard. In these cases, you must use mineral wool or high-temperature fiberglass wraps designed for industrial heat levels. These materials are much denser and require specialized safety gear, such as gloves and a respirator, to prevent skin and lung irritation during installation.
If you have less than one inch of clearance between your pipes and the surrounding structure, standard foam sleeves are often too bulky to install properly. Forcing a thick sleeve into a tight gap compresses the material, which destroys the air pockets necessary for insulation.
If you can’t fit the required thickness, use reflective foil-faced pipe wraps instead. These rely on radiant heat reflection rather than trapped air to maintain temperature. They’re significantly thinner than foam, though they offer less protection against freezing in extreme cold.
Choose mineral wool if your primary goal is fire resistance or sound dampening in a wall cavity. It’s non-combustible and won’t release toxic fumes during a house fire. Conversely, stick with foam if your main concern is condensation control in a humid basement. Foam creates a vapor barrier that prevents moisture from reaching the pipe surface, whereas mineral wool is porous and can become a sponge for water if the outer jacket is punctured.
Avoid the common mistake of layering different materials to compensate for poor fit. Mixing insulation types often creates gaps at the seams where heat escapes rapidly. If your pipe runs through an unconditioned crawlspace, prioritize a continuous, seamless wrap over the highest R-value material. A single, well-sealed layer of thin foil wrap will outperform a thick, poorly fitted foam sleeve every time.
Frequently asked questions
Can I use pool noodles for pipe insulation?
No, you shouldn’t use pool noodles for your water pipes. They lack the fire ratings and thermal resistance required by building codes. Always choose products specifically labeled for plumbing use to avoid potential safety issues or insurance complications.
How long does pipe insulation last?
High-quality foam pipe insulation typically lasts for several years before losing its effectiveness. Its lifespan depends heavily on the environment and exposure to temperature fluctuations. Replace the material when it becomes brittle, cracks under pressure, or allows condensation to form on the pipe surface.
Is it safe to insulate water pipes myself?
Yes, most homeowners can safely install foam sleeves on accessible pipes without special tools. These materials are non-toxic and easy to cut. However, hire a licensed plumber if pipes are located behind walls, near electrical lines, or in cramped, hazardous spaces.
What happens if I insulate my pipes but they still freeze?
If your pipes freeze despite insulation, the coverage is likely too thin or contains gaps. Insulation only slows heat loss rather than stopping it indefinitely in sub-freezing temperatures. Consider adding heat tape beneath the insulation or improving ventilation to allow warmer air to circulate.
How much insulation do I need for my pipe diameter?
You must match the foam sleeve’s inner diameter exactly to the pipe’s outer diameter. A loose fit allows air to circulate, which destroys the insulation’s efficiency. Use a string to measure the circumference, divide by 3.14, and consult hardware store sizing charts.
Conclusion
Taking these small steps will make your home more comfortable and help you save on monthly utility bills. Once you’ve finished wrapping your pipes, keep an eye on them during the next seasonal change to ensure everything stays secure. You’ll be glad you didn’t wait to get this project done.