
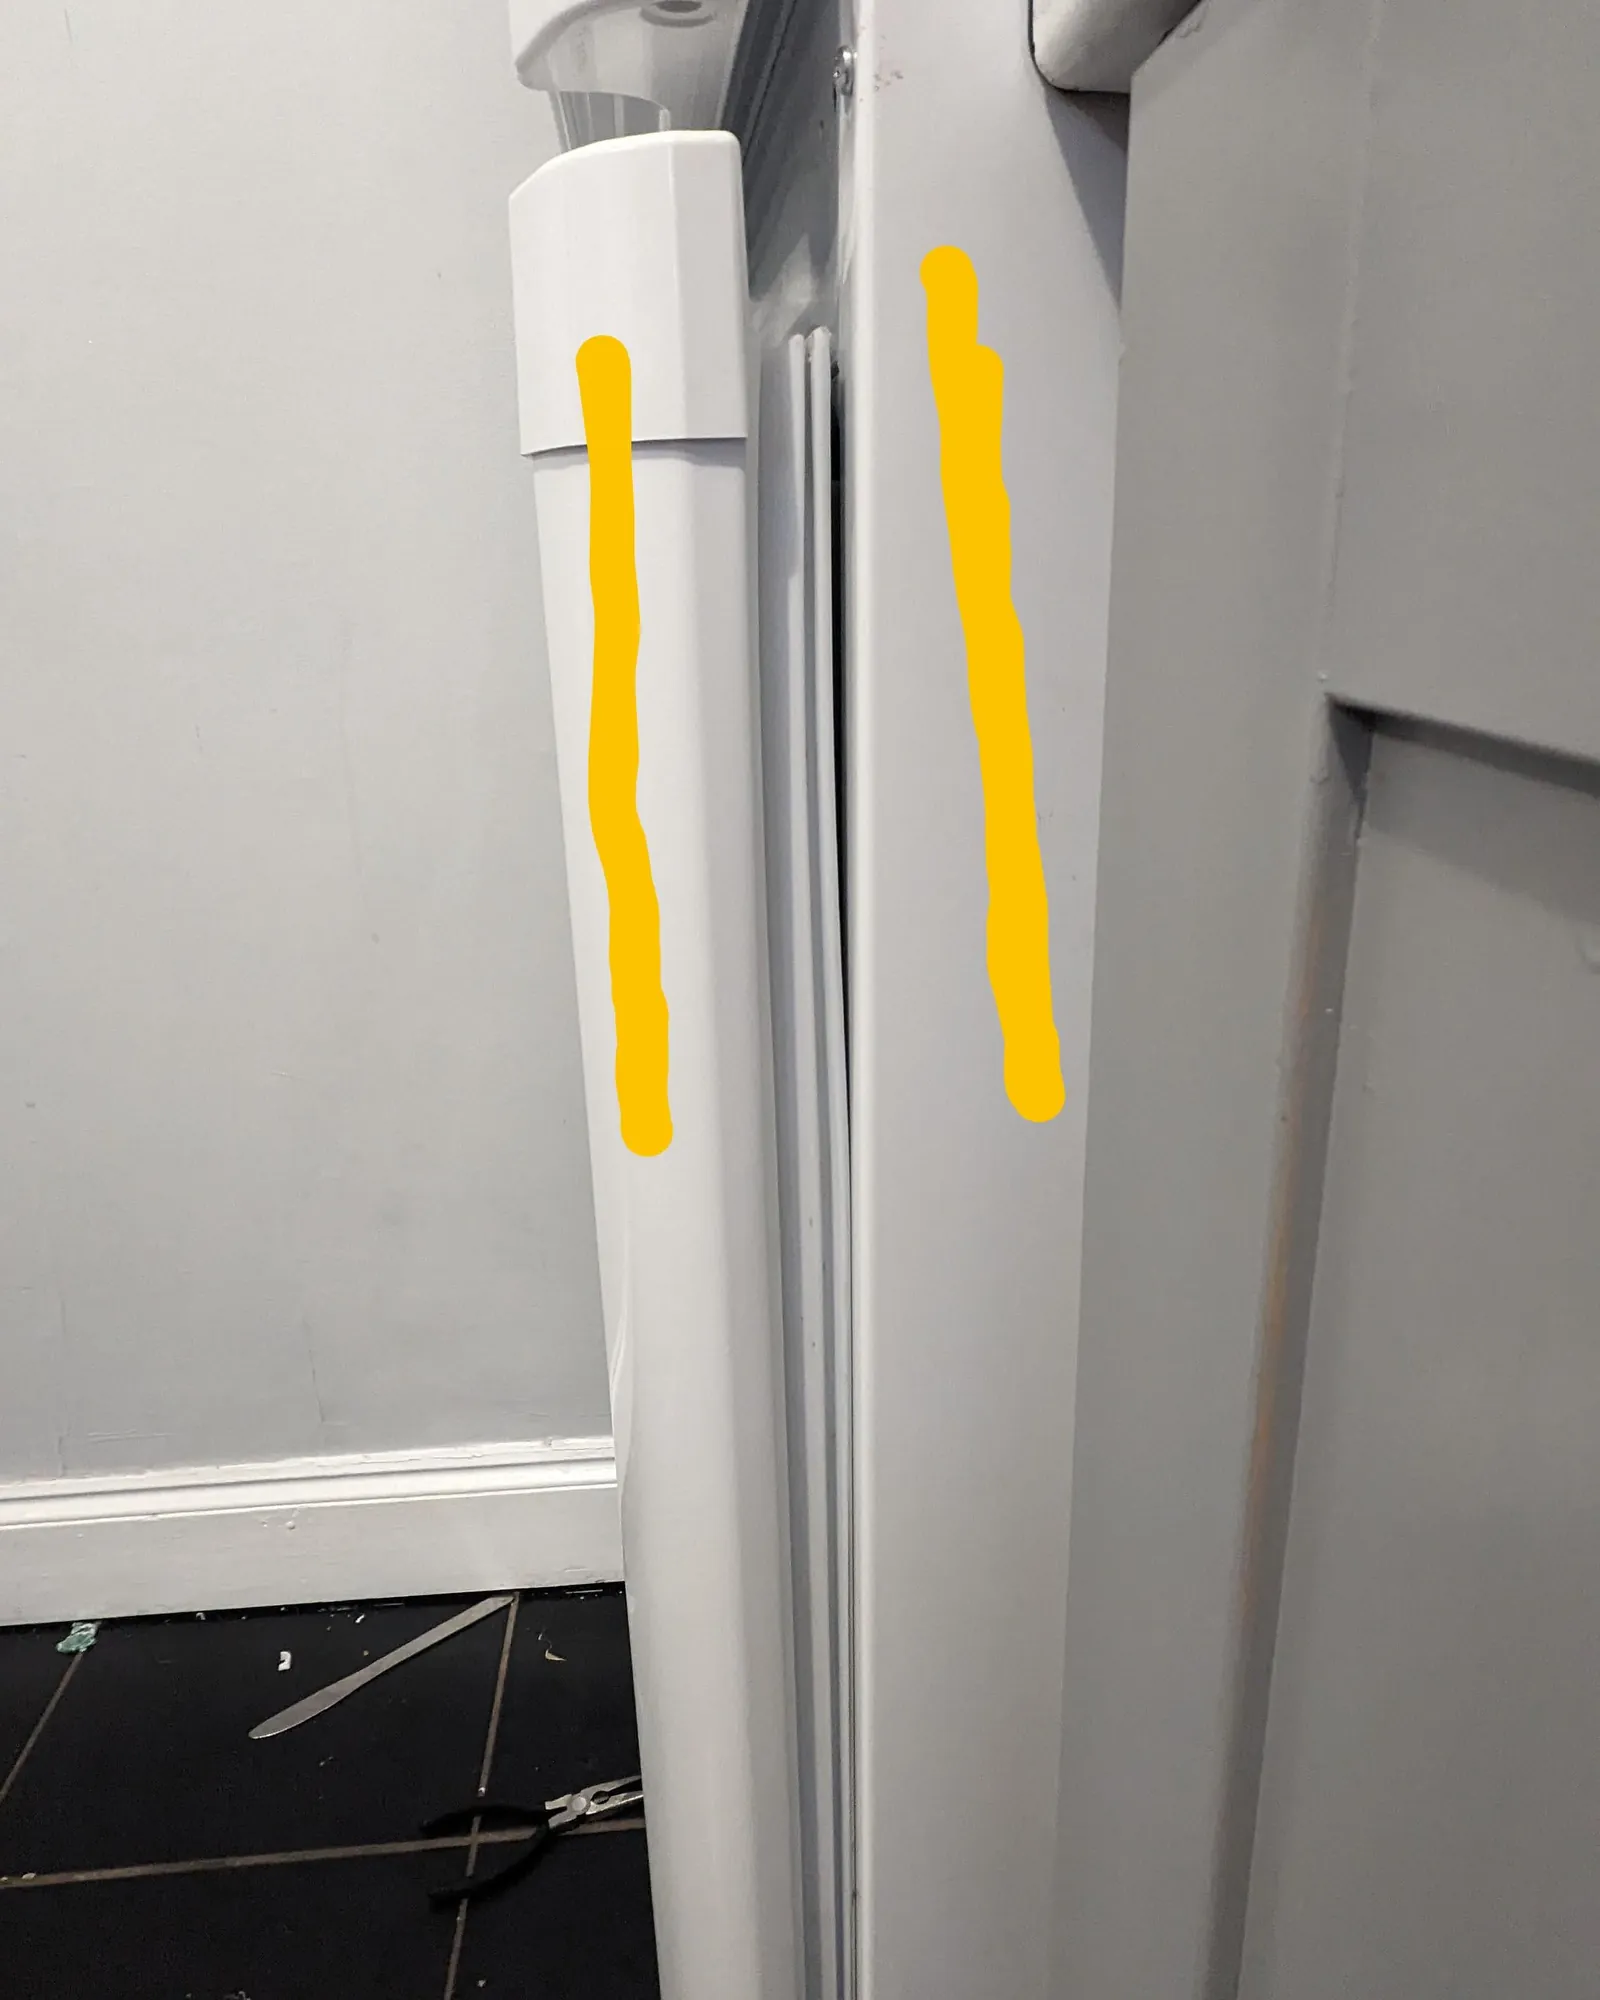
You can keep your food safe if you address a freezer door not sealing right away because warm air inside creates frost and forces the motor to run constantly. You should check the door gasket for debris or damage immediately to stop warm air from entering the cabinet. If the seal is dirty, a quick wipe with warm water and mild dish soap usually restores its grip. If the gasket is torn or stiff, you must replace the part to prevent the appliance from failing.
Fixing your freezer door sealing issues
-
Clear all food items blocking the door from closing fully, which often happens when containers are pushed too far back. If you can’t see light through the seal when the door is shut, you have cleared enough space.
-
Clean the rubber gasket using a soft cloth and a mix of warm water and mild dish soap to remove sticky residue. Even a microscopic layer of dried juice or syrup prevents a vacuum seal, allowing humid air to enter and freeze instantly.
-
Check the freezer level by placing a bubble level on top; if it tilts forward, the door may not swing shut on its own. Adjust the front leveling legs until the unit leans slightly backward. This ensures gravity pulls the door closed rather than letting it drift open.
-
Remove any ice buildup around the door frame with a plastic scraper, but never use a knife or metal tool that could puncture the cooling coils. A single pinhole leak in the evaporator line will permanently ruin the cooling system, costing you the entire appliance.
-
If the frost returns within 48 hours after these steps, the door seal is likely warped. Test this by closing the door on a dollar bill; if you can pull it out without resistance, replace the gasket immediately.
Why the Seal Matters for Cooling
When the rubber gasket loses its suction, warm, humid air from your kitchen enters the cold freezer compartment. As this moist air hits the freezing interior, it turns into frost and ice on the evaporator coils. This layer of ice acts as an insulator, blocking the cold air from circulating properly throughout the unit. The U.S. Department of Agriculture notes that keeping your freezer at 0°F is essential to maintain food quality and safety.
To test your seal, close the door on a single sheet of paper. If you can pull the paper out with zero resistance, the gasket is failing and needs immediate replacement. A loose seal forces the compressor to run in 30-minute cycles rather than the standard 10-minute intervals.
If your freezer runs constantly, it’s likely trying to compensate for this heat gain. This puts extra strain on the compressor, which can lead to early mechanical failure. If you notice the motor never stops, the appliance is working harder than it should.
Most people mistakenly assume that a noisy motor is simply a sign of an aging unit. In reality, that sound is often the compressor struggling to overcome the thermal load of a leaky seal. Clean those coils as needed based on usage, referring to the owner’s manual for specific guidance to prevent the compressor from burning out prematurely.
Checking the Door Seal
You can test the strength of the seal using a simple piece of paper to see if the magnetic strip is still doing its job.
Use the paper test
Close the freezer door on a piece of standard printer paper so that half of it sticks out. Pull the paper gently; if it slides out with no resistance, the gasket isn’t sealing at that spot.
Inspect for visible tears
Look closely at the rubber for cracks, splits, or hard spots. A damaged gasket can’t create an airtight bond, which costs you money in higher electricity bills.
Check the magnetic strip
Feel the gasket for a magnetic pull against the metal frame. If the magnet feels weak or the rubber has lost its shape, the door won’t stay shut.
Clean the hinge area
Check the hinges for loose screws or bent metal parts. If the door hangs low, it can’t align with the frame, no matter how good the gasket is.
Replacing a Worn Gasket
To fix a poor seal, you must first order the exact gasket for your specific model number, which is usually found on a sticker inside the door frame. Don’t rely on generic measurements, as a variance of even two millimeters will prevent the magnetic strip from engaging the frame.
Once you have the new part, soak it in warm water for 15 minutes to make it pliable and easy to install. Start by peeling off the old gasket from the door channel. If you find debris or hardened adhesive in the groove, scrape it away with a plastic putty knife. Metal tools will scratch the finish and create new gaps that let cold air escape.
Press the new gasket firmly into the groove, moving around the perimeter until it’s secure. If the gasket doesn’t sit flat, use a hair dryer on a low setting to gently warm the rubber, helping it mold to the frame. Keep the heat source at least six inches away to avoid melting the material.
You’ll know the fix has held if the door feels harder to pull open than before.
If the door still swings open on its own, check for a sag. Place a level on the top of the door; if the bubble is off-center, the hinge is bent. In this case, a new gasket will fail within a week because the door can’t make full contact with the frame. You must adjust the hinge screws before attempting another seal replacement.
When to Call a Professional

If you have replaced the gasket and the door still doesn’t seal, the issue might be a bent cabinet frame or a failed hinge system. These repairs require specialized tools and heavy lifting that risks damaging the unit’s cooling lines. If the door still sags after you tighten the hinge screws, stop your work and contact a licensed appliance repair technician. A professional will first check the door alignment and the frame squareness before suggesting a costly cabinet repair.
Most homeowners make the mistake of forcing a door shut when the seal fails, which often snaps the plastic hinge cams or strips the mounting holes. This error turns a simple alignment fix into a full door replacement. If you see frost buildup specifically on the top corner of the door, the frame is likely warped.
Don’t attempt to bend the metal frame back into place yourself. You’ll likely crack the internal insulation or puncture the refrigerant lines, rendering the entire appliance scrap metal.
Related guides
- Best Toilet Repair Kits: How to Fix Leaking and Running Systems in 2026
- Best Toilet Flange Repair Kits: How to Fix Your Broken Seal in 2026
Frequently asked questions
How long does a freezer gasket last?
A freezer gasket lasts for a duration dependent on how often the door is opened and how well you keep the rubber clean. If you notice the material becoming brittle or cracking, it’s time to replace it regardless of age. Always check the rubber for signs of wear based on usage, referring to the owner’s manual for specific guidance to catch issues before they turn into major frost buildup.
Is it safe to eat food from a freezer that wasn’t sealing?
It’s safe to eat the food only if the internal temperature remained at 0°F or below throughout the time the door was leaking. If the food has ice crystals on the packaging or feels soft to the touch, the temperature has likely risen, and the items should be discarded. Use a standalone appliance thermometer to verify the actual temperature inside the unit if you’re unsure.
Does a freezer door need to be leveled?
A freezer door must be slightly tilted backward so that gravity helps it swing shut and maintain a tight seal. You can adjust this by turning the leveling legs at the front of the unit until the freezer leans back just enough. Use a bubble level to check the tilt; if the front is too low, the door will stay open or fail to seal.
Why does my freezer door have frost on the outside?
Frost on the outside of the door happens when cold air leaks out and hits the warmer room air, causing condensation that then freezes. This is a clear sign that the inner gasket is failing or that the door isn’t closing tightly against the frame. You should clean the seal and check the hinges immediately to prevent the leak from getting worse.
Can I fix a warped freezer door?
You can fix a slightly warped door by adjusting the tension screws on the hinges, but a severely bent door usually requires a full replacement. If the door frame itself is twisted, the gasket can’t compensate for the gap, and the cooling system will continue to struggle. Check the alignment of the door with the cabinet frame to see if the gap is uniform on all four sides.
What happens if I don’t fix the seal?
If you don’t fix the seal, the motor will burn out from overworking, and you’ll lose your stored food due to temperature fluctuations. The constant cycle of freezing and thawing creates thick ice blocks that reduce storage space and make it hard to open the door. Replacing a gasket is far cheaper than paying for a new compressor or replacing hundreds of dollars of spoiled groceries.
Conclusion
Regular maintenance of your freezer door seal prevents unnecessary energy costs and protects your food from spoilage. By keeping the gasket clean and ensuring the door is level, you extend the life of your appliance and keep your cooling system running at peak efficiency.

2 thoughts on “Freezer Door Not Sealing: How to Fix Gaskets and Restore Seals”