
If your minka aire wall control not working, the most common solution is to reset the dip switch settings on both the wall unit and the receiver inside the fan canopy. This issue often happens because the radio frequency signal between the two devices has become mismatched, preventing the fan from responding to your commands. You can verify the specific pairing process for your model by visiting the Minka Aire support center to find your product’s manual.
Why your Minka Aire wall control loses signal
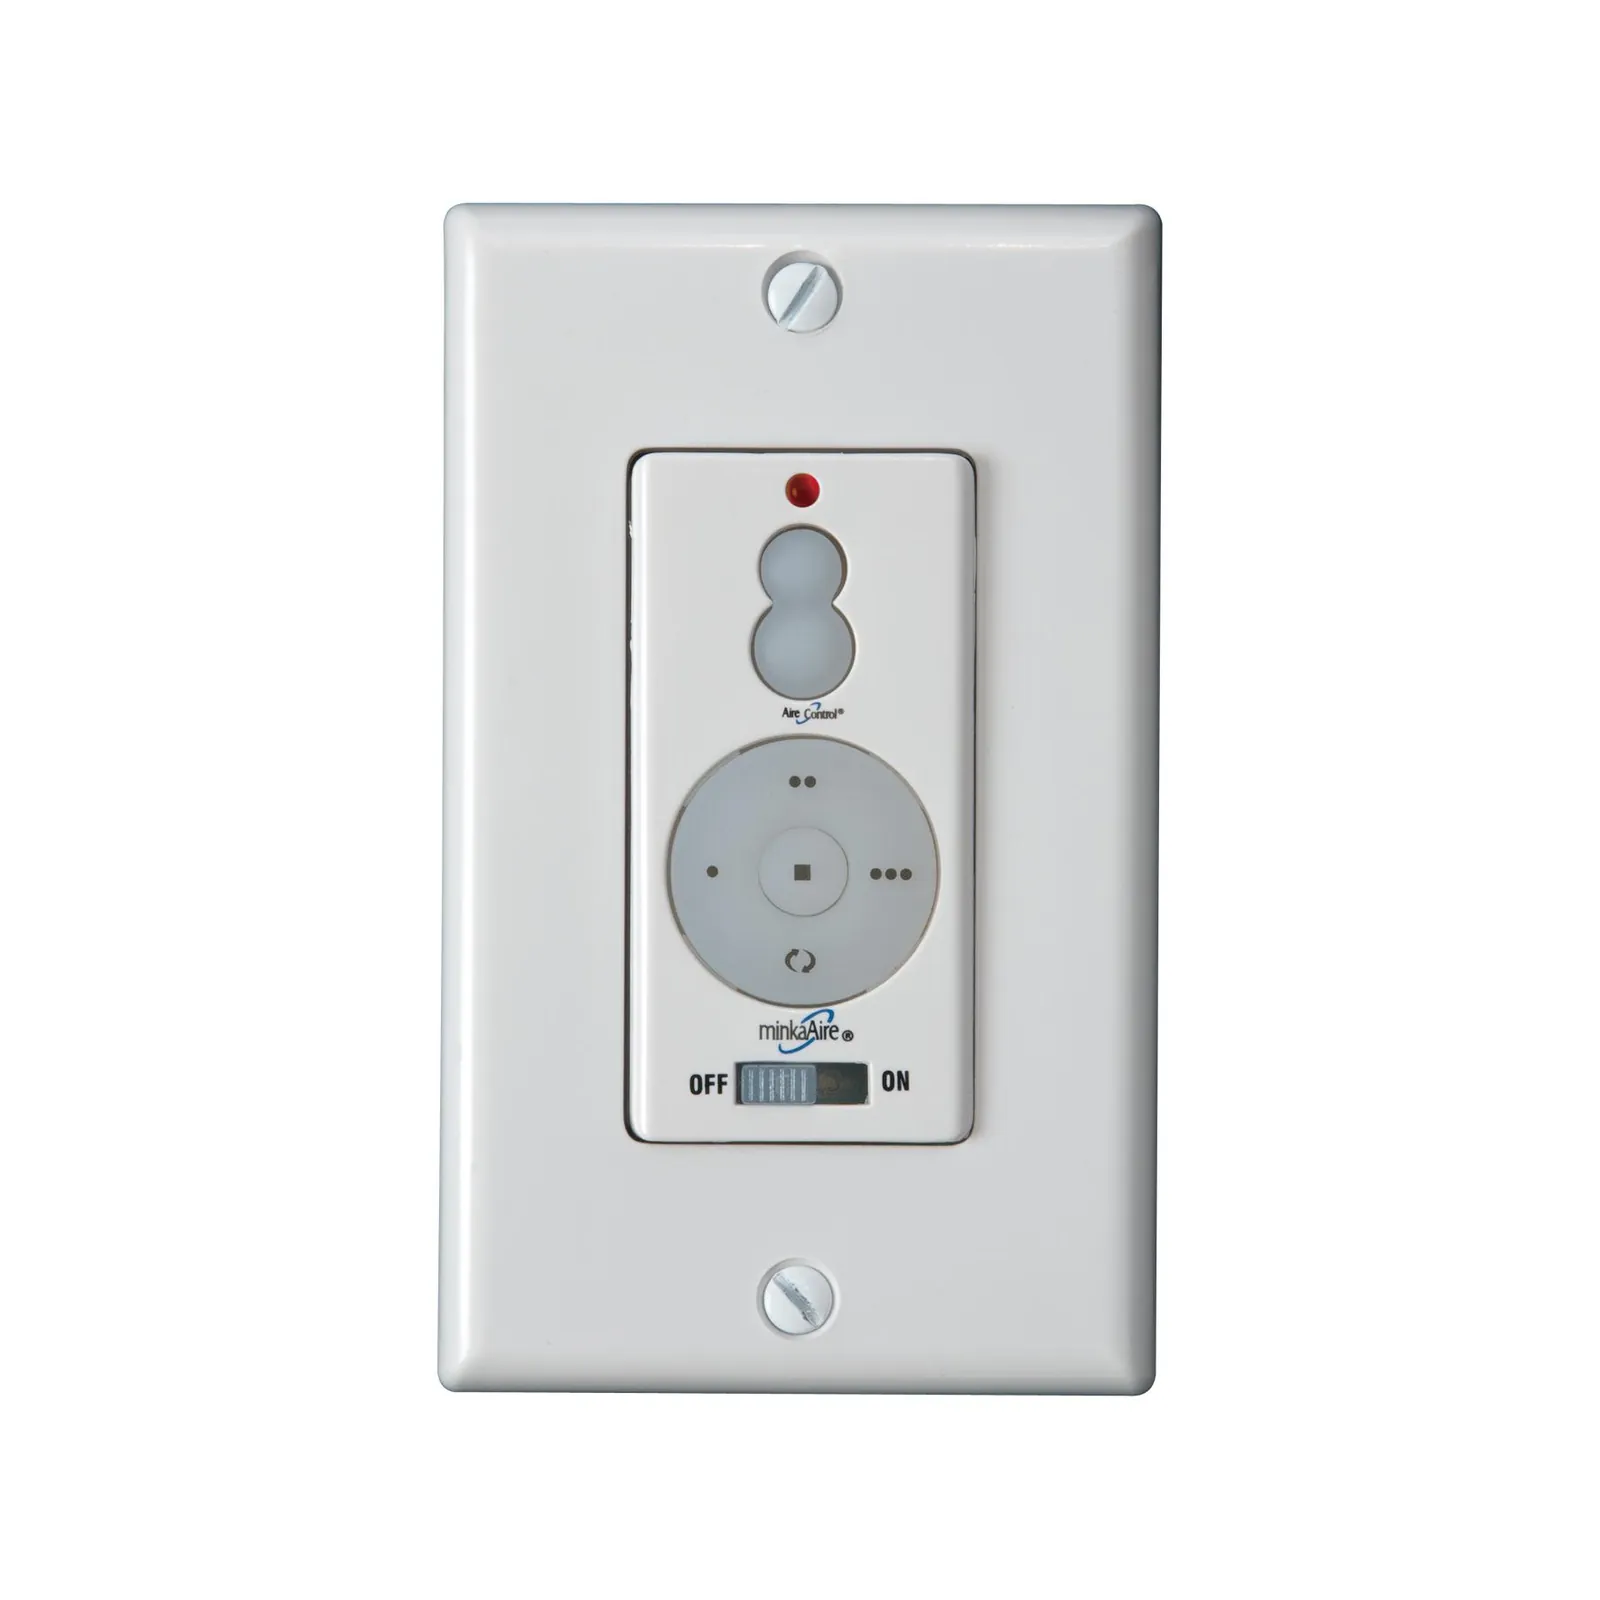
The primary reason a wall controller fails is a loss of synchronization between the transmitter and the receiver. Fans use specific radio frequencies to communicate, and if the dip switches—the small, numbered sliders found inside both components—aren’t set to the exact same pattern, the fan won’t react to the wall switch.
You should treat these switches as a unique key-and-lock system; if they don’t match, the lock simply won’t turn. Check the receiver inside the canopy first, as these switches are often bumped during installation.
Another frequent cause is interference from other electronic devices in your home. Wi-Fi routers, cordless phones, and even newer LED light bulbs can sometimes create electromagnetic noise that disrupts the low-power signals these controllers use.
If you recently added new smart home gear near the fan, that equipment might be drowning out the signal from your wall control. If the fan responds only when you stand directly beneath it, you’re dealing with signal degradation. Move the router or switch the LED bulbs to a different brand to clear the frequency band.
Finally, power delivery issues often mimic a broken control. Even if the light on your wall switch turns on, the receiver inside the ceiling might not be receiving a steady flow of electricity due to a loose wire nut or a tripped circuit breaker.
If the wall unit is receiving power but the fan remains silent, it’s almost always a communication fault rather than a total hardware failure. If you hear a faint clicking sound from the receiver, the unit is powered but failing to receive or process the signal from the wall control.
Safety: Inside a mains-powered machine, the parts behind the outer cover can hold a dangerous electrical charge even after it has been unplugged — that’s why they sit behind a cover. Opening the housing, or testing or replacing anything behind it, is a job for a qualified technician, never a home repair.
Reset the dip switches
Look at the pattern of these switches—some may be in the “up” position and others in the “down” position. Write down this exact pattern on a piece of paper. Most units feature four to eight switches; if you miss even one, the signal will fail to bridge.
Next, you’ll need to access the fan’s receiver, which is located inside the ceiling canopy. This step requires a ladder and potentially a second person to hold the fan housing while you check the switches. If you don’t feel comfortable working on a ladder or handling electrical housing, contact a licensed electrician.
Once you have the receiver open, compare its switch pattern to the one you wrote down. If they differ, slide the switches on the receiver until they match the wall unit exactly. Avoid using a metal screwdriver to move these toggles, as a slip can damage the delicate plastic housing.
If you find the switches are already identical but the fan remains unresponsive, the receiver’s internal electronics may have failed. Replace the canopy cover and turn the power back on. If the fan begins to respond, your signal is restored.
Check the power supply
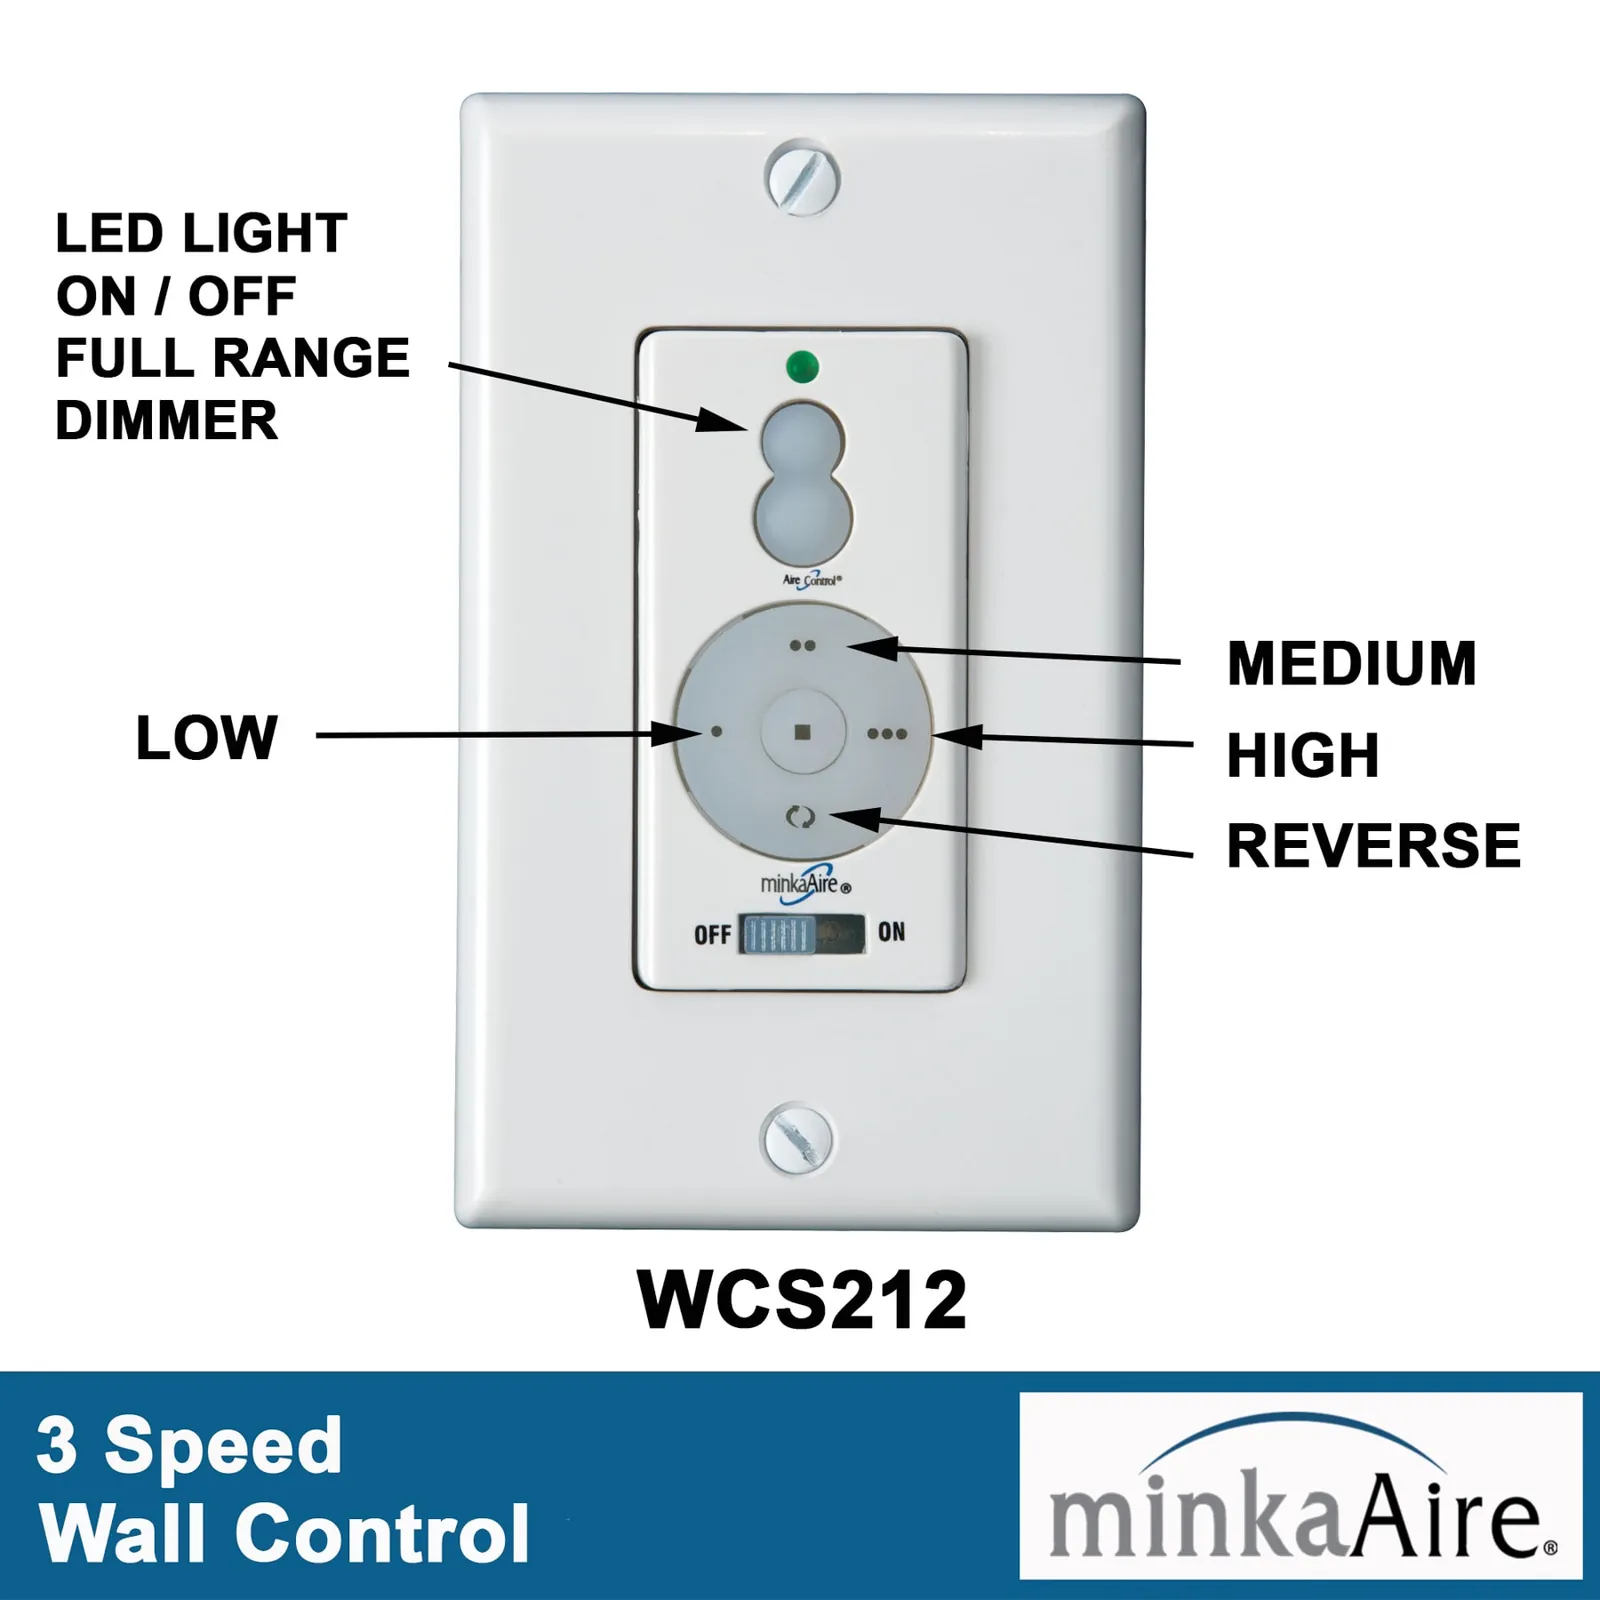
If the dip switches are already matched, the problem might be a lack of power reaching the ceiling receiver. Start by checking your home’s breaker box to ensure the circuit for the fan hasn’t tripped. If the breaker is in the “on” position, toggle it to “off” and then back to “on” to force a hard reset of the circuit. This often resolves minor logic errors within the fan’s internal control board.
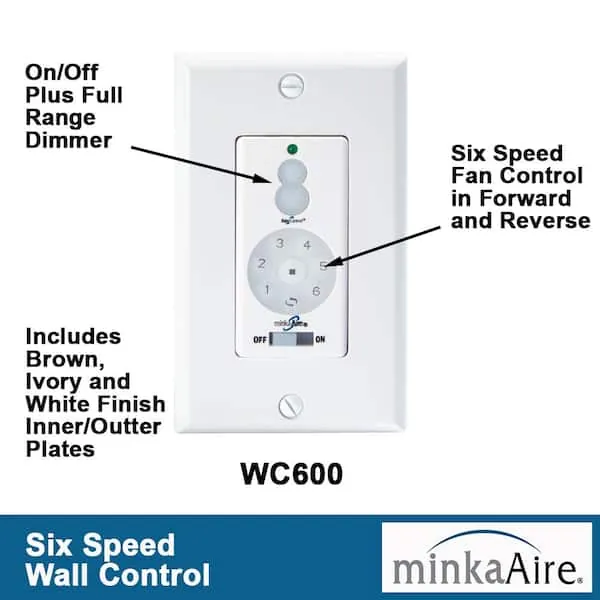
If the power is confirmed, look at the wall control itself for any indicator lights. Many Minka Aire models have a small LED on the face of the switch that glows when a button is pressed. If you press a button and see no light, the wall unit itself may have lost its power connection. Check that the wire nuts connecting the switch to your wall wiring are tight and free of corrosion.
Be aware that if the wall unit is completely dead—meaning no lights appear regardless of which button you press—the internal fuse of the switch might have blown. This is a common point of failure if there was a recent power surge in your home. If you suspect a blown fuse or a dead internal component, the unit can’t be repaired by a home user and must be replaced entirely.
When to replace the unit
Sometimes, the components inside the wall control or the receiver simply reach the end of their functional life. If you have confirmed that the dip switches match, the circuit breaker is on, and the wiring connections are tight, yet the fan still doesn’t move, the internal electronics have likely failed.
It’s worth the extra time to troubleshoot the signal, but it isn’t worth spending hours trying to repair a circuit board that has shorted out. If you have followed the reset steps and the fan still shows no life, replacing the wall control and the receiver as a set is the most reliable path forward. You can find replacement kits that include both parts, which ensures they’re factory-paired and ready to install.
Most failures occur after seven to ten years of constant use. If your fan is older than a decade, replace the entire unit rather than just the receiver. Internal motor windings often degrade alongside electronics, and a new receiver won’t fix a motor that has lost its internal torque.
If you decide to replace the system, ensure you purchase a kit that specifically lists your fan model as compatible. Using a generic controller can lead to flickering lights or humming motors, which can cause damage to the fan’s motor over time.
If you’re uncertain about the compatibility of a replacement part, call the manufacturer’s customer service line before you buy. They can confirm exactly which model number matches your current installation. Always verify the voltage rating on the receiver label; mismatching 120V and 240V components creates an immediate fire hazard.
Common mistakes to avoid
| Popular advice | Why it fails |
|---|---|
| Changing the light bulbs | The wall control signal is independent of the bulbs used. |
| Spraying cleaner inside | Liquid can cause short circuits and destroy the electronics. |
| Bypassing the receiver | This disables the remote function and can overheat the motor. |
| Replacing only the wall unit | The receiver might be the failed part, leaving you with a new switch that still won’t work. |
Don’t attempt to open the sealed housing of the wall control or the receiver to “fix” the internal circuits. These units contain sensitive components that aren’t meant to be serviced by hand. If you open the plastic casing, you’ll likely void your warranty and risk damaging the internal wiring, which is a safety hazard. Always stick to the externally accessible settings like dip switches or basic wiring connections.
If your fan hums but refuses to spin, check the capacitor before assuming the motor is dead. A burnt capacitor often smells like acrid plastic and is inexpensive to replace. If the fan spins freely by hand but stops when powered, the issue is likely a failed motor start capacitor.
Many owners mistakenly tighten the mounting screws until the canopy cracks. This creates vibration noise that mimics a failing motor. Use only enough pressure to seat the gasket firmly against the ceiling. If the wobble persists, move the balance clip along the blade edges in two-inch increments. You’ll know you have found the correct spot when the shaking stops entirely.
Related guides
Frequently asked questions
Can I use a regular dimmer switch with my fan?
No, you should never use a standard wall dimmer switch with a ceiling fan. Standard dimmers are designed for incandescent lights and can cause the fan motor to hum or overheat, leading to long-term damage. Always use the specific wall control provided by the manufacturer, as it’s engineered to handle the inductive load of the fan motor and the specific requirements of the light kit.
How long does a wall control usually last?
Wall controls typically last 5 to 10 years, depending on usage and electrical stability. Frequent power surges can cause the internal fuse or control board to fail much sooner. If your control is over 10 years old and performs inconsistently, replacing the entire kit is often more cost-effective than attempting repairs.
What happens if I lose the remote signal?
If you lose the remote signal, the fan will stop responding to input but remains in its last known state. You can usually restore the signal by resetting the dip switches to force the wall unit and receiver to re-establish their connection.
Is it safe to replace the wall control myself?
Yes, you can replace the wall control yourself if you’re comfortable turning off the main power and connecting basic wires. If the wiring looks damaged or confusing, you should hire a professional. Safety is the priority; hiring an electrician is inexpensive compared to the risk of a fire hazard.
Why does my fan light flicker?
A flickering light is often caused by a loose wire connection or an incompatible bulb type. Ensure all wire nuts are tight and that you’re using dimmable bulbs if your control supports dimming. Non-dimmable LED bulbs frequently flicker when used with a wall control that adjusts power levels.
Conclusion
The most important factor to remember is that your wall control relies on a clean, consistent power source and a clear communication channel to the ceiling receiver. If you find that the unit is unresponsive, focus your efforts on the simple resets first, as most problems are caused by signal misalignment rather than a permanent hardware failure.
