
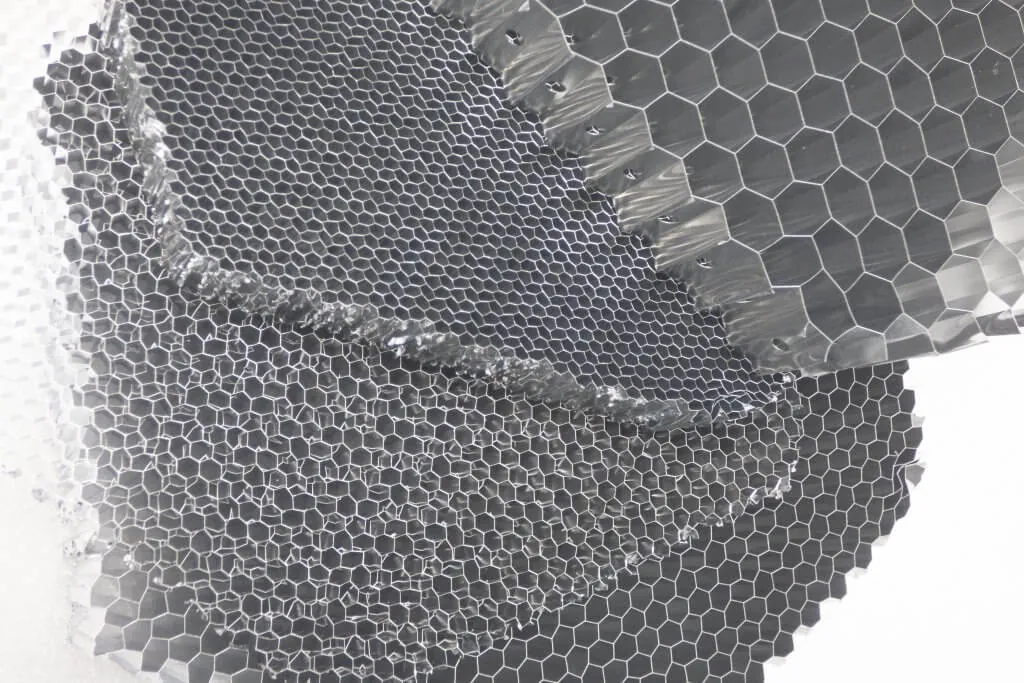
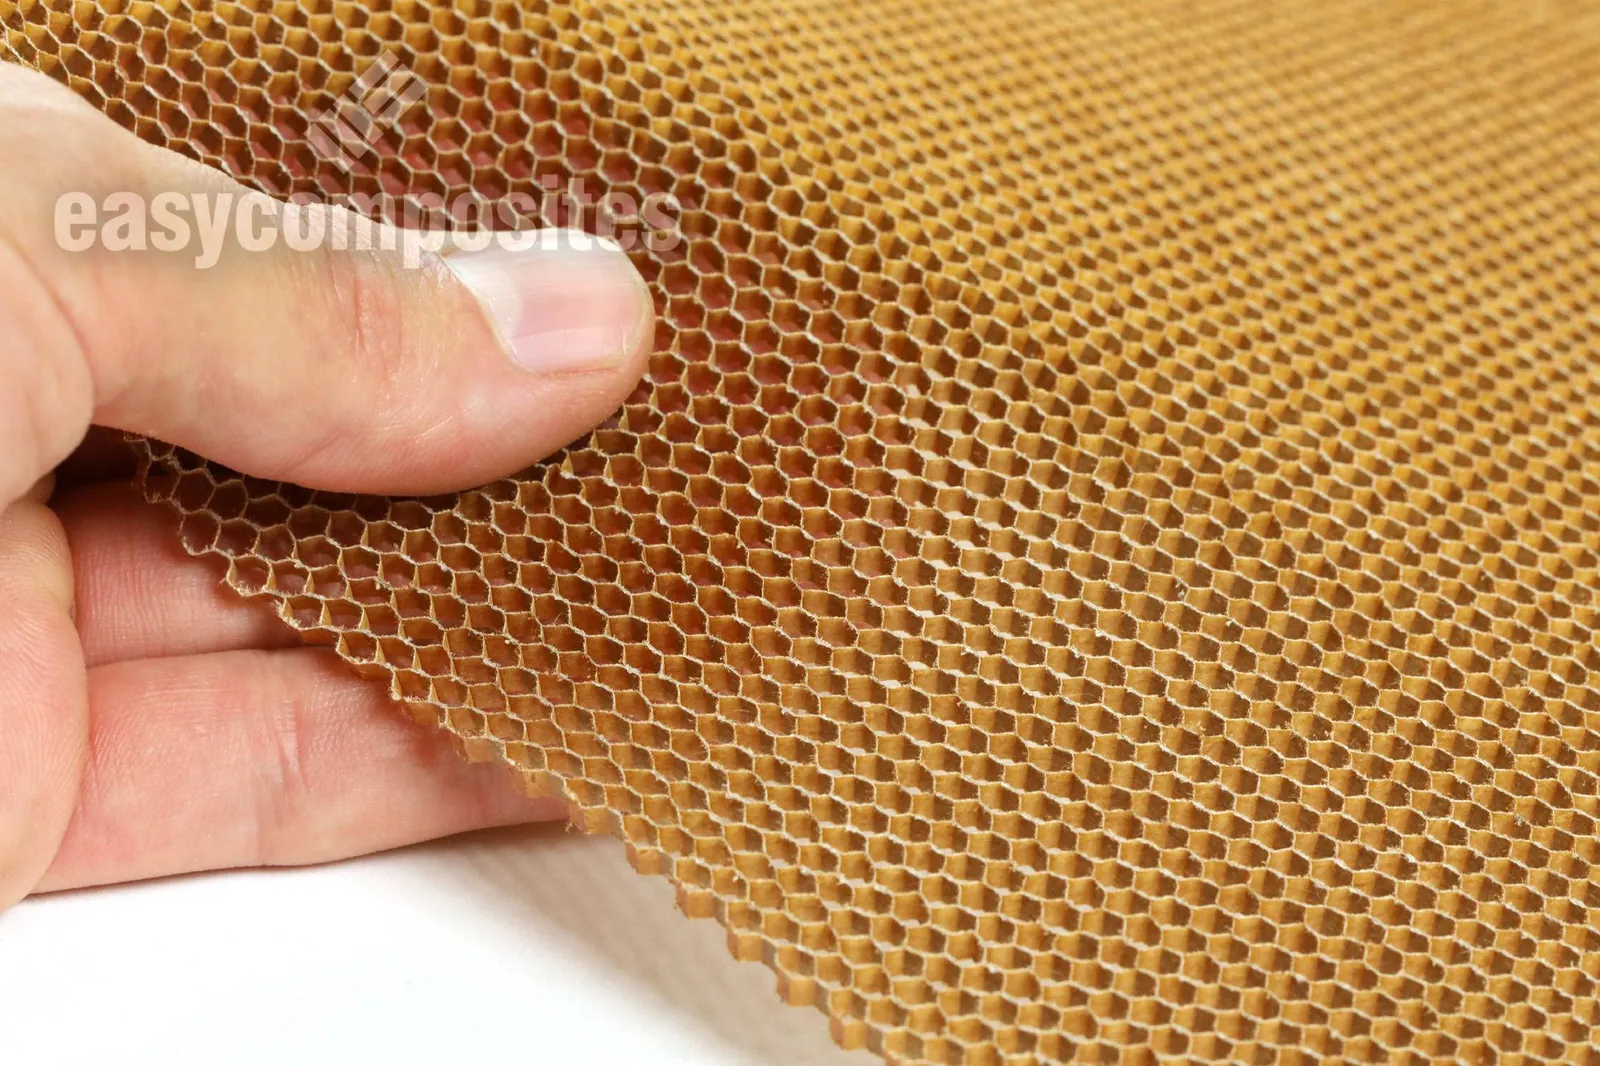
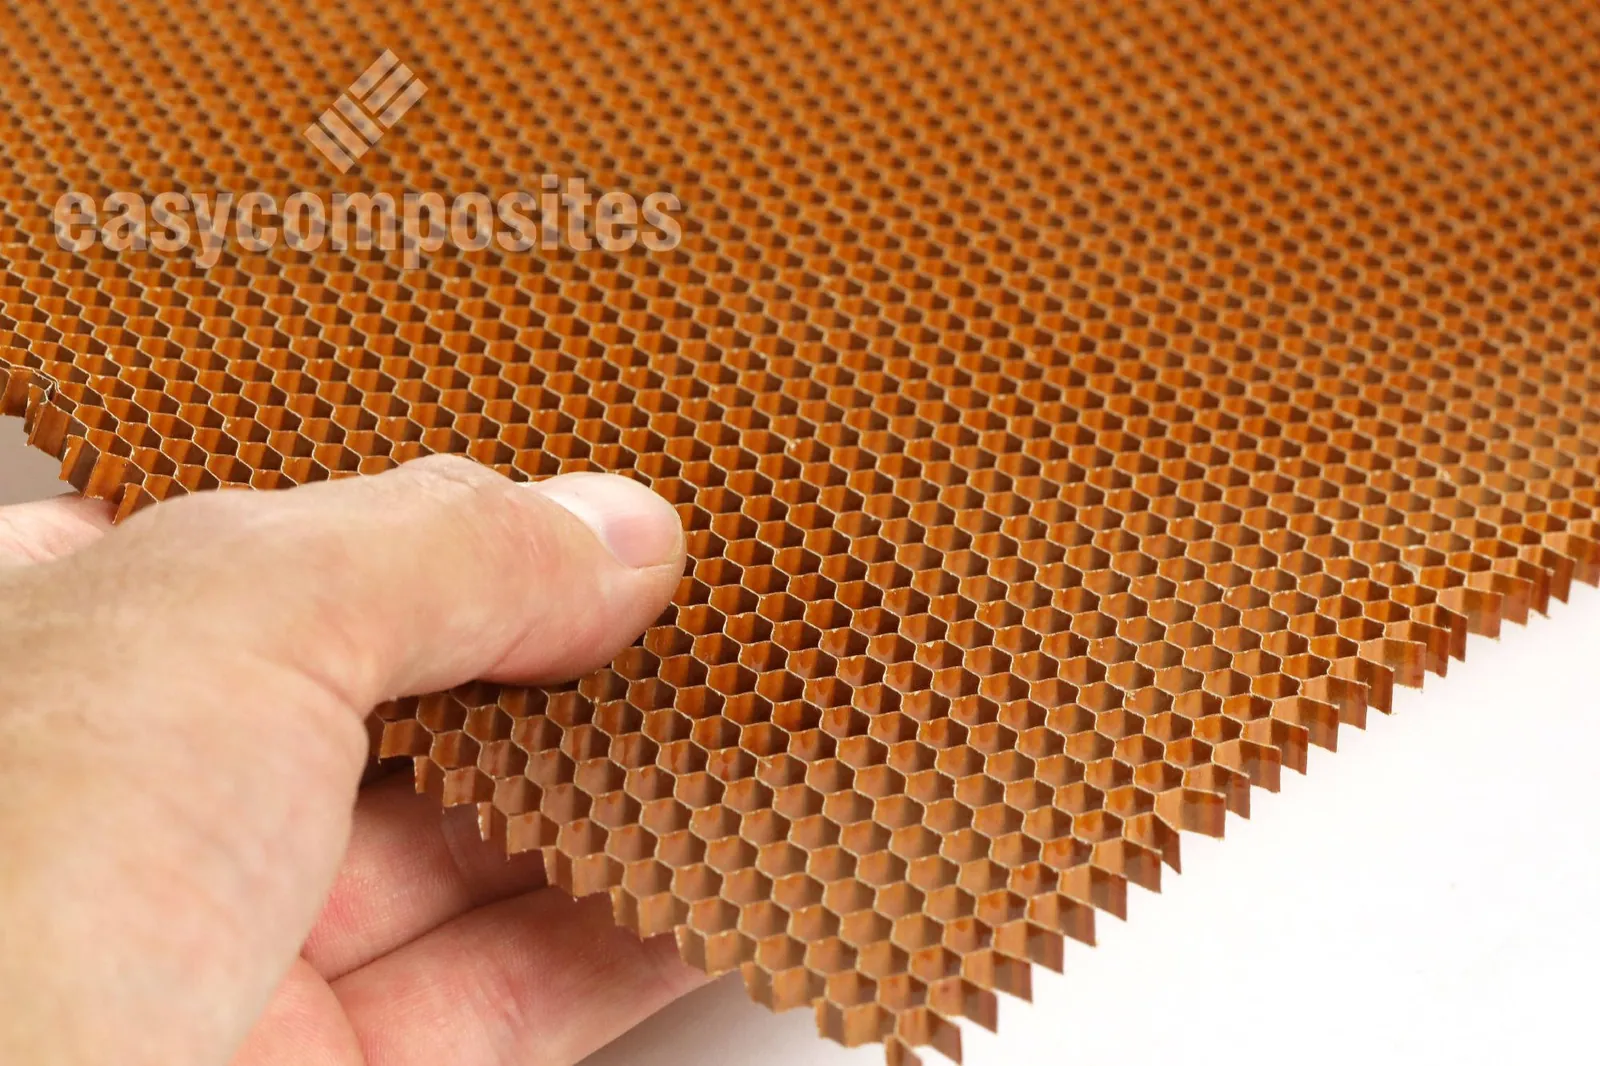
Nomex honeycomb is a lightweight, high-strength structural material made from aramid fiber paper treated with phenolic resin, used primarily in aerospace and transportation for its thermal stability and fire resistance. It serves as a core material in sandwich panels to provide rigidity without adding significant weight. You’ll find it in aircraft interiors, racing cars, and marine vessels where keeping weight down while maintaining structural integrity is a critical requirement.
This material relies on a hexagonal cell structure that distributes stress evenly across a surface. The resin-impregnated aramid fibers offer excellent resistance to heat and chemicals, which is why it performs well in demanding environments. If the material stays dry and protected from UV light, it keeps its strength for decades; if it gets wet or exposed to direct sunlight for long periods, the mechanical bonds can fail.
The most common mistake people make is choosing a cell size that doesn’t match their load requirements. A smaller cell size provides higher crush strength but adds more weight due to the extra wall material. If you need maximum impact resistance, choose a smaller cell; if you need to minimize weight for a non-load-bearing panel, a larger cell is the better choice.
How Nomex honeycomb is used in manufacturing
- Cut the sheets to your required dimensions using a fine-toothed blade or a CNC oscillating knife to avoid crushing the edges.
- Sand the surface of the honeycomb lightly if you’re applying a skin material, ensuring you remove any resin dust before bonding.
- Apply a structural epoxy adhesive to the skin materials rather than the honeycomb itself, as the core can soak up too much glue and add unnecessary weight.
- Place the skins on both sides of the core, ensuring the alignment is perfectly square to prevent warping during the curing process.
- Apply even pressure across the entire panel using a vacuum bag or a press while the adhesive cures at the temperature recommended by the resin manufacturer.
Tip: Always use a slow-cure epoxy when working with large panels to ensure you have enough time to position the skins correctly before the glue begins to set.
Tip: If you’re drilling into the panel, you must use a potting compound to reinforce the hole, or the localized pressure will crush the honeycomb cells and destroy the structural integrity of the joint.
Choosing the Right Core Thickness
The time required to process this material depends on the bonding method and the curing cycle of your chosen adhesive. For technical data on aramid fiber properties, always check the official manufacturer specifications to ensure your structural design meets safety standards.
| Situation | Typical Cure Time | What changes it | What to watch for |
|---|---|---|---|
| Small hand-bonded panel | 24 hours | Ambient temperature | Humidity levels |
| Vacuum bagged assembly | 8–12 hours | Vacuum pressure | Seal leaks |
| Industrial press curing | 1–4 hours | Applied heat | Resin flow rates |
| Large structural wing | 48+ hours | Panel thickness | Internal stress |
If the curing process takes significantly longer than the manufacturer’s datasheet suggests, check your ambient room temperature. If the environment is too cold, the chemical reaction will slow down or stop entirely, leading to a weak bond that will delaminate under stress.
Verifying Structural Integrity
You can tell your assembly is done by checking the bond lines and the surface finish of the panels. A properly cured panel should feel rigid, with no soft spots or “oil canning” effects when you press lightly on the surface. Listen for a sharp, consistent sound when tapping the panel; a dull thud often indicates a void where the adhesive failed to stick to the honeycomb core.
If you find a dull spot, mark the perimeter with a grease pencil. Drill a small hole at the center and inject a low-viscosity epoxy to bridge the gap.
The final test involves a simple peel or shear check on a test coupon created at the same time as your main project. If the core tears before the adhesive bond breaks, your process is successful. Always refer to the ASTM International standards for sandwich constructions if you’re building parts for flight or high-speed transit, as these bodies define the exact force thresholds required for safe operation.
Common Fabrication Errors
- Using excessive adhesive: Applying too much glue forces the excess into the hollow cells, which adds significant weight and wastes expensive materials. Use a notched trowel to spread a thin, even layer across the skin instead of dumping it directly onto the honeycomb.
- Crushing the edges during cutting: Forcing a dull blade through the material collapses the hexagonal cells, which prevents a clean bond and weakens the panel perimeter. Use a very sharp, high-speed blade and support the material on both sides to keep the cells open.
- Neglecting surface preparation: Failing to clean the skins before bonding leaves oil or dust behind, which creates a weak point where the panel will eventually separate. Clean all bonding surfaces with an appropriate solvent and ensure they’re completely dry before you apply any adhesive.
- Incorrect skin alignment: Placing the skins at the wrong angle to the core’s ribbon direction can reduce the stiffness of the final panel by up to 30 percent. Always verify the orientation of the core material against your engineering drawings before you begin the final assembly.
Related guides
Frequently asked questions
Can I use Nomex honeycomb for weight-bearing floors?
Yes, you can use it for weight-bearing floors when it’s bonded between high-strength skins like carbon fiber or aluminum. The total load capacity depends on the thickness of the core and the type of skin you choose, so you must verify your specific design against the structural load requirements for your project. Never assume a thin panel can support heavy concentrated loads without professional engineering calculations.
Is it safe to cut this material at home?
It’s safe if you wear a dust mask and safety glasses, as the aramid fibers and phenolic resin dust can irritate your skin and lungs. You should perform all cutting in a well-ventilated area to avoid breathing in fine particles. If you aren’t comfortable handling these materials, look for a local fabrication shop that has the proper equipment and ventilation systems to process the sheets safely.
How long does a Nomex panel last?
A panel can last for decades if it remains sealed and protected from moisture, UV radiation, and chemical exposure. The resin-impregnated paper is designed to be stable over time, but the bond between the skin and the core is usually the first point of failure. If you store your materials in a climate-controlled environment, you can maintain their integrity for many years before needing to build your final parts.
What happens if the honeycomb gets wet?
Prolonged moisture causes structural weakening, fiber degradation, and potential mold growth. Once saturated, the closed hexagonal cells trap water, making complete drying nearly impossible. If your panel is exposed to water, inspect it for delamination and replace it if the bond feels soft.
How do I join two honeycomb panels together?
You can join them using mechanical fasteners with potting inserts or by using a scarf joint with structural epoxy. Potting inserts are the most common method, as they prevent the bolt from crushing the core when you tighten it. If you’re building a large structure, consult a professional fabricator to ensure the joint can handle the intended stress loads without failing at the connection point.
Conclusion
Selecting the right density and cell size for your specific application is the most important step in ensuring your project remains both lightweight and strong. Always test a small sample using your chosen adhesive before committing to a larger build, as this will help you identify any issues with your process before you invest time and money into the final assembly.

3 thoughts on “What Is Nomex Honeycomb and What Is It Used For”