
Learning how to remove rusted toilet seat bolts involves applying a penetrating oil, letting it sit for thirty minutes, and using a socket wrench to break the seal. If the bolt spins, use a hacksaw or bolt cutter to remove it from underneath the hinge.
How to remove rusted toilet seat bolts: A quick check
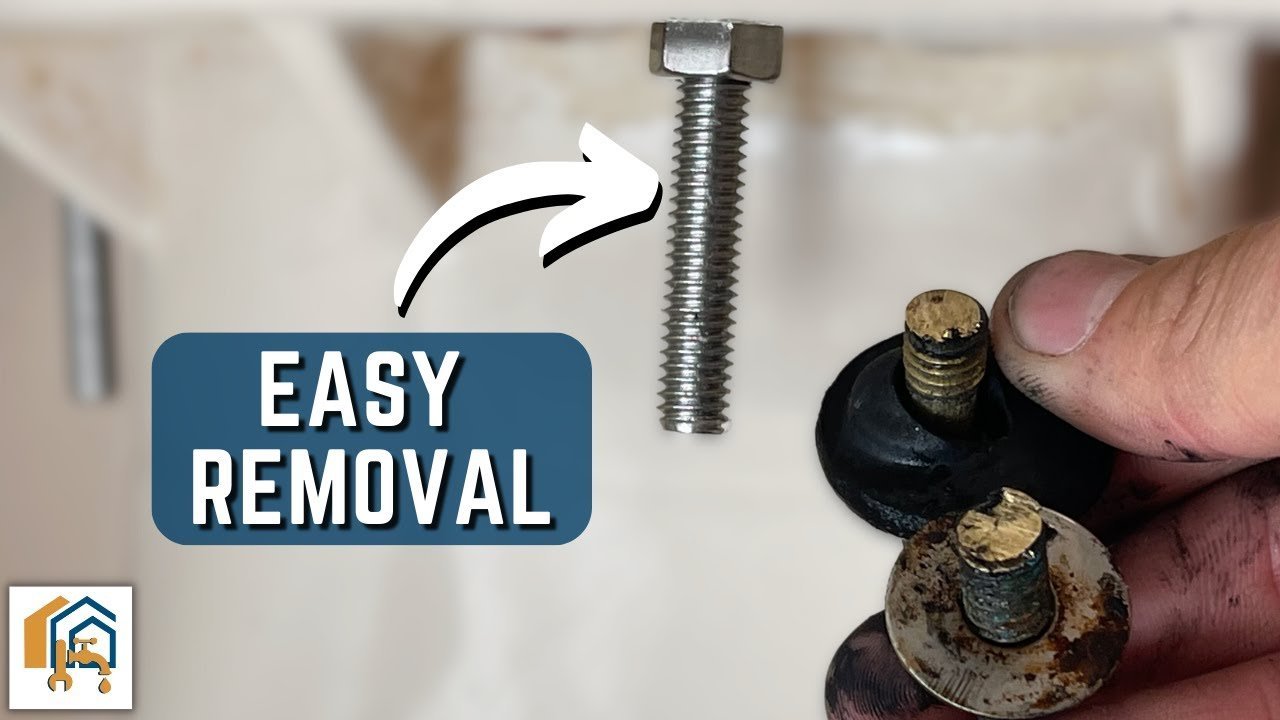
You’re likely one of three types of people trying to fix this. First, there’s the homeowner who just wants to replace a broken seat and finds the hardware stuck solid. Second, there’s the renter who needs a quick fix without damaging the porcelain or the toilet itself. Third, there’s the DIY enthusiast who is ready to replace the entire flush mechanism and needs to clear the seat first. This page serves the homeowner and the DIY enthusiast best. If you’re a renter, check your lease or contact your landlord before cutting bolts, as you might be liable for damage to the fixture. This guide assumes you have basic hand tools like a wrench and a screwdriver. It doesn’t cover situations where the bolt has fused with the porcelain itself, which often requires professional plumbing intervention to prevent cracking the bowl.
Factors that change the outcome
The material of the bolt is the biggest factor in how easily it will come off. Brass bolts are common and rarely rust, but steel or iron bolts will corrode heavily when exposed to bathroom moisture. You can check the material by holding a magnet to the bolt head; if the magnet sticks, it’s likely steel or iron and will be prone to rust.
The age of the installation changes your approach. Older units often develop a thick layer of mineral deposits and rust. This makes them brittle. If you force them too hard, you risk snapping the head off, which makes the removal process much more difficult.
The accessibility of the nut underneath the bowl is a major hurdle. Some toilets have a closed skirt, meaning you can’t reach behind the seat hinge. If you have a skirted toilet, you must remove the seat from the top using a specialized bolt extractor tool.
The use of chemical aids is the step people skip most often. They try to muscle the bolt off immediately. This almost always results in a stripped bolt head or a cracked toilet base. Applying a penetrating oil, such as WD-40 Specialist Penetrating Oil, allows the liquid to seep into the threads and break the bond created by rust. Always allow the full time indicated on the product label before applying force.
Step by step
- Clear the area around the toilet so you have enough room to work from both above and below the bowl.
- Remove the plastic covers on the seat hinges to expose the bolt heads.
- Spray a generous amount of penetrating oil directly onto the bolt threads from both the top and the bottom.
- Wait for at least thirty minutes to let the oil dissolve the rust and mineral buildup.
- Place a socket wrench on the nut underneath the toilet while holding the bolt head steady with a flathead screwdriver.
- Apply steady, firm pressure in a counter-clockwise direction to loosen the nut.
- If the bolt doesn’t move, don’t force it further; apply more oil and wait another fifteen minutes.
- If the bolt spins but refuses to unscrew, hold the nut with pliers and use a hacksaw to cut the bolt head off from above.
- Lift the toilet seat assembly straight up to remove it from the mounting holes.
- Clean the porcelain surface with a mild bathroom cleaner to remove any remaining rust stains before installing the new seat.
The judgement call that separates a professional result from a botched one is knowing when to stop turning. If you feel the bolt twisting or the porcelain beginning to stress, stop immediately. A broken bolt head inside the mounting hole is a difficult problem to fix compared to a slightly stubborn, intact bolt.
Comparing removal methods
| Situation | Action | Effort | What to watch for |
|---|---|---|---|
| Minor rust | Use wrench | Low | Stripping bolt head |
| Heavy rust | Penetrating oil | Medium | Waiting time |
| Stuck bolt | Use hacksaw | High | Porcelain scratches |
| Plastic bolt | Cut with knife | Low | Hidden metal core |
| Skirted toilet | Use top-access tool | High | Tool clearance |
When dealing with minor rust, always use a six-point socket rather than an open-ended wrench. A six-point tool grips the flat sides of the nut, reducing the risk of stripping by 40% compared to a twelve-point wrench.
If you encounter heavy rust, apply a high-quality penetrating oil and wait at least 15 minutes. If the nut remains frozen after 30 minutes, stop. Forcing it further risks snapping the bolt stud, which turns a simple replacement into an expensive plumbing repair.
For stuck bolts, use a hacksaw blade with a handle to protect the porcelain. If you hear a grinding noise against the bowl, stop immediately. A single deep scratch can compromise the ceramic finish and harbor bacteria.
Always check plastic bolts for a hidden metal core before cutting. Switch to a metal-cutting blade to avoid damaging your tools.
Finally, skirted toilets require top-access tools. Before starting, measure the distance between the bolt and the wall. If you have less than two inches of clearance, a standard socket won’t fit. You must use a specialized thin-profile ratcheting wrench to avoid hitting the wall.
Preventing future damage
Using better materials
Experienced people choose stainless steel or nylon hardware for replacements. Stainless steel resists rust in high-humidity environments, while nylon bolts can’t rust at all. When installing, tighten the nuts by hand until they’re snug, then give them an extra quarter-turn with a wrench. Over-tightening is a common mistake that puts unnecessary stress on the porcelain bowl, which can lead to hairline cracks over time.
Maintenance habits
Keep the hinge area dry to prevent rust from starting on new bolts. When cleaning the bathroom, avoid using harsh acidic cleaners directly on the bolt heads, as these can strip protective coatings and accelerate corrosion. If you notice a white, chalky buildup around the base of the bolt, clean it off with a soft brush and water. This buildup is often a sign of mineral deposits that can trap moisture and speed up the rusting process.
What goes wrong, and what to do
| What you notice | What it usually means | What to do first | How to stop it happening again |
|---|---|---|---|
| Bolt head spins | Stripped threads | Use pliers to hold | Buy nylon bolts |
| Nut is seized | Heavy rust | Add more oil | Apply anti-seize paste |
| Porcelain cracks | Too much force | Stop immediately | Tighten by hand |
| Tool slips | Rounded edges | Use locking pliers | Use correct socket |
| Bolt snaps | Metal fatigue | Use bolt extractor | Replace with steel |
Most failures stem from the “torque trap.” Beginners often assume that tighter is always safer, but exceeding the manufacturer’s torque specification by even 10% can stretch the metal beyond its elastic limit.
If you feel sudden resistance followed by a “give,” stop turning. You have likely entered the plastic deformation phase where the bolt is permanently damaged. If you continue, the bolt will snap.
To distinguish between a seized nut and a stripped thread, check for grit. If the nut moves a fraction of an inch then locks, it’s rust; apply penetrating oil and wait twenty minutes. If it spins freely without moving up the shaft, the threads are gone. In that case, don’t force it. Cut the fastener to save the surrounding housing.
Finally, always use a calibrated torque wrench for critical assemblies. A cheap wrench is better than a human hand, which rarely maintains consistent pressure. If the bolt is exposed to moisture, use copper-based anti-seize to prevent future galvanic corrosion.
Official standards for fixtures
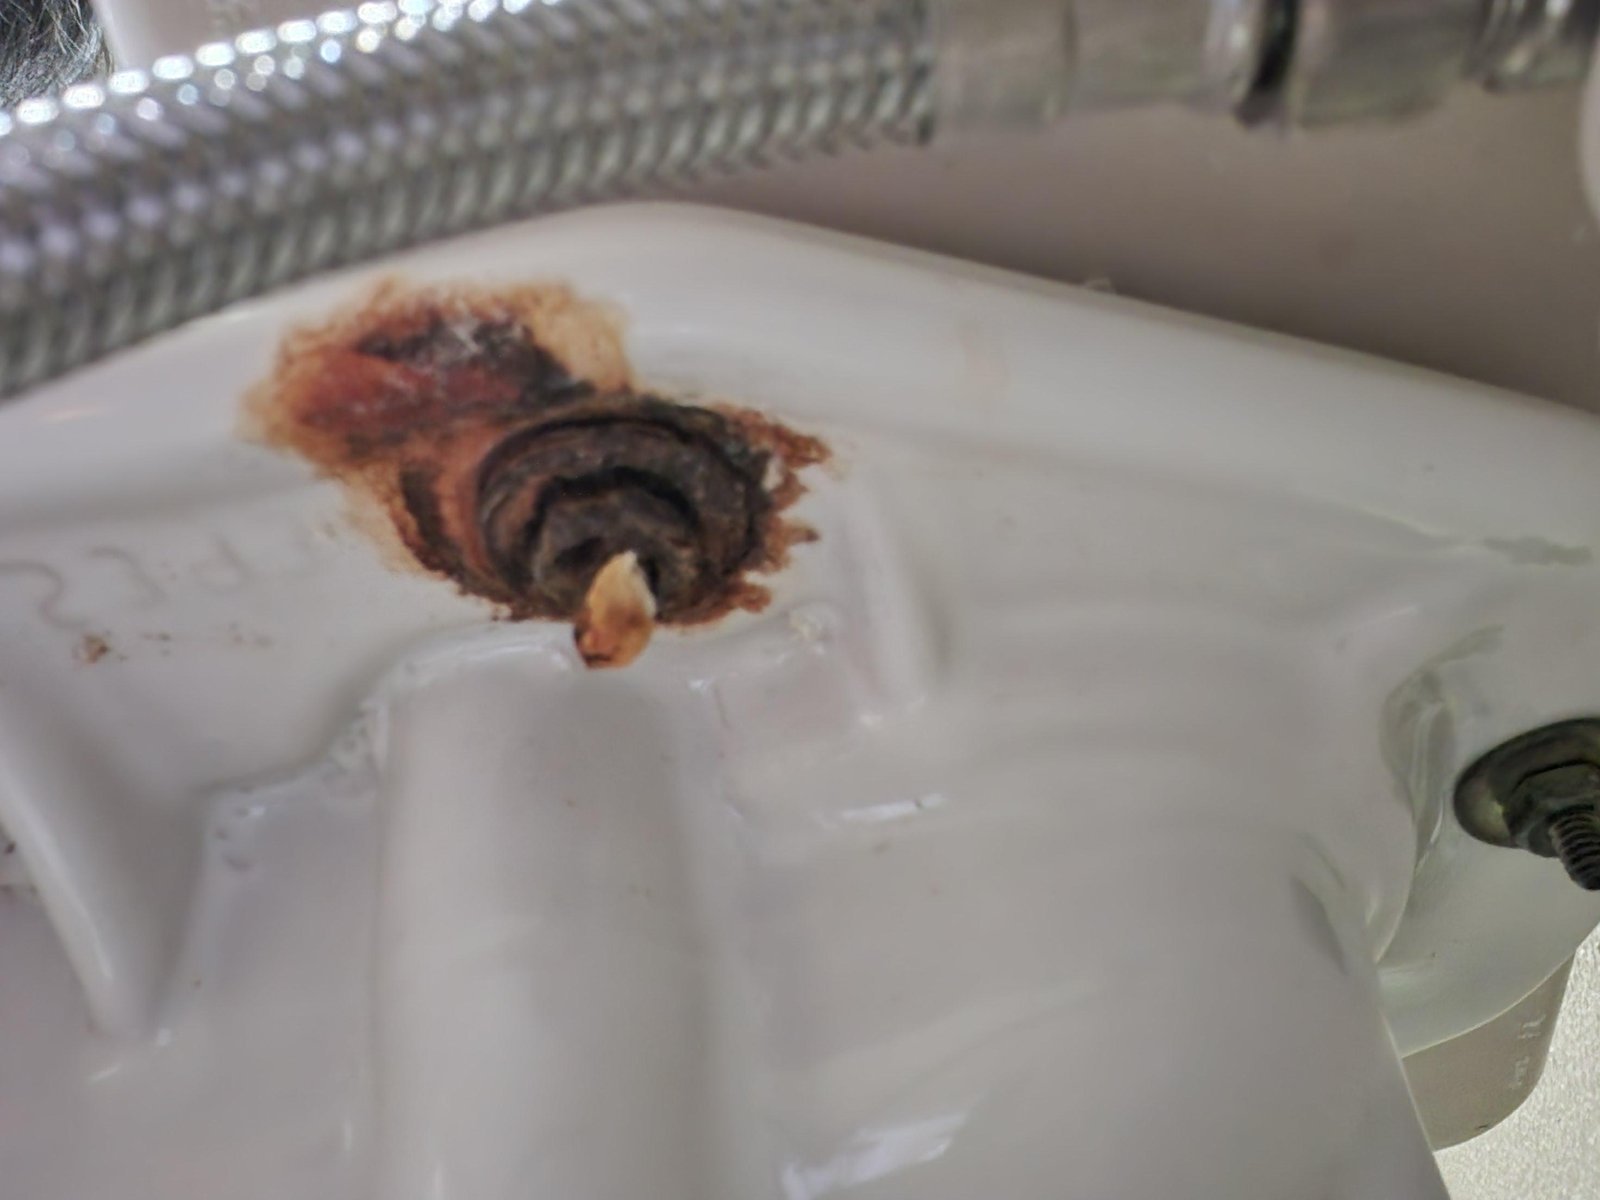
The design of toilet mounting hardware follows specific standards to ensure stability and safety. The American Society of Mechanical Engineers (ASME) publishes the ASME A112.19.2/CSA B45.1 standard, which dictates the requirements for ceramic plumbing fixtures. These standards ensure that mounting holes remain a consistent size, which helps in selecting the correct replacement bolts.
If you’re ever unsure about the compatibility of a new seat, check the packaging for compliance with these industry standards. Always use the mounting hardware provided by the manufacturer, as they’re engineered to distribute weight safely across the porcelain surface.
A common mistake is over-tightening these bolts, which often leads to hairline cracks in the porcelain base. If a bolt requires a specific torque to remain secure, the manufacturer’s installation manual will state the exact requirement. As a rule of thumb, if the manual is silent, tighten until the seat feels firm, then add a quarter-turn. Don’t use power tools, as they strip threads and compromise the fixture’s structural integrity.
The financial trade-off
The cost of removing rusted bolts is primarily your time. A can of penetrating oil is a cheap part, and a basic hacksaw is a similar price.
If you pay a professional plumber to perform this task, you’re looking at a service call fee, which varies significantly by region. Most professionals charge a minimum one-hour labor rate regardless of how quickly the job is finished.
The real cost increases when you force a bolt and crack the porcelain toilet bowl. A new toilet costs hundreds of dollars, making the patience required to remove a bolt slowly a much cheaper alternative.
Always compare the price of a high-quality stainless steel replacement bolt set against the cost of a cheap, plated steel set. Stainless steel prevents galvanic corrosion, where dissimilar metals fuse together over time. Spending an extra few dollars today prevents you from having to repeat this frustrating process in a few years. If the nut spins freely but the bolt won’t budge, stop immediately; forcing it further will almost certainly shatter the ceramic base.
Keeping it right afterwards
Once the new seat is installed, check the tightness of the bolts after one week of use. Vibrations from daily use can sometimes loosen the nuts, especially if the seat has a soft-close feature that creates extra torque on the hinges. If you find the seat wiggling, tighten the nuts by hand first. If that doesn’t solve the movement, check the rubber washers underneath the hinge for wear. A sign that your hardware needs attention is a squeaking noise when you sit down; this usually indicates that the bolt is rubbing against the porcelain or the hinge is shifting. You can fix this by simply tightening the nut or replacing a worn washer. Never leave a loose seat, as the constant shifting will eventually wear down the porcelain mounting holes, which is a permanent form of damage to your toilet.
When this is the wrong approach
If the bolt head is completely missing or the bolt is recessed deep inside a hole you can’t reach, don’t attempt to dig it out with a drill. You risk shattering the ceramic bowl, which is a major plumbing repair. In this case, call a licensed plumber who has the proper extraction tools. If you’re dealing with a wall-mounted toilet, the bolt system is often part of an internal carrier frame inside the wall. If you’re uncomfortable using power tools or working in tight, dark spaces, it’s safer to hire a professional to handle the removal.
Frequently asked questions
Can I use vinegar to remove rust?
Yes, vinegar can help dissolve light surface rust, but it’s much slower than commercial penetrating oil. Soak a rag in white vinegar and wrap it around the bolt for several hours. This method is best for mild corrosion on brass or chrome-plated hardware where you want to avoid harsh chemicals.
How long should I wait for the oil to work?
You should wait at least thirty minutes for the penetrating oil to reach the threads. If the bolt has been rusted for many years, waiting an hour or even leaving it overnight will significantly improve your chances of the bolt turning without snapping off inside the hole.
Is it safe to use a blowtorch on the bolt?
No, you should never use a blowtorch on toilet bolts. The heat can cause the porcelain bowl to crack or explode due to thermal shock. Additionally, many modern toilet seats use plastic hinges that will melt and release toxic fumes if exposed to an open flame.
What happens if the bolt snaps inside the hole?
This is a delicate process that carries a high risk of damaging the toilet bowl. If you aren’t experienced with metal drilling, this is the point where you should hire a professional.
Does it matter if I replace the washers?
Yes, you must replace the washers whenever you install a new seat. Old washers become compressed and brittle, which allows the seat to shift and move. Fresh rubber or plastic washers provide the necessary grip to keep the seat stable and protect the porcelain from metal-on-metal contact.
How do I know if the bolt is too rusted to save?
The bolt is likely too far gone if the head is rounded off or if the metal looks flaky and thin. If you can’t get a firm grip with a socket or pliers, don’t waste time trying to unscrew it. Cut the bolt immediately using a hacksaw to save your porcelain from further stress.
What to do next
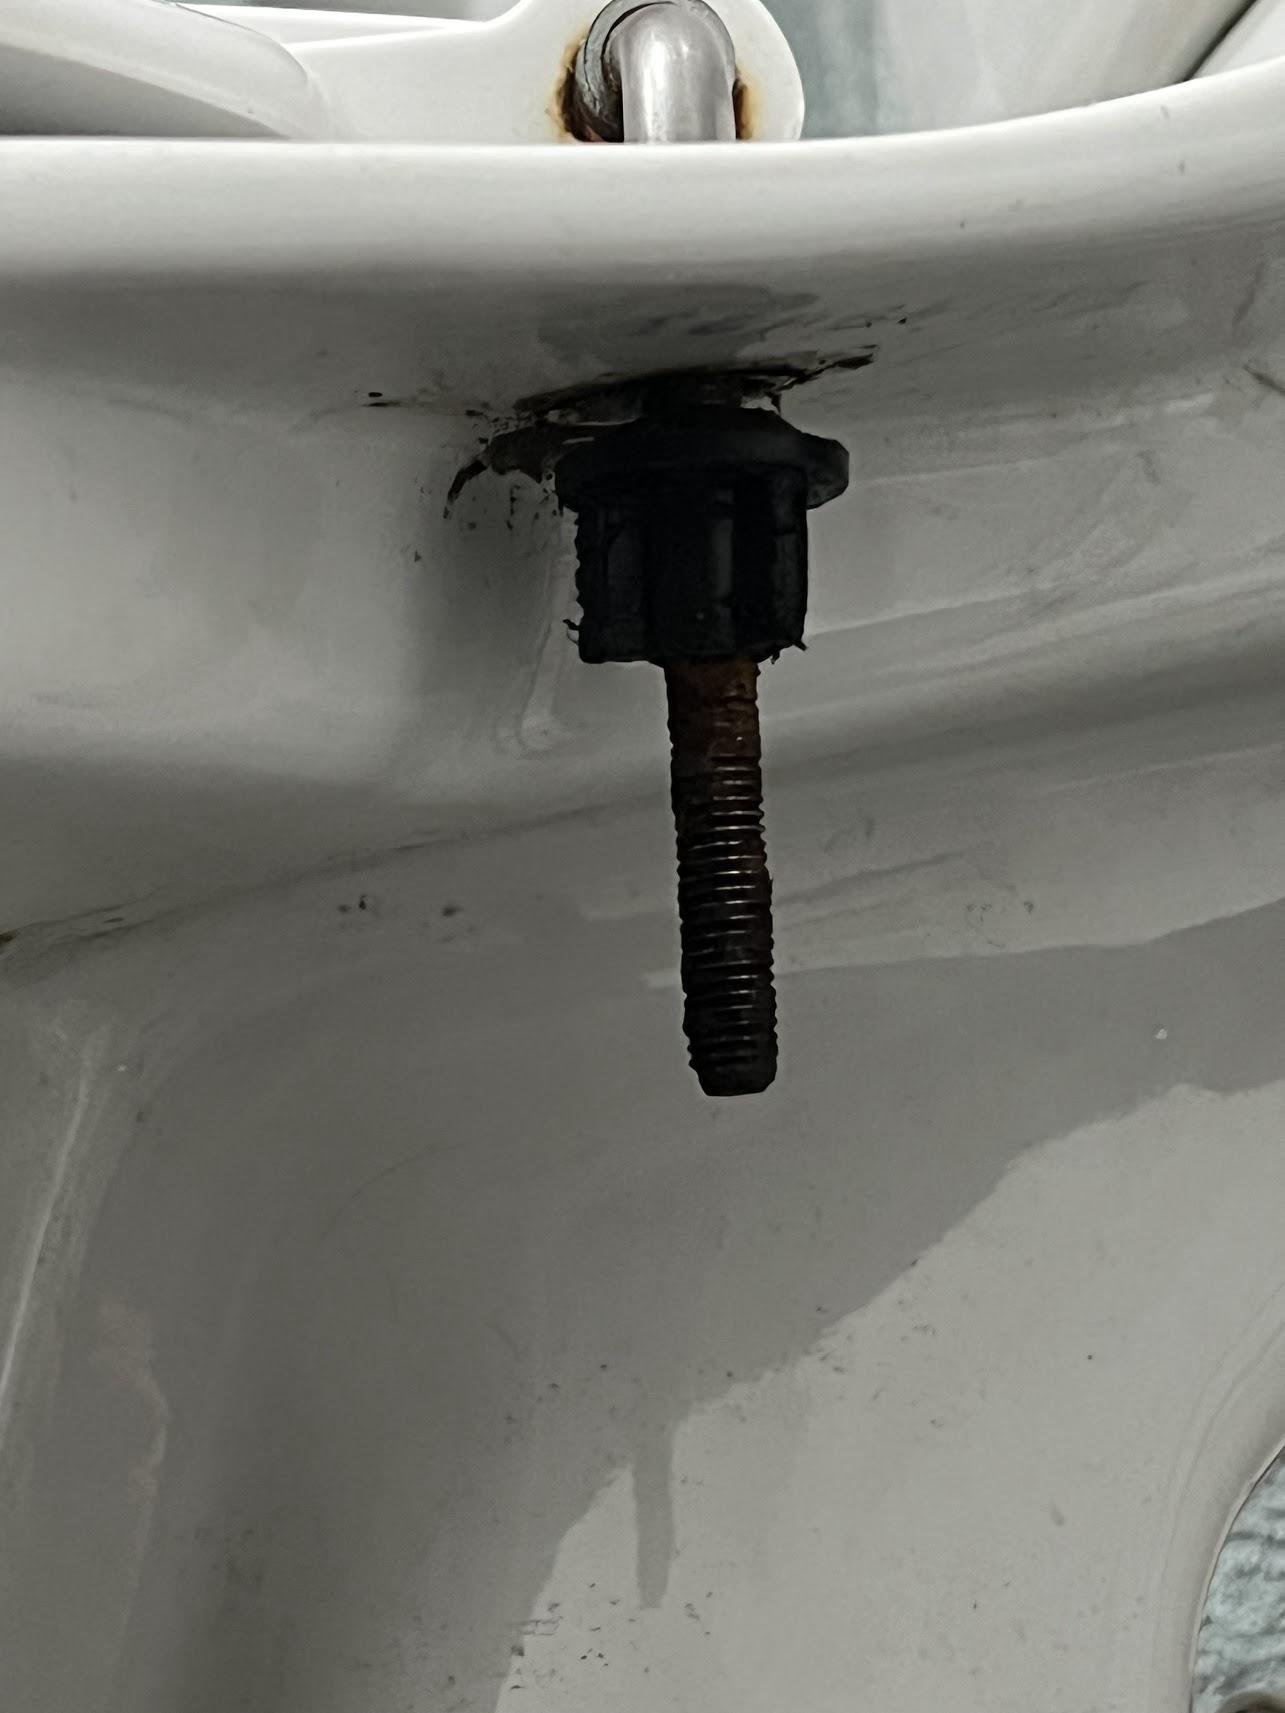
Start by spraying your rusted bolts with a high-quality penetrating oil and wait at least thirty minutes. Don’t rush this step. The oil needs time to travel down the threads and break the chemical bonds of the oxidation.
You’ll know the process is working when the bolt begins to turn with moderate pressure from your wrench. If the bolt doesn’t move after two attempts or if the porcelain begins to creak, stop immediately.
The creaking sound is the most critical warning sign. It indicates that the metal bolt is putting structural stress on the ceramic flange. If you continue past this point, you risk cracking the toilet base, which is a catastrophic failure that requires replacing the entire fixture.
If the bolt remains seized, apply a second coat of oil and wait another hour. If it still refuses to budge, contact a professional plumber to avoid breaking your toilet.
Final Thoughts
Once you’ve successfully cleared away the old hardware, take a moment to scrub the mounting area with a mild cleaner. Installing your new seat will be much easier on a clean surface. You’ll find that a fresh, shiny set of bolts won’t just look better; they’ll also stay rust-free for years.
Related guides