
Learning how to replace a toilet seat involves unscrewing the old bolts, cleaning the mounting area, and securing the new seat with the included hardware. This process typically takes about 20 minutes with the right tools, depending on the condition of your existing bolts.
If your bolts are rusted, you may need extra time or specific tools to remove them. If your toilet has a hidden bolt design, you’ll need a special top-fixing kit to complete the job.
Who needs to replace a toilet seat
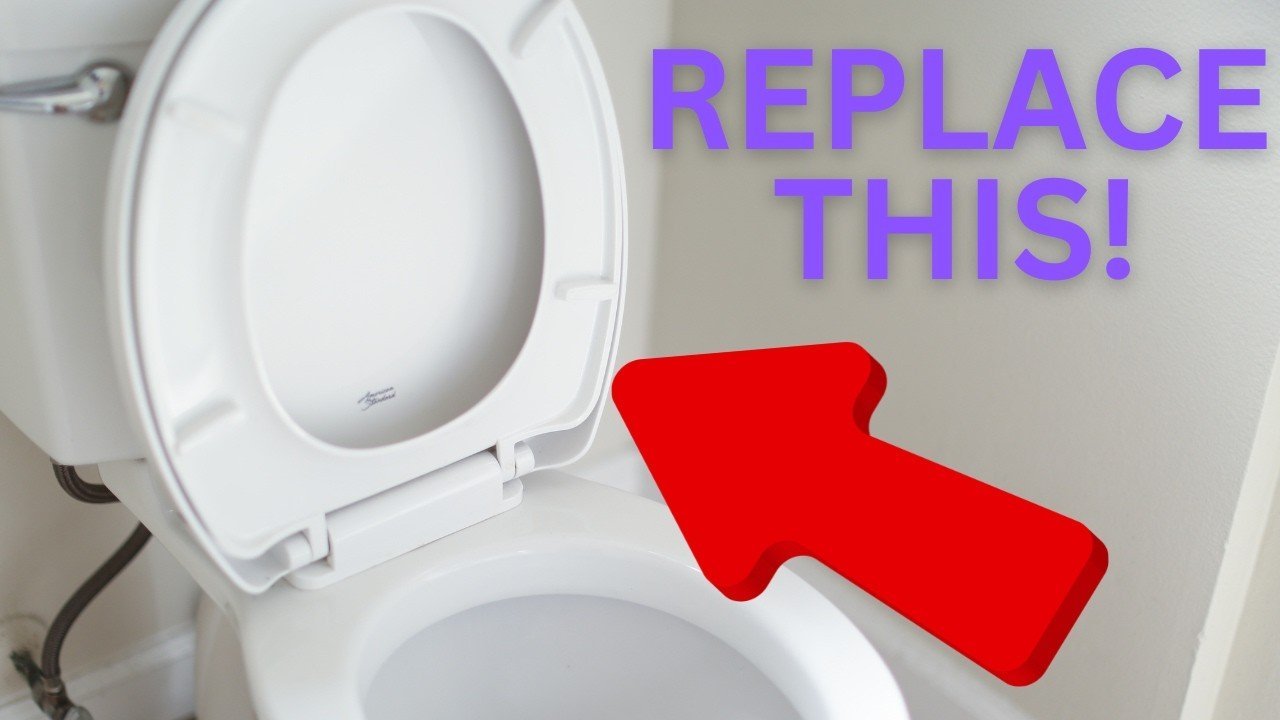
This guide is for homeowners or renters who have a broken, loose, or stained toilet seat and want to fix it without calling a plumber. It assumes you’re working with a standard residential toilet and have access to basic household tools like a screwdriver and an adjustable wrench. If you’re dealing with a commercial-grade unit or a wall-hung toilet with complex internal wall fixings, this page isn’t for you; those systems often require specialized tools and professional knowledge to avoid damaging the ceramic or the wall structure.
The guide assumes you have already purchased a replacement seat that matches the shape of your toilet bowl, whether round or elongated. If you haven’t yet bought the seat, you should measure the distance between the two mounting holes on your toilet bowl. Most standard toilets have a measurement of about 5.5 inches between the holes. If your measurements differ, check the product packaging or the American Society of Mechanical Engineers standards for toilet bowl dimensions to ensure your new seat will fit securely. This page serves those who want a direct, simple method for a standard DIY swap.
Factors that influence the process
The primary factor that changes this job is the type of bolt hardware used on your current toilet. If you have plastic nuts, they usually turn by hand or with a light touch from a wrench. Metal bolts, however, often corrode over time, making them difficult to turn. If you find the bolts are stuck, don’t force them, as you risk cracking the porcelain bowl; apply a penetrating oil and let it sit for 15 minutes before trying again.
Another factor is the access point for the bolts. Most toilets allow you to reach under the bowl to hold the nut while you turn the screw from the top. If your toilet has a “skirted” design or a closed base, you can’t reach underneath. In these cases, you must use a top-fixing seat kit. These kits use expanding rubber anchors that tighten from the top, which is a different mechanical process than the traditional bolt-and-nut setup.
The condition of the mounting area is the third factor. Over years of use, grime and mineral deposits build up around the bolt holes. You must clean this area thoroughly before installing the new seat to ensure a flat, stable surface. If the surface is uneven, the new seat may wobble or crack under pressure. Most people make the mistake of ignoring this cleaning step, which leads to a loose seat within a few weeks. Taking the time to scrub the area with a mild bathroom cleaner is the difference between a job that lasts for years and one that fails quickly.
How to replace a toilet seat: Step by step
- Lift the toilet seat cover and identify the bolt caps. Pop these plastic covers off using a flat-head screwdriver to reveal the screw heads.
- Hold the nut on the underside of the toilet rim with an adjustable wrench while you turn the screw counter-clockwise from the top with a screwdriver.
- If the bolt is rusted and won’t turn, spray a small amount of penetrating oil on the threads and wait 15 minutes before trying again.
- Remove the old seat and the old bolts completely.
- Scrub the area around the two mounting holes with a bathroom cleaner and a scouring pad to remove all mineral deposits and hair.
- Place the new seat over the mounting holes and insert the new plastic or metal bolts provided with your kit.
- Tighten the nuts from underneath by hand until they’re snug, then give them an extra quarter-turn with your wrench; don’t overtighten, as this can crack the porcelain.
- Snap the plastic bolt covers into place over the bolt heads.
- Sit on the seat to test for any movement or instability.
The judgement call here is the tightness of the bolts. If you tighten them too much, you can crack the ceramic bowl or strip the plastic threads. If you leave them too loose, the seat will shift when you sit down. The goal is a firm fit where the seat doesn’t move when pushed horizontally.
The variations at a glance
If your plastic bolts feel resistant, stop immediately. Forcing them with a wrench often shears the head, forcing a tedious drill-out process.
When dealing with rusted metal, wait at least fifteen minutes after applying oil. If the nut remains frozen, don’t apply more torque.
Top-fix kits are essential when you can’t reach behind the bowl. Ensure the rubber bung is fully compressed; if it wiggles after installation, the mount will fail within weeks.
For loose seats, check the hinge covers first. Many modern models hide the adjustment screws under a snap-fit plastic cap. If the seat still shifts after tightening, the mounting holes are likely worn. In this case, replace the entire hinge assembly rather than the seat to save money.
What separates a good result from a poor one
Preparation and cleaning
A good result starts with a clean surface. Many people skip cleaning the area where the seat meets the bowl, which leaves behind grit that prevents the seat from sitting flush. When the seat isn’t flush, the plastic hinges take on uneven stress, which will lead to cracking or snapping of the hinge assembly within a few months. Use a standard bathroom cleaner to remove all debris. If you see deep mineral stains, a light scrub with a non-scratch pad ensures the new gaskets sit perfectly flat against the porcelain.
Securing the hardware
Experienced installers always check the alignment before the final tighten. Place the seat on the bowl and align the hinges with the holes, but leave the bolts slightly loose until the seat is perfectly centered. If you tighten one side fully before the other, the seat will be crooked and uncomfortable to use. Once centered, tighten both sides equally. Always check that the seat doesn’t slide when pushed. If it shifts, the nuts underneath are likely loose or the rubber washers aren’t seated correctly.
What goes wrong, and what to do
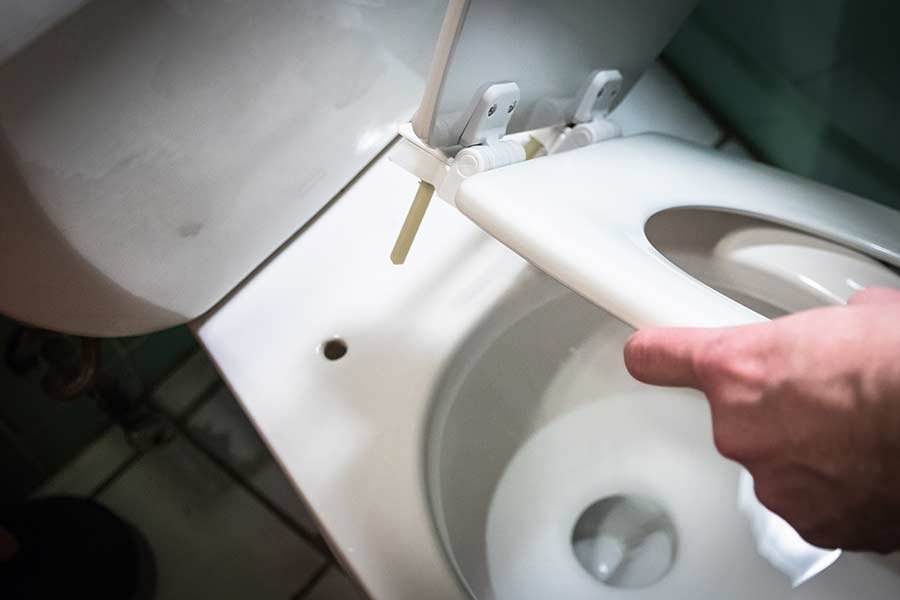
| What you notice | What it usually means | What to do first | How to stop it |
|---|---|---|---|
| Seat wobbles | Loose bolts | Tighten the nuts | Use rubber gaskets |
| Bolt spins | Stripped thread | Replace the bolt | Don’t overtighten |
| Hinge snaps | Too much pressure | Replace the hinge | Check alignment |
| Seat shifts | Wrong size | Check measurements | Buy correct model |
| Rust stains | Old hardware | Clean the rim | Use plastic bolts |
Most people assume a wobbly seat is a permanent failure. In reality, it’s usually just a vibration issue. If you tighten the nuts and they loosen again within a week, the threads are likely stripped. Don’t force them further, as you risk cracking the porcelain.
The decision rule is simple: if the bolt spins freely, stop immediately. Continuing to turn it will damage the mounting hole, which is expensive to repair. Instead, switch to nylon or plastic hardware. These materials absorb shock and resist corrosion better than metal. If your seat shifts despite correct measurements, check the hinge plates. If they aren’t perfectly flush, the seat will slide under body weight. Always ensure the mounting pads are clean and dry before installation.
The rules that apply
When replacing a toilet seat, you must adhere to the product manufacturer’s installation instructions included in the box. These documents provide the specific torque requirements for the bolts, which are designed to prevent damage to the ceramic bowl. The American National Standards Institute (ANSI) provides guidelines for plumbing fixture fittings, which emphasize that all components must be compatible with the existing bowl geometry to ensure structural integrity.
If your toilet is part of a larger plumbing system, always ensure that your work doesn’t disturb the water supply or the wax seal at the base of the toilet. If you accidentally move the toilet base, you may break the wax seal, which can cause leaks. In this event, you should stop immediately and contact a licensed plumber. Don’t attempt to reset the toilet yourself if you lack experience with plumbing seals, as improper installation leads to water damage in your flooring.
What it costs you
The cost of this task is primarily the price of a new seat, which varies based on the material and features like “soft-close” hinges. Beyond the cost of the seat, you may spend a small amount on a set of universal replacement bolts if your old ones are too corroded to reuse. These prices vary by brand and local hardware store availability, so check your local retailer’s website for current pricing before you shop.
The hidden cost here is your time and the effort required to clean the mounting area. If you rush the cleaning, you’ll likely find yourself repeating the installation within a few months because the seat won’t stay secure. If you don’t own a basic toolkit, you might spend a modest amount on a simple screwdriver and adjustable wrench set. This is a one-time investment that will serve you for many other household repairs. Avoid buying the cheapest possible seat, as these often use thinner plastic that flexes and breaks faster than mid-range models.
Keeping it right afterwards
To keep your new seat in good condition, wipe it down weekly with a mild soap and water solution. Avoid using harsh chemical cleaners, such as bleach or abrasive powders, as these can yellow the plastic and damage the finish of the hinges. If you notice the seat becoming loose again after a few months, simply pop the covers and tighten the nuts by an extra quarter-turn. Don’t use heavy-duty tools like power drills to tighten the bolts, as the risk of cracking the porcelain is too high.
The sign that the seat needs attention is any horizontal movement when you sit down. If you ignore this, the hinge will eventually snap under your weight. If the seat becomes stained or the finish wears off, there’s no way to repair it; you’ll need to replace the seat again. By keeping the bolts snug and the hinges clean of dust and grime, you ensure the seat remains stable and comfortable for its expected life.
When this is the wrong approach
This guide isn’t suitable if your toilet bowl is cracked or if the mounting holes in the ceramic are damaged. If the porcelain around the holes is chipped or shows spiderweb cracks, a new seat won’t fix the issue and may cause the ceramic to fail completely. In this scenario, you must replace the entire toilet bowl, which is a job for a licensed plumber.
Additionally, if you’re struggling to remove a bolt that’s seized by extreme rust, don’t use excessive force with a hammer or a large pry bar. You risk shattering the ceramic, which is dangerous and expensive to repair. If the bolt won’t move after using penetrating oil, stop and call a professional. Attempting to force a seized bolt often turns a simple seat replacement into a full toilet replacement. Always respect the limits of the materials you’re working with to avoid costly accidents.
Frequently asked questions
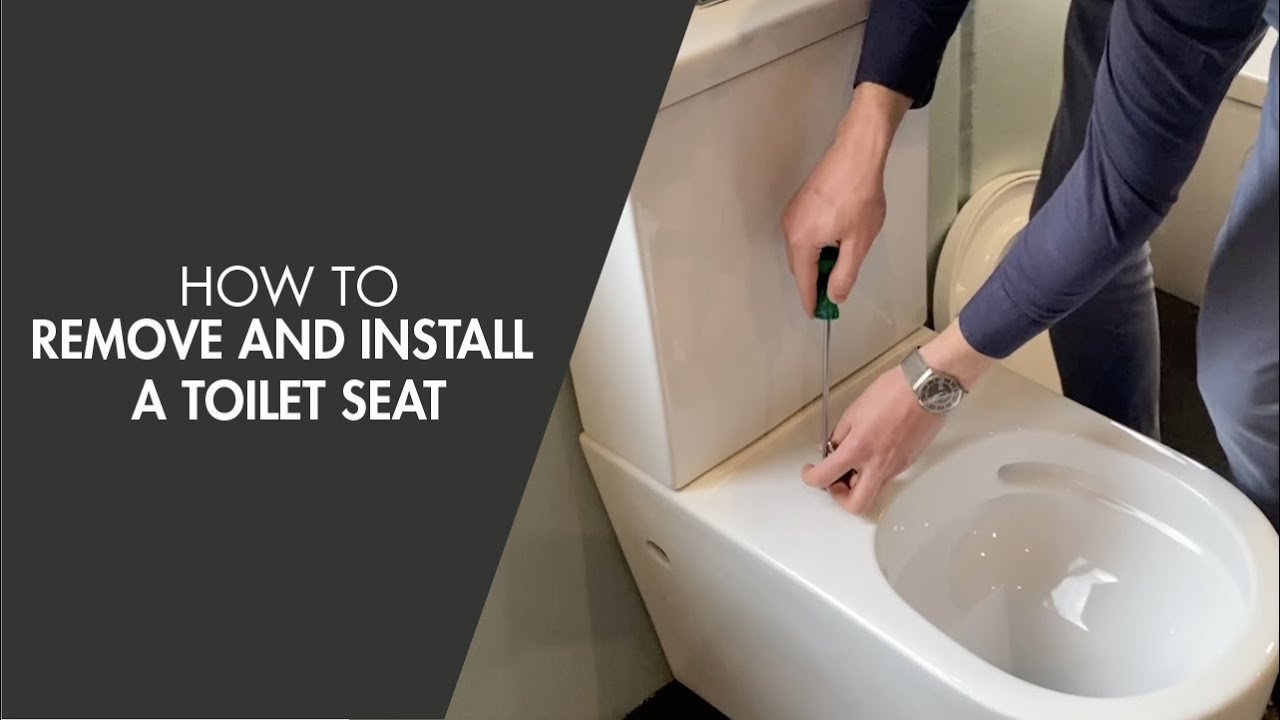
Can I replace a toilet seat without tools?
No, you almost always need at least a screwdriver and an adjustable wrench. While some modern seats use wingnuts that tighten by hand, most standard models require a wrench to hold the nut underneath the bowl while you tighten the screw from above to ensure a stable fit.
How long does it take to replace a toilet seat?
It takes about 20 minutes for a standard installation. If you encounter rusted bolts that need extra time to loosen, or if you need to clean significant mineral buildup from the mounting area, allow for an additional 15 to 20 minutes to complete the job properly.
Is it safe to replace a toilet seat myself?
Yes, it’s safe as long as you don’t force the bolts or use power tools on the ceramic. The main risk is cracking the porcelain bowl by overtightening the nuts, so always use hand tools and stop the moment you feel firm resistance from the hardware.
What happens if the bolt won’t come off?
If the bolt is rusted and won’t turn, apply a penetrating oil and let it sit for 15 minutes. If it still doesn’t move, stop and use a hacksaw to carefully cut the bolt head off from above, taking care not to scratch the surface of the toilet bowl.
Does it matter if the seat is a different brand?
No, as long as the bolt hole spacing matches your toilet bowl, you can use any brand. Most residential toilets follow a standard 5.5-inch hole spacing, but you should always measure your specific bowl to ensure the new seat will sit correctly without hanging over the edges.
Why is my new toilet seat sliding around?
Your seat is likely sliding because the bolts weren’t tightened enough or the rubber gaskets are missing. Check that the bolts are firmly secured and that the rubber washers are placed between the hinge and the bowl to provide the friction needed to hold the seat in place.
What to do next
Start by measuring the distance between your toilet’s mounting holes to ensure you buy the correct seat size. Standard bowls measure 5.5 inches between the bolts, but non-standard units vary by up to an inch.
Once you have the new seat, follow the steps above to remove your old hardware and secure the new unit. Tighten the plastic nuts until they’re snug, but never use a wrench. Over-tightening often causes the seat to shift or the porcelain to crack under pressure.
If you feel the porcelain cracking or the bolts won’t budge despite using penetrating oil, stop immediately. Contact a plumber to avoid damaging your fixture. A replacement toilet costs significantly more than a professional service call to extract a stuck bolt.
Related guides