
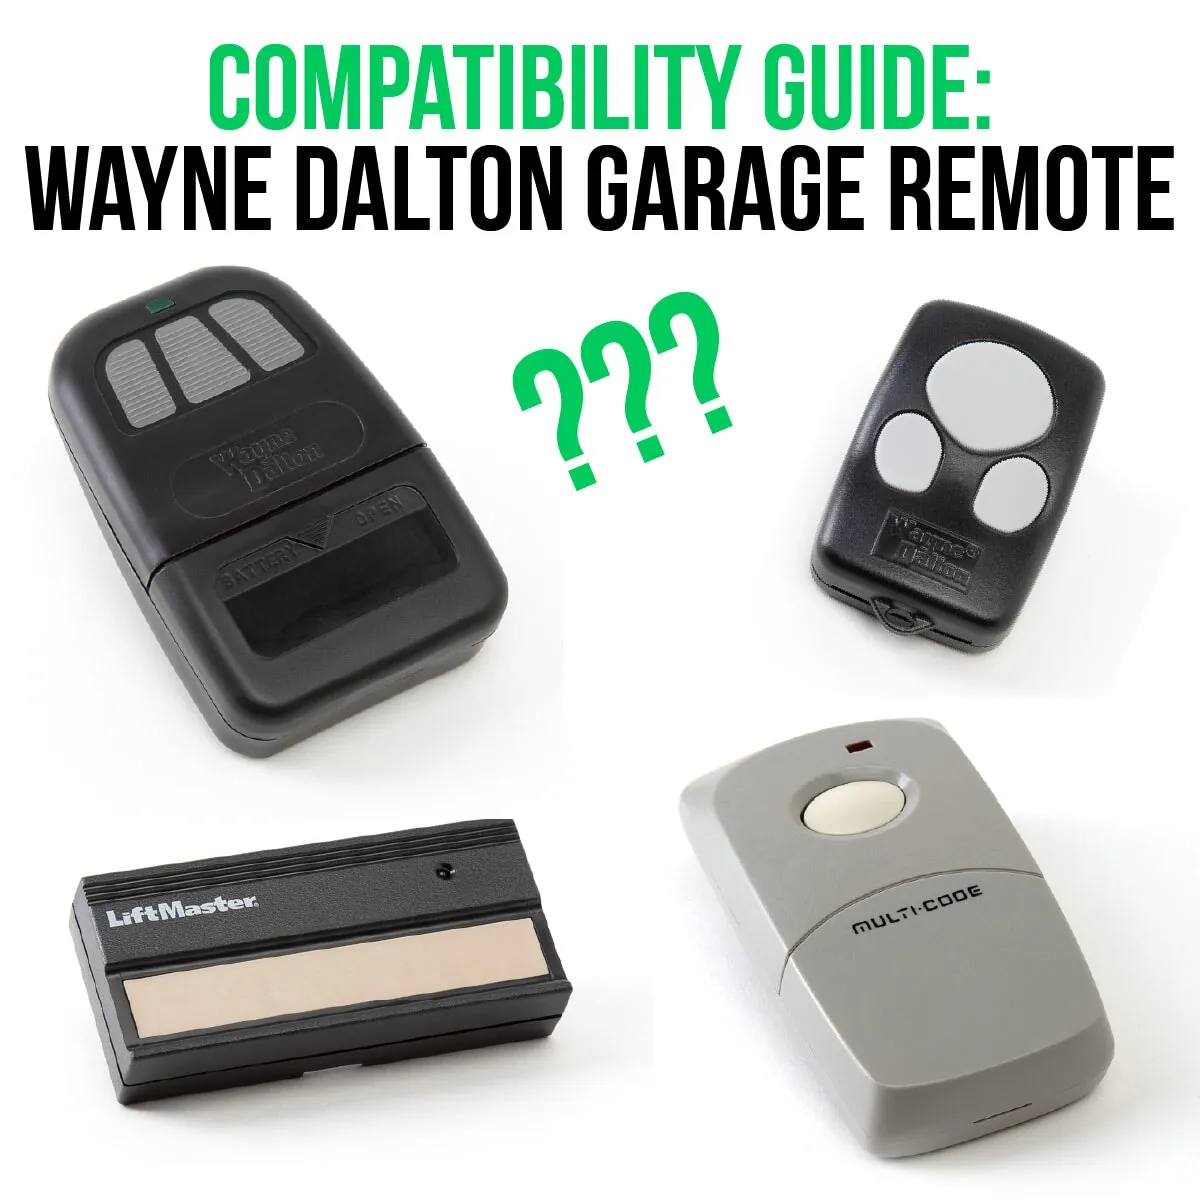
To program a Wayne Dalton garage door opener, you must locate the learn button on the motor unit and synchronize it with your remote control or wireless keypad by following a specific sequence of button presses. This process varies slightly depending on whether you’re using a standard remote transmitter, a wall-mounted console, or an external keypad mounted outside your garage. Because Wayne Dalton systems have evolved over several decades, identifying your specific model is the essential first step to ensuring the radio frequency signals match correctly during the pairing process.
Key Takeaways
- Identify the color of the learn button on your motor unit to determine the correct frequency.
- Clear old codes from the receiver if you’re experiencing intermittent connectivity or security concerns.
- Ensure that you have fresh, high-quality alkaline batteries in your remote before attempting the sync.
- Maintain a distance of at least five feet from the motor unit during the initial pairing phase.
- Consult the Wayne Dalton official support resources to verify specific model compatibility if standard steps fail.
How to Program Wayne Dalton Openers
Programming your remote involves establishing a secure handshake between the transmitter and the receiver board inside the operator housing. Most Wayne Dalton models utilize a “Learn” button located on the rear or side panel of the motor unit. When you press this button, the receiver enters a mode where it listens for a unique digital code sent by your remote.
Once the receiver captures this signal, it stores it in memory, allowing the remote to trigger the door whenever the button is pressed. If your system uses rolling code technology, the opener generates a new code every time you operate the door to prevent unauthorized access by potential intruders.
Identifying Your Opener Model
Before you start, look at the motor unit housing to find the model number. This is often printed on a sticker near the light bulb or the power cord entry point. Wayne Dalton has produced various models under the Quantum and Classic Drive series.
The specific frequency, such as 303 MHz or 372.5 MHz, is often determined by the year of manufacture. If you have lost your original remote, verify that any replacement you purchase is compatible with your specific receiver frequency, as a 303 MHz remote won’t communicate with a 372.5 MHz receiver regardless of the programming steps you follow.
| Opener Series | Frequency | Programming Button Color |
|---|---|---|
| Quantum Series | 303 MHz | Red or Black |
| Classic Drive | 372.5 MHz | Purple or Yellow |
| Idrive Series | Proprietary | Integrated Console |
Steps for Remote Programming
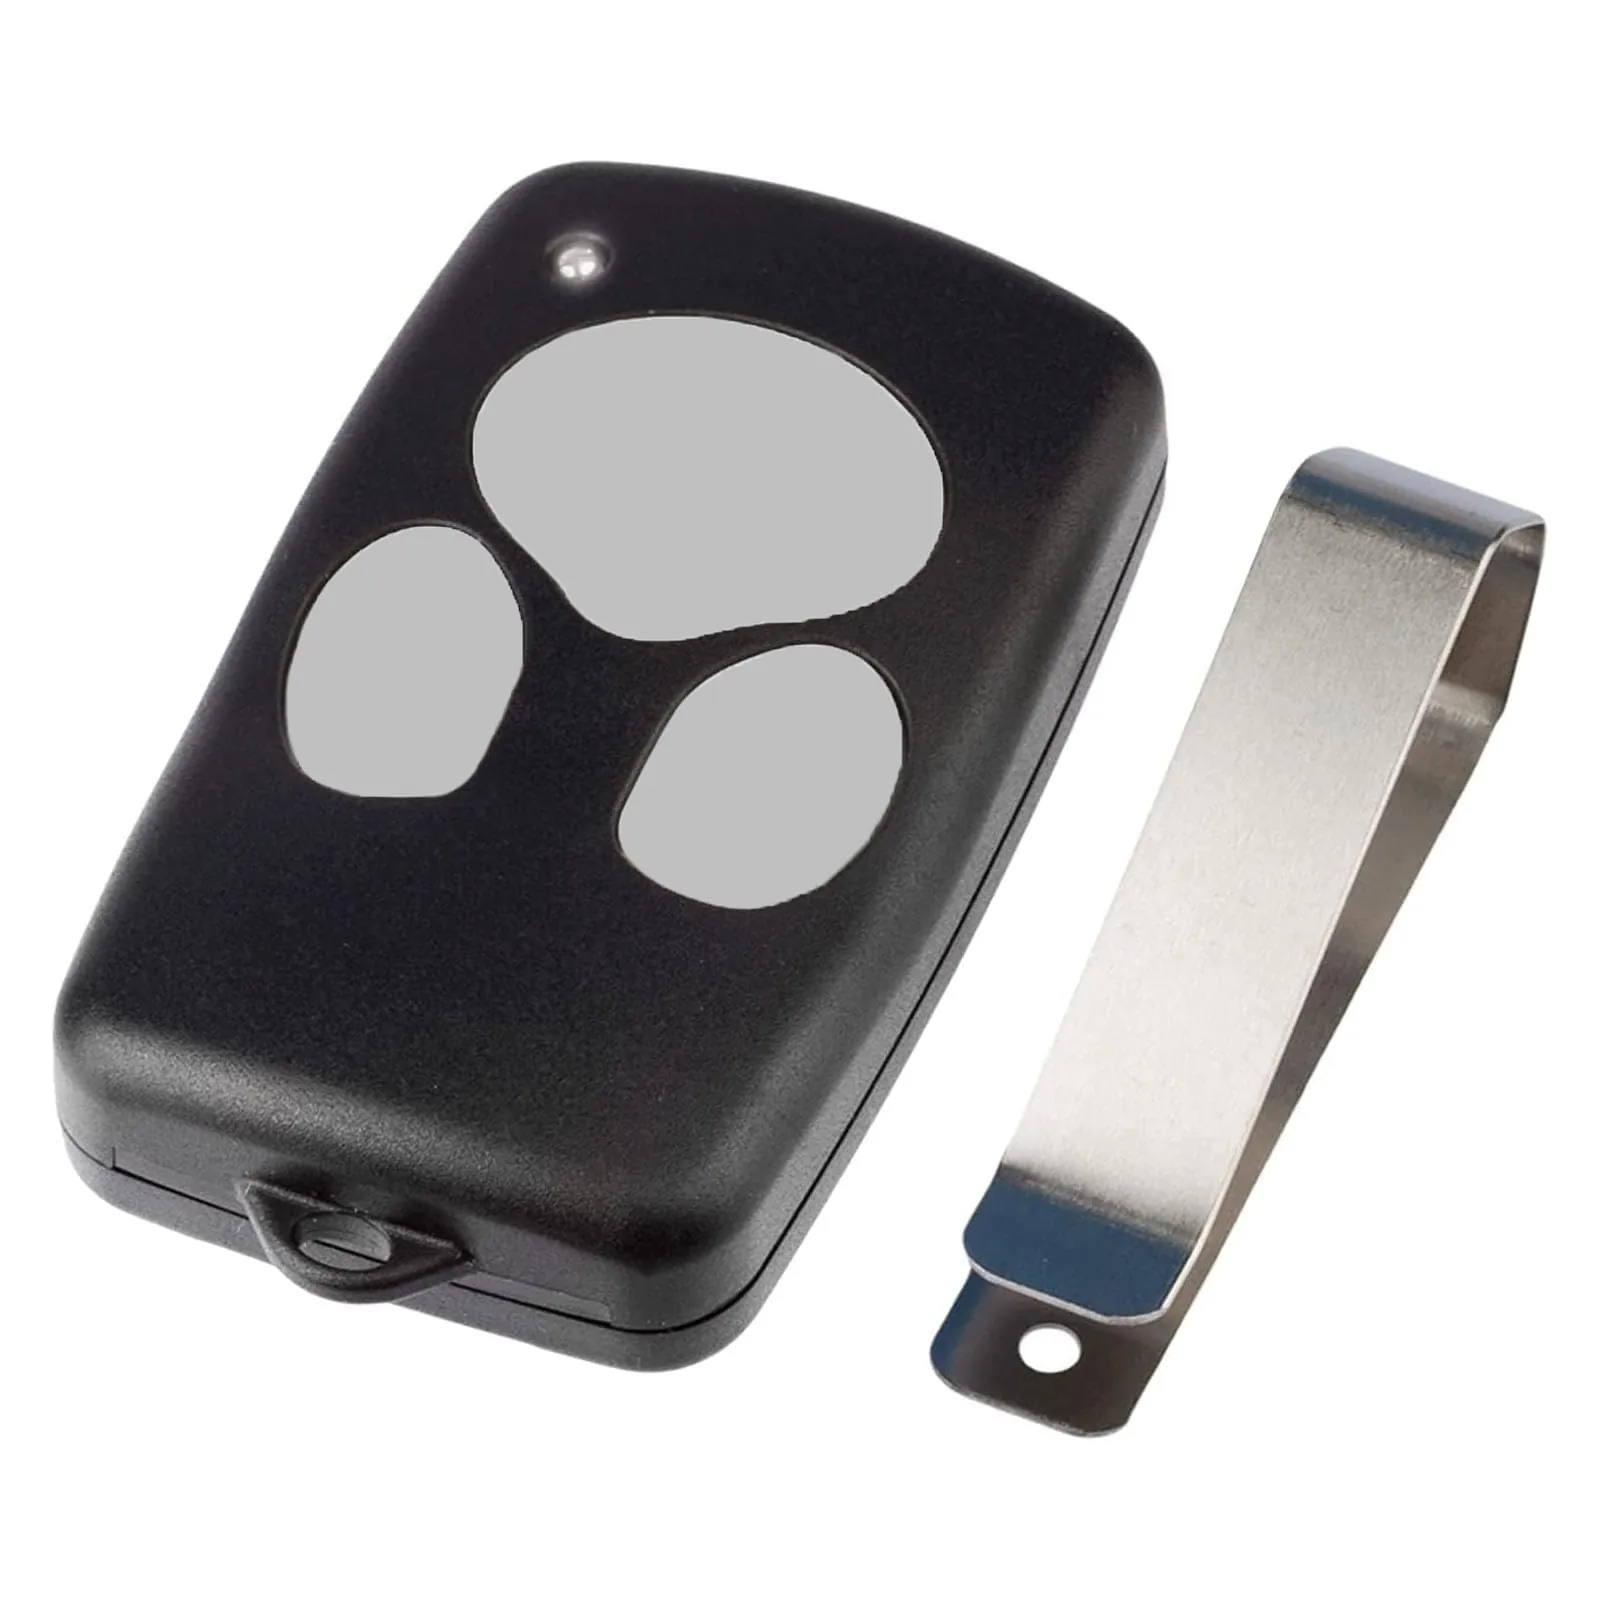
To begin, stand on a sturdy ladder to access the motor unit. Locate the button labeled “Learn” or “Program.” Press this button once; a small LED indicator light on the motor housing should begin to blink or glow steadily, depending on the model. You typically have 30 seconds to complete the next step.
Point your remote at the motor unit and press the button you wish to use to operate the door. Hold the button down for two to three seconds. If the pairing is successful, the motor unit light will flash or click, confirming that the code is now stored in the internal memory.
How to Program Wireless Keypads
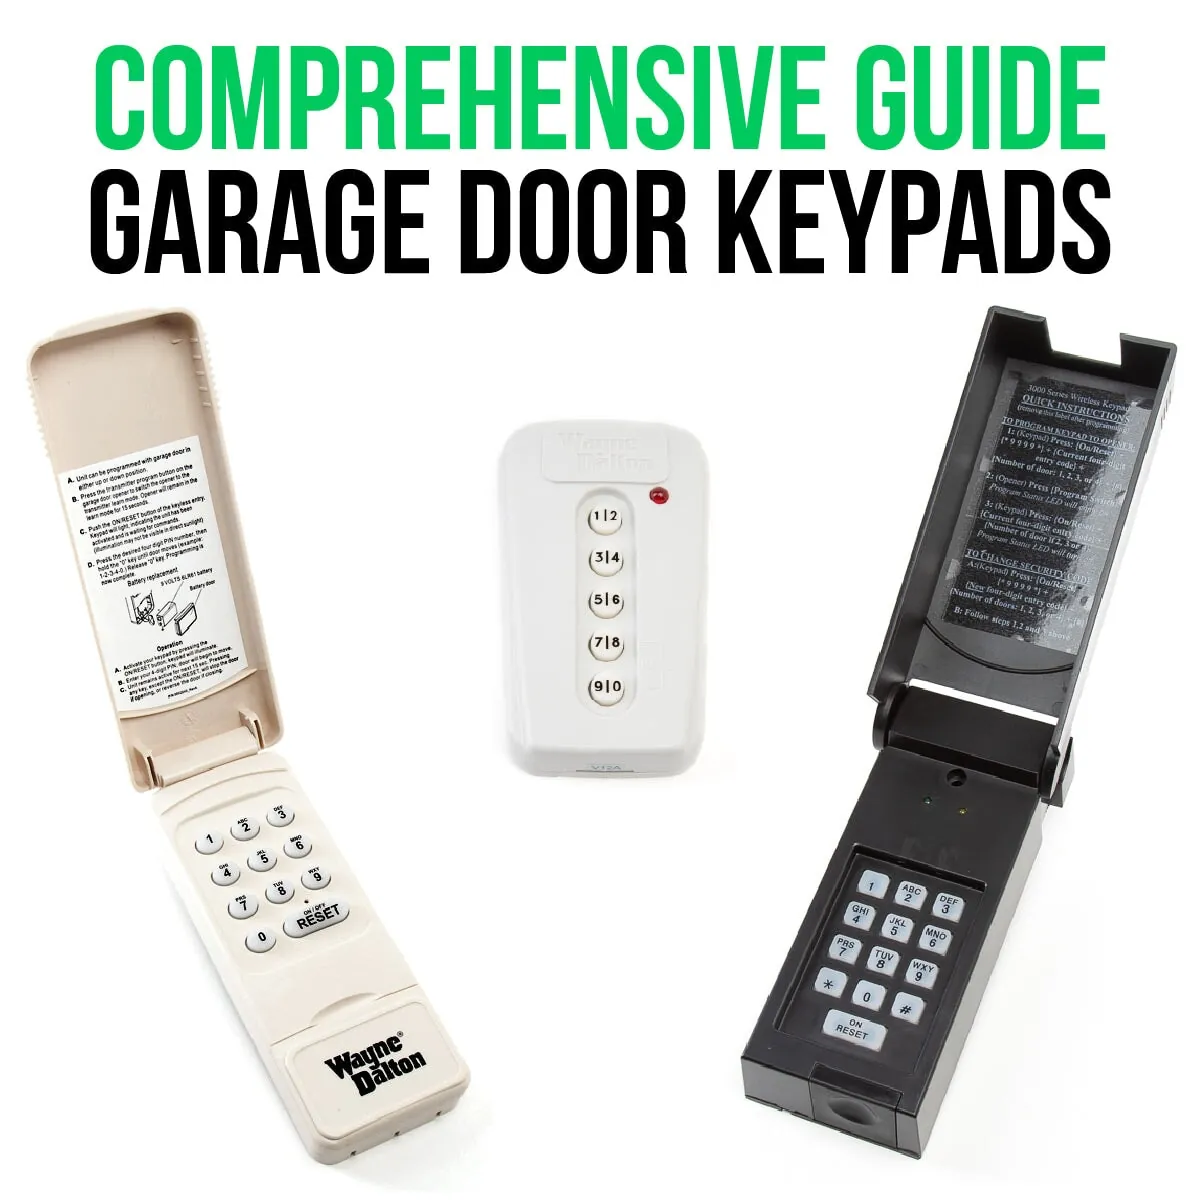
Wireless keypads allow you to open your garage door using a personal identification number (PIN). To program these, you must first reset the keypad to its factory default state if it has been used previously. Once cleared, enter your desired four-digit PIN on the keypad.
Press the “Learn” button on the motor unit, then enter your PIN on the keypad and press the “Enter” or “Start” button. The light on the motor unit will flash to indicate that the keypad is linked. If the keypad doesn’t respond, ensure that the battery contacts are clean and that the keypad is mounted within the line of sight of the antenna.
Troubleshooting Common Pairing Issues
If your remote or keypad refuses to pair, the most common culprit is a weak battery. Even if the LED on the remote lights up, it may not have enough voltage to send a strong enough signal to the receiver. Replace the CR2032 or 12V battery with a brand-new unit.
Another frequent issue is radio frequency interference. If you have LED light bulbs installed in your garage door opener, remove them temporarily. Some inexpensive LED bulbs emit electromagnetic interference that disrupts the signal between the remote and the antenna, effectively blocking the programming process until the bulbs are removed.
Clearing the Opener Memory
If you have purchased a used home or have lost a remote, you should wipe the memory to ensure no unauthorized devices can open your door. To do this, press and hold the “Learn” button on the motor unit for at least 10 to 15 seconds.
The LED indicator will typically flash, indicating that the memory has been cleared of all previously programmed remotes and keypads. Once the memory is empty, you must repeat the programming process for every remote and keypad you intend to use with the system.
Managing Multiple Remote Transmitters
You can usually program up to seven or eight different devices to a single Wayne Dalton motor unit. If you have several vehicles, you can program a separate button on each remote to communicate with the receiver. The process is identical for each additional device: press the “Learn” button on the motor, then press the button on the second remote.
The receiver is capable of holding multiple unique digital signatures simultaneously. If you find that adding a new remote causes an old one to stop working, it’s likely that the memory bank is full and you must clear it and reprogram all devices.
What Causes Signal Range Problems?
If your remote only works when you’re standing directly under the garage door, your antenna wire might be damaged or obstructed. Check the small wire hanging from the motor unit; it should be hanging straight down and not touching any metal surfaces.
Ensure the antenna isn’t bundled or wrapped around the motor housing. Additionally, metal shelving or large tools stored near the ceiling can block the radio signal. If you have recently installed a new garage door opener, check that the antenna is fully extended and not pinched behind the cover plate.
Maintaining Your Opener Hardware
Regular maintenance ensures that the programming remains stable and the mechanical components don’t strain the motor. Lubricate the drive screw or chain with a high-quality silicone-based lubricant twice a year. Tighten the bolts on the rail and the motor mounting brackets, as vibration over time can cause these to loosen.
A well-balanced door requires less force to lift, which prevents the logic board from entering a safety-reversal mode during operation. If the door reverses unexpectedly while closing, you may need to adjust the force sensitivity settings on the motor unit.
| Maintenance Task | Frequency | Expected Result |
|---|---|---|
| Lubricate Drive | Every 6 months | Reduced motor strain |
| Battery Replacement | Every 12 months | Consistent signal range |
| Bolt Tightening | Once a year | Less noise and vibration |
| Safety Sensor Test | Monthly | Reliable obstacle detection |
Safety Sensor Alignment
Every modern garage door opener is equipped with two safety sensors located at the bottom of the door tracks. If these sensors aren’t properly aligned, the door won’t close, and the light on the motor unit will flash rapidly. This isn’t a programming issue with your remote, but a safety feature.
Check that the amber and green lights on the sensors are both solid. If one is blinking, adjust the orientation of the sensors until they’re facing each other perfectly. The programming of your remote won’t override this safety requirement, so ensure the path is clear.
Understanding Rolling Code Technology
Wayne Dalton systems often use rolling code security, which is a method of encryption where the code changes every time the button is pressed. This prevents “code grabbing” devices from recording your transmission and replaying it to enter your garage.
When you program a new remote, the receiver learns the remote’s unique identification number and the current sequence of the rolling code. Because of this, you can’t simply copy a signal from one remote to another; you must perform the physical “Learn” process on the motor unit for each individual device you wish to authorize.
Related guides
Frequently Asked Questions
Why does my garage door light blink?
A blinking light on a Wayne Dalton opener usually indicates a diagnostic code. Most often, it signifies that the safety sensors at the bottom of the door are misaligned or obstructed. If the light flashes rapidly when you try to close the door, check that nothing is blocking the infrared beam between the two sensors and ensure the lenses are clean and pointing directly at each other.
Can I program a universal remote?
Yes, most universal garage door remotes are compatible with Wayne Dalton systems. Ensure the remote packaging explicitly lists your opener’s frequency or model series as supported. You’ll follow the same “Learn” button procedure as you would for an original manufacturer remote. Be sure to select the correct dip switch or button mode on the universal remote before beginning the pairing process with the motor unit.
How do I reset my opener?
To reset the system, locate the “Learn” button on the motor unit and press and hold it for approximately 10 to 15 seconds. The indicator light will flash, confirming that the receiver has erased all stored remote codes. You must then reprogram every remote, keypad, and HomeLink system in your vehicles to restore functionality, as the opener will no longer recognize any previously paired devices after a full reset.
Why is my remote range short?
Short range is typically caused by interference or a dying battery. Start by replacing the remote battery with a fresh one. If that fails, ensure your antenna wire is hanging freely and isn’t obstructed by metal objects. Also, verify that you haven’t installed LED bulbs in the opener, as the internal drivers in some LED bulbs produce radio interference that significantly reduces the operating distance of your remote transmitters.
Is the motor unit battery powered?
While the remote control is battery-powered, the main motor unit is hardwired to your home’s electrical system. However, many newer models include a battery backup system that allows the door to operate during a power outage. If your unit has a backup battery, it should be tested annually. If the battery is old or failing, it may cause the motor unit to beep or flash error codes intermittently.
Conclusion
Regularly checking your remote batteries and ensuring that the safety sensors remain unobstructed will keep your garage door system running smoothly for years to come. If you encounter persistent issues after following these steps, inspect the antenna wire for any signs of fraying or corrosion. For ongoing reliability, consider scheduling a professional inspection if the door begins to operate unevenly or makes unusual grinding noises during the open or close cycle.
