
You can complete how to change a liftmaster battery in about 5 to 10 minutes using a replacement 12V lead-acid battery. Most modern openers require a standard 12V 4.5Ah or 5Ah battery, which you can verify by checking the label on your existing unit. This process is simple enough for most homeowners, but you should always disconnect the power before starting to avoid any risk of electrical shock.
Items to change your LiftMaster battery
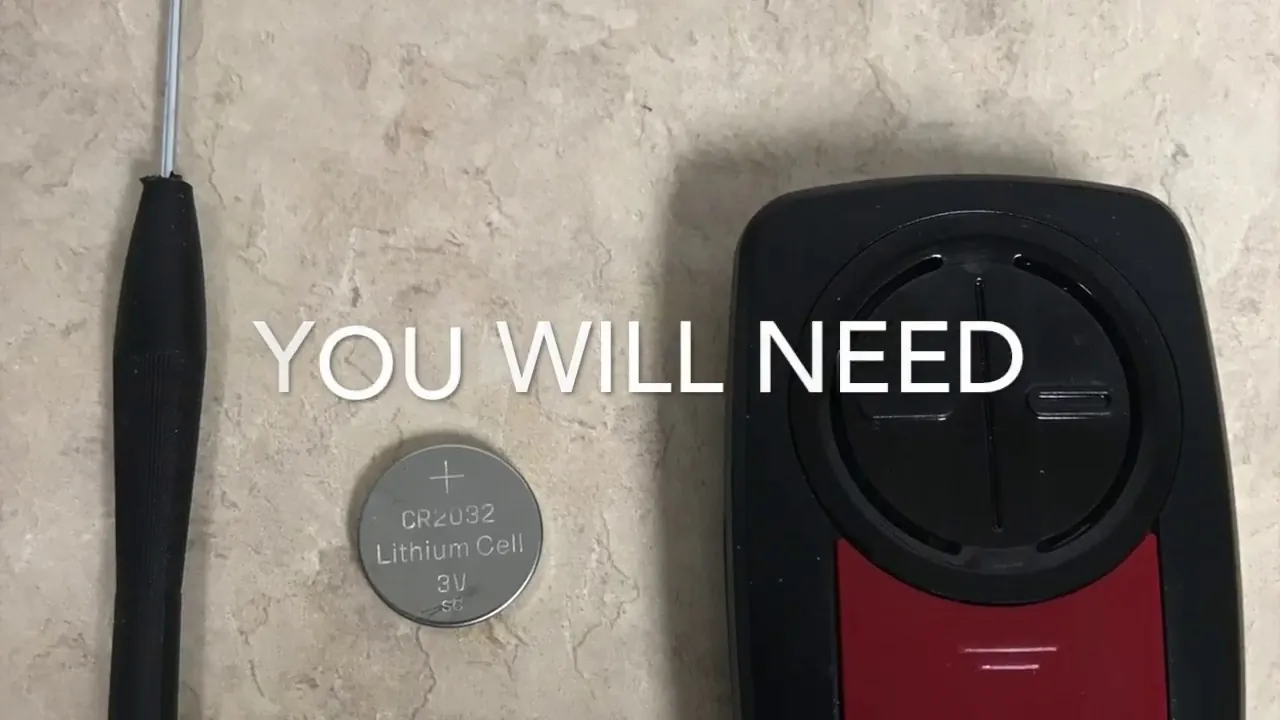
To perform this task, you’ll need a few basic items. Having these ready prevents unnecessary trips to the garage and keeps the process smooth.
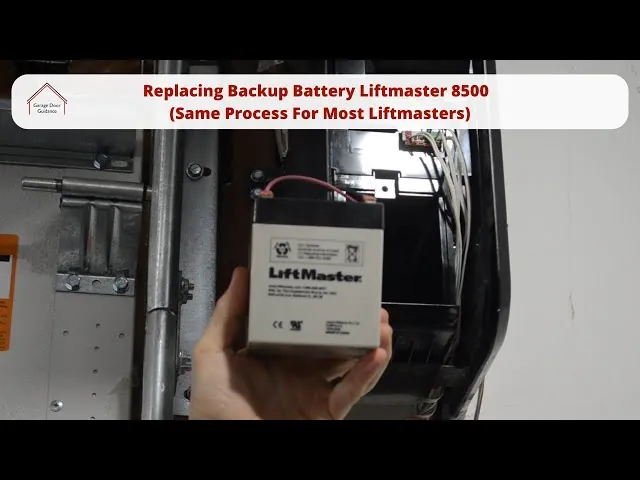
- Replacement battery: A 12V sealed lead-acid battery. Check your current battery for the exact model number or terminal type to ensure a perfect fit.
- Step ladder: Use a sturdy ladder that allows you to reach the opener motor housing safely.
- Screwdriver: A standard Phillips head is usually required to remove the light cover or the motor housing panel.
- Work light: A flashlight or headlamp helps, as the motor housing is often dark.
- Work gloves: These protect your hands from dust and sharp metal edges inside the casing.
Verify your battery’s physical dimensions before you buy. If your current battery measures 6 inches by 2 inches, don’t purchase a larger unit, even if the voltage matches. A battery that’s too wide will prevent the casing from snapping shut, which leaves the internal circuitry exposed to moisture and debris.
If the old battery shows signs of swelling or white, crusty deposits on the terminals, wear nitrile gloves during removal. This residue is often acidic and can cause skin irritation or damage your clothing.
If you see a “low battery” light flashing on your wall console, check the date code on the battery label first. If the battery is relatively new, inspect the wiring harness for loose connections before buying a replacement. A simple tug on the spade connectors often reveals a loose fit that mimics a dead battery. If the connections are tight and the unit still fails to hold a charge, only then proceed with the replacement.
Steps to Replace the Battery
- Unplug the opener: Pull the power cord from the wall outlet to ensure the system is completely powered down.
- Remove the light cover: Locate the lens cover on the side or bottom of the motor unit and press the release tabs to slide it off.
- Open the battery door: Find the small compartment door on the side or end of the motor housing and unscrew the single fastener holding it shut.
- Slide the battery out: Carefully pull the old battery out of the slot just far enough to expose the wire connectors.
- Disconnect the wires: Pull the red and black connectors off the battery terminals; if they’re tight, use needle-nose pliers to grip the connector tabs.
- Connect the new battery: Attach the red wire to the positive terminal and the black wire to the negative terminal, ensuring a firm connection.
- Slide the battery back: Push the new battery into the compartment and replace the cover, securing it with the screw.
- Restore power: Plug the unit back into the wall and wait for the status LED to show a solid green or orange light, indicating it’s charging.
Tip: If the status light flashes red, the battery isn’t connected properly or is defective; re-check your terminal connections. Careful: Don’t touch the internal circuit boards or any exposed wiring while the unit is plugged in, as capacitors can hold a charge even when the power is off.
Battery Replacement Situations
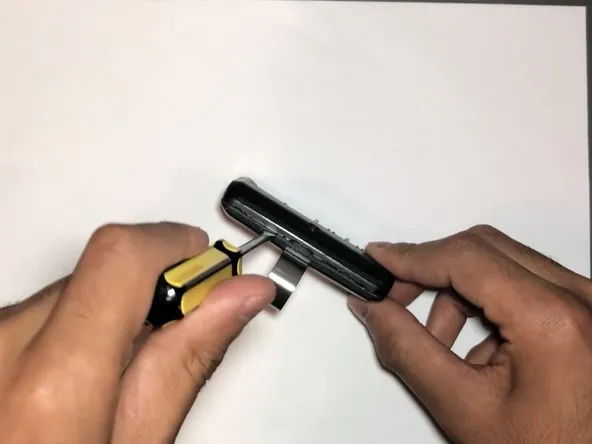
The time and effort required to perform this task change based on your specific opener model. Always start with a small, gentle pull when removing the battery to avoid damaging the internal wires.
| Situation | Time Required | Effort | What to Watch |
|---|---|---|---|
| Standard Ceiling Mount | 5-10 Minutes | Low | Cable tension |
| Wall-Mount (Jackshaft) | 15 Minutes | Medium | Tight space |
| Older Legacy Models | 20 Minutes | High | Corroded wires |
If you encounter significant resistance when sliding the battery out, don’t force it. It’s always safer to start slow and check for hidden screws than to use too much force and break the plastic housing.
Most users fail by neglecting to disconnect the power source before starting. This oversight often leads to a blown fuse or a short circuit that renders the entire unit unresponsive. Always unplug the opener or flip the circuit breaker before you touch a single wire.
If your battery feels warm to the touch or shows signs of swelling, stop immediately. These are signs of a chemical breach that requires professional disposal rather than a standard swap.
If the battery casing is intact but the terminals are covered in white, powdery corrosion, use a mixture of baking soda and water on a toothbrush to clean the contacts. If the metal has pitted or turned green, the entire terminal assembly likely needs a replacement to ensure a reliable connection.
Verifying Your Results
A successful installation is confirmed when the battery status LED on the motor unit changes from flashing red to a steady state. If the light remains red or doesn’t turn on at all, the battery might be dead out of the box, or the connections are loose. Always check that the red wire is on the positive (+) terminal; connecting them backward can blow the internal fuse on some older boards.
If you find that the battery compartment is dusty or corroded, wipe it clean with a dry cloth before sliding the new battery in. A clean connection ensures the battery charges properly and reaches its intended service life.
Most users mistakenly assume a dim light indicates a low battery, but this often signals a failing capacitor. If the LED flickers during operation, replace the capacitor before buying a new battery to save yourself the cost of unnecessary parts.
If the unit still fails to operate, the issue may be the charging circuit board, which requires a professional technician to diagnose and repair.
Rules and Maintenance
The manufacturer recommends testing your battery backup monthly to ensure it functions during a power outage. To test it, simply unplug the garage door opener from the power outlet and operate the door using your remote control or the wall button. If the door moves at a normal speed, the battery is healthy and ready for use.
If the door moves at less than half its usual speed, or if the opener emits a series of rapid, rhythmic beeps during the cycle, the battery has lost its capacity to hold a charge. Don’t wait for a complete failure before swapping it out. A dead battery often leaks electrolyte, which can corrode the internal terminals and ruin the entire logic board.
After testing, always plug the power back in to allow the unit to maintain a full charge. If you notice the door moves very slowly or struggles to lift, it’s a sign that the battery is nearing the end of its life and should be replaced soon.
For any electrical issues beyond simple battery replacement, contact a certified garage door technician. Attempting to repair the motor board or internal wiring can void your warranty and poses a risk of electrical injury. If the opener fails to operate even with a fresh battery, check the GFCI outlet first. A tripped breaker is the most common cause of a false battery alarm.
Alternative Replacement Methods
Professional Service
You can hire a local garage door company to handle the replacement. This costs more than doing it yourself but ensures the battery is installed correctly and the system is inspected for other wear.
Battery Recycling
Most retailers that sell lead-acid batteries will accept your old one for recycling. Never throw a lead-acid battery in the regular trash, as they contain chemicals that must be processed safely at a certified facility.
OEM Replacement
Buying the battery directly from the manufacturer ensures you get the exact voltage and physical size required for your specific model. This eliminates the risk of buying an incompatible battery that might not fit or charge correctly.
Frequently asked questions
How long does a liftmaster battery last?
A standard battery typically lasts for a moderate period under normal conditions. This assumes you test the battery monthly and the garage temperature stays within a moderate range. If your garage gets extremely hot in the summer, the lifespan may be shorter, as high heat can degrade lead-acid batteries faster. You can check the date stamped on the battery or look for a decline in door speed during power-loss tests.
How much does a new battery cost?
A replacement battery is inexpensive relative to the cost of a new opener, depending on the specific model and where you purchase it. Prices vary based on the capacity of the battery and whether you’re buying an original brand part or a compatible aftermarket version. Always check the model number on your existing battery to ensure you’re comparing prices for the correct part, as cheaper versions may have lower quality or shorter lifespans.
Is it safe to change the battery myself?
Yes, it’s safe for most homeowners to change the battery if the unit is unplugged. You don’t need to open the motor housing or touch internal electronics to complete this task. If you’re uncomfortable on a ladder or if the compartment appears damaged, contact a professional to avoid injury.
What happens if I use the wrong battery?
Using a battery with the wrong voltage or physical size can cause the garage door opener to malfunction or fail to charge. If the battery is too large, it won’t fit in the compartment, and if the voltage is incorrect, it may damage the charging circuit on the logic board. Always match the voltage (12V) and the physical dimensions of your original battery to prevent these issues.
Why is my battery status light flashing red?
A flashing red light indicates that the battery is either missing, disconnected, or has failed a self-test. First, ensure the red and black wires are securely connected to the correct terminals on the battery. If the connections are tight and the light continues to flash after a few hours of charging, the battery is likely defective and needs to be replaced with a new unit.
Conclusion
Once you’ve finished, remember to test the door to ensure it operates smoothly. If the unit doesn’t respond, double-check that the wire connectors are snug and secure. It’s a good idea to mark the installation date on the battery with a permanent marker so you’ll know exactly when it’s time for another replacement.
