
Installing a vapor barrier for garage walls or ceilings helps prevent moisture from moving from the outside air into your interior spaces, which keeps your building materials dry and prevents mold growth. You should use a vapor retarder if you live in a cold climate where the temperature stays below freezing for long periods during the winter. In these areas, the warm air inside your home wants to push through the wall toward the cold outside. Without a barrier, that moist air hits cold surfaces inside your wall, turns into liquid water, and causes rot.
Key components of your garage vapor barrier
| Part or input | What it does | What you notice when it goes wrong |
|---|---|---|
| Polyethylene sheeting | Blocks moisture movement | Condensation forms on wall studs |
| Insulation batts | Resists heat transfer | Wet or sagging insulation material |
| Acoustic sealant | Seals gaps and seams | Drafts or damp spots near edges |
| Exterior siding | Sheds bulk water | Rotting wood or peeling paint |
| Ventilation vents | Removes trapped humidity | Musty smells or mold spots |
Install your polyethylene vapor barrier on the warm-in-winter side of the wall assembly to prevent interstitial condensation. If you place it on the cold side, you trap moisture inside the wall cavity, which leads to rapid structural rot.
Always maintain a 1/4-inch gap between your siding and the water-resistive barrier. This rainscreen gap allows water that penetrates the siding to drain downward rather than soaking into the sheathing.
Many builders skip acoustic sealant at the top and bottom plates, assuming the drywall provides a sufficient seal. This mistake costs you energy efficiency and invites humid air into the wall, where it will condense on cold framing members. If you see dark streaks on your drywall paper near the floor, your perimeter seal has failed. You must then remove the baseboard and apply a fresh bead of high-grade elastomeric sealant to stop the bypass.
Installing a barrier step by step
-
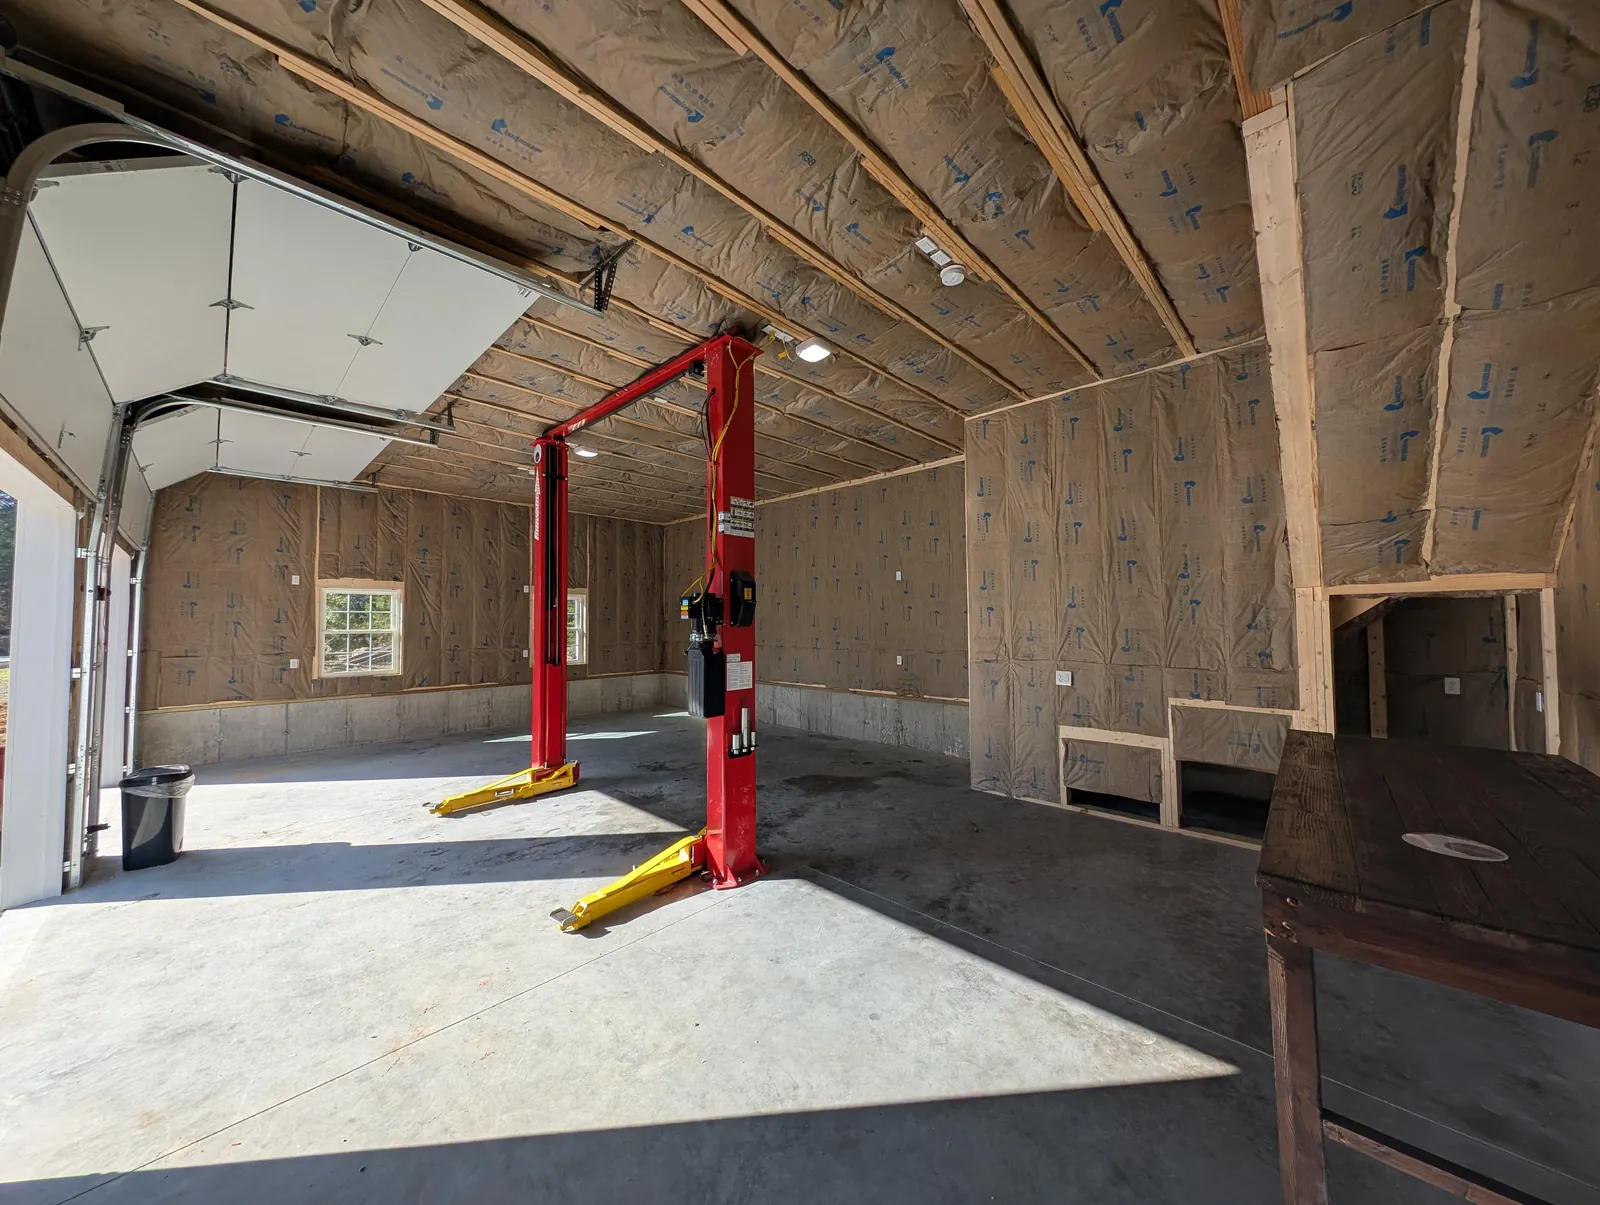
Remove any existing drywall or interior panels to expose the wall studs or ceiling joists. This allows you to inspect the cavity for existing water damage or mold, which must be cleaned before you install any new materials. If you find dark, fuzzy growth or soft wood, you must treat the area with a borate-based solution before closing the wall.
-
Fill the wall cavities with fiberglass or mineral wool insulation, ensuring the material fits snugly against the studs. If the insulation is compressed, its ability to stop heat transfer decreases by about 10% to 20% compared to its rated performance. Avoid stuffing extra material into tight corners, as this density actually creates a thermal bridge that lets cold air pass through.
-
Cut your 6-mil polyethylene sheet to the height of your wall, leaving about 2 inches of extra material at the top and bottom. Using a thinner material than 6-mil often leads to tears during installation, which ruins the effectiveness of the barrier. If you’re working in a basement with high humidity, upgrade to a smart vapor retarder that adjusts its permeability based on seasonal moisture levels.
-
Staple the plastic sheeting to the face of the studs, starting from the center of the wall and working toward the edges. Space your staples every 6 inches to ensure the plastic stays tight and doesn’t sag over time. Pull the material taut, but avoid over-stretching, as the plastic may snap back and pull away from the staples during temperature swings.
-
Apply a bead of acoustic sealant along all seams where the plastic overlaps, such as at corners or between sheets. This step is vital because even a small gap allows moist air to bypass the barrier and condense on the cold wall.
-
Seal around all electrical boxes and penetrations using high-quality vapor tape or sealant. If you leave these openings unsealed, you lose roughly 50% of the benefit of the barrier, as air will flow directly through these holes. Use pre-formed gaskets for outlets to ensure a tighter fit than tape alone can provide.
-
Reinstall your drywall or wall covering immediately after the barrier is placed. Leaving the plastic exposed for more than 30 days can lead to degradation from light or physical damage, which creates holes in your seal. If you must wait, cover the plastic with heavy craft paper to block UV rays.
Why moisture control is critical for your garage
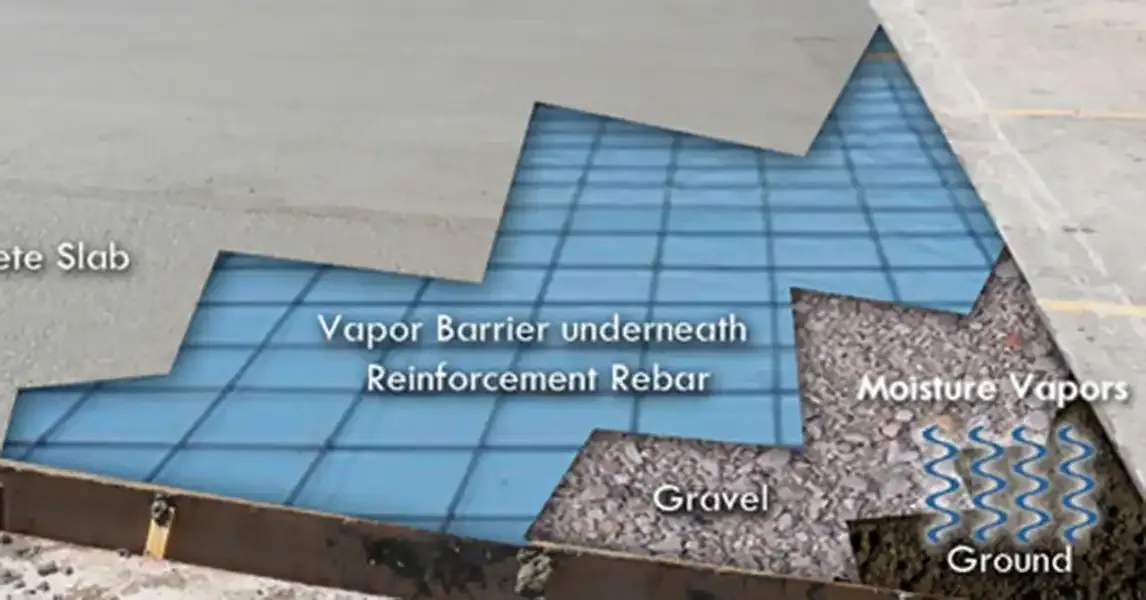
Moisture accumulation inside your wall cavities happens because of a simple physical process called diffusion. When your garage is heated, the air inside holds more water vapor than the cold air outside. This pressure difference pushes the warm, moist air through your wall materials until it hits the cold backside of your exterior siding. Once it hits that cold surface, the air cools down rapidly and reaches its dew point, turning the vapor into liquid water.
If you ignore this process, the trapped water settles into your wooden studs and insulation. Over time, this constant dampness leads to structural decay, as wood that stays wet for long periods becomes a target for rot and decay fungi. You can check the severity of this risk by looking at your climate zone; the U.S. Department of Energy provides specific guidance on where vapor retarders are required based on your local building codes.
If your garage is in a climate with more than 4,500 heating degree days, the risk of condensation is high enough to warrant a vapor retarder on the warm side of the insulation. Below this threshold, a vapor barrier often does more harm than good by preventing the wall assembly from drying inward during the summer.
A mistake many people make is using a plastic vapor barrier in a garage that isn’t heated or cooled. If the garage stays at the same temperature as the outside, there’s no pressure pushing moisture into the walls, and the plastic will only trap any water that gets in from leaks.
You should only install a barrier if the garage interior will be kept at a different temperature than the outside air for most of the winter season. If you’re unsure about your specific climate, check with your local building department to see what they require for your area.
Control and design limits
Things you control
- The thickness of the plastic sheeting used.
- The tightness of the seal around electrical boxes.
- The quality of the sealant used on seams.
- The timing of covering the barrier with drywall.
Fixed design limits
- Your local climate zone and average humidity.
- The structural layout of your existing wall studs.
- The dew point of the air inside your garage.
If your project involves electrical wiring, you must ensure all boxes are rated for the intended use and follow local electrical codes. If you aren’t comfortable working with electrical components, hire a licensed electrician to handle the boxes before you seal the wall. Improperly handled wiring poses a fire risk that far outweighs the benefits of a moisture barrier.
Getting more out of your barrier
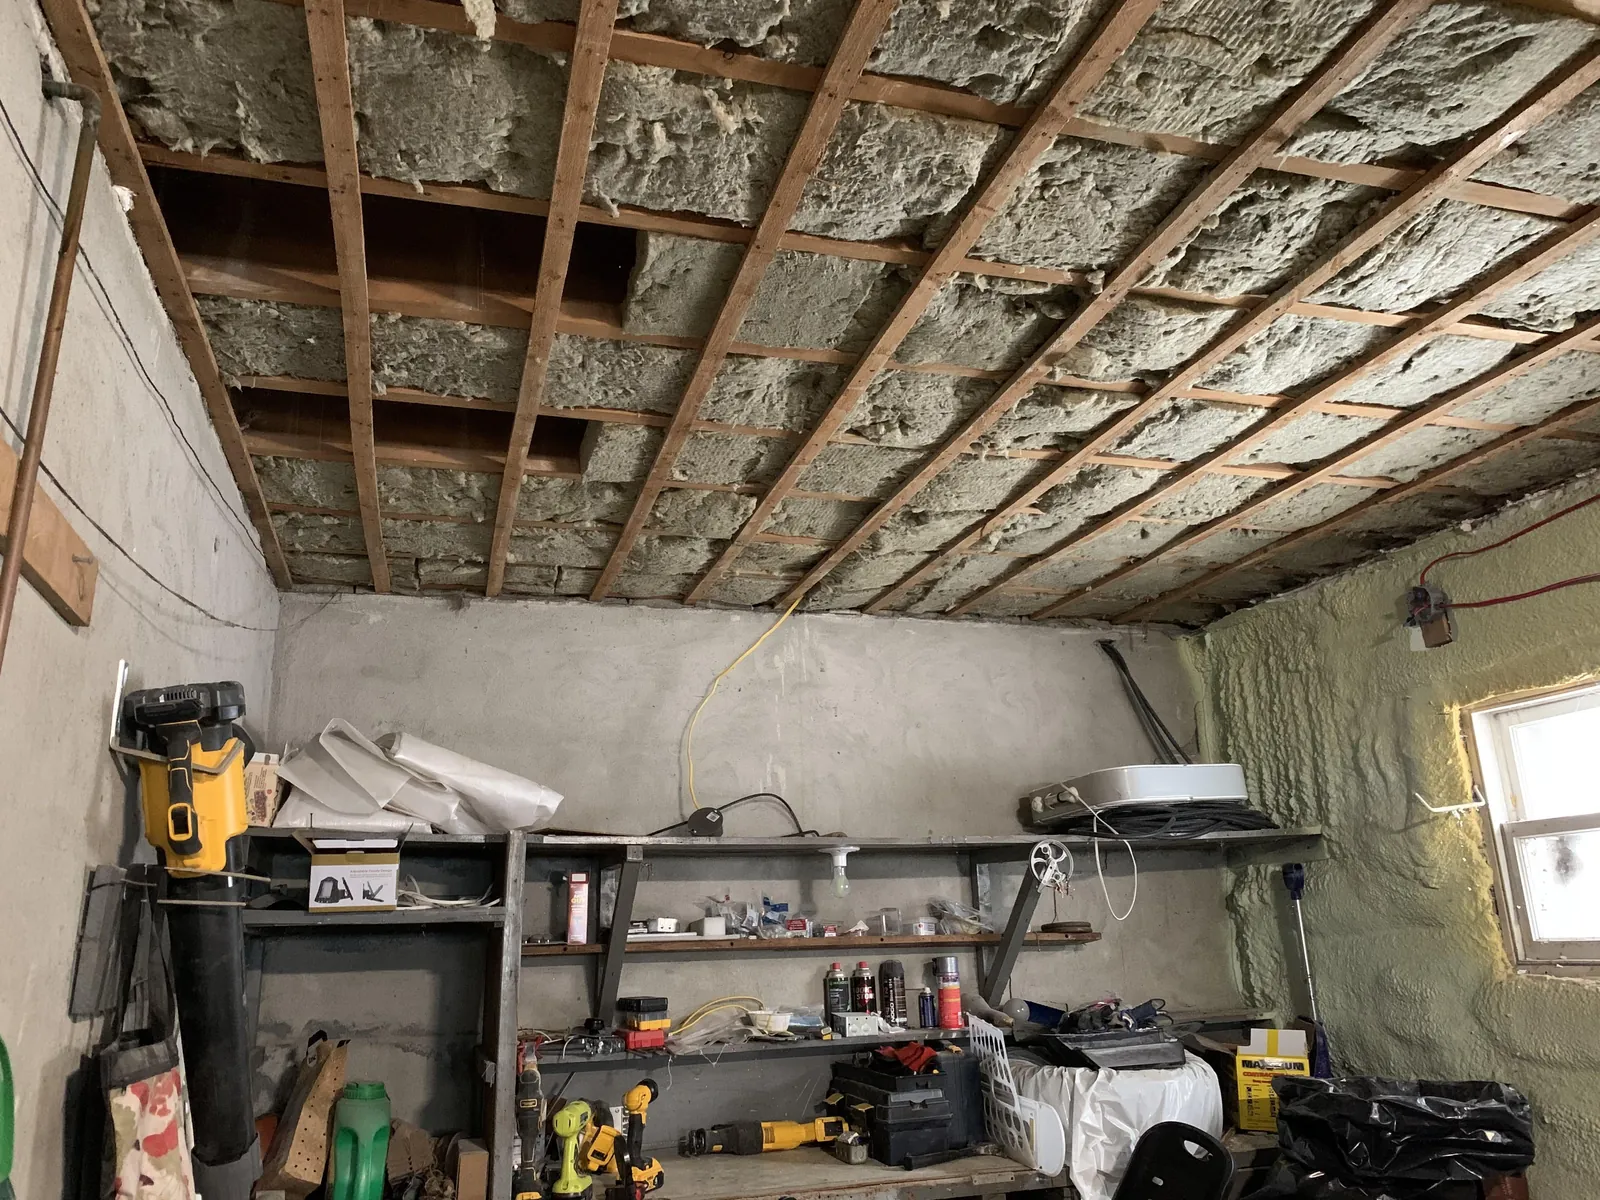
Success with a vapor barrier depends on how well you seal the entire envelope of the room. Every hole, crack, or gap acts like a chimney, allowing moist air to bypass your barrier and create localized condensation spots. You should always use a high-quality, long-lasting acoustic sealant rather than standard duct tape, as duct tape loses its adhesive strength within 12 to 24 months in a garage environment.
When you install the sheeting, make sure it’s pulled taut across the studs. If the plastic is loose, it can create air pockets that collect moisture even if the seams are sealed. If your garage is attached to your home, you must also consider the air seal between the two spaces. This is often a separate requirement under fire safety codes, which usually mandate fire-rated drywall rather than just a moisture barrier.
Check your barrier for punctures every time you add a new shelf or tool rack to the walls. If you drive a screw through the drywall and into the wall cavity, you create a new path for moisture. Use a small amount of sealant on the screw before driving it into the wall if you know you’re piercing the vapor barrier layer. This keeps the seal intact and prevents long-term hidden damage.
Related guides
Frequently Asked Questions
Does a vapor barrier prevent mold?
A properly installed vapor barrier prevents mold by stopping warm, moist air from reaching cold surfaces where it would otherwise turn into liquid water. Mold requires liquid water to grow, so by keeping the interior of your walls dry, you remove the fuel source for mold colonies. However, if water is already trapped inside the wall before you install the barrier, the plastic will trap that moisture and may accelerate mold growth.
How long does a plastic vapor barrier last?
A high-quality 6-mil polyethylene vapor barrier lasts for the lifetime of the building if it’s properly installed behind a wall covering like drywall. The plastic doesn’t degrade on its own as long as it’s protected from sunlight, heat, and physical punctures. If you leave the barrier exposed, it will become brittle and crack within a few years, at which point it no longer provides an effective seal against moisture.
Is a vapor barrier necessary for a cold garage?
A vapor barrier isn’t necessary for a garage that isn’t heated or cooled because there’s no temperature difference to drive moisture into the walls. If the garage interior temperature matches the outside temperature, moisture doesn’t condense on the wall studs. You only need to install a barrier if you intend to keep the garage warm during the winter, which creates the pressure difference that leads to condensation.
What happens if I use the wrong thickness?
Use a 6-mil plastic sheet to prevent tears and ensure effective moisture control during installation. Thinner materials often fail to provide a true vapor retarder function, allowing condensation to form within wall cavities. Always check the packaging for a 6-mil rating to meet residential construction standards.
Can I install a vapor barrier over existing drywall?
You can’t install a vapor barrier over existing drywall because moisture will still enter through edges and outlets. A barrier must be placed on the warm side of the insulation against the studs before drywall installation. Placing it over drywall creates a moisture trap that leads to rot.
Does the barrier need to be airtight?
The barrier must be airtight because even small gaps allow moist air to condense inside the wall cavity. Treat the barrier as a continuous envelope by sealing all seams with acoustic sealant and penetrations with vapor tape. Without an airtight seal, moisture concentrates at gaps, causing localized rot.
Conclusion
Once your project is complete, you’ll have a much drier space that stays in great shape for years. Check your local building codes before you start, as they’ll confirm exactly which materials work best for your climate. It’s a smart way to protect your investment and keep your home feeling solid.
