
You can safely perform a quick thaw by setting your oven to its lowest possible temperature, typically between 150°F and 200°F, while keeping the food in a shallow, heat-safe dish. This process effectively defrosts food in the oven by using gentle, indirect heat to raise the temperature of frozen items until they’re ready to cook.
Two factors change the result for different readers. First, the size and density of the item dictate the time required to prevent the edges from cooking before the center thaws. Second, your specific oven model’s ability to maintain a low, consistent heat determines whether the process remains a thaw or accidentally begins the cooking phase.
Best food to defrost in the oven
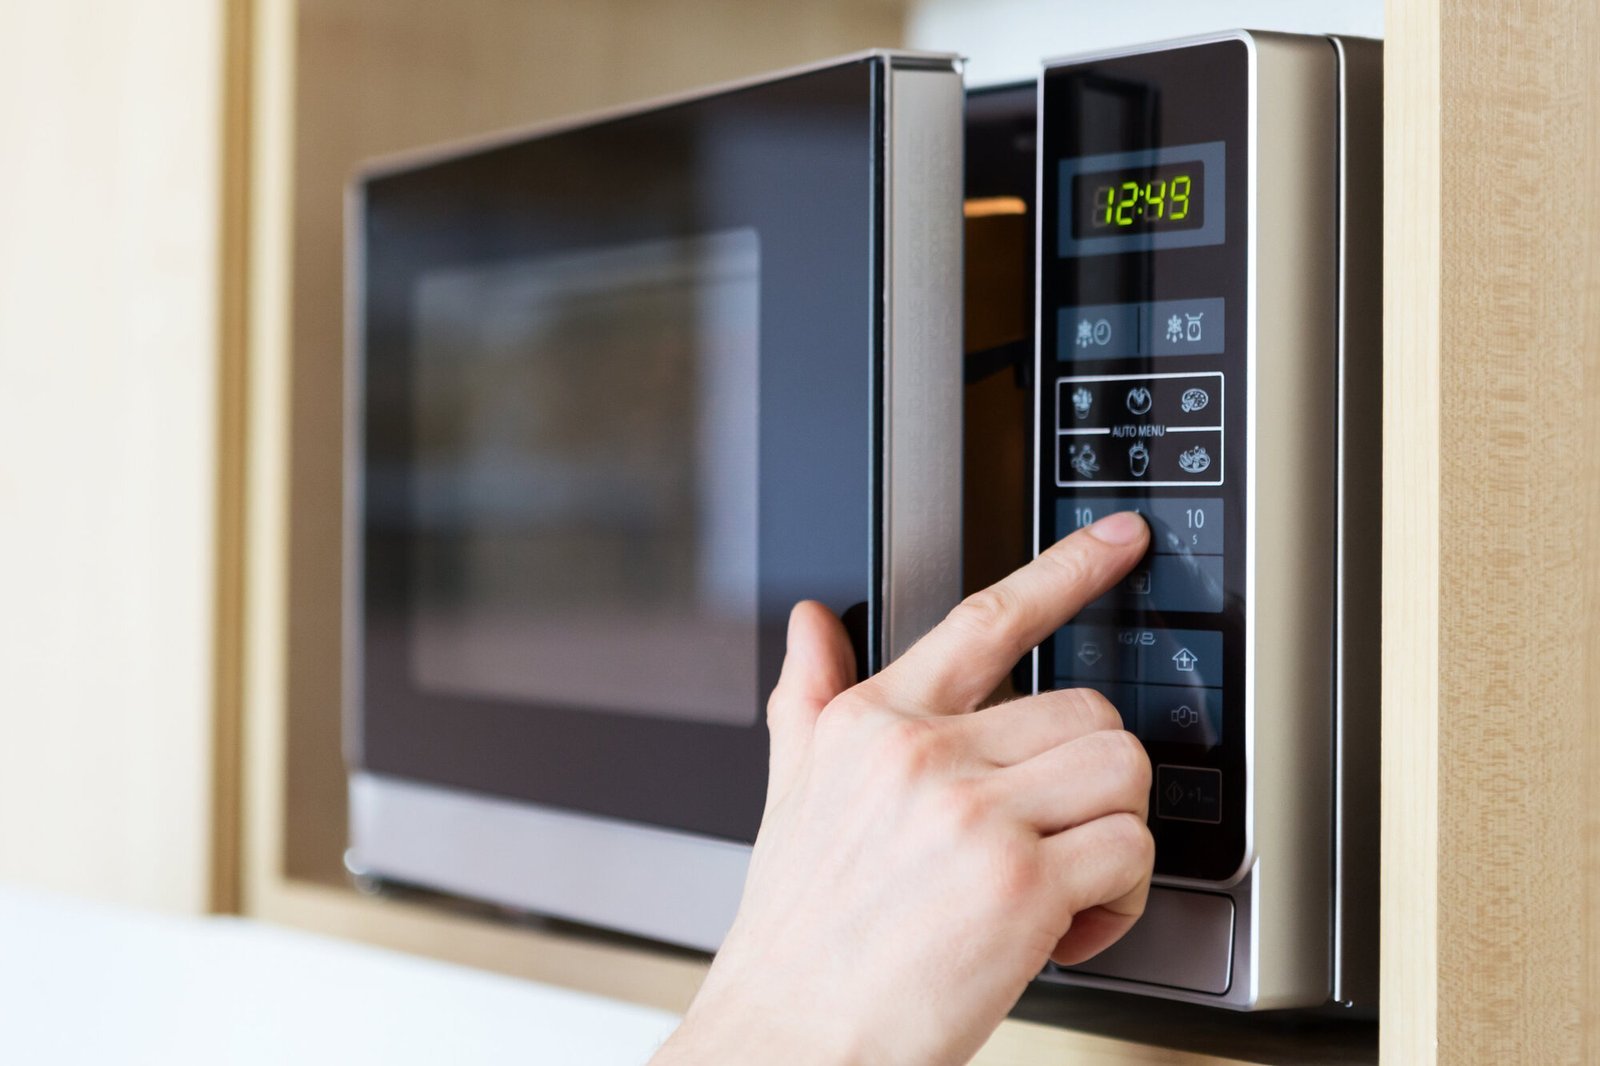
This method is best suited for home cooks who need to prepare a meal on short notice and lack the time for a multi-day refrigerator thaw. It serves those who have small, uniform items like chicken breasts, thin fish fillets, or small portions of ground meat. If you’re working with a large, whole frozen turkey or a thick roast, this approach isn’t appropriate, as the exterior will reach unsafe temperatures long before the core thaws.
The primary decision rule is weight: if your portion exceeds one pound, the thermal lag becomes a food safety hazard. Avoid this method for any item thicker than two inches. If the center remains icy after forty-five minutes, you have exceeded the safe threshold for rapid temperature transition.
The assumption here is that you’re using a standard residential oven. If you have a convection oven, you must reduce the time significantly because the circulating air speeds up heat transfer, which risks drying out the food or causing uneven thawing. A common mistake is leaving the convection fan on; this often results in a “cooked” exterior crust while the interior remains frozen. If your oven lacks a non-convection setting, lower the temperature by 25 degrees to compensate.
This page isn’t for users who prioritize texture perfection, as rapid thawing can slightly alter the moisture levels in delicate proteins. If you’re handling large batches, a refrigerator thaw remains the superior choice for consistent quality. Use this method only when you have zero lead time. If you can wait twelve hours, always choose the refrigerator to preserve the cellular structure of your meat and prevent the loss of natural juices during the final sear.
Variables That Influence Results
The primary factor is the internal temperature of your appliance. Most home ovens have a minimum setting, but many don’t hold a precise temperature below 200°F. You should verify your oven’s behavior with an independent oven thermometer to ensure it doesn’t spike higher, as this would trigger the danger zone where bacteria multiply rapidly.
The weight and surface area of the food also dictate the outcome. A thin, flat piece of frozen fish has a high surface-to-volume ratio and will thaw quickly. A dense block of frozen meat has a low ratio and requires much more time. People often make the mistake of leaving food in its original plastic packaging; this is a significant error because many store-bought wraps aren’t heat-resistant and can melt or release chemicals into your food.
Airflow plays a critical role in the speed of the process. If you crowd your baking sheet with multiple items, the center of the tray will remain frozen while the outer edges begin to cook. You must arrange items in a single layer with at least one inch of space between them to allow warm air to circulate evenly.
Finally, the starting state of your oven matters. If you preheat the oven to 200°F and then place the food inside, you risk exposing the outer layer to an intense thermal shock. It’s safer to place the food in the oven while it’s still cool and then turn it on, allowing the temperature to rise gradually as the food thaws.
Steps for Controlled Oven Thawing
- Remove all plastic, foam, or cardboard packaging from the frozen food, as these materials aren’t designed for oven use.
- Place the food in a single layer on a shallow, metal baking sheet or a glass dish to ensure even heat distribution.
- Position the baking sheet on the center rack of your oven to avoid direct contact with the heating elements.
- Set your oven to its lowest temperature, ideally 150°F or 170°F, to provide a slow, steady increase in temperature.
- Use a food thermometer to monitor the progress every 10 minutes, ensuring the food doesn’t exceed 40°F for more than two hours.
- Check for doneness by ensuring the item is pliable and no longer icy in the center, which usually takes 15 to 30 minutes depending on the thickness.
- Remove the food immediately once it reaches a thawed state and proceed directly to your cooking method.
- Clean the baking sheet thoroughly with hot, soapy water before using it for any other purpose to remove potential bacteria.
The critical judgment call is knowing exactly when to stop. You must transition the food to your cooking appliance the moment it’s no longer frozen to avoid leaving it in the temperature range where bacteria thrive. According to FoodSafety.gov’s cold food storage charts, perishable food should never be left in the danger zone between 40°F and 140°F for more than two hours. If you’re unsure if the food has been in the danger zone too long, discard it; the risk of foodborne illness isn’t worth the cost of the ingredients.
Thawing Scenarios and Requirements
The primary mistake home cooks make is skipping the “touch test” for density. If your protein is thicker than one inch, add five minutes to the time regardless of the chart. If you see liquid pooling around the edges, the heat is too high; lower it immediately to prevent the exterior from cooking before the center thaws.
Use this decision rule to determine if your food is ready: if the center yields to gentle finger pressure, it’s thawed. If it feels rigid or icy, continue at the same heat setting for three-minute intervals.
Distinguish between “thawing” and “tempering” by your end goal. If you’re searing the item immediately, thaw until the center is just pliable. If you plan to slow-cook the meat, you can stop when the item is still slightly frosty.
For ground meat, break the block into smaller, uniform chunks before placing it in the heat source. This prevents the outer layers from graying while the core remains frozen. If you’re thawing vegetables, keep the lid on the container to trap steam, which prevents the texture from becoming mushy. Always prioritize lower heat settings for delicate items like white fish to preserve the cellular structure.
Keys to a Successful Outcome
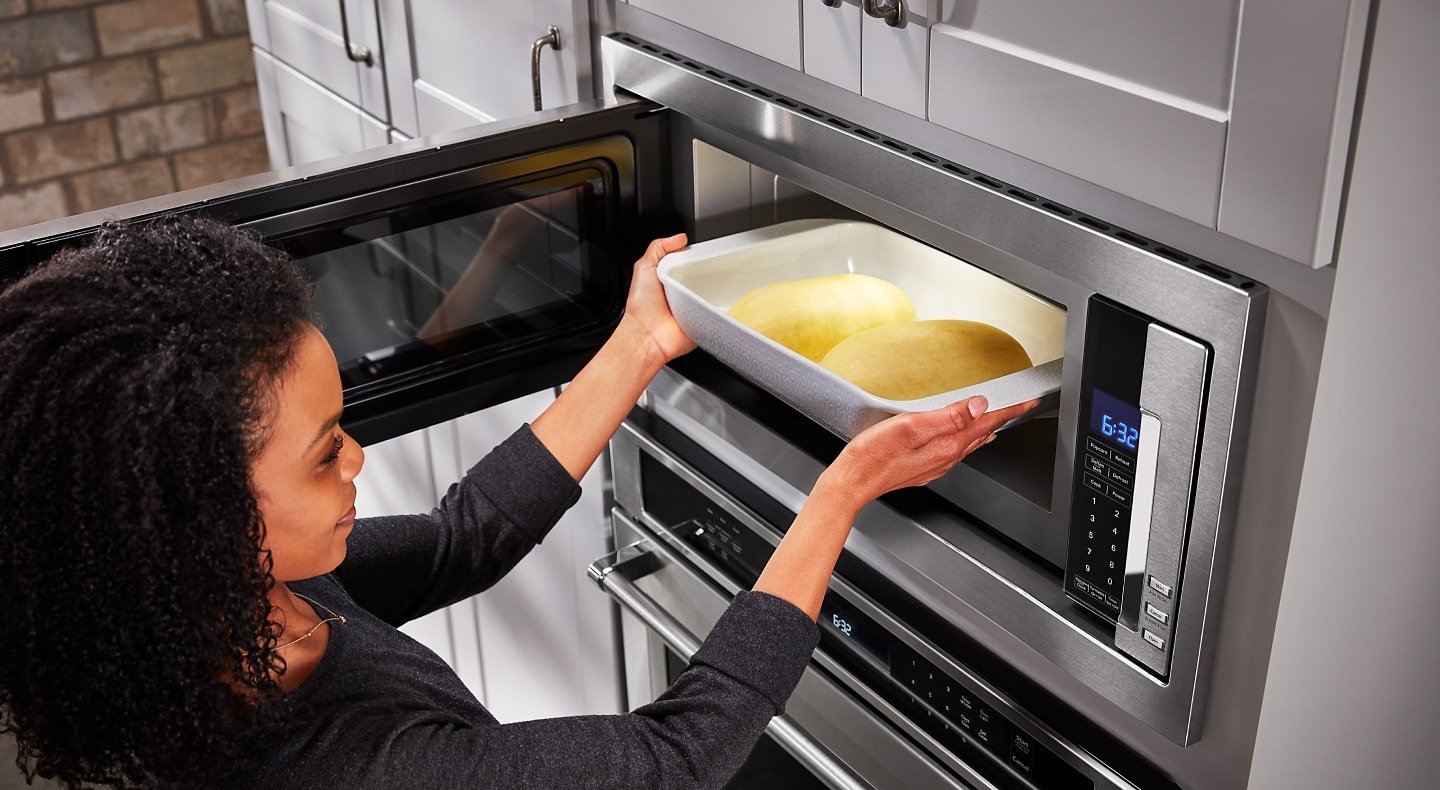
Proper Preparation
Experienced cooks always ensure that the food is completely unwrapped before it enters the oven. Using a metal tray rather than glass is generally better for heat conductivity, which helps the food thaw more uniformly. If you use glass, ensure it’s rated for oven use and that you haven’t taken it directly from a freezer to a hot oven, as this can cause the glass to shatter. Always keep the oven door closed during the process to maintain the internal environment; opening the door repeatedly lets the heat escape and forces the oven to work harder, which creates temperature spikes.
Monitoring the Process
The most successful results come from constant vigilance. Because ovens vary, you can’t rely solely on a timer. You must stay in the kitchen and observe the food. If you see the edges of the meat turning white or grey, the oven is too hot or the food is thawing too quickly. In such cases, turn the oven off immediately and let the residual heat finish the process. Never walk away from the oven while thawing food, as the short duration means things can change from thawed to cooked in just a few minutes.
Common Issues and Solutions
| What you notice | What it usually means | What to do first | How to stop it |
|---|---|---|---|
| Edges are cooked | Temp is too high | Remove food now | Lower oven setting |
| Center is icy | Items are too thick | Flip the food | Cut into smaller pieces |
| Smells like plastic | Packaging was left on | Discard the food | Remove all wrap first |
| Oven cycles off | Temp too low | Increase by 10°F | Use thermometer check |
| Food is dry | Thawing took too long | Cook immediately | Use shorter intervals |
Most users assume a burnt edge means the entire dish is ruined. If the center remains cool, you can salvage the meal by trimming the charred perimeter and covering the dish with foil. This traps residual heat to finish the middle without further browning.
When you notice a plastic smell, don’t simply remove the wrapper and continue. Chemical residues can leach into the food at high temperatures. If the plastic shows any signs of melting or warping, the food is unsafe to consume.
If your oven cycles off prematurely, check your calibration. Many ovens drift by 20 degrees or more over time. If your thermometer shows a discrepancy, use a dedicated oven-safe probe rather than relying on the internal dial.
Dryness often results from ambient thawing. If you leave proteins out for more than two hours, the outer layers dehydrate before the heat penetrates the core. Always transition frozen items directly to the oven or use a controlled water bath. If you must thaw, keep the item wrapped tightly to retain moisture.
Safety Standards and Regulations
All thawing procedures must align with the guidelines provided by the United States Department of Agriculture. Their safe minimum internal temperatures table is the mandatory reference for ensuring that food reaches a safe state after thawing.
When you thaw food in the oven, you’re operating in a precarious gray area of food safety. You must strictly adhere to the two-hour rule: if the food spends more than 120 minutes between 40°F and 140°F, you must discard it immediately. This window is the “danger zone” where pathogens like Staphylococcus aureus multiply rapidly.
If you’re in a different region, check your national food safety agency’s website for specific guidance. Some countries, particularly within the European Union, maintain stricter regulations that effectively ban the use of low-temperature ovens for thawing due to the risk of uneven heat distribution.
If you use a commercial oven or specialized equipment, consult the manufacturer’s manual. Some modern ovens feature “defrost” modes that circulate air without heat, which is significantly safer than activating a heating element. If your oven lacks a dedicated low-temperature setting that maintains a consistent, controlled environment, don’t attempt this method.
The most common mistake is assuming a “warm” or “keep warm” setting is safe for thawing. These settings often fluctuate, creating pockets of heat that encourage bacterial growth before the center of the food has even thawed. If your appliance can’t maintain a precise, low temperature, abandon the oven entirely. Instead, use a cold water bath, which remains the most predictable and verified method for home kitchens. If the water isn’t changed frequently to keep the food temperature below 40°F, the safety of your meal is compromised.
The Real Cost of Thawing
The primary cost of using an oven to thaw is the energy consumed to heat a large appliance for a small amount of food. While the financial cost of the electricity for 20 minutes is negligible—often less than a few cents—the real cost is the risk of wasting expensive protein. If you accidentally cook the outside of a piece of salmon or chicken while the center is frozen, the texture will be ruined, and the item may become unpalatable.
Many people mistake a low-temperature oven setting for a safe thawing zone. In reality, the ambient heat often pushes the outer layer of the protein into the “danger zone” between 40°F and 140°F. Bacteria multiply rapidly in this range, meaning you aren’t just risking a bad dinner; you’re risking foodborne illness. If the exterior feels warm to the touch while the core remains icy, discard the item immediately.
Beyond money, the cost is your time. This is an “active” method that requires your full attention. If you’re busy doing other tasks, the risk of forgetting the food in the oven is high. Always factor in the time you spend monitoring the oven as part of the total preparation cost.
Use this decision rule: if you have less than 30 minutes, skip the oven entirely. A cold water bath is safer and requires zero electricity. If you have more than 60 minutes, move the protein to the refrigerator. This passive method costs nothing and preserves the integrity of the muscle fibers. Only use the oven if you’re prepared to stand guard for the entire duration, as the cost of a ruined meal far outweighs the convenience of a faster thaw.
Maintaining Your Oven for Future Use
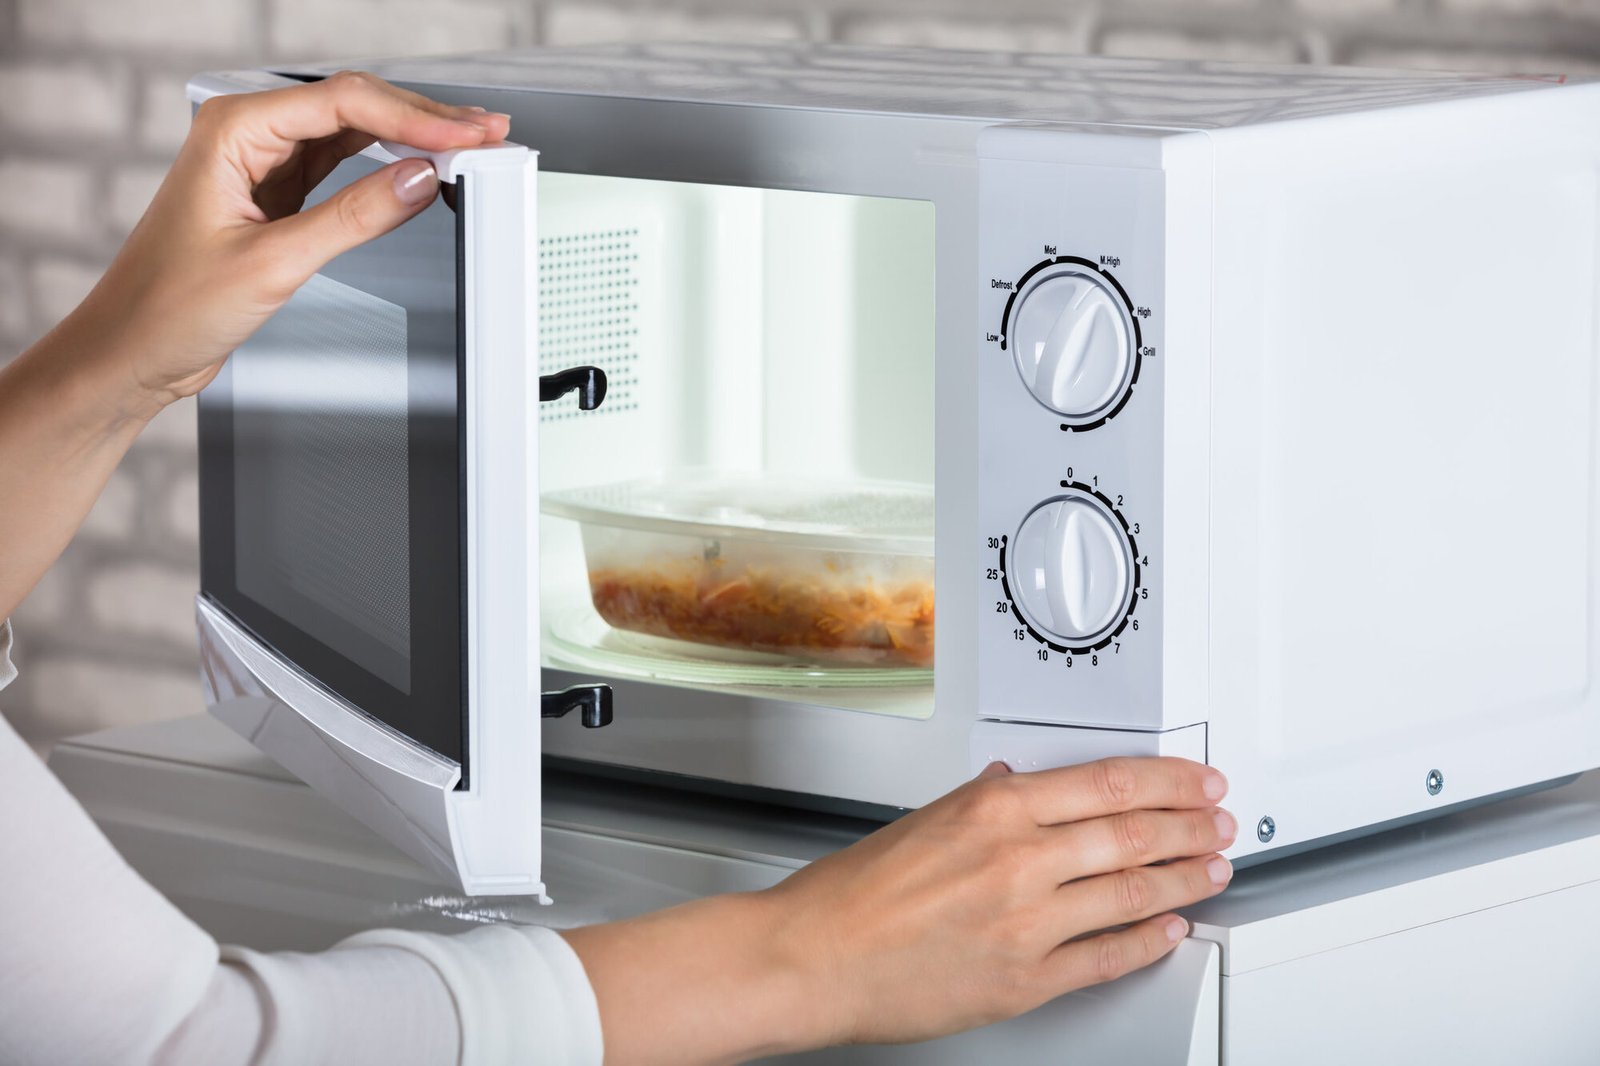
After you finish thawing, inspect your oven for any moisture or juices that may have leaked from the food. Wipe the interior with a damp cloth and mild detergent once the oven has cooled completely. If you notice any stubborn residue, use a manufacturer-approved cleaner, as harsh chemicals can damage the oven’s interior coating. Regularly check the door seal for any signs of wear or gaps, as a poor seal will prevent the oven from maintaining the low, consistent temperatures needed for safe thawing. If you find the door doesn’t close tightly, contact a professional technician to replace the gasket; don’t attempt to repair or adjust the door hinges yourself, as this can affect the oven’s safety interlocks.
If you’re planning to use the oven for cooking immediately after thawing, ensure the interior is dry and clean to prevent any cross-contamination. If you notice a persistent odor, perform a deep clean or run a steam-clean cycle if your model supports it. Proper maintenance ensures that your appliance remains a reliable tool for both cooking and safe food preparation.
Situations Where This Is Not Suitable
Don’t use the oven to thaw large, dense items like a whole turkey, a thick frozen lasagna, or a large roast. The exterior will stay in the danger zone for too long, leading to a high risk of bacterial growth. For these items, you must plan ahead and use a refrigerator thaw, which takes 24 hours for every 5 pounds of weight.
Don’t use this method if your oven doesn’t have a reliable, low-heat setting. If your oven’s lowest setting is 250°F or higher, it will cook the food too quickly, resulting in a rubbery texture and potentially unsafe internal conditions. In these cases, use the cold water thaw method: place the food in a leak-proof plastic bag and submerge it in cold water, changing the water every 30 minutes. This method is safer for larger items and doesn’t require constant monitoring of oven temperatures.
For the best results, start your process by ensuring your food is in a shallow, heat-safe dish, then set your oven to its lowest temperature while monitoring the internal state closely. If the food doesn’t thaw within 60 minutes, move it to a cold water bath to finish the process safely. If you notice any unusual smells or signs of spoilage, discard the food immediately.
Related guides