
To bake a standard loaf of yeasted bread, you combine flour, water, salt, and yeast, let it rise until doubled in size, and then bake it at 425°F for 30 to 40 minutes until it sounds hollow when tapped. You can successfully bake bread in an oven by following basic ratios and using a thermometer to check for doneness.
This guide is for home cooks who have a standard oven and want to bake a basic loaf of bread. We assume you’re using a standard 9×5 inch loaf pan and a conventional oven. If you’re using a convection setting, you must lower the temperature by 25°F to prevent the crust from burning before the center is set.
Who should bake bread in an oven
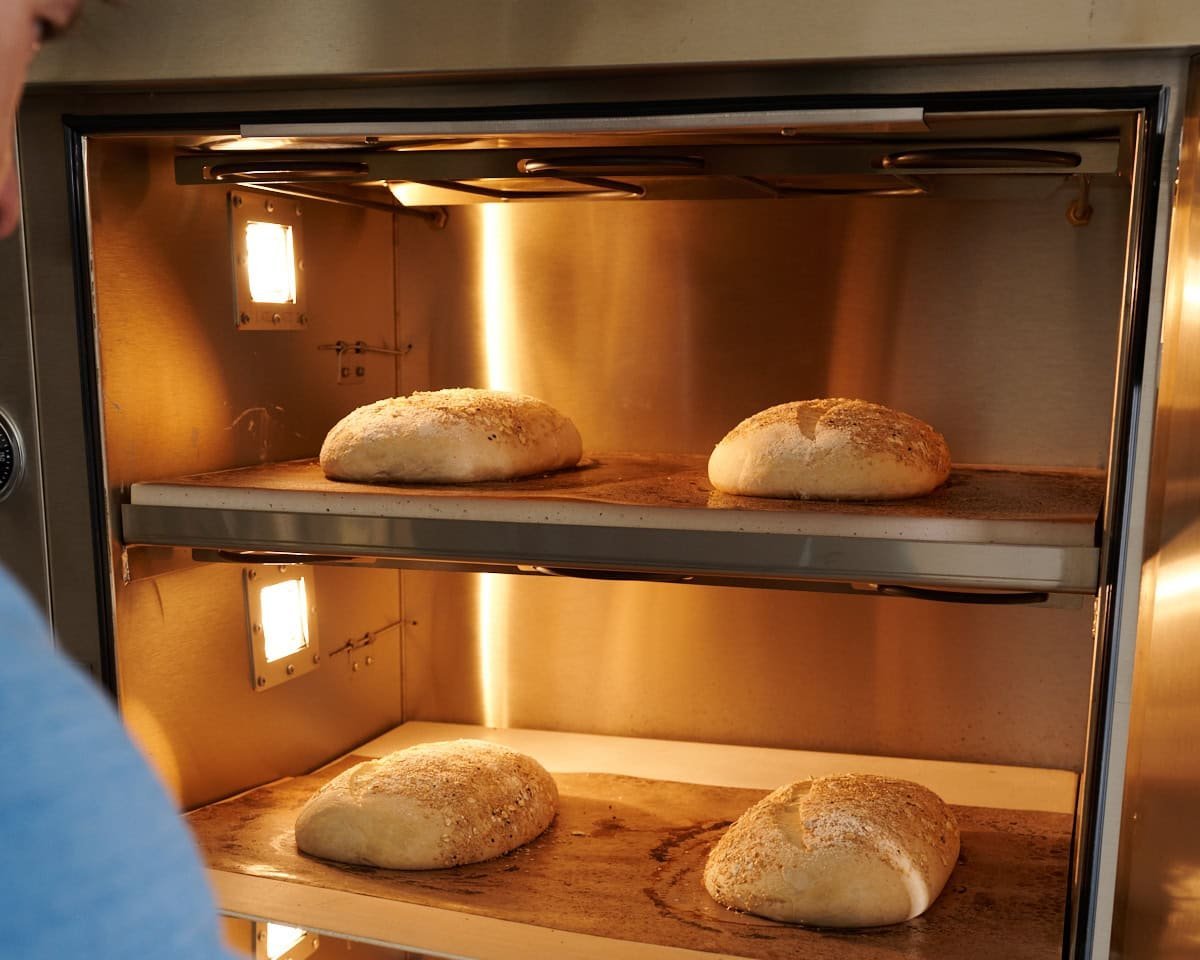
This guide is for people who want to understand the mechanics of baking bread without expensive equipment. You’re likely a home cook who has basic pantry staples like flour, salt, and active dry yeast.
This page serves you best if you’re looking for the “master recipe” approach to bread. If you’re searching for sourdough starter maintenance, high-hydration no-knead techniques, or gluten-free alternatives, this page won’t give you the specific chemistry you need. We assume you’re using standard all-purpose or bread flour and want to learn the fundamentals of fermentation and heat application.
We don’t cater to those looking for “quick-fix” microwave bread or those who need to bake without using any gluten-containing grains. If you have never handled dough before, this process requires patience—expect to spend at least three hours from start to finish, including rise times. We focus on the traditional oven-baking method because it provides the most consistent crust and crumb structure for beginners.
What decides the outcome
The quality of your bread depends on how you manage the dough and the heat. These factors change the final texture and flavor significantly.
The most important factor is the flour type. Using high-protein bread flour (12% to 14% protein) creates a stronger gluten network, which holds the gases produced by the yeast. You can check the protein content on the nutrition label of your flour bag.
Yeast activity is the second factor. If your water is too hot (above 120°F), you’ll kill the yeast and the bread won’t rise. If the water is too cold, the fermentation will take hours longer than expected. Use a thermometer to ensure your water is between 105°F and 110°F.
The third factor is the oven temperature. Many people make the mistake of putting the dough in before the oven has fully preheated. This causes the bread to stay flat because the yeast doesn’t get the “oven spring” it needs from a sudden burst of heat. Always wait for the oven to reach the set temperature for at least 20 minutes before loading the pan.
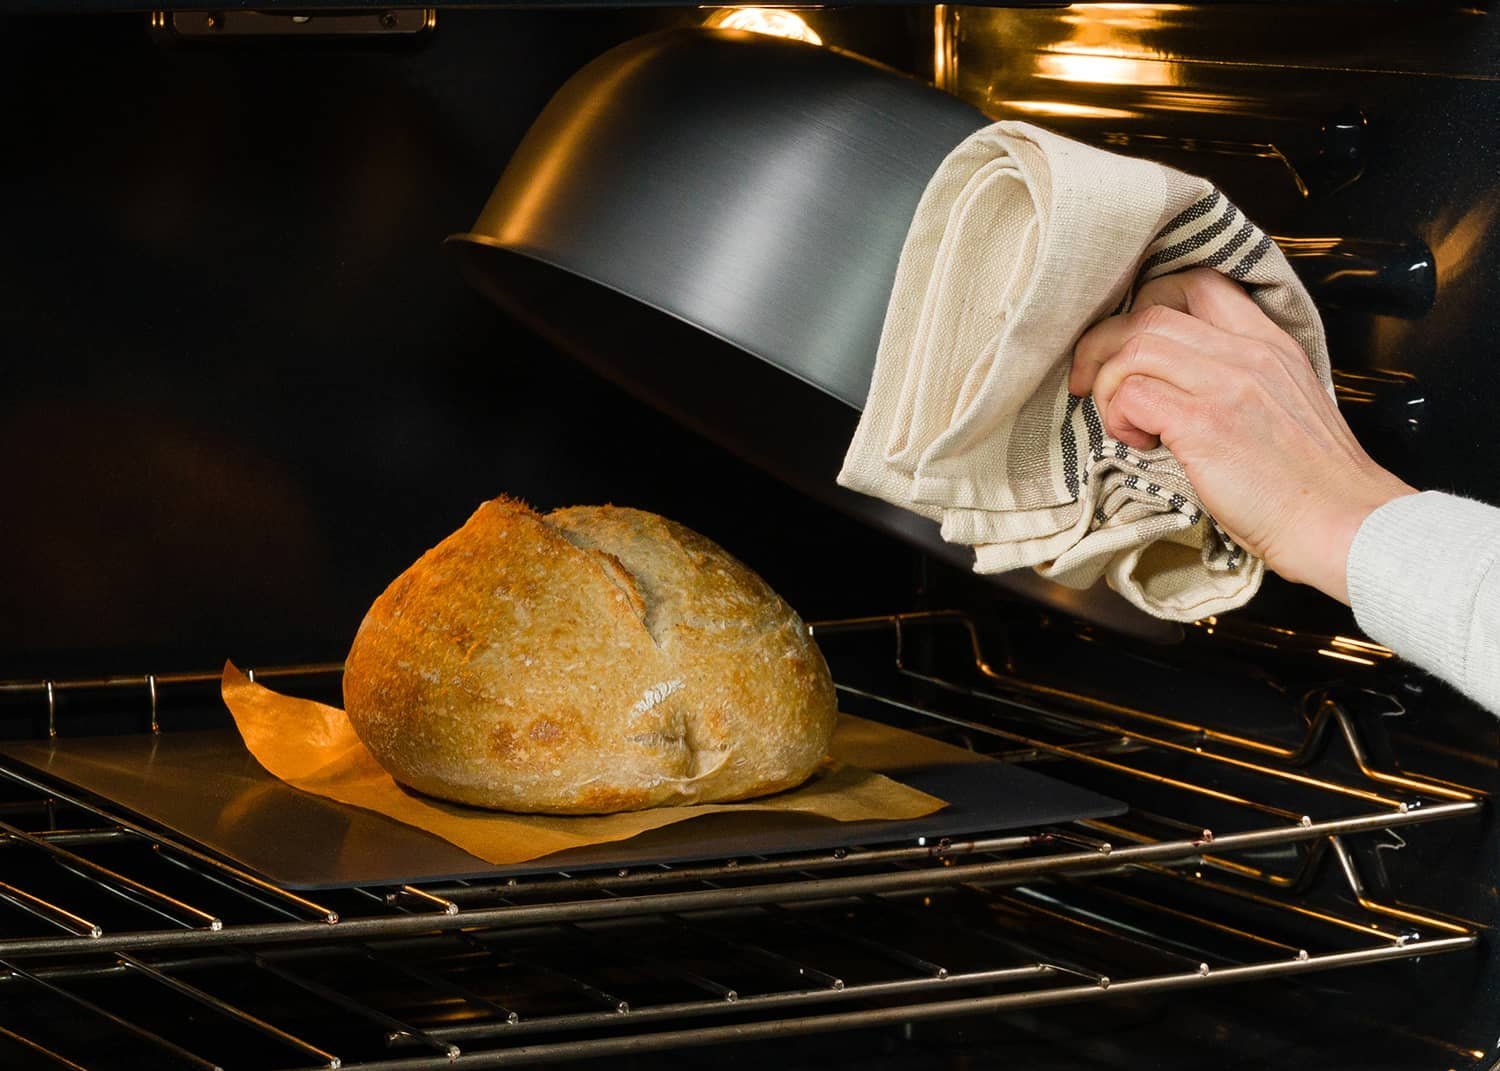
Finally, the humidity in the oven matters. A dry oven results in a thick, hard crust. Experienced bakers often place a metal pan on the bottom rack of the oven and pour in a half-cup of hot water when they put the bread in. This creates steam, which keeps the surface of the loaf soft initially, allowing it to expand fully before the crust hardens.
Getting the dough ready
- Mix 3 cups of flour, 1 tablespoon of sugar, 1 packet of active dry yeast, and 1 teaspoon of salt in a large bowl.
- Add 1 cup of warm water (105°F to 110°F) and 2 tablespoons of vegetable oil to the dry ingredients.
- Stir with a wooden spoon until a shaggy ball forms.
- Turn the dough onto a floured surface and knead for 8 to 10 minutes; the dough is ready when it’s smooth and springs back when poked with a finger.
- Place the dough in a greased bowl, cover it with a damp cloth, and let it rise in a warm spot for 60 to 90 minutes.
- Punch the dough down to release air, shape it into a log, and place it into a greased 9×5 inch loaf pan.
- Cover and let it rise again for 30 to 45 minutes until the dough has risen about 1 inch above the rim of the pan.
- Preheat your oven to 425°F during the second rise.
- Bake the loaf for 30 to 40 minutes.
- Remove the bread from the pan immediately and place it on a wire rack to cool for at least 1 hour before slicing.
The most important judgment call is knowing when the dough is “doubled in size.” If you don’t let it rise enough, the bread will be dense. If you let it rise too long, the gas bubbles will collapse, and the loaf will be flat.
How do I bake bread in an oven: Methods and requirements
| Situation | Action | Time | Watch for |
|---|---|---|---|
| Soft crust | Brush with butter | 5 minutes | Golden brown |
| Hard crust | Add steam pan | 35 minutes | Hollow sound |
For a soft crust, apply melted butter immediately after pulling the pan from the oven. If you wait longer than five minutes, the steam trapped under the crust dissipates and the butter won’t absorb.
When baking whole wheat, the bran acts like a sponge. If you skip the extra water, your loaf will turn out dense and crumbly. You can tell if you need more hydration by the dough’s tackiness; it should cling slightly to your finger when poked.
High altitude baking is a common trap. Because atmospheric pressure is lower, yeast expands too quickly and collapses before the structure sets. Reduce your yeast by 25% if you’re above 3,000 feet. If the dough doubles in size in under an hour, your yeast is too active for the environment.
For small loaves, the biggest mistake is relying on a timer rather than internal temperature. Aim for 190°F at the center. If you pull it early based on color alone, the middle will remain gummy. Always use a probe thermometer to avoid the sunken center that ruins a small batch.
Achieving a consistent finish
Managing the heat
Professional results rely on consistent heat. A common mistake is opening the oven door too often to check on the loaf. Every time you open the door, the temperature drops, which can cause the bread to deflate if it’s still in the early stages of baking. Use the oven light and the glass window to monitor the color instead. Once the top is deep golden brown, the bread is likely done, but you can confirm this by checking the internal temperature with a probe thermometer. According to FoodSafety.gov’s chart, bread doesn’t have a safety temperature like meat, but a fully baked loaf should reach an internal temperature of about 190°F to 200°F.
Handling the cooling process
The cooling process is part of the bake. When you pull the bread out, it’s still cooking inside. If you slice it while it’s hot, the steam escapes, and the starches don’t have time to set, which makes the bread feel gummy. Wait at least one hour before cutting. If you notice the bottom of the loaf feels damp, it means it sat in the pan too long; remove it to a wire rack immediately after pulling it from the oven to allow air to circulate around all sides of the loaf.
Common baking errors
| What you notice | What it means | What to do first | How to stop it |
|---|---|---|---|
| Flat loaf | Dead yeast | Check water temp | Use fresh yeast |
| Very hard crust | Too much heat | Lower by 25°F | Add steam pan |
| Dense crumb | Under-proofed | Let rise longer | Use warm area |
| Burnt bottom | Rack too low | Move to middle | Use light pan |
| Gummy center | Sliced too soon | Bake 5 mins more | Cool fully |
A hard crust often signals a dry oven environment. If your loaf sounds like a drum but lacks a soft interior, place a shallow pan of boiling water on the bottom rack during the first ten minutes of baking.
Dense crumb usually stems from rushing the bulk fermentation. If the dough doesn’t double in size, don’t move to the oven. A simple test is the poke method: if your indentation springs back immediately, the gluten is too tight and needs more time.
Finally, never slice bread while it’s steaming. Trapped moisture turns into a gummy, starch-heavy paste. Wait until the loaf is cool to the touch, usually after one hour, to ensure the internal structure has fully set.
The rules of yeast baking
Baking at home is generally safe, but you must follow basic hygiene when handling ingredients. The Centers for Disease Control and Prevention notes that raw flour is a raw agricultural product and can contain bacteria, so you must keep your workspace clean and wash your hands after handling raw dough. You don’t need a license to bake at home for your own family, but if you intend to sell your bread, you must check your local health department’s “cottage food” laws. These regulations vary by state and county; you can find your local rules by searching your state’s health department website for “home bakery regulations.” Never attempt to modify the electrical wiring of your oven to increase heat; if your oven isn’t reaching the required temperature, it’s a sign of a faulty thermostat or heating element, which requires a professional appliance technician.
What it costs you
The cost of baking bread is low in terms of money but high in terms of time. A standard loaf costs a very small amount in ingredients depending on the quality of flour you buy.
You can save money by buying flour in 25-pound bags rather than 5-pound bags. Buying in bulk typically reduces your cost per loaf by nearly 40 percent. If you bake regularly, this bulk strategy saves you a significant amount annually.
The real cost is your time—expect to commit three hours to the process, even if only 30 minutes of that’s active work. If you value your time at a high hourly rate, baking may seem expensive. However, for most people, the benefit is the control over ingredients and the quality of the final product.
Prices for flour and yeast change weekly at most supermarkets. Check the unit price on the shelf label to ensure you’re getting the best value for your budget. A common mistake is ignoring the unit price in favor of the total package price. This oversight often costs shoppers a small extra amount per pound, which adds up quickly for frequent bakers. If you bake for volume, prioritize the unit price; if you bake for occasional variety, prioritize the smallest bag to avoid spoilage.
Keeping your bread fresh
To keep your bread fresh, store it at room temperature in a paper bag or a bread box for up to three days. Paper allows the crust to breathe, preventing the moisture buildup that leads to soggy, unappealing loaves.
If you need to keep it longer, wrap the loaf tightly in plastic wrap and place it in the freezer. This stops the aging process entirely. When you’re ready to eat, thaw the bread at room temperature for two hours or toast it directly from frozen.
Never store bread in the refrigerator. The cold temperature causes starch molecules to recrystallize, a process called retrogradation, which makes the bread go stale much faster than at room temperature.
If the bread starts to feel dry, refresh it by lightly misting the crust with water and placing it in a 350°F oven for five minutes. This restores the texture.
If you see any signs of mold, discard the entire loaf immediately. Mold spores spread through the soft interior even if they aren’t visible on every slice. Don’t attempt to cut around the spots.
When to seek another method
If you need a gluten-free loaf, this method will fail because wheat flour is required for the structure. Use a dedicated gluten-free recipe instead, which will call for xanthan gum and specific flour blends to mimic elasticity.
If you’re baking in a humid environment, your dough may be too sticky to handle. If the ambient humidity exceeds 60%, reduce the water by 10% or add flour in one-tablespoon increments during kneading until the dough pulls away from the bowl.
If you have a physical condition that makes kneading difficult, don’t force it. Pushing through joint pain often leads to under-kneaded dough, which results in a dense, gummy crumb. Instead, use a stand mixer with a dough hook for eight minutes on low speed.
Alternatively, look for “no-knead” recipes. These rely on long fermentation times—usually 12 to 18 hours—to develop the gluten structure chemically. This is the correct choice if you can’t maintain the consistent, rhythmic pressure required for traditional hand-kneading.
Frequently asked questions
Can I use active dry yeast instead of instant?
Yes, you can use active dry yeast, but you must dissolve it in warm water for five to ten minutes until it looks foamy before mixing it with the flour. If the yeast doesn’t foam, it’s dead and you shouldn’t use it, as the bread won’t rise.
How long does it take to bake bread?
It takes about three hours from start to finish, including the two rise periods and the baking time. The exact time depends on the temperature of your kitchen; a warmer room will make the dough rise faster, while a cold room can add 30 to 60 minutes to the process.
Is it safe to eat bread dough?
No, it isn’t safe to eat raw bread dough because raw flour can contain harmful bacteria like E. coli. Always bake the dough to an internal temperature of at least 190°F to ensure that any bacteria present are killed during the cooking process.
Why did my bread collapse in the oven?
Your bread likely collapsed because it was over-proofed, meaning it rose for too long and the gluten structure became too weak to hold the gas bubbles. Check the dough during the second rise; if it looks like it has expanded significantly, bake it immediately rather than waiting for a specific clock time.
Does the type of loaf pan matter?
Yes, the material of the pan changes how the heat reaches the dough. A heavy metal pan conducts heat well for a crisp crust, while a glass pan may require you to lower the oven temperature by 25°F to prevent the outside from baking too fast while the center remains raw.
What happens if I use too much salt?
Using too much salt will slow down the yeast activity and result in a very dense, salty loaf. Stick to the measurement in your recipe, which is typically one teaspoon per three cups of flour, to ensure the yeast can ferment the dough at a normal pace.
Bake bread, in short
Start by preheating your oven early to ensure it’s at the correct temperature when you’re ready to bake. When the bread comes out, listen for a hollow sound when you tap the bottom of the loaf, which is the best sign that the center is fully cooked. If the crust is pale or the loaf feels heavy, consult your oven manual to ensure your temperature settings are accurate.