
If your hamilton beach flexbrew single serve not working issue is causing a headache, you can often fix it by performing a manual reset and checking the water reservoir seating. A mineral buildup in the internal tubing is the most common cause of a machine that turns on but fails to brew. If you can’t resolve the flow issue with a basic cleaning, you must check the needle for coffee grounds that might be blocking the water path.
Troubleshooting a Hamilton Beach FlexBrew not working
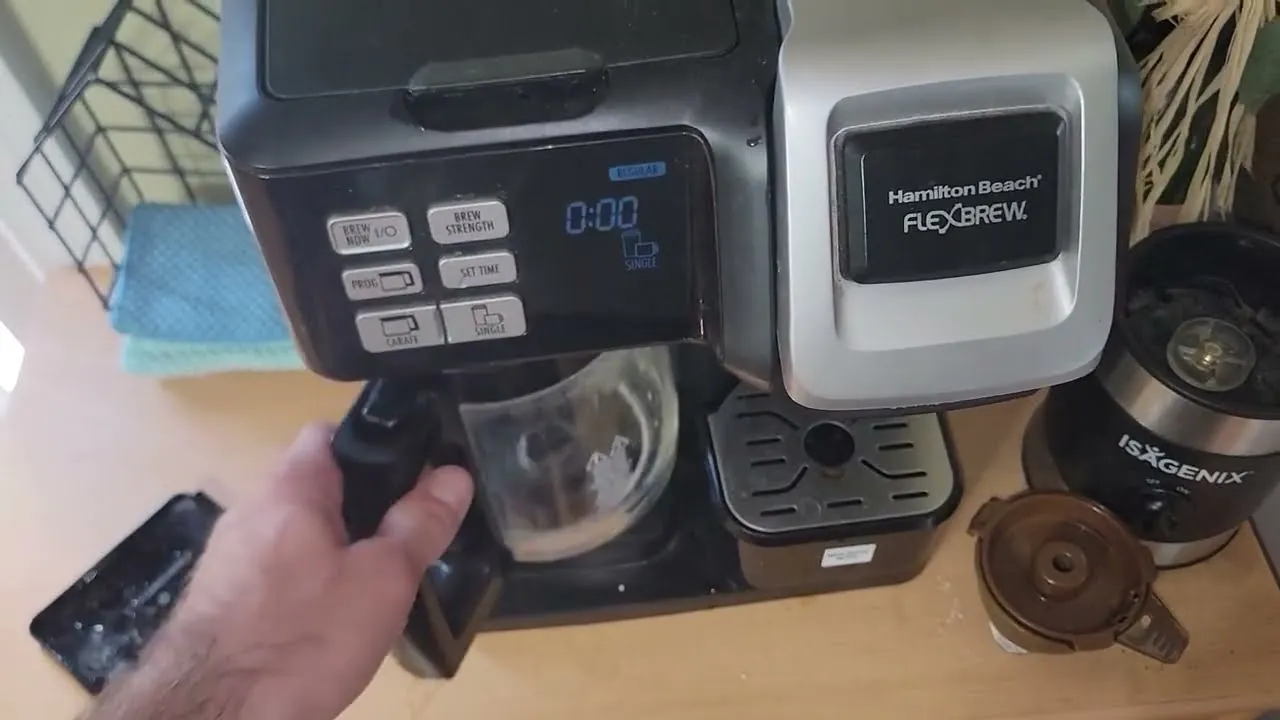
Coffee makers often struggle when the internal parts get dirty or when the machine loses its connection to the power source. The most frequent cause is a calcium deposit from hard water that blocks the small tubes inside the heating element. When these tubes get narrow, the pump can’t push water through, and the machine will make a loud noise before stopping.
Another common cause involves the water reservoir. If it isn’t pushed firmly onto the base, the valve at the bottom won’t open. This prevents water from entering the heating chamber, so the unit thinks it’s empty even when it looks full.
You should also check the needle that punctures the coffee pod. If the tiny holes in the needle are clogged with old grounds, the water can’t enter the pod, which creates pressure that forces the machine to shut down for safety.
Finally, check your wall outlet. Kitchen machines require high power, and if you use an extension cord or a power strip, the brewer may not get enough electricity to heat the water. If the power light is dim or flickering, move the plug directly into a wall outlet to see if the brewing cycle starts normally.
If the machine still fails to heat after these checks, you should visit the Hamilton Beach product support page to verify if your specific model has a known thermal fuse issue that requires service.
Clearing the needle assembly
If your machine sounds like it’s working but no liquid comes out, the exit needle is likely blocked. This is for users who notice the water level in the reservoir stays the same after a brew cycle. To fix this, you must first turn off the power and unplug the unit from the wall.
Wait for the machine to cool down for at least 15 minutes before touching the needle area. If you attempt this while the internal heater is active, you risk a steam burn. Use a thin, straightened paperclip to gently clear any debris from the needle holes.
Don’t use a knife or a thick tool, as this can damage the plastic or metal coating of the needle. A bent or scratched needle will fail to pierce future pods correctly, leading to messy leaks.
Once the path is clear, run a cycle with only water to flush out any remaining grounds. If the water still doesn’t flow, the internal pump may have failed. You can distinguish a pump failure from a clog by listening for a high-pitched whine; if the machine is silent, the pump has likely seized.
This isn’t a fixable home issue, and you should contact the manufacturer for warranty guidance. If the pump is humming but no water moves, the clog is likely deeper in the internal tubing, which requires professional service.
Performing a deep descaling process
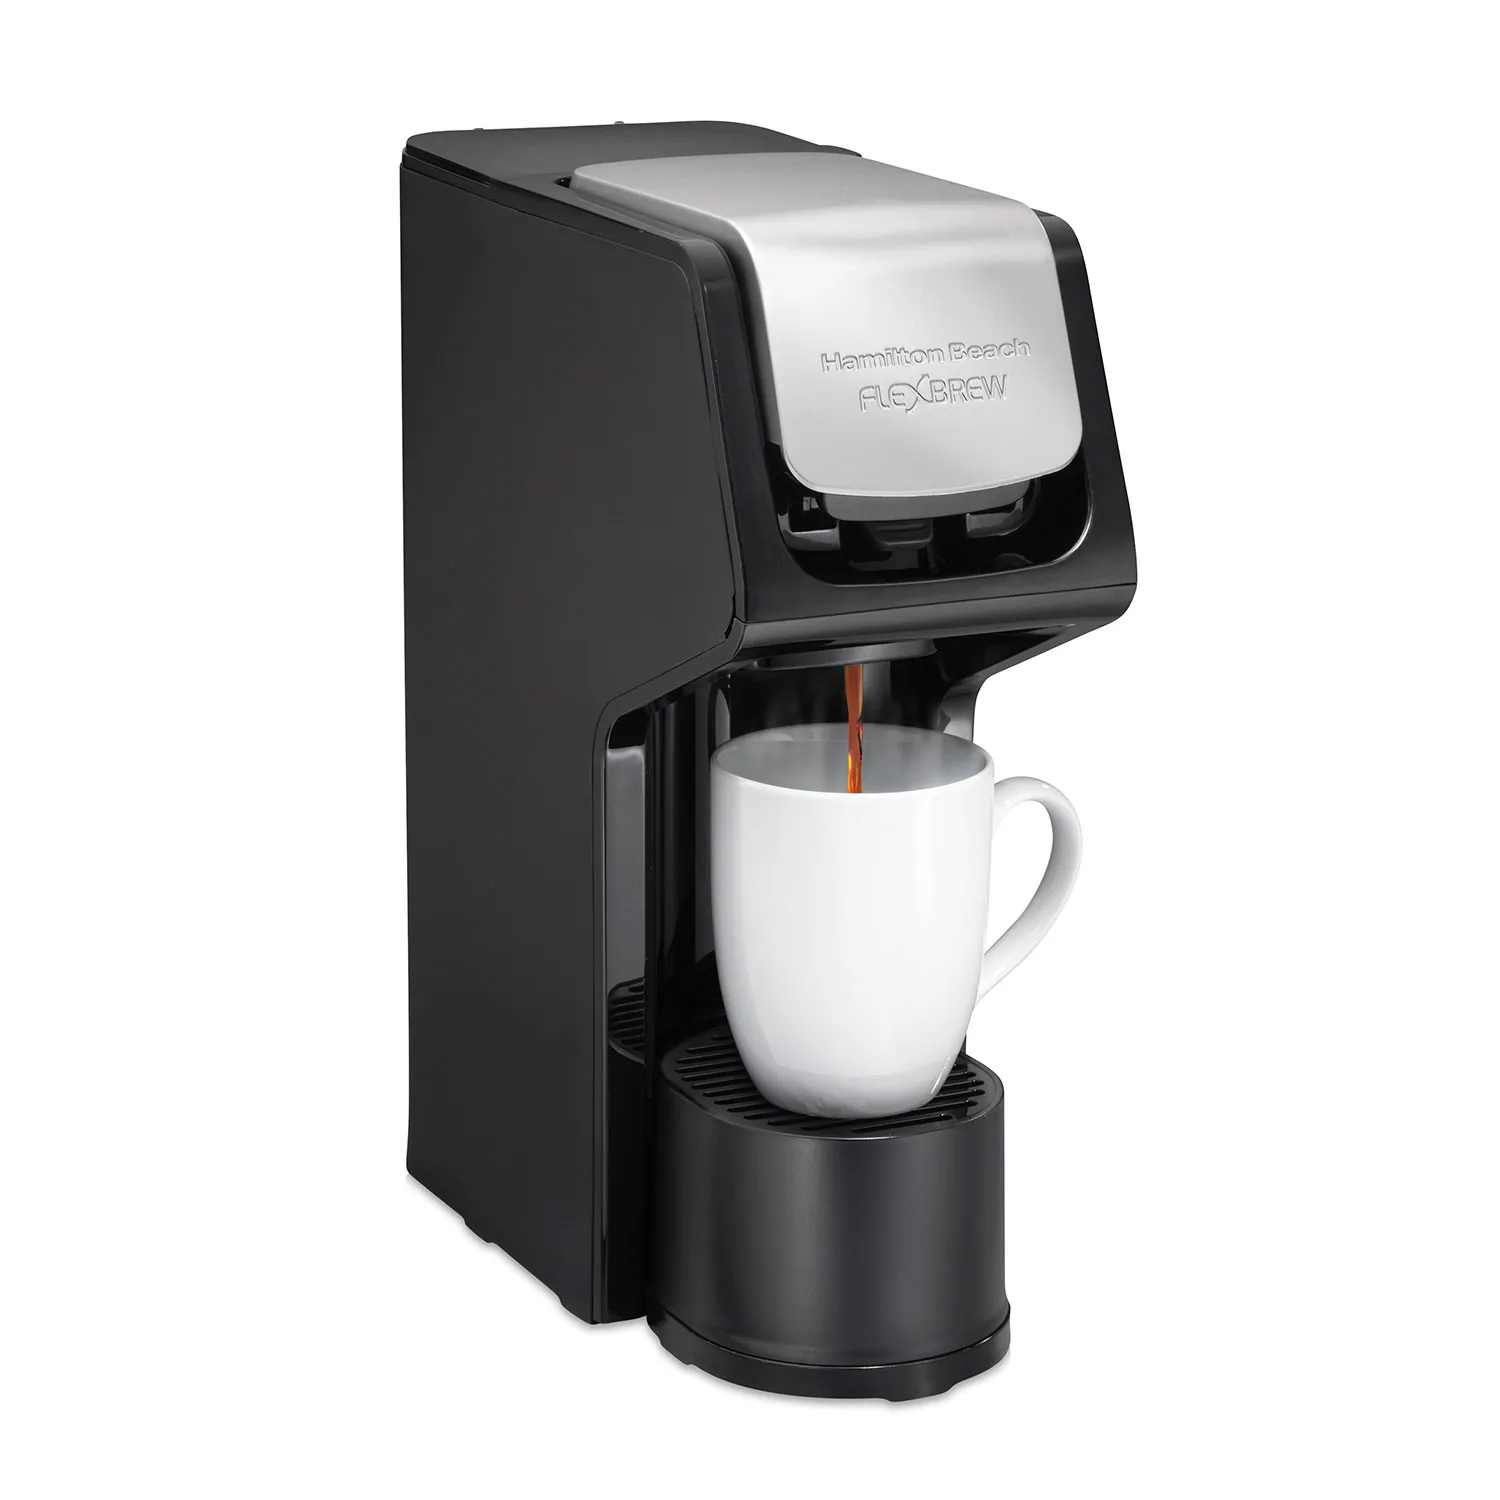
Descaling is the essential way to remove mineral buildup that slows down your brewer. You should perform this if your coffee comes out slowly or if the machine is significantly louder than it was when it was new. This process is for any user who lives in an area with hard water, which usually requires a cleaning cycle every 1 to 3 months depending on how many cups you brew daily.
If your local water supply leaves white crust on your fixtures, you should descale regularly to prevent permanent heating element failure. The frequency depends on your specific water usage, so consult your owner’s manual for the recommended maintenance schedule.
Mix a solution of 50% white vinegar and 50% water to fill the entire reservoir. Place a large mug under the dispenser and run the brew cycle until the reservoir is half empty. Stop the cycle and let the solution sit inside the machine for 30 minutes to dissolve the scale.
After the time is up, finish the cycle and then run two full reservoirs of plain water through the machine to remove the vinegar taste. If you still see white flakes in your coffee after this, repeat the process one more time. Always use distilled water for the final rinse to ensure no new minerals are introduced immediately.
Resetting the internal power system
Sometimes the machine’s computer gets stuck in a logic error that prevents it from starting a brew. This is a simple step that works for most electronic issues where the buttons are unresponsive. Unplug the machine from the wall and leave it disconnected for at least 60 minutes.
This wait time allows the machine to reset its internal sensors. Always use a wall outlet rather than a power strip or surge protector during this reset. These strips often maintain a trickle of current that prevents the capacitors from fully draining.
After the hour has passed, plug it back into a wall outlet and press the power button once. If the lights don’t turn on, check your home circuit breaker to ensure the outlet still has power.
If the machine lights up but still refuses to brew, the internal control board may be damaged. You shouldn’t attempt to open the case to reach the circuit board. This poses a risk of electric shock and will void your warranty. If the unit remains unresponsive after this, contact the manufacturer for a professional diagnostic.
Mistakes to avoid during maintenance
Using sharp metal tools to scrape the heating plate ruins the protective finish, exposing raw metal that inevitably rusts. Stick to a soft, silicone spatula or a damp microfiber cloth to preserve the integrity of the surface.
Avoid filling the reservoir with hot water, as it warps plastic seals and triggers false sensor readings. If you need to expedite a brew, use room-temperature water and let the machine’s internal heating element do the work.
Neglecting a plain water rinse after a vinegar descaling cycle leaves a sour, acidic residue. Run at least two full cycles of fresh water until the vinegar scent vanishes entirely.
Never use dish soap inside the reservoir. It leaves a chemical film that’s nearly impossible to remove, tainting your coffee for weeks. If the tank looks cloudy, use a mixture of water and a tablespoon of baking soda instead.
Finally, ensure the brewer sits on a perfectly level surface. Even a slight tilt tricks internal sensors into misreading water volume, leading to inconsistent extraction times.
Maintaining your brewing equipment
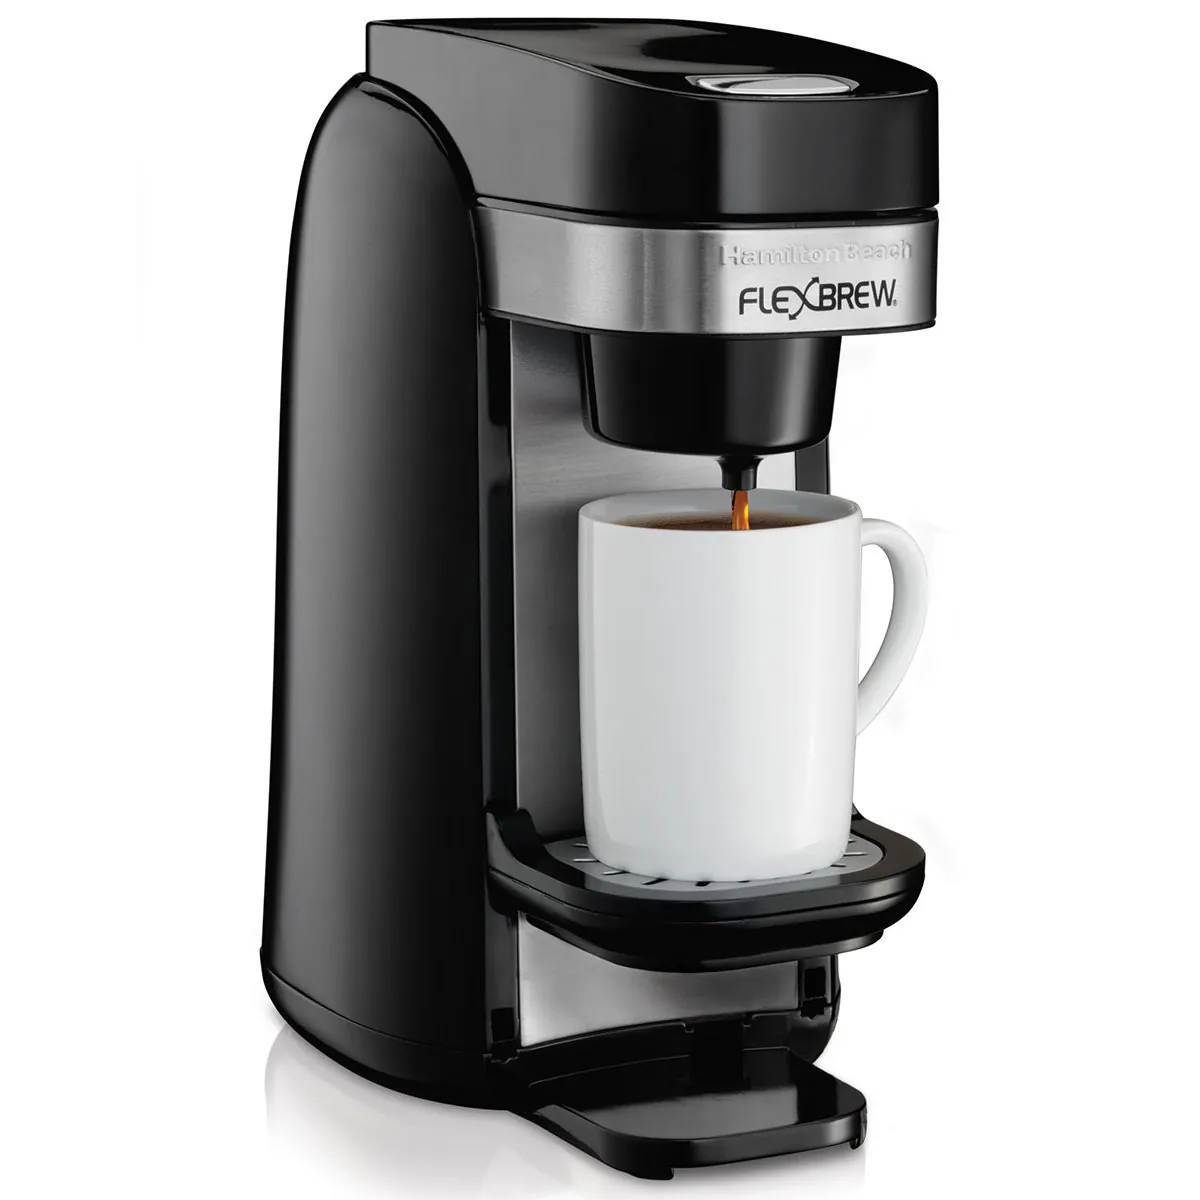
To keep your machine running, you must ensure that you’re using the correct amount of water for the cup size you select. If you use a large mug setting but only fill the reservoir with a small amount of water, the machine will stop mid-cycle.
Check the internal heating element for white, chalky deposits periodically. If you live in an area with hard water, you may need to descale more frequently, but always refer to your owner’s manual for the specific maintenance schedule required for your unit.
| If you’re doing this | Do this instead | Why |
|---|---|---|
| Using an extension cord | Plug directly into the wall | Ensures consistent voltage for heating |
| Using tap water | Use filtered or bottled water | Prevents mineral buildup in the tubes |
| Leaving pods in the holder | Remove pods immediately after use | Stops mold growth and needle clogging |
| Filling to the brim | Follow the max fill line | Prevents leaks and sensor errors |
If the machine fails to heat, it may have a blown thermal fuse which requires professional repair. If it still remains cold, the heating element has likely failed due to scale buildup. Never attempt to disassemble the internal boiler yourself, as the pressurized seals are calibrated at the factory and can’t be reseated by hand.
Related guides
Frequently asked questions
How long does a descaling cycle take?
A full descaling cycle takes about 45 minutes to complete. This includes 30 minutes for the vinegar solution to break down mineral deposits inside the pipes. If you have very hard water, you may need to perform this process twice to fully restore flow.
Is it safe to use coffee cleaners instead of vinegar?
Yes, it’s safe to use commercial coffee maker cleaning solutions if you prefer them over vinegar. These cleaners are designed to remove scale without leaving a strong smell, but they cost more than white vinegar. Always follow the specific mixing ratios printed on the bottle of the cleaner you buy. If you choose to use a commercial product, ensure it’s labeled as safe for use in single-serve drip coffee makers.
Why does my machine make a loud noise but not brew?
Your machine makes a loud noise because the pump is struggling to pull water through a blockage. This usually happens because of a clog in the exit needle or a buildup of scale in the internal heating tube. When the pump can’t move water, it vibrates intensely against the housing of the unit. You should stop the cycle immediately to prevent the pump from burning out from the extra strain.
What happens if I use the wrong pod size?
Using an incorrect pod size or shape will prevent the brewing lid from closing properly. The machine’s safety switch requires the lid to be locked flat before the pump can activate. Always use the pods recommended in your user manual to ensure the lid locks correctly.
Can I fix a leak at the bottom of the machine?
You can’t fix a leak at the base because it typically indicates a cracked internal line or failed seal. These components require professional tools to access and replace. Attempting home repairs on internal leaks can cause water to contact electrical components, creating a fire hazard.
Conclusion
If these simple adjustments don’t get your coffee flowing again, it’s time to reach out to the manufacturer’s support team for further guidance. They’ll help you determine if a part needs replacing or if your warranty covers a repair. Don’t worry; you’ll be back to enjoying your morning brew before long.
