
If your dishwasher hums but no water enters the tub, the most likely cause is a faulty inlet valve that can’t open to let water flow. You can often fix this by cleaning the screen or resetting the water supply, though a broken solenoid coil will require a replacement part. This simple issue often happens when debris blocks the intake or the valve fails to receive a signal from the control board.
Reasons your dishwasher hums without water

When you hear a humming sound, the machine is trying to pull water but the path is blocked. The humming usually comes from the inlet valve’s solenoid, which is a small electrical coil that opens the valve when energized. If the valve is stuck or the screen is clogged, the inlet valve solenoid hums because it’s energized but unable to open the valve.
A common reason for this is a buildup of mineral deposits or sediment in the supply line. If you live in an area with hard water, these minerals collect inside the tiny mesh screen of the inlet valve over time.
Once the screen is fully blocked, no water can pass through, even if the electrical part of the valve is working perfectly. Check the screen by disconnecting the supply hose; if you see white, chalky buildup, soak the valve intake in white vinegar for thirty minutes to dissolve the obstruction.
Another cause is a faulty float switch. The float sits inside the tub and tells the machine when it’s full. If the float is stuck in the “up” position due to food debris or grease, the dishwasher thinks it’s already full of water. It will skip the fill step entirely, resulting in that tell-tale humming as the unit tries to start a cycle without the necessary liquid.
If the float doesn’t click when you lift it manually, clear the debris from the base of the switch assembly. Ignoring this resistance often burns out the solenoid coil, turning a simple cleaning task into a costly repair.
Clear the inlet valve screen
If your machine has no water flow, you should first check the inlet valve screen for blockages. Start by turning off the power at the circuit breaker and shutting off the water supply valve under your sink. You’ll need to disconnect the water supply line from the back of the dishwasher to reach the inlet valve assembly.
Once the hose is off, look into the valve opening to find the small mesh screen. Use a pair of needle-nose pliers to gently pull the screen out if it’s removable, or use a soft brush to scrub away any visible debris. Rinse it under a faucet to remove fine particles and ensure the mesh is clear. Reconnect the hose, turn the water back on, and check for leaks before restoring power.
If cleaning doesn’t restore flow, consult your dishwasher’s user manual or the manufacturer’s website for authorized service information.
Inspect the float switch
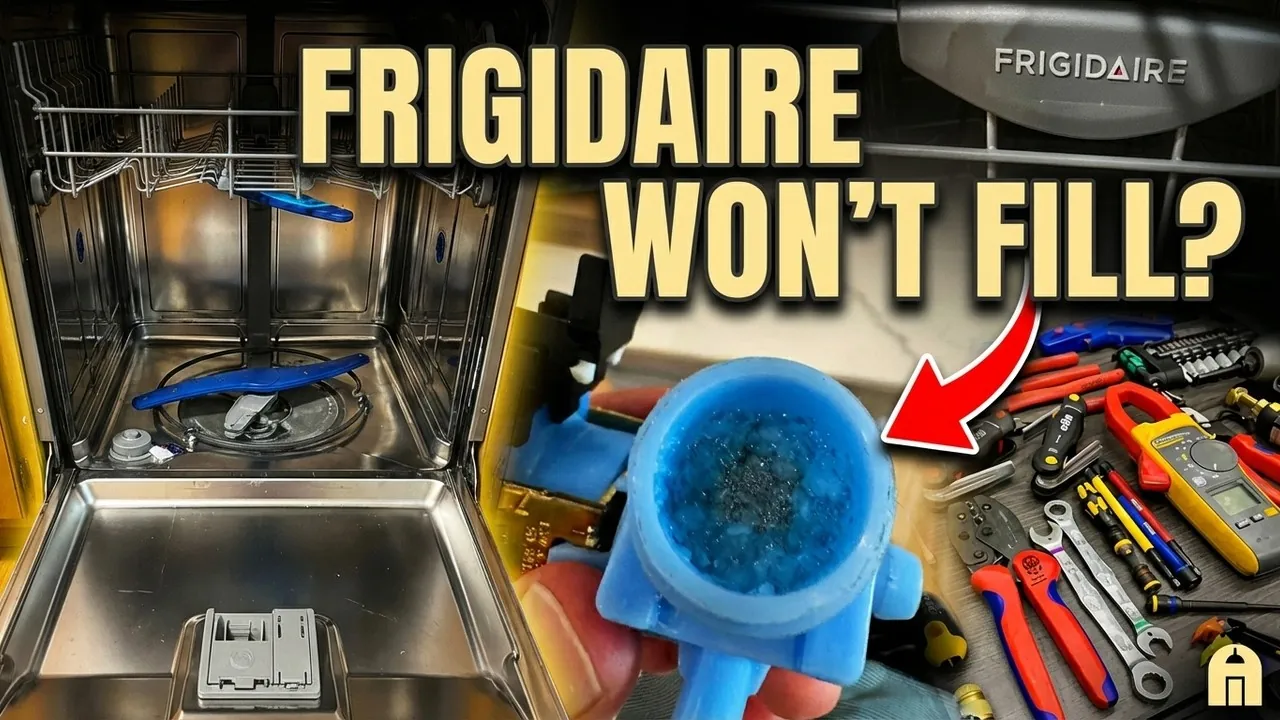
The float switch is a safety device that prevents the tub from overflowing. If it gets stuck, it signals the control board to stop the water intake process immediately. Look for a plastic cylinder or tower inside the bottom of your dishwasher tub. You should be able to lift it up and down with your fingers to ensure it moves freely without resistance.
If the float feels stuck or gritty, clean the area around the base with hot water and a mild detergent to dissolve any dried food or soap scum. Sometimes, a small piece of plastic or a seed can get wedged underneath the float. Once you clear the obstruction, the switch should click when you lift it, indicating it’s working. If it doesn’t click after cleaning, the switch may be broken and requires a replacement.
This fix is ideal if you notice the float is physically held down or stuck by debris. If the float moves freely but the machine still fails to fill, the problem is likely deeper within the electrical system or the valve itself. Always ensure the dishwasher is unplugged before you reach inside to inspect the components to avoid any risk of accidental activation.
Replace the faulty inlet valve
If you have cleaned the screen and confirmed the float is working, the inlet valve solenoid may have burned out. Replacing this part is necessary when the coil no longer opens the valve despite receiving power. You can test this by using a multimeter set to ohms; if the reading is “OL” or infinite, the solenoid coil is broken and the valve must be replaced.
To begin, shut off the water supply at the shut-off valve under the sink. Unplug the dishwasher from the power outlet to avoid any risk of electrical shock. Remove the lower kickplate to access the valve assembly. Take a high-resolution photo of the wire connections before you remove them so you can reattach them in the exact same spots.
Use a wrench to disconnect the water supply line from the valve. Place a small towel underneath the connection to catch the residual water that will inevitably spill. When installing the new valve, tighten the water line connection until it’s snug, then add one additional quarter-turn. Don’t overtighten, as this can crack the plastic housing of the new valve.
If you find that the mounting bracket is rusted or the threads on the water line are stripped, don’t force the connection. A cross-threaded fitting will cause a slow leak that can rot your subfloor over several months. If you can’t get the connection to seat perfectly using a wrench, call a professional. A bad seal costs far more in water damage repairs than the price of a service call.
Common mistakes to avoid
Forcing the float switch with heavy tools like screwdrivers often leads to hairline fractures in the plastic housing. Once that seal is compromised, moisture seeps into the switch assembly, causing intermittent failures that are nearly impossible to diagnose. Use only your fingers to test the vertical travel of the float.
Many homeowners assume the machine is dead before checking the shut-off valve under the sink. If you recently bumped the cabinet or cleaned underneath, check that the valve is fully open. A partially closed valve restricts flow, leading to low-water error codes that mimic a faulty pump.
Never bypass safety interlocks or test solenoid voltage while the dishwasher remains plugged in. A single slip of a multimeter probe against the chassis can fry the control board, turning an inexpensive repair into a total unit replacement.
Avoid pouring drain cleaners or heavy degreasers into the intake screen. These caustic agents harden the rubber gaskets, causing internal leaks that eventually ruin the floor.
Prevent future water intake issues
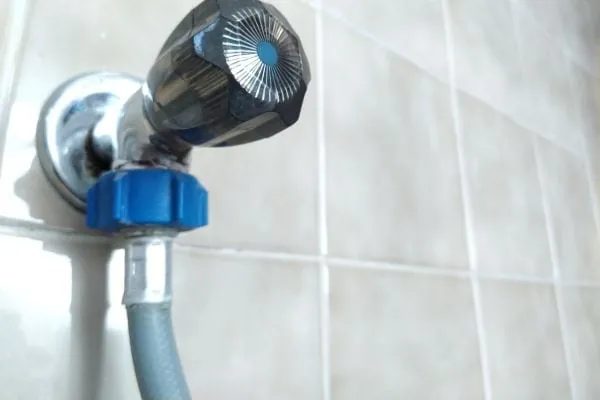
You can keep your machine running longer by managing how you load dishes and maintain the interior. The following table shows how to adjust your habits to prevent common blockages and valve failures.
| If you’re doing this | Do this instead | Why |
|---|---|---|
| Leaving large food scraps | Scrape plates thoroughly | Food debris clogs the intake float |
| Using too much detergent | Use the manufacturer’s amount | Excess soap creates gummy residue |
| Never cleaning the filter | Clean the filter monthly | Dirty water carries grit to the valve |
| Ignoring hard water buildup | Use a dishwasher salt or rinse aid | Minerals block the mesh screen |
Most owners mistake a slow fill for a failing pump. If your cycle takes longer than two hours to complete, check the inlet screen before calling a technician. This small mesh filter often traps sediment that restricts water flow. You can usually clear it with a soft toothbrush and white vinegar.
If you live in an area with hard water, perform this check every six months. Neglecting this simple step forces the valve to work harder, eventually burning out the solenoid coil. If you hear a persistent buzzing sound when the machine attempts to fill, stop the cycle immediately. This noise signals that the valve is struggling against a blockage, and continuing to run it will lead to a total mechanical failure.
Frequently asked questions
How long does an inlet valve usually last?
An inlet valve typically lasts between 7 and 10 years. This lifespan depends heavily on the mineral content of your local water supply. If you have very hard water, you may need to clean the inlet screen more frequently to prevent premature failure.
Is it safe to run the dishwasher if it hums?
No, you shouldn’t continue to run the dishwasher if it hums without filling. The humming indicates that the solenoid coil is energized but failing, which can cause the coil to overheat. Turn off the machine and cut the power at the breaker to prevent damage.
Can I fix a clogged valve with vinegar?
Yes, you can sometimes clear minor mineral deposits by soaking the inlet valve screen in white vinegar for 30 minutes. This process dissolves calcium buildup on the screen. If the blockage is deep inside the valve body, however, you’ll likely need to replace the entire assembly.
Why does the hum stop after a minute?
The humming stops because the dishwasher control board senses that no water is entering the tub and shuts off the fill cycle to prevent the motor from burning out. This is a built-in safety feature designed to protect the pump and heating element from running dry. If your machine stops humming after a minute but the tub is still empty, it confirms that the water supply isn’t reaching the internal components.
What happens if I ignore the humming?
Ignoring the humming sound can lead to the solenoid coil burning out or the pump motor overheating. Running the cycle without water can cause the heating element to overheat or the pump to run dry, which may cause damage. This turns a simple, inexpensive valve repair into a much more costly issue that may require replacing the main pump motor or the entire dishwasher unit.
Conclusion
If you’ve checked these components and the machine still stays dry, it’s time to call a professional for a deeper look. They’ll quickly spot if the control board isn’t sending the right signal. Don’t worry—you’ve already done your part, and you’ll be back to clean dishes in no time.
