
If your garage door opener has started beeping or suddenly stopped responding during a power outage, it’s likely time to perform a routine maintenance task. When you need to change liftmaster battery units, you’re usually looking at a simple process that takes less than ten minutes. Replacement batteries typically cost between $15 and $45 depending on the specific model and whether you purchase them from local hardware stores or directly from the manufacturer. Ensuring your backup power supply is functional is a critical step in home security and accessibility.
Key Takeaways
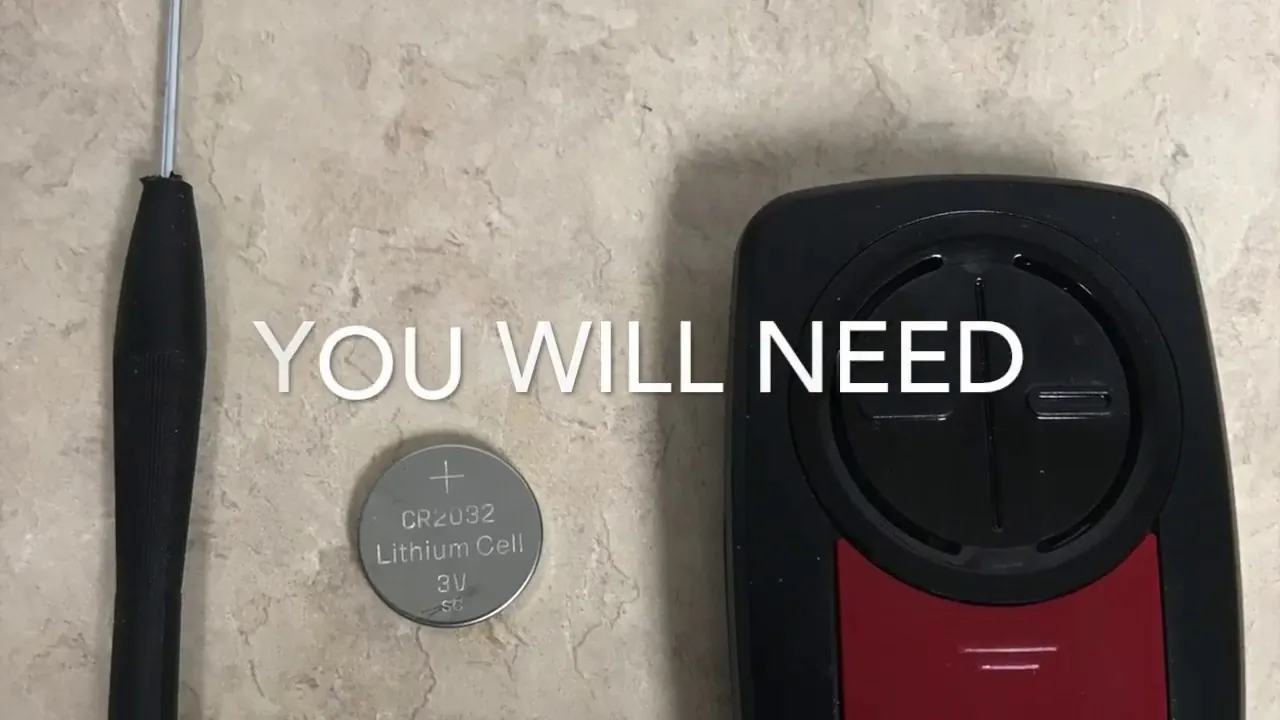
- Most LiftMaster openers use a 12V sealed lead-acid battery.
- The beeping sound is the primary indicator that the battery is failing.
- Battery replacement doesn’t require resetting your remote controls or codes.
- Always disconnect the opener from the main power source before starting.
- Proper disposal of old lead-acid batteries is required at recycling centers.
How to Identify Your Battery Model
Before you begin, you must identify the correct replacement unit. Most modern LiftMaster openers use a standard 12V 5Ah or 7Ah sealed lead-acid battery. You can find the specific model number on the side of the existing battery currently housed inside your motor unit. If the label is worn or unreadable, check the owner’s manual for your specific opener model. Using the LiftMaster product support lookup tool will provide the exact specifications required for your device.
Safety note: Never attempt to use a battery with a different voltage rating, as this can damage the internal circuit board of your garage door opener. Stick to the manufacturer’s recommended original equipment manufacturer (OEM) specifications to ensure safety and longevity.
Tools Required for the Task
You don’t need a professional toolbox to complete this job. In almost every case, the only tools you’ll need are a standard Phillips-head screwdriver and a small flat-head screwdriver. Some models feature a tool-less design where you can simply slide the battery cover off by hand, but having a screwdriver nearby is helpful for stubborn clips.
| Tool Name | Purpose | Necessity |
|---|---|---|
| Phillips Screwdriver | Removing the outer motor cover | High |
| Flat-head Screwdriver | Prying open battery compartment tabs | Medium |
| Work Gloves | Protecting hands from battery terminals | Low |
| Flashlight | Illuminating the dark motor housing | Medium |
Preparing the Opener for Maintenance
Before you touch any wires, safety must be your priority. First, unplug the garage door opener from the ceiling outlet. If your unit is hardwired, locate the circuit breaker in your home’s main panel and turn off the power to the garage. This prevents any risk of electrical shock while you’re handling the internal components.
Pro Tip: Clear any items from the area directly beneath the garage door opener so you have a stable surface for your ladder and plenty of room to maneuver.
Step-by-Step Battery Replacement Process
Once the power is disconnected, look for the battery compartment cover on the side or the back of the motor unit. You may need to remove a single screw holding the plastic cover in place. Once the cover is off, you’ll see the battery connected by two wires, usually red and black.
- Slide the battery out gently to expose the terminals.
- Disconnect the wires by pulling the spade connectors off the battery tabs.
- Note which wire goes to which terminal; the red wire attaches to the positive (+) terminal, and the black wire attaches to the negative (-) terminal.
- Remove the old battery and place the new one into the compartment.
- Reconnect the wires, ensuring the red wire is on the positive side and the black wire is on the negative side.
- Replace the battery cover and secure it with the screw.
Why Is My Opener Still Beeping?
If you have installed a fresh battery and the unit continues to beep, the system may need a moment to recognize the new power source. Sometimes, the battery needs to charge for up to 24 hours before the low-battery warning light or chime stops completely. If the beeping persists after a full day of charging, check that the wire connections are tight and fully seated on the terminals.
If the issue continues, the problem might not be the battery itself but the internal charging circuit. If the charging board is faulty, it won’t be able to maintain the battery, resulting in persistent error codes or beeping alerts even with a brand new power unit.
Where to Buy Replacement Batteries
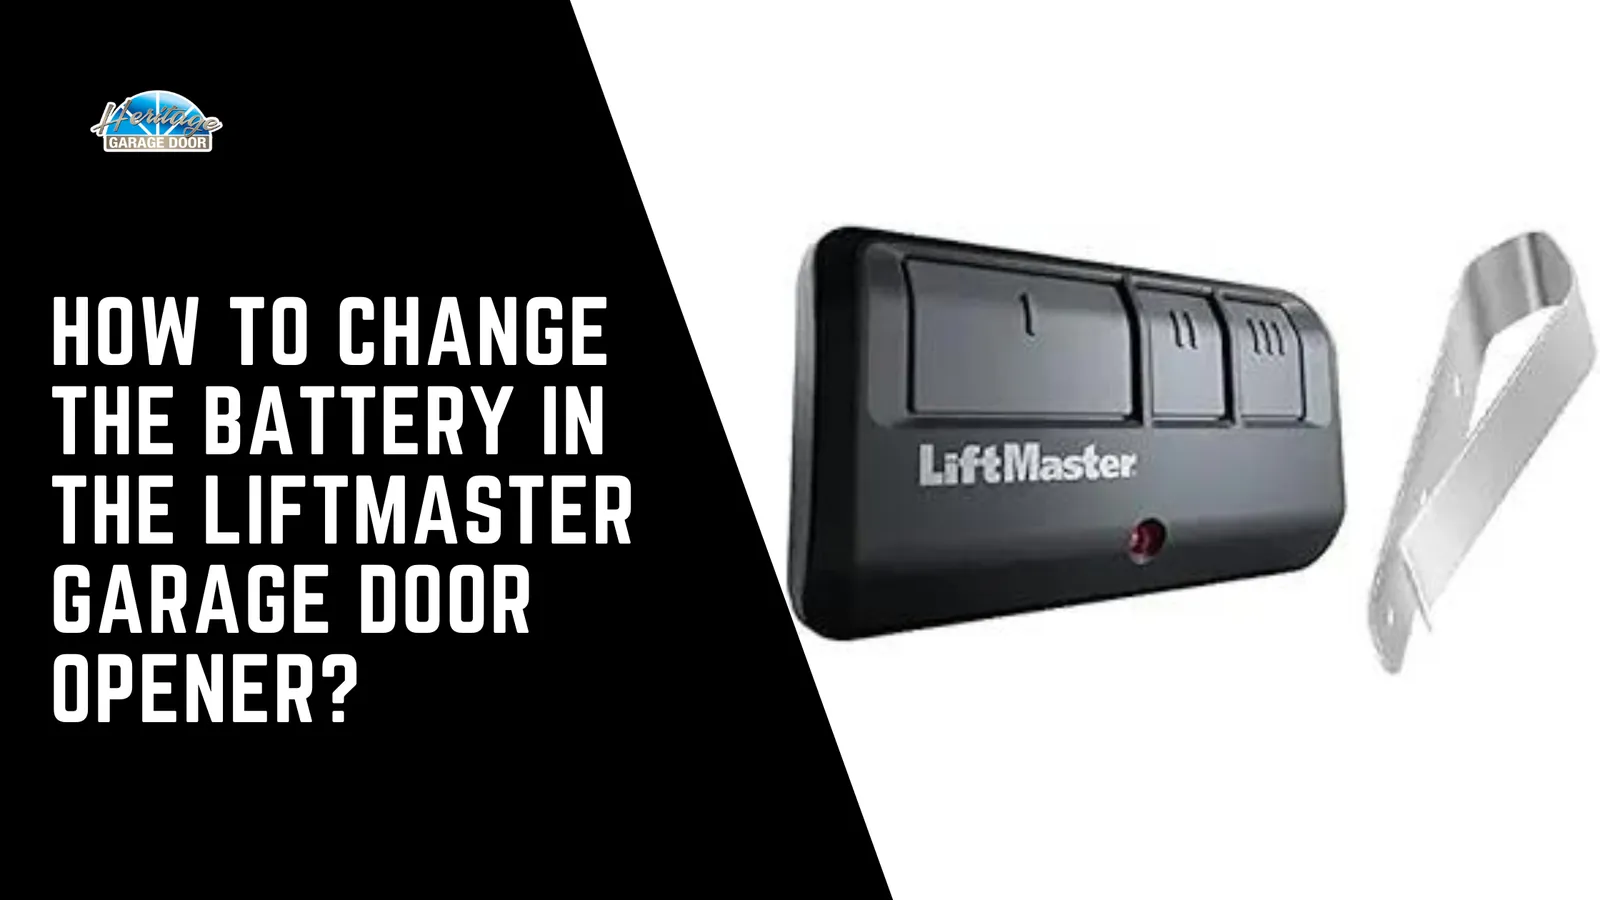
You have several options when purchasing a replacement. It’s generally best to buy from reputable retailers to ensure you’re getting a fresh battery that hasn’t been sitting on a shelf for years.
- Home Improvement Stores: Such as Home Depot or Lowe’s, which often carry compatible universal batteries.
- Manufacturer Websites: The most reliable source for genuine parts.
- Authorized Dealers: Local garage door repair companies often keep common battery sizes in stock.
- Electronics Retailers: Stores like Batteries Plus often have exact matches for specialized lead-acid cells.
Environmental Disposal of Old Batteries
You should never throw lead-acid batteries into your regular household trash. These batteries contain hazardous materials that can leak into the environment. Many local hardware stores have designated drop-off bins for old batteries. You can also search for your local hazardous waste facility to ensure the unit is recycled according to environmental regulations.
Troubleshooting Common Battery Issues
If you find that your garage door opener isn’t performing as expected, use this table to diagnose the potential source of the trouble.
| Symptom | Probable Cause | Recommended Action |
|---|---|---|
| Beeping sound persists | Battery needs charging | Wait 24 hours |
| Door moves very slowly | Battery is nearly dead | Replace battery immediately |
| Opener dead during outage | Battery is disconnected | Check terminal wires |
| Battery leaking fluid | Physical damage | Replace and handle with gloves |
Warning: If you notice any signs of physical damage, such as a bulging battery casing, cracks, or leaking fluid, handle the unit with extreme care. Wear protective gloves and dispose of the damaged unit at a certified recycling center immediately.
When Should You Call a Professional?
While changing a battery is a straightforward DIY task, some situations warrant a professional technician. If you notice frayed wiring, burnt smells coming from the motor housing, or if the garage door opener fails to operate even when plugged directly into the wall power, the issue is likely more complex than just a simple battery replacement. Attempting to repair the circuit board or internal gears without training can lead to further damage or safety hazards.
Maintaining Your Battery Health
To extend the lifespan of your backup battery, keep your garage environment as climate-controlled as possible. Extreme temperature fluctuations can degrade the chemical composition of lead-acid batteries, leading to premature failure. If your garage is uninsulated, you may find that you need to replace your battery more frequently than the manufacturer’s typical three-year estimate.
- Inspect terminals every six months for corrosion.
- Clean connections with a dry cloth if you notice white dust.
- Test the backup by unplugging the unit once a year.
Understanding the Backup Power System
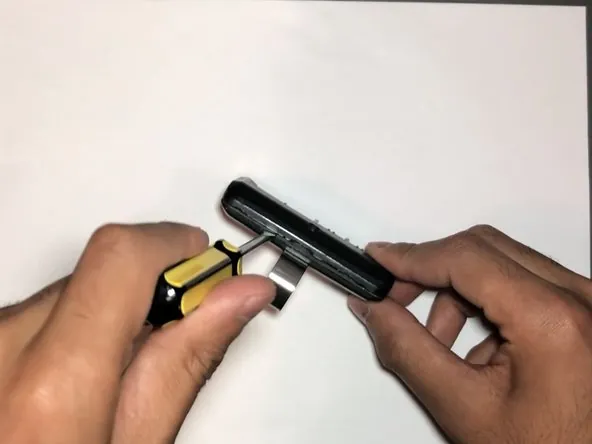
The battery backup system is designed to provide power for the garage door opener, the safety sensors, and the remote controls during a power failure. It isn’t intended for regular, daily use. If you find yourself relying on the battery frequently, it will drain much faster than expected. Always remember that the battery is a safety feature meant for emergency access during power outages.
Related guides
- How a Primary Battery Works and When to Use One: A Guide
- What Is Battery Electrolyte and How Does It Work Explained
- LiftMaster vs Chamberlain: Which Garage Door Opener Is Best
Frequently Asked Questions
How long does a LiftMaster battery last?
Under normal conditions, a LiftMaster backup battery typically lasts between three and five years. Factors such as the number of times the door is operated during power outages and the ambient temperature of the garage will influence its actual lifespan. When the battery reaches the end of its cycle, the opener will typically alert you with a specific beeping pattern or an LED indicator light.
Can I operate the door without a battery?
Yes, your garage door opener will function perfectly fine when connected to your home’s main electrical supply, even if the backup battery is dead or removed. The battery is strictly a secondary power source designed to provide functionality during utility power outages. However, if the battery is leaking or damaged, you should remove it promptly to prevent corrosion of the internal components.
Does changing the battery erase my settings?
No, replacing the battery won’t erase your remote control programming, keypad codes, or Wi-Fi settings. These settings are stored in the opener’s non-volatile memory, which doesn’t require constant power to maintain its data. You can safely swap the battery without worrying about having to re-pair your devices or re-configure your garage door opener settings after the process is complete.
Why is my new battery not working?
If you have installed a new battery and the opener still doesn’t work during an outage, first ensure the spade connectors are pushed firmly onto the terminals. If the connections are secure, check that the battery wasn’t stored in a discharged state for too long. Sometimes a new battery requires an initial charge cycle from the opener’s internal system to reach full capacity.
Is the battery covered under warranty?
Most LiftMaster battery backups are considered consumable items and are often covered by a limited warranty that’s shorter than the warranty for the opener motor itself. Check your original purchase documentation or the manufacturer’s website to see the specific coverage period for your model. If the battery fails within the first few months of ownership, contact the manufacturer to inquire about a replacement.
Conclusion
Once you have successfully installed your new battery, reconnect the power supply and test the system by unplugging the opener from the wall. Press your remote control to ensure the door operates smoothly using only the backup power.
If everything works as expected, your garage remains secure and ready for the next power outage. For continued peace of mind, make a note of the installation date on a piece of tape and stick it to the battery cover so you know exactly when it will be time for the next replacement.
