
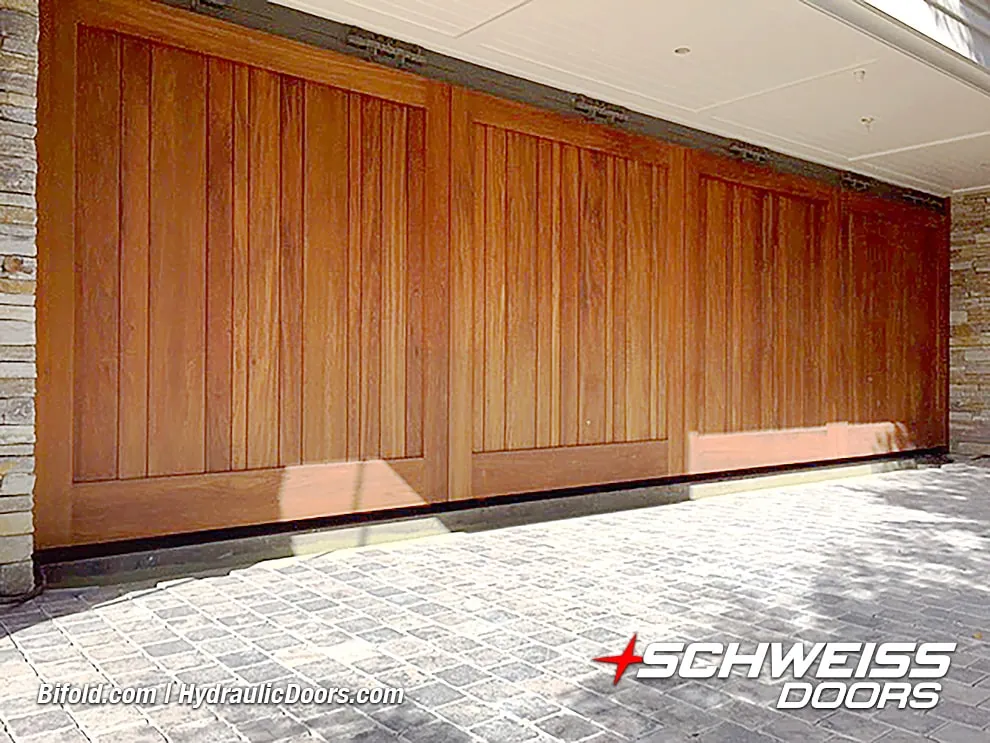
Updating your home’s exterior often begins with the most prominent feature of the facade, and choosing to install garage door cladding is a highly effective way to modernize a weathered door without the expense of a full replacement. Depending on the scale of your project, the materials selected, and whether you hire a professional or perform a DIY installation, you can expect to spend between $450 and $2,800. This range covers everything from basic vinyl wraps to high-end cedar tongue-and-groove siding kits designed to mimic the appearance of carriage-house doors. By overlaying a new surface onto your existing door, you improve curb appeal while adding a layer of insulation and protection against the elements.
Key Takeaways
- Cladding adds weight to the door; always verify that your garage door springs can handle the additional load before starting.
- Wood, composite, and vinyl are the primary material choices, each requiring different levels of maintenance and providing distinct aesthetics.
- Proper adhesive selection is critical to ensuring the cladding remains attached despite constant vibration and temperature fluctuations.
- A clean, dry, and structurally sound surface is mandatory to prevent moisture entrapment and long-term rot.
- Consulting the International Door Association guidelines regarding door balance will help you avoid mechanical failures after installation.
Why Consider Garage Door Cladding?
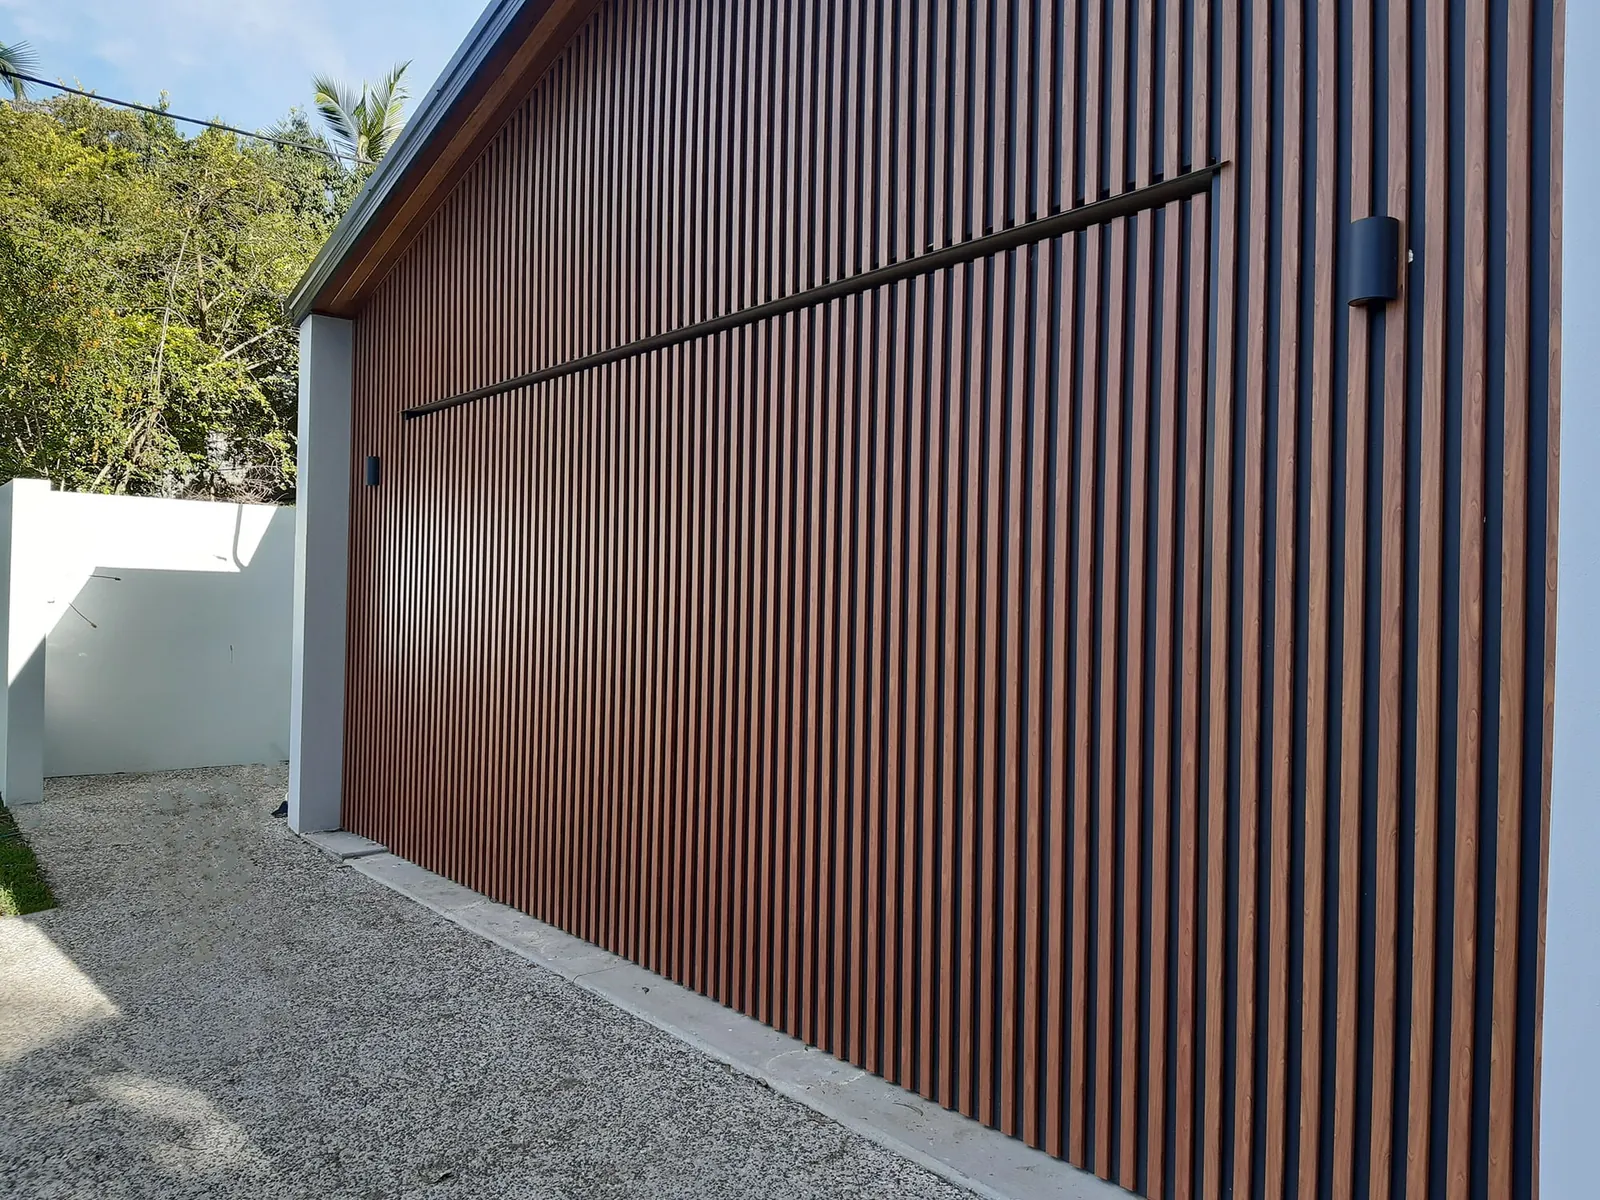
Homeowners often opt for this solution when their current door is structurally sound but aesthetically outdated. Rather than discarding a functional door, cladding provides a cosmetic upgrade that can match your siding, trim, or front door. This process, often referred to as facade enhancement, allows for creative customization. You can choose from various patterns, such as vertical boards, horizontal planks, or decorative cross-buck designs that mimic expensive wooden doors.
Beyond the visual impact, cladding offers a functional benefit by increasing the thickness of the door. This added depth often improves the thermal resistance of the garage, keeping the space slightly warmer in the winter and cooler during summer months. It also acts as a sacrificial layer; if the door sustains a minor scratch or dent, you can repair or replace the cladding rather than the entire door panel.
Common Materials for Cladding
The material you choose dictates the longevity and maintenance requirements of your project. Each option comes with specific installation challenges that you must consider before purchasing your supplies.
| Material Type | Maintenance Level | Estimated Lifespan | Aesthetic Style |
|---|---|---|---|
| Cedar Wood | High | 10–15 Years | Rustic/Classic |
| Composite | Low | 20–30 Years | Modern/Versatile |
| Vinyl/PVC | Minimal | 15–20 Years | Clean/Uniform |
| Metal Sheets | Very Low | 25+ Years | Industrial/Modern |
Cedar and Natural Woods
Cedar is the gold standard for those seeking a high-end, natural look. It’s naturally resistant to rot and insects, though it requires periodic staining or sealing to prevent graying. When using wood, you must ensure it’s properly kiln-dried to prevent warping once it’s exposed to the exterior climate.
Composite and Synthetic Options
Composite materials are engineered to look like wood but resist moisture and decay. These are ideal for regions with high humidity or frequent rainfall. Because they’re manufactured, they offer consistent sizing and easier installation. Many kits come pre-finished, saving you time on painting or staining.
Vinyl and PVC Solutions
For those on a budget, vinyl or PVC panels provide a clean appearance. These materials are lightweight, which is a major advantage when considering the strain on your torsion springs. They’re available in various colors and textures, though they lack the depth and character of real wood or high-quality composites.
How Much Does It Cost?
The price of your project depends heavily on the square footage of the door and the complexity of the design. A standard double-car garage door will obviously require double the materials of a single-car bay.
- DIY Material Kits: $450 – $1,200
- Professional Installation: $1,500 – $2,800
- Custom Design/Hardware: $2,000 – $3,500
Pro Tip: Always purchase 10% more material than your initial measurements suggest to account for cuts, mistakes, and future repairs where matching the dye lot or wood grain is necessary.
Assessing Your Door’s Weight Capacity
Before you attach anything to your garage door, you must understand the limitations of your hardware. Most garage doors are factory-balanced to within a few pounds. Adding heavy wood cladding can throw off this balance, causing the garage door opener to struggle or fail prematurely.
If your door feels heavy or slams shut, the springs are already failing. Adding more weight will accelerate this process. If you decide to add significant weight—anything over 50 pounds total—you should have a professional technician replace your springs with higher-capacity versions. Ignoring this step can lead to a snapped cable or a burnt-out motor, which are significantly more expensive to fix than the cladding project itself.
Preparation and Surface Cleaning
A successful bond between your door and the cladding starts with a pristine surface. If your door is painted, use a degreaser to remove any oils or road grime that might prevent adhesives from sticking. If the paint is peeling, sand it down until the surface is smooth.
- Remove all existing hardware, including handles and hinges.
- Clean the surface with a mild detergent and water solution.
- Allow the door to dry for at least 24 hours in direct sunlight.
- Apply a high-quality exterior primer if the door is made of metal or raw wood.
- Check for any loose panels or hinges and tighten all fasteners before proceeding.
Essential Tools for Installation
Having the right tools will make the process much smoother and significantly more accurate. You don’t need professional-grade machinery, but quality hand tools are essential.
- Miter Saw: For precise cuts on wood or composite trim.
- Power Drill: For pre-drilling holes to prevent material splitting.
- Caulk Gun: For applying industrial-grade construction adhesive.
- Level and Square: To ensure your patterns remain straight.
- Clamps: To hold pieces in place while the adhesive sets.
- Safety Gear: Including goggles and work gloves.
Step-by-Step Installation Process
Installing cladding is a methodical task that requires patience. Don’t rush the curing time of your adhesive, as this is the primary point of failure for many DIY projects.
Measuring and Planning
Start by measuring your door panels. Many doors have recessed areas; decide whether you want to fill these to create a flat surface or build up the frame to create a raised-panel look. Sketch your design on paper first to visualize the spacing.
Cutting the Material
Measure twice and cut once. If you’re using wood, ensure your cuts are clean. If you’re using composite, verify the manufacturer’s recommendations for blade types, as some materials can melt or chip if the wrong blade is used.
Bonding to the Door
Apply a high-strength exterior-grade adhesive in a zigzag pattern on the back of each piece. Press the piece firmly onto the door, ensuring it’s level. Use clamps or heavy tape to hold the material in place until the adhesive is fully cured, which can take anywhere from 12 to 24 hours depending on the temperature.
Warning: Never use mechanical fasteners like screws or nails that penetrate all the way through the door panel, as this can damage the internal structure or interfere with the door’s operation.
Troubleshooting Common Issues
Even with careful planning, issues can arise. Understanding how to address them quickly will save your project.
- Adhesive Failure: If a piece comes loose, clean the old adhesive off both surfaces with a scraper, then re-apply a fresh layer.
- Uneven Gaps: If your cuts are slightly off, use paintable exterior caulk to fill minor gaps. This gives a finished look and keeps moisture out.
- Door Sagging: If the door begins to sag after installation, the cladding is likely too heavy. You may need to remove some material or upgrade your springs immediately.
- Panel Warping: This is common with low-quality wood. Ensure you use weather-treated materials and seal all edges, including the ends of the boards, to prevent moisture absorption.
Maintaining Your New Exterior
Once installed, your cladding requires routine care to maintain its appearance. Wash the surface annually with a soft brush and mild soap. Inspect the edges for any signs of lifting or moisture penetration. If you used wood, plan to re-stain or re-paint every three to five years to combat the effects of UV rays. Composite and vinyl may only need a simple rinse to keep them looking brand new for years.
Frequently Asked Questions
Can I install cladding on any garage door?
Most steel or wood doors are suitable for cladding. However, you should avoid installing heavy materials on older, hollow-core doors that lack internal structural integrity. Always test the door’s balance before and after adding materials. If the door can’t stay open halfway on its own, it’s likely too heavy for your current spring setup and requires professional adjustment.
Will cladding void my garage door warranty?
In many cases, yes. Most manufacturers explicitly state that adding weight or drilling into panels voids the warranty. Before beginning, check your original door’s documentation. If your door is still under warranty, it’s often better to wait until the warranty expires before making any permanent cosmetic modifications to the door panels.
How do I ensure the door remains balanced?
The door must be able to move smoothly through its full range of motion. If you notice the door is harder to lift or closes too quickly, the added weight is affecting the counterbalance. You can test this by disconnecting the opener and lifting the door manually. If it feels heavy or doesn’t stay in place, contact a garage door professional to adjust the torsion springs.
Does cladding affect the garage door insulation?
Yes, it generally improves it. By adding a layer of wood or composite, you effectively increase the thickness of the door, which provides a minor boost to the R-value. While it isn’t as efficient as a professionally installed insulated core, it does help reduce heat transfer, especially if you use high-quality materials like cedar or foam-backed composite boards.
What is the best adhesive for this project?
For most exterior applications, a high-modulus polyurethane construction adhesive is recommended. These products are designed to withstand vibration and extreme temperature swings without becoming brittle or losing their bond. Always look for products labeled for exterior use and verify they’re compatible with both the material of your cladding and the material of your door, such as steel or wood.
Conclusion
Updating your curb appeal through a well-executed cladding project is a rewarding way to transform your home’s appearance without a full renovation. Once you have selected your materials and verified your door’s weight capacity, clear your schedule for a weekend of careful installation. Start by measuring your panels today to determine exactly how much material you need to purchase.
