
Yes, you can make yogurt in the oven by maintaining a consistent temperature between 105°F and 115°F for several hours. This method works because it provides the stable, warm environment that bacterial cultures need to ferment milk into yogurt.
You’ll need to account for your oven’s specific behavior, as some models turn off automatically after a few hours or lack a low-heat setting. The success of this process depends on your ability to monitor the internal temperature and the accuracy of your oven’s lowest setting.
What you need to make yogurt
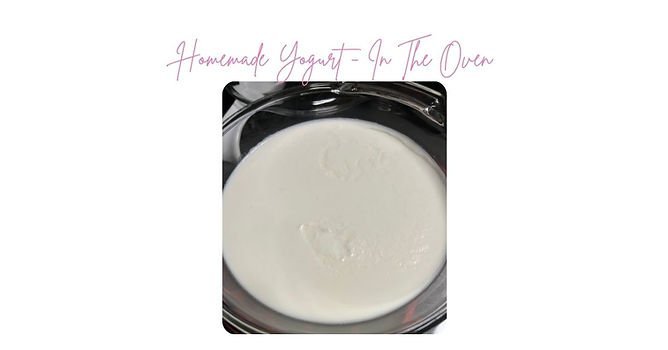
Home cooks who want to produce large batches of yogurt without buying specialized kitchen gadgets are the primary audience for this guide. You likely have a large pot, a reliable digital thermometer, and an oven that can hold a steady low temperature. This page serves readers who already know the basics of dairy fermentation and need a reliable way to control heat without a dedicated yogurt maker.
If you’re looking for a completely “set it and forget it” experience, this method isn’t for you. This approach requires manual monitoring because most standard residential ovens don’t have a “yogurt” setting. You must be prepared to check the temperature periodically to ensure the milk stays in the ideal range.
The assumption throughout this guide is that you have a digital probe thermometer. Without one, you can’t accurately gauge the temperature of the milk or the oven air, which leads to either dead cultures or scalded, ruined milk. If your oven lacks a light-only setting or a low-heat setting below 150°F, you should look for an alternative method, such as using a slow cooker or a thermos, rather than attempting to force a high-heat oven to work.
Factors affecting the final batch
The type of milk you choose moves the outcome significantly. Whole milk provides a thicker, creamier texture, while skim milk results in a thinner product. You can find the nutritional and safety requirements for handling dairy on FoodSafety.gov’s cold food storage charts to ensure your ingredients remain safe before you begin the fermentation.
The temperature of your starter culture is the most common mistake people make. If you add your starter to milk that’s too hot, you’ll kill the beneficial bacteria. Always wait until the milk cools to 110°F before whisking in your starter.
The ambient temperature of your kitchen also plays a role. If your kitchen is very cold, the oven will lose heat faster when you open the door to check on the pot. You may need to leave the oven light on to provide a small amount of radiant heat.
The duration of the incubation period determines the final flavor. A shorter time, around 6 hours, produces a milder, sweeter yogurt. A longer time, up to 12 hours, creates a tangier, firmer product.
The container you use matters for heat distribution. Heavy-bottomed stainless steel or glass pots hold heat better than thin aluminum ones. If you use a thin pot, the bottom may get too hot, which can stress the bacteria or create a burnt layer at the base of your yogurt.
Can I make yogurt in the oven? Steps for fermentation
- Heat 1 quart of whole milk in a heavy pot on the stove until it reaches 180°F, stirring constantly to prevent scorching.
- Remove the pot from the heat and let it cool until the temperature drops to 110°F.
- Whisk 2 tablespoons of plain, active-culture yogurt into a small bowl with 1/2 cup of the warm milk, then stir this mixture back into the main pot.
- Preheat your oven to its lowest setting for 5 minutes, then turn it off and leave the oven light on.
- Place the covered pot into the oven on the middle rack.
- Check the temperature of the milk with a digital thermometer every 2 hours; if it drops below 105°F, turn the oven on to the lowest setting for 2 minutes only.
- Allow the mixture to incubate for 8 to 10 hours undisturbed.
- Remove the pot and place it in the refrigerator for at least 6 hours to set completely before serving.
The single judgment call that defines success is the temperature at which you add the starter. If you add the culture when the milk is above 120°F, the heat will kill the bacteria and the milk won’t thicken. If you’re unsure, wait until the thermometer reads exactly 110°F. If you have a modern oven with a convection fan, keep it turned off, as the air movement can create uneven hot spots that dry out the surface of the yogurt.
Variations at a glance
| Situation | Action | Effort | Watch For |
|---|---|---|---|
| Thin consistency | Strain with cheesecloth | High | Whey separation |
| Too sour | Reduce incubation time | Low | Sharp smell |
| Too sweet | Increase incubation time | Low | Liquid texture |
| Burnt bottom | Use double boiler | Medium | Scorched flavor |
| No thickening | Check starter freshness | Medium | Cool milk |
If your yogurt remains thin after straining, check the temperature of your milk before adding the starter. If the milk exceeds 115°F, you’ll kill the beneficial bacteria, resulting in a permanent failure to set. In this case, no amount of straining will fix the texture, and you must discard the batch.
When adjusting incubation time, move in thirty-minute increments. A common mistake is jumping by two hours, which often swings the flavor from perfectly mild to unpleasantly acidic. If the batch smells like vinegar, you have already crossed the threshold and further incubation will only increase the bitterness.
For those using a double boiler, monitor the water level closely. If the water evaporates completely, the milk will scorch within minutes, ruining the entire yield. If you detect a burnt aroma during the heating phase, stop immediately and transfer the milk to a clean pot. Don’t scrape the bottom of the original vessel, as even microscopic burnt particles will permeate the final flavor.
Signs of quality and process control
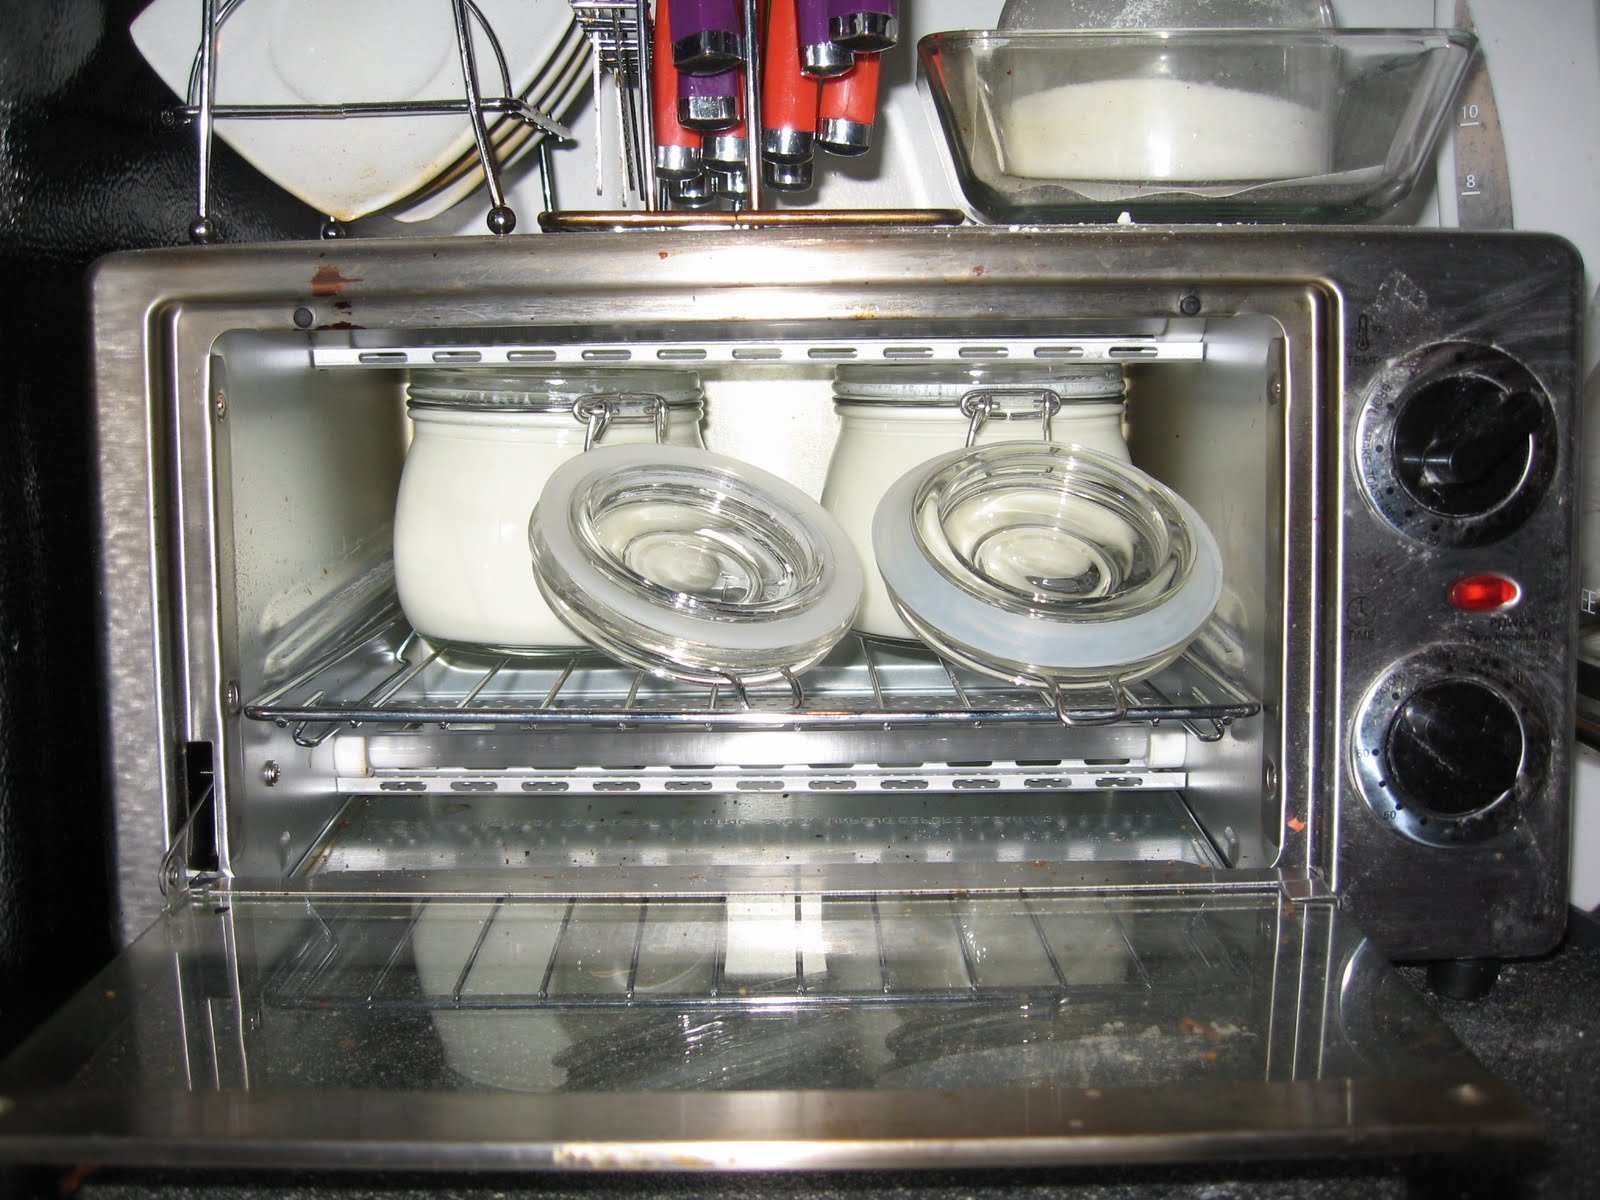
Preparing for success
Experienced makers understand that clean equipment prevents unwanted bacteria from spoiling the batch. Before you start, sanitize your pot, whisk, and thermometer by rinsing them in boiling water. This simple step ensures that the only bacteria in your milk are the ones you added from your starter. Never use soap that leaves a film, as this can interfere with the culture’s growth.
Monitoring the environment
The most successful batches happen when the temperature remains steady. While an oven is a large, insulated box, it isn’t a precision instrument. A common mistake is leaving the oven light on for too long or turning the heat on for too many minutes when the temperature dips. This causes the internal air to spike, which can denature the proteins and prevent the yogurt from forming a smooth, custard-like texture. Always use a secondary thermometer inside the oven to monitor the air temperature separately from the milk temperature.
Troubleshooting common issues
| What you notice | What it usually means | What to do first | How to stop it |
|---|---|---|---|
| Grainy texture | Overheated milk | Strain through cloth | Monitor heat closer |
| Liquid on top | Natural separation | Gently pour off | Chill immediately |
| Bitter flavor | Old starter | Discard and restart | Use fresh culture |
| No thickening | Dead bacteria | Check milk temp | Use thermometer |
| Slimy consistency | Contamination | Discard batch | Sanitize equipment |
If your yogurt remains liquid after twelve hours, the issue is almost always temperature. Bacteria become dormant below 105°F and die above 120°F.
Many beginners make the mistake of adding the starter while the milk is too hot. This kills the culture instantly.
If you see a slimy consistency, don’t attempt to save the batch. This suggests unwanted wild bacteria have colonized the milk. To prevent this, boil your glass jars for five minutes before filling them. If you notice a sharp, metallic tang, your equipment likely retains soap residue. Switch to a fragrance-free, plant-based detergent to ensure your next batch remains pure.
Regulatory standards and safety
When working with dairy, you must adhere to basic food safety principles to prevent the growth of harmful pathogens. The fermentation process relies on “good” bacteria to lower the pH of the milk, which creates an environment where harmful bacteria can’t thrive. However, this only works if your starting environment is clean and your temperatures are accurate.
If you live in a region with specific health department codes for home-produced dairy, check your local government website for guidance. In the United States, the Department of Agriculture provides resources on safe food handling, though they generally advise that home-prepared dairy should be consumed within a short window.
Never attempt to make yogurt from raw, unpasteurized milk unless you’re experienced with the specific safety risks involved. If you’re a beginner, stick to store-bought pasteurized milk to minimize the risk of foodborne illness.
The most common mistake is failing to calibrate your thermometer. A variance of even five degrees can lead to incomplete fermentation, leaving the milk in the “danger zone” where pathogens multiply rapidly. If your yogurt develops mold, an off-putting smell, or a pinkish tint, it isn’t safe to eat. Don’t attempt to scrape off the surface; throw the entire batch away immediately. If the texture remains runny after the cooling period, discard it rather than attempting to reheat or re-inoculate the mixture, as the risk of contamination has already increased.
Real costs of homemade yogurt
The cost of homemade yogurt is primarily the price of the milk, which varies based on your local grocery store’s current rates. A typical quart of whole milk makes nearly one quart of yogurt, meaning your cost is roughly the price of the milk plus a small amount for the starter. You can reduce this cost by saving a few tablespoons of your current batch to use as the starter for your next one.
The real currency here is your time and attention. While the active work takes about 20 minutes, the 8 to 10 hours of incubation require you to be near your home to monitor the oven temperature. If you have a busy schedule, the effort may feel high compared to the cost of buying yogurt at the store. However, for those who prefer specific ingredients or want to avoid additives found in commercial brands, the process offers significant value. Always compare the price of a gallon of milk to the price of four individual tubs of yogurt at your local market to see if the savings justify the effort for your household.
Maintaining the result

Once your yogurt is finished, store it in clean, airtight glass jars in the refrigerator. It will stay fresh for up to two weeks, though the flavor will continue to sharpen the longer it sits. If you notice the yogurt becoming too thin over time, you can strain it through a clean coffee filter or cheesecloth to remove excess whey, which will result in a thicker, Greek-style texture.
The sign that your yogurt needs attention is a change in smell or the appearance of liquid that doesn’t incorporate back into the body when stirred. If the yogurt separates significantly, it’s still safe to eat, but you may want to whisk it vigorously to restore the texture.
Distinguish between harmless whey separation and spoilage by checking for mold or a yeasty, alcoholic odor. If you see pink or orange fuzzy spots, discard the entire batch immediately; these are signs of contamination that can’t be salvaged.
This preserves the bacterial activity far better than keeping it in the fridge for extended periods. This simple habit prevents the common mistake of using weakened starter, which often leads to thin, runny yogurt that fails to set properly.
When to avoid this method
Don’t use the oven method if your oven has a “self-clean” feature that’s currently locked or if the internal thermostat is known to be inaccurate. If you can’t rely on the oven to stay below 120°F, you’ll consistently kill your cultures, leading to a waste of milk. In these cases, use an electric yogurt maker or a slow cooker with a “low” setting that has been verified with a thermometer.
Additionally, if you’re working in a kitchen with high levels of airborne flour or dust, the open environment of an oven can introduce contaminants into your milk. If you can’t ensure a clean, stable area, use a sealed container in a water bath on your countertop instead. Never attempt to troubleshoot a faulty oven heating element yourself; if your oven isn’t maintaining the set temperature, contact a professional appliance technician.
Can I use a glass bowl to make yogurt in the oven?
Yes, a glass bowl is an excellent choice for making yogurt because it holds heat well and is easy to sanitize. Ensure the glass is oven-safe and can withstand the temperature fluctuations, and always place it on a stable rack to prevent it from tipping during the incubation period.
How long does it take for yogurt to set in the oven?
It usually takes between 8 and 10 hours for yogurt to set in the oven at the correct temperature. You should start checking the consistency at the 8-hour mark, as the exact time depends on the freshness of your starter and the specific temperature of your oven environment.
Is it safe to leave the oven on for 10 hours?
Yes, it’s generally safe to leave an oven on for 10 hours, provided it’s in good working order. You should verify that your oven doesn’t have an automatic “auto-off” feature that shuts down after a few hours, as this would stop the fermentation process prematurely and ruin the batch.
Why did my yogurt turn out watery?
Your yogurt likely turned out watery because the incubation temperature was too low or the fermentation time was too short. Ensure your milk stays between 105°F and 115°F, and try extending the incubation time by an extra hour or two to allow the bacteria more time to thicken the mixture.
Does the oven light provide enough heat?
In many cases, the oven light provides just enough heat to maintain the necessary 105°F to 115°F range for fermentation. If your kitchen is particularly cold or your oven is poorly insulated, you may need to supplement the light’s heat with a very short burst of the oven’s heating element.
Can I use store-bought yogurt as a starter?
Yes, you can use store-bought yogurt as a starter, provided the label states it contains “live and active cultures.” Choose a plain, unflavored variety to ensure there are no added sugars or thickeners that could interfere with the natural fermentation process of your homemade batch.
Start by heating a small batch of milk to confirm your oven’s behavior before committing to a larger quantity. If the temperature stays stable, you can expect a creamy result in about 8 hours. If the temperature fluctuates wildly, stop the process and use an alternative heating method to ensure you don’t waste your ingredients.