
Yes, you can cook frozen dough in a pizza oven if you allow it to thaw and proof properly before it hits the high heat. Placing rock-hard, frozen dough directly into a 900°F oven creates a burnt exterior while the center remains raw and frozen. This process changes based on the oven type and dough hydration, so always check the specific instructions on your packaging first.
Who this is for
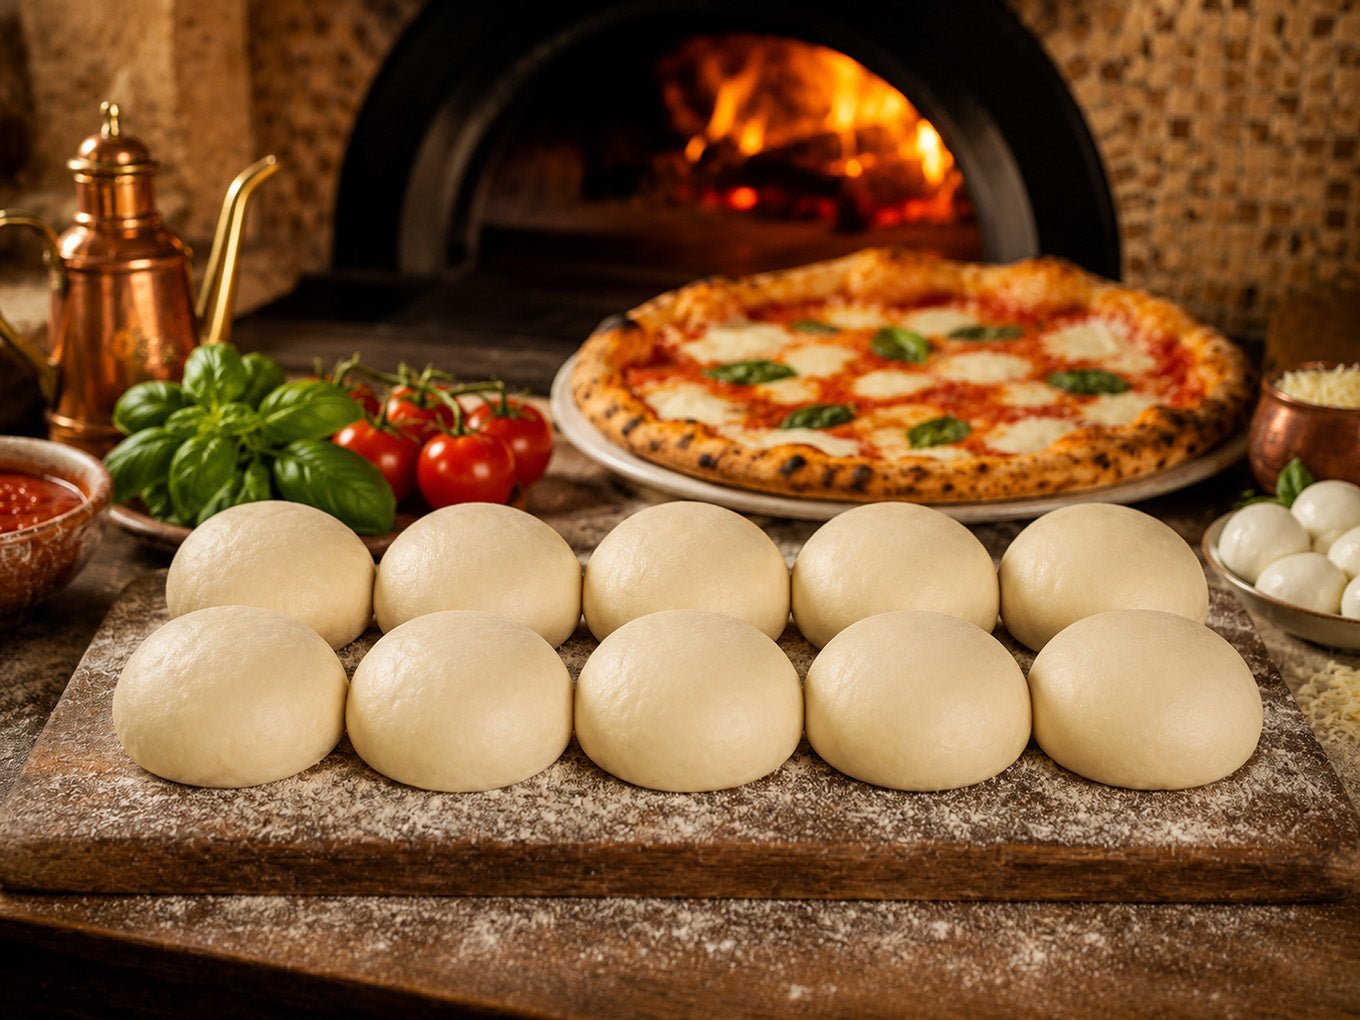
This page serves home cooks who own a high-heat pizza oven, such as a wood-fired or gas-powered portable unit, and want to save time by using store-bought or pre-made frozen dough. These users likely have a peel, a thermometer, and basic knowledge of dough handling but struggle with the timing of frozen products. If you’re a professional baker looking for industrial proofing schedules, this page isn’t for you.
We assume that you’re using a standard, yeast-leavened pizza dough. If you’re using sourdough or high-hydration specialty doughs, the proofing times will differ significantly. This guide is for the person who wants to avoid the “frozen center” mistake. If you have a professional-grade oven with adjustable floor heat, you have more control, but the basic rules of thawing remain identical. We focus on the methods that keep the structure of the crust intact while ensuring the yeast activates correctly. If you don’t have the patience to wait for the dough to reach room temperature, you won’t get the results you want.
Factors affecting your success
Three main things change how your dough performs in a hot oven: moisture content, starting temperature, and oven floor management.
Dough hydration is the most critical factor. Higher hydration doughs often contain more water, which turns to steam quickly in a hot oven. If your dough is too wet, it may stick to the peel or collapse when moved. You can check the hydration level by looking at the ingredients list on the packaging for the flour-to-water ratio.
The starting temperature of the dough is the second factor. If the internal temperature of the dough is below 50°F when it enters the oven, the crust will char before the existing gas bubbles can expand to create the desired air pockets. Always let the dough rest until it feels soft and pliable to the touch.
Oven floor heat is the third factor. Most pizza ovens reach temperatures exceeding 800°F. If the floor is too hot, the bottom of the dough will burn before the top is cooked. Experienced cooks use an infrared thermometer to ensure the stone is between 700°F and 750°F for a balanced bake. If your oven floor is hotter than 800°F, you’ll need to reduce the flame height or move the pizza away from the heat source more often.
Most people make the mistake of rushing the thaw. This costs them a dense, gummy crust that lacks the signature “leopard spotting” of a well-proofed pizza. If your dough is still cold, the yeast activity is significantly slowed, and you won’t get the rise you expect.
Can I cook frozen dough in a pizza oven? Steps for success
- Move the frozen dough from the freezer to the refrigerator 12 to 24 hours before you plan to bake.
- Remove the dough from the refrigerator and place it on a lightly floured surface at room temperature for 2 to 3 hours.
- Check the dough; it should be soft, elastic, and have increased in size by roughly 50% compared to its cold state.
- Shape the dough gently into a disc, being careful not to pop the air bubbles that have formed during proofing.
- Preheat your pizza oven to 750°F on the stone surface; this assumes a standard gas or wood-fired oven.
- Stretch the dough to your desired thickness and add toppings, keeping the center thin to ensure even cooking.
- Slide the pizza onto the stone and bake for 60 to 90 seconds, rotating it every 20 seconds to prevent burning.
- Remove the pizza once the crust is golden brown and the cheese is bubbling; check the safe minimum internal temperatures if you have added meat toppings.
The single judgment call is the “poke test.” If you poke the dough and it springs back immediately, it needs more time; if it leaves a small indentation that slowly fills back in, it’s ready to stretch.
Variations in preparation
The following table outlines how different dough conditions change your workflow and what you should watch for during the process.
| Situation | What to do | What it takes | What to watch for |
|---|---|---|---|
| Quick thaw | Use a warm water bath | 30 minutes | Dough getting too sticky |
| Thin crust | Stretch very thin | 1 minute bake | Burnt edges |
| Thick crust | Lower oven heat | 3 minutes bake | Raw center |
| High humidity | Use extra flour | 5 minutes extra | Sticky dough surface |
| Large batch | Thaw in fridge | 24 hours | Over-proofing |
The most common mistake is failing to adjust for ambient temperature. If your kitchen exceeds 75°F, reduce your bulk fermentation time by 20 percent to avoid over-proofing. You can tell if your dough is ready by the “poke test.” Gently press a floured finger into the surface. If the indentation springs back immediately, the dough needs more time. If it fills back in slowly, it’s ready to shape.
When working with high-hydration doughs, avoid the urge to knead in more flour. Instead, use a bench scraper to fold the dough over itself. This preserves the internal air pockets that create a light, airy crumb. If the dough clings to your hands despite these folds, lightly oil your palms rather than adding more flour. Excess flour creates a dusty, dry crust that prevents proper browning.
If you’re unsure of your dough’s readiness, look for a 50 percent increase in total volume. Anything beyond that risks a collapse during the transfer to your baking surface.
Achieving a consistent crust
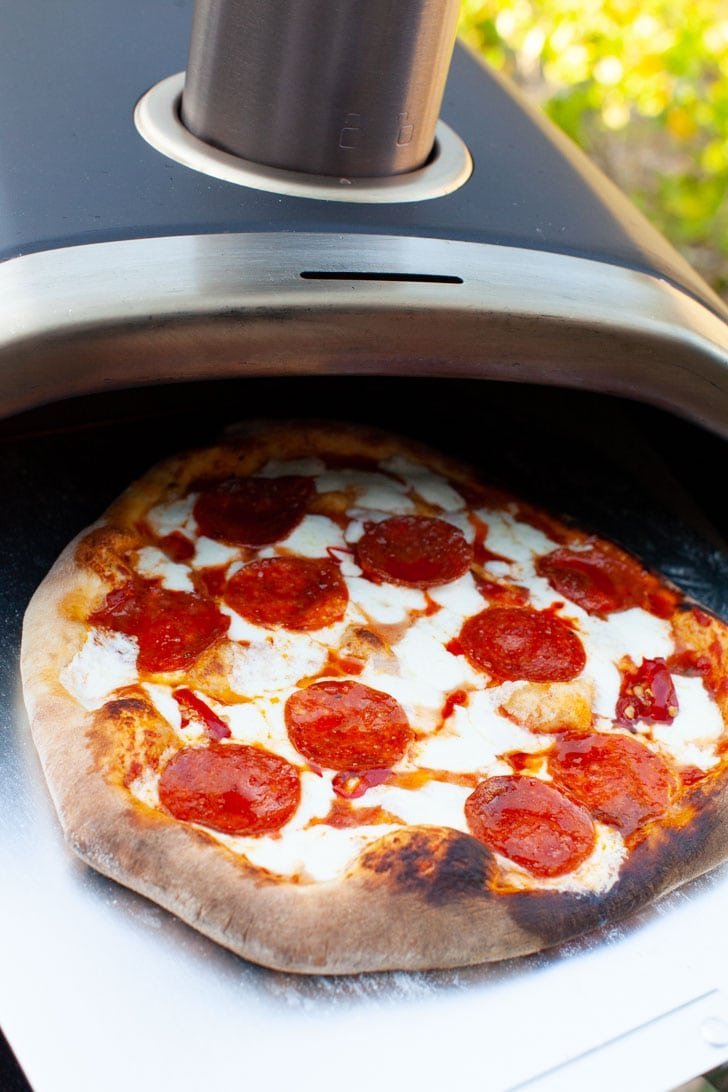
Managing the proofing stage
Proper proofing is the secret to a light, airy crust. When you proof the dough, you allow the yeast to consume the sugars in the flour and release carbon dioxide. If you skip this, the dough will lack the gas necessary for an airy structure and will be difficult to stretch. You can tell the dough is ready when it’s supple and holds a slight indentation when you press it with your finger. If it feels tight or resists stretching, let it rest for another 15 minutes.
Controlling the heat source
Managing the heat in a pizza oven is a skill that takes practice. Most beginners keep the flame at maximum, which is only appropriate for very thin, fast-cooking pizzas. For thicker crusts, you should turn the flame down after the oven has fully preheated. This allows the heat from the stone to cook the bottom while the ambient heat in the dome cooks the toppings. Always monitor the edge of the crust; if it browns in less than 45 seconds, your stone is likely too hot, and you should move the pizza to a cooler spot on the floor.
Troubleshooting common issues
| What you notice | What it usually means | What to do first | How to stop it |
|---|---|---|---|
| Burnt bottom | Stone is too hot | Move to cooler spot | Lower flame earlier |
| Raw center | Dough was too cold | Reduce heat source | Proof longer next time |
| Dough tearing | Gluten is too tight | Let it rest | Use less force |
| Soggy middle | Too many toppings | Use less sauce | Drain ingredients well |
| Pale crust | Oven is too cool | Increase flame | Use thermometer |
If your stone hits 900°F, the bottom will char before the top sets. Use an infrared laser thermometer to verify the surface temperature before launching your first pie. If the stone exceeds this limit, turn off the flame for two minutes to allow the heat to redistribute.
A raw center often results from using dough pulled straight from a 40°F refrigerator. Always temper your dough at room temperature for at least 60 minutes before stretching. If you’re in a rush, you can’t compensate with higher heat, as that only accelerates the exterior burning.
Dough tearing is a sign of insufficient bench rest. If the dough snaps back like a rubber band, it’s too tight. Cover it with a damp cloth and wait 15 minutes. If you force it, you create thin spots that will inevitably leak sauce.
Finally, a soggy middle is rarely about the oven. It’s usually about moisture content. If your fresh mozzarella releases a pool of water, slice it an hour early and pat it dry with paper towels. If the center remains soft, your sauce is likely too thin. Reduce your tomato base until it coats the back of a spoon.
Safety and regulations
When working with frozen dough, you must follow basic food safety standards to prevent contamination. According to the USDA, you should never thaw dough on the counter for more than two hours, as this encourages the growth of bacteria. Always keep your workspace clean and use separate utensils for raw dough and cooked toppings.
The most common mistake is thawing dough in a warm environment to speed up the process. This practice often leads to uneven fermentation and potential pathogen growth in the center of the mass. Instead, move your dough to the refrigerator 12 to 24 hours before use. If you’re in a rush, use a sealed plastic bag submerged in cold water, changing the water every 30 minutes.
If you’re using a commercial oven, check the manufacturer’s manual for specific safety ratings regarding high-heat operation. For home units, ensure the oven is placed on a non-combustible surface and maintain a clear distance from walls. Never attempt to modify the gas lines or electrical components of an oven yourself; a professional technician must handle any repairs to the burner or gas valve. If you notice a gas smell, shut off the supply immediately and contact your utility provider.
The real cost of convenience
Using frozen dough saves you the time of mixing, kneading, and the initial long-term fermentation, which usually takes about 24 hours. However, the cost is in the texture and flavor profile. Store-bought frozen dough often contains stabilizers and preservatives that can affect how the dough behaves under high heat compared to fresh, homemade dough.
While the monetary cost is low—usually a few dollars per ball—the “cost” in effort comes from the careful monitoring required during the thawing and proofing stages. If you try to save time by bypassing the thaw, you’ll likely end up with a ruined pizza that must be discarded, which is the highest cost of all.
A common mistake is rushing the final proof at room temperature. If the center of the dough ball remains icy while the exterior warms, the yeast will ferment at uneven rates, leading to a dense, gummy crust. Always allow for a full four-hour window on the counter. If the dough feels cold to the touch, add another thirty minutes before stretching.
Compare the price of frozen dough at your local grocer to the cost of bulk flour and yeast to see if the convenience is worth it for your budget. A five-pound bag of high-protein flour costs roughly the same as three frozen balls but yields nearly ten pizzas. The time saved is significant, but only if you have the foresight to plan your meal a day in advance. If you lack that buffer, the frozen option is a gamble that often results in wasted ingredients.
Maintaining your equipment
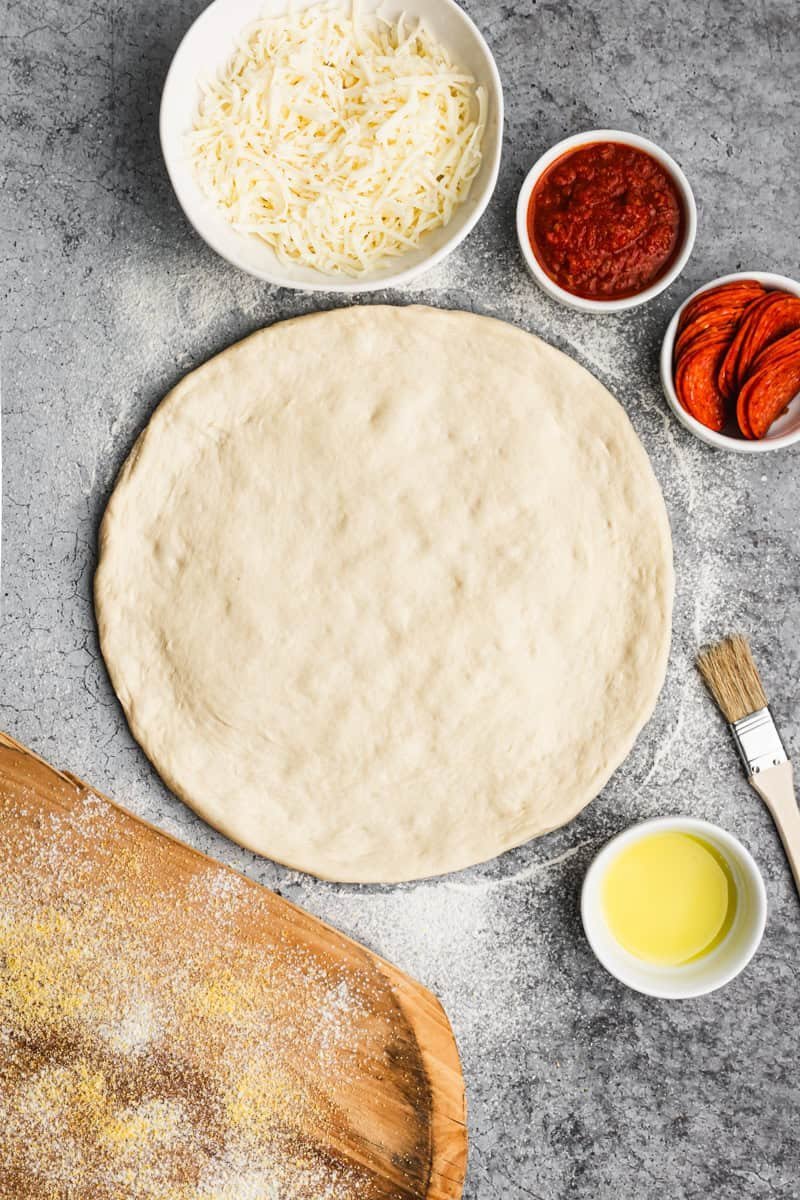
To keep your pizza oven working correctly, you must clean the stone after every use. Once the oven has completely cooled, use a stiff brush to remove any burnt flour or food particles from the surface of the stone.
Never use water or soap on a pizza stone. The porous material absorbs moisture, which turns to steam and causes the stone to crack during the next high-heat cycle. If you accidentally get the stone wet, air-dry it for at least 24 hours before firing the oven.
If you notice stubborn grease stains, a high-heat burn-off cycle is your best solution. Run the oven at its maximum temperature for 30 minutes to carbonize the residue. Once the oven cools, simply brush away the resulting ash.
Regularly check the exterior for soot buildup. Heavy black streaks often indicate that the burner needs a professional air-to-fuel ratio adjustment. Ignoring this leads to inefficient heating and potential burner clogging.
If the stone develops deep cracks or chips, replace it before your next bake. A hairline fracture is usually harmless, but if the stone separates into distinct pieces, it creates an uneven cooking surface that ruins your crust. Always verify the fit of your replacement stone to ensure proper airflow around the edges.
When this is the wrong approach
Using a pizza oven for frozen dough is the wrong choice if you’re aiming for an authentic Neapolitan-style crust. Frozen dough often lacks the complex flavor and texture that comes from a long, cold fermentation process. If you want a high-quality, artisanal result, you should make your own dough from scratch using high-protein flour.
This method is also unsuitable if you’re dealing with a “par-baked” frozen crust that’s already firm. These products are designed for standard home ovens and will likely become rock-hard or charcoal if placed in a 900°F pizza oven. If you have a par-baked product, stick to the instructions on the packaging and use your regular kitchen oven. If you aren’t comfortable managing a high-heat environment or don’t have the proper safety equipment, stick to traditional cooking methods.
Can I put frozen dough directly in the pizza oven?
No, you shouldn’t put frozen dough directly into a pizza oven. The extreme heat will burn the outside before the inside has a chance to thaw, resulting in a raw, doughy center. Always thaw the dough in the refrigerator and bring it to room temperature before baking.
How long does frozen dough take to proof?
Frozen dough typically takes 12 to 24 hours to thaw in the refrigerator, followed by 2 to 3 hours at room temperature to proof properly. The exact time depends on the ambient temperature of your kitchen and the yeast activity in the specific dough brand you’re using.
Is it safe to thaw dough on the counter?
It isn’t recommended to leave dough on the counter for more than two hours. According to the USDA, leaving perishable food at room temperature for extended periods allows bacteria to grow rapidly, which can lead to foodborne illness. Always use the refrigerator for the primary thawing stage.
Why does my pizza crust burn so fast?
Your crust is likely burning because the stone surface is too hot or the flame is too high for the thickness of your dough. Use an infrared thermometer to ensure the stone is around 700°F to 750°F, and consider lowering the flame after the pizza is inside the oven.
What happens if I use frozen dough without thawing?
If you use frozen dough without thawing, the center will remain cold and dense while the edges char. The yeast won’t have time to activate, meaning you’ll miss out on the light, airy structure that defines a good pizza. You’ll likely end up with an unpalatable, unevenly cooked meal.
Does the type of frozen dough matter?
Yes, the type of dough matters significantly. High-hydration doughs require more careful handling and lower floor temperatures to prevent burning, while par-baked crusts should never be used in a high-heat pizza oven. Always check the manufacturer’s recommendations on the packaging for the intended cooking method.
Start by moving your dough to the refrigerator the day before you plan to bake. This ensures the dough is fully thawed and ready to proof when you bring it to room temperature. If the dough feels cold or stiff, wait longer before stretching; the perfect crust happens when the dough is soft and relaxed. If the dough remains tough, stop and check the packaging for specific instructions.
Related guides