
If your bostitch pencil sharpener not working, you should first check for a broken lead tip stuck inside the cutter blades. Most sharpening failures happen because a piece of graphite or wood chips prevents the gears from turning properly. This creates a jam that stops the motor or makes the sharpener stall during use. You can often clear this by gently shaking the unit or using a small, non-metallic tool to remove debris from the opening.
Why your Bostitch sharpener stopped working
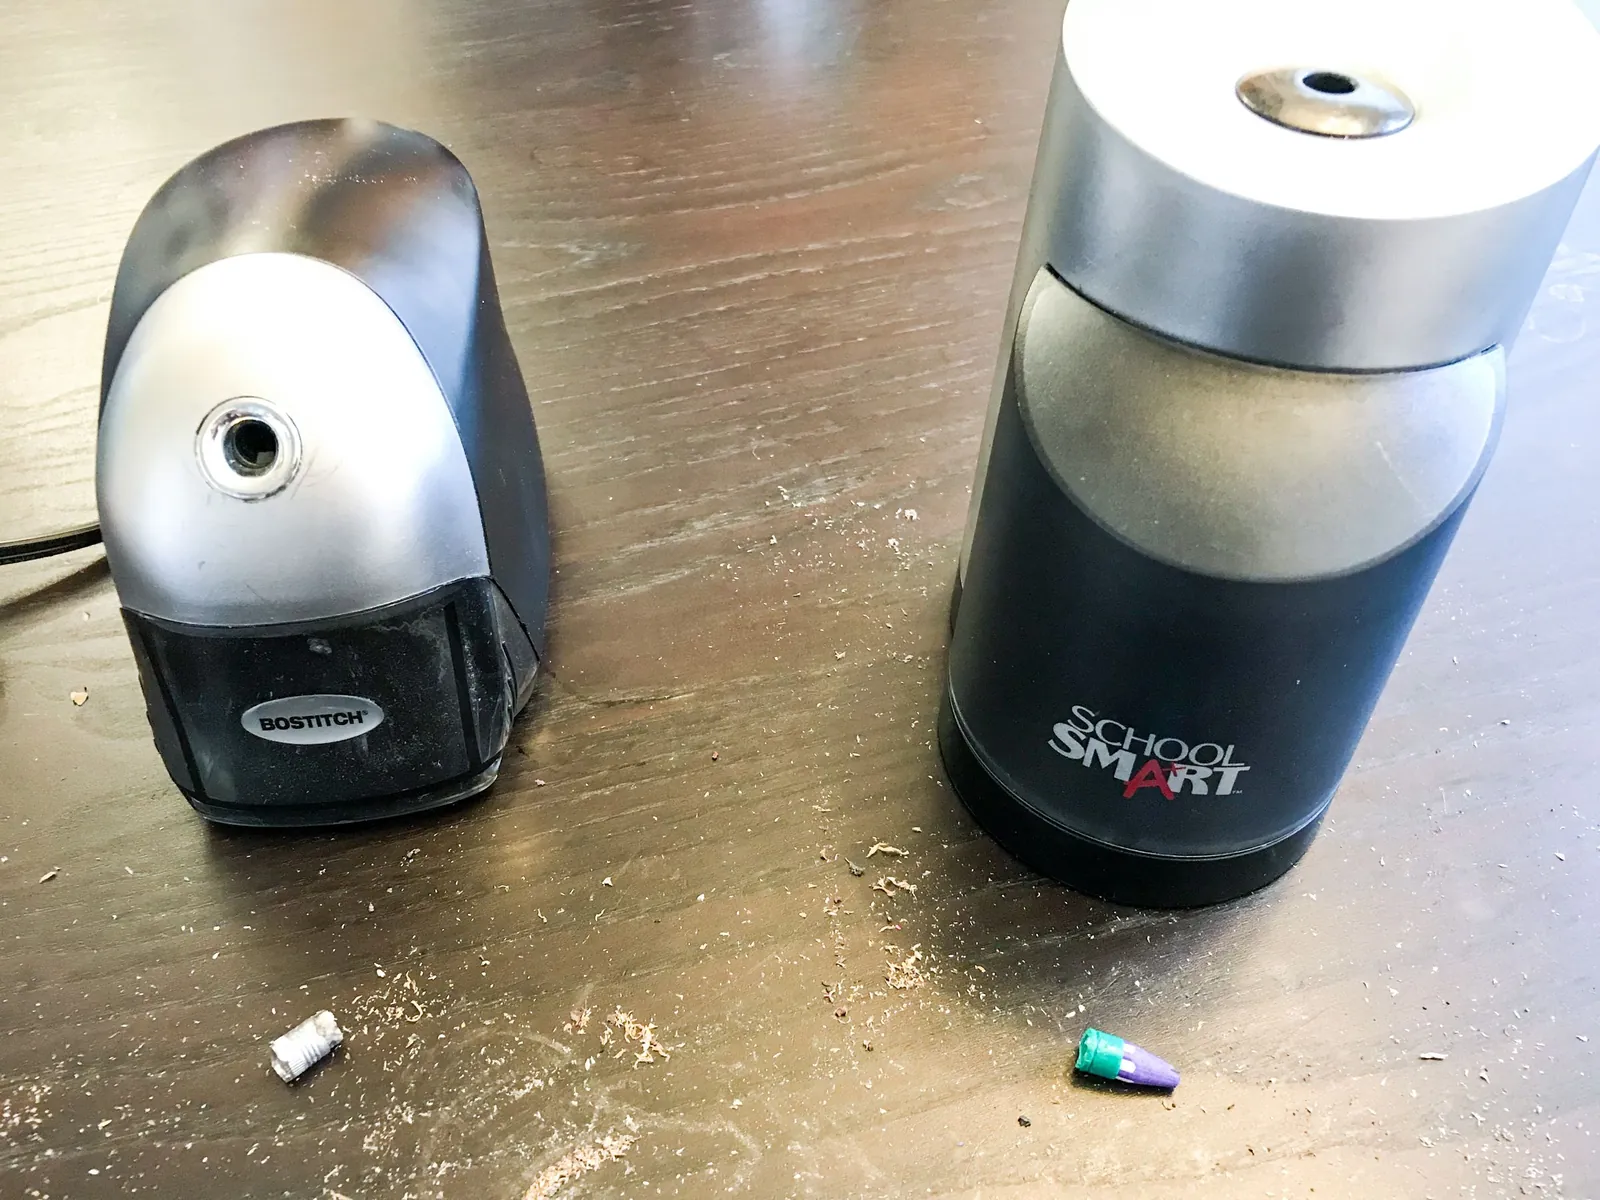
When a device stops functioning, the culprit is usually physical interference rather than an electrical fault. The most frequent cause is a snapped pencil lead wedging itself between the helical cutters. If you have been using soft-lead pencils, these tend to break more often and leave residue that builds up on the blades over time. This buildup creates friction, forcing the motor to work harder until it eventually stops to prevent overheating.
Another common cause involves the safety mechanism found in most automatic models. Many units have a sensor that detects when the pencil is inserted, and another that confirms the shavings bin is fully closed. If the bin is even slightly misaligned, the motor won’t engage, making it seem like the device has failed. You should always verify that the tray clicks firmly into place, as this completes the electrical circuit required for the motor to start.
Finally, consider the condition of the pencil itself. If you’re using pencils with irregular shapes, such as triangular or jumbo sizes, they may not sit centered in the guide. This forces the cutters to bite into the casing at an awkward angle, causing the mechanism to bind. If you’re unsure if the sharpener is compatible with your specific pencil size, check the Bostitch Office support documentation for guidance on supported materials and sharpening limits.
Clear the cutter assembly
If you suspect a jam, start by unplugging the device to ensure your safety. Never attempt to poke around the blades while the sharpener is connected to a power source, as the motor could engage unexpectedly. Once the power is disconnected, look into the sharpening hole using a flashlight. If you see a piece of lead, use a thin plastic toothpick to nudge the debris loose.
Avoid using metal objects like paperclips or scissors to clear the blockage. These can easily chip the hardened steel of the helical cutters or damage the plastic casing, which isn’t covered under most standard warranties. This often dislodges small wood chips or broken lead that are trapped near the base of the blades.
If the blades don’t spin freely after removing visible debris, the internal gear train might be jammed. In this case, don’t force the motor to run by repeatedly pushing the pencil in. This can strip the plastic gears inside the unit, turning a minor jam into a permanent mechanical failure. If the blades still refuse to rotate after clearing the debris, the internal motor is likely at the end of its functional life.
Reset the safety bin
The shavings tray acts as a safety switch in almost every electric unit. If the tray isn’t seated perfectly flush with the main body, the sharpener will remain unresponsive. Pull the tray out completely and inspect the edges for any stray pencil shavings that might be preventing a tight seal. Even a tiny sliver of wood can stop the plastic tabs from locking into the safety sensor.
Once the tray is clean, slide it back into the unit with firm, steady pressure. You should hear a distinct click when the bin reaches the locked position. If the sharpener still fails to start, try removing and reinserting the tray a second time, as the internal switch can sometimes be temperamental. If you notice the bin feels loose or the plastic housing around the tray is cracked, the sensor may no longer be able to make the necessary contact.
This step is for users who have confirmed the device has power but no motor response. If your sharpener has a light, check if it flickers when you push the tray in. A flickering light usually indicates a loose connection within the bin’s safety sensor. If the bin is clean and locked but the motor remains silent, avoid trying to disassemble the plastic casing yourself. Unauthorized opening of the housing voids the warranty and poses a risk of electric shock.
Evaluate motor and blade wear
If the sharpener runs but produces a jagged point or stops halfway through sharpening, the cutters are likely dull. Over time, the metal blades lose their edge, especially if they have been used to sharpen colored pencils or wax-based leads. These materials are softer than standard graphite and can leave a waxy coating on the blades, which prevents them from gripping the wood effectively.
If you notice the motor sounds like it’s struggling or slowing down significantly as it cuts, it’s likely reaching its capacity for the day. Electric motors in office equipment are designed for intermittent use. If you have sharpened more than 10 pencils in a single sitting, the thermal overload protection might have triggered. This is a safety feature that shuts the motor down to prevent it from burning out.
If this happens, simply unplug the device and let it sit for at least 30 minutes. This allows the internal components to cool down to a safe operating temperature. If the sharpener works perfectly after a rest period, the issue is simply heavy use. However, if it continues to struggle even after cooling, the motor windings may be damaged. At this point, the cost of a professional repair usually exceeds the price of a new unit.
Avoid these sharpening mistakes
Pushing down too hard triggers the stall protection and can strip the internal gears. If you feel the motor laboring, stop immediately; forcing the pencil past this point often leads to permanent mechanical failure.
Attempting to sharpen plastic or metal casing will permanently dull the hardened steel blades. Use a manual sharpener for these materials instead.
Letting the shavings bin overfill allows debris to back up into the motor housing. Empty the bin once it reaches the halfway mark to ensure proper airflow.
Wax-based pencils leave a sticky residue that gums up the gears and requires professional cleaning. Avoid these entirely if you want to maintain the factory calibration.
Using an incorrect adapter voltage causes the motor to run too slow or overheat. Check the label on the base of the unit to ensure your power supply matches the required output. Using a generic charger often voids the manufacturer’s warranty.
Maintain your sharpening routine
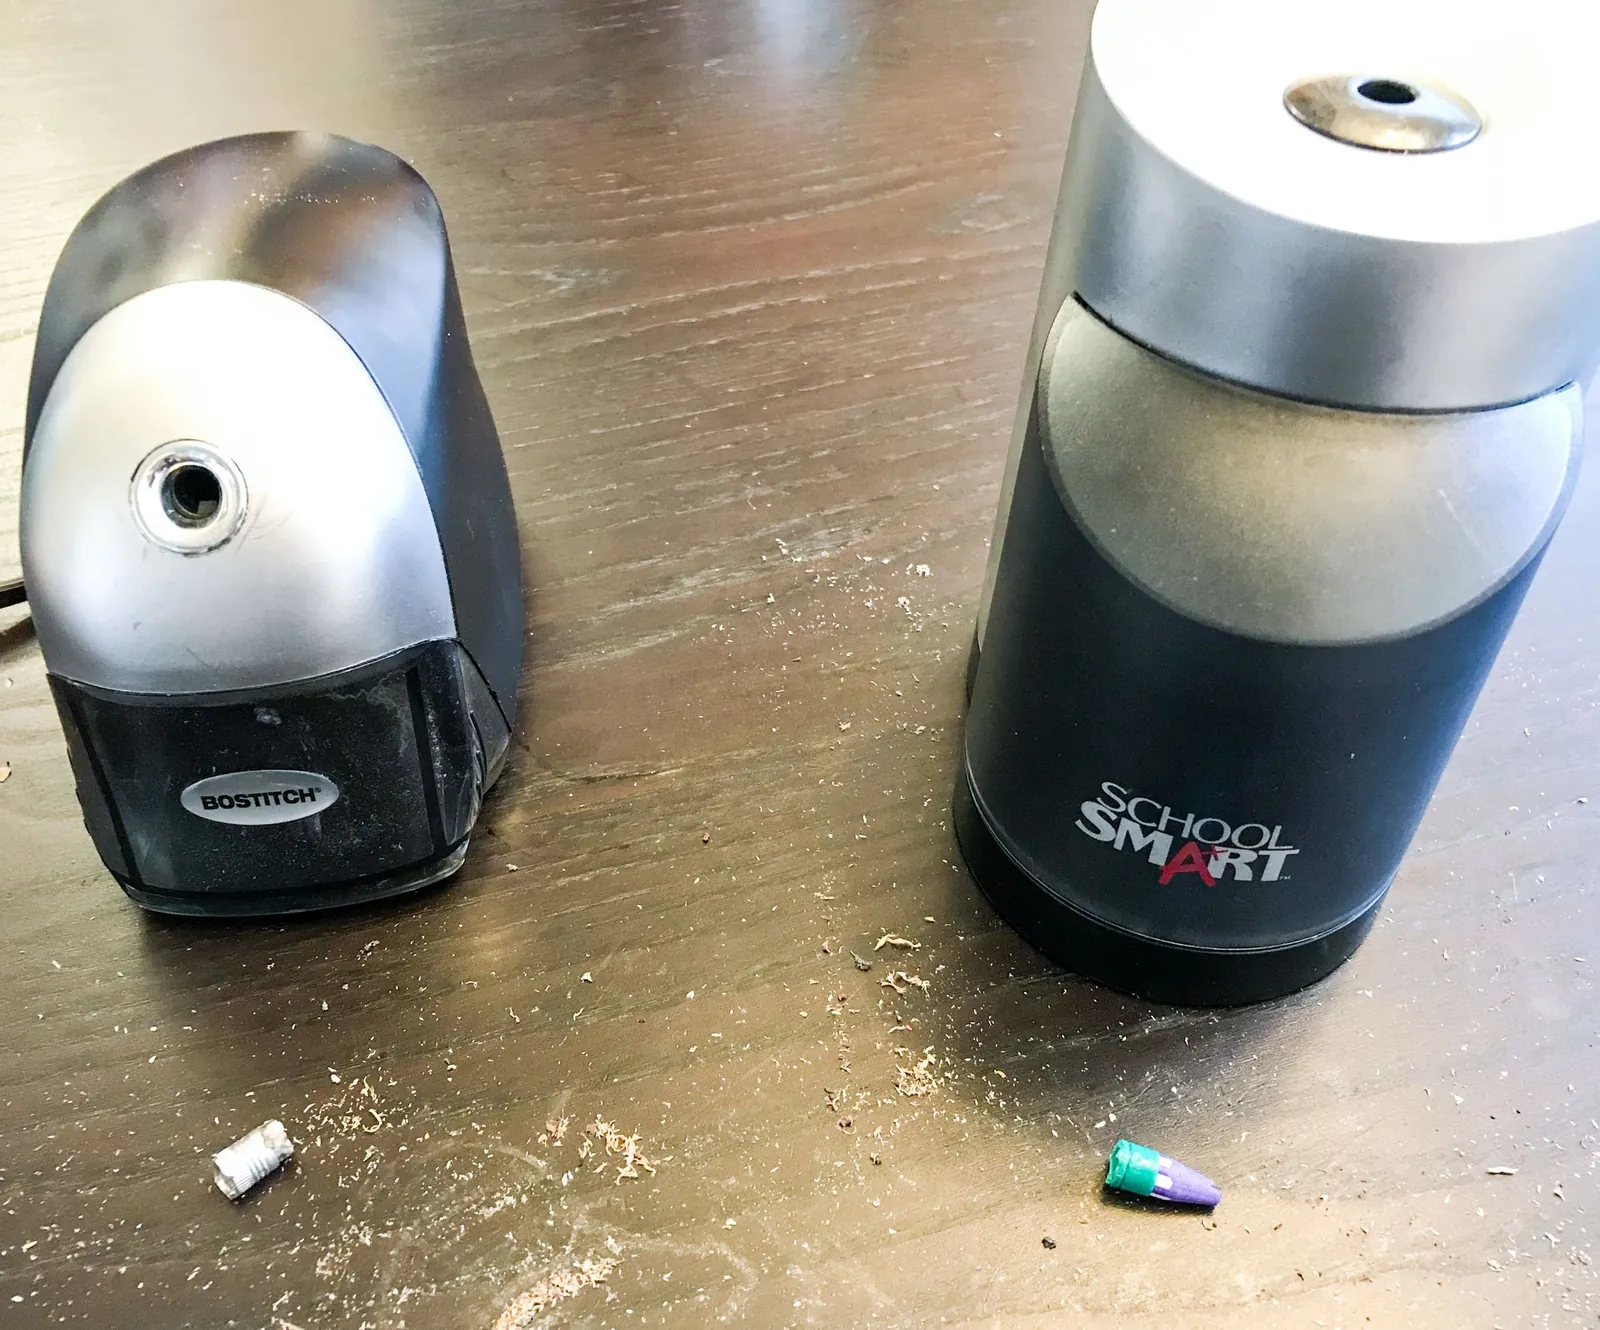
The most effective way to prevent future downtime is to keep the shavings bin empty and the blades clean. If you’re doing a high volume of work, empty the bin after every 5 to 10 pencils to ensure the motor has adequate airflow. If you’re sharpening standard graphite pencils, your unit should last for years; if you frequently sharpen colored or wax pencils, expect to clear the blades more often.
Most users wait until the bin is overflowing to clear it, but this mistake causes shavings to back up into the motor housing. This friction generates excess heat, which can permanently warp the internal plastic gears. Instead, treat the half-full mark as your hard deadline for emptying.
If you notice the motor slowing down or producing an uneven point, stop immediately. Check the blade assembly for a snapped lead tip, which is the most common cause of sudden jams. If the pencil feels stuck, never force it deeper into the unit. Unplug the device and use a pair of long-nose pliers to extract the obstruction from the front.
When working with wax-based colored pencils, the blades will inevitably accumulate a sticky residue. This prevents the wax from hardening and dulling the steel.
Related guides
- Why Is My Pool Cloudy? 8 Common Causes and Quick Fixes in 2026
- Aqua Genie Skimmer Problems: 3 Common Causes and Fixes in 2026
- Endless Pool Complaints: How to Fix the Most Common Issues in 2026
Frequently asked questions
Can I fix a motor that makes a grinding noise?
No, a grinding noise indicates that the internal plastic gears have been stripped or broken. This is a permanent mechanical failure that can’t be repaired by the user. Attempting to open the sealed motor housing will void your manufacturer warranty.
How long does the sharpener need to cool down?
Allow the sharpener to cool for at least 30 minutes if it has been running continuously. This timeframe is recommended if you have sharpened more than 10 pencils in one session. Never use external heat or cold sources to speed up the cooling process.
Is it safe to use water to clean the blades?
No, you must never use water or liquid cleaners on the internal assembly of an electric sharpener. Liquid can seep into the motor or switch, causing a short circuit or permanent damage. Use only a dry, non-metallic tool to remove debris.
Why does the pencil tip look uneven?
An uneven tip usually happens when the pencil isn’t held straight or the internal cutters have become dull. Try holding the pencil with a light, even grip to ensure it stays centered. If this persists with every pencil, the blade alignment is likely worn out.
What happens if I lose the shavings tray?
The sharpener won’t work without the shavings tray because the safety sensor will remain in the open position. The tray is a critical part of the electrical circuit required for the motor to receive power. You can’t safely bypass this sensor to operate the device.
Conclusion
If the troubleshooting steps don’t restore your sharpener, the internal motor or blade assembly has likely reached the end of its service life. Replacing the unit is the most cost-effective solution, as professional repairs for small appliances are rarely economical.
