
A burnt-out bulb or a tripped setting is usually why you notice a chamberlain garage opener light not working in your home. Before you assume the unit is broken, check if the light bulb has simply reached the end of its life or if the light feature has been toggled off on your wall control panel. Most modern units allow you to deactivate the light manually, which often causes confusion for users who think the system has failed.
Why your Chamberlain garage opener light fails
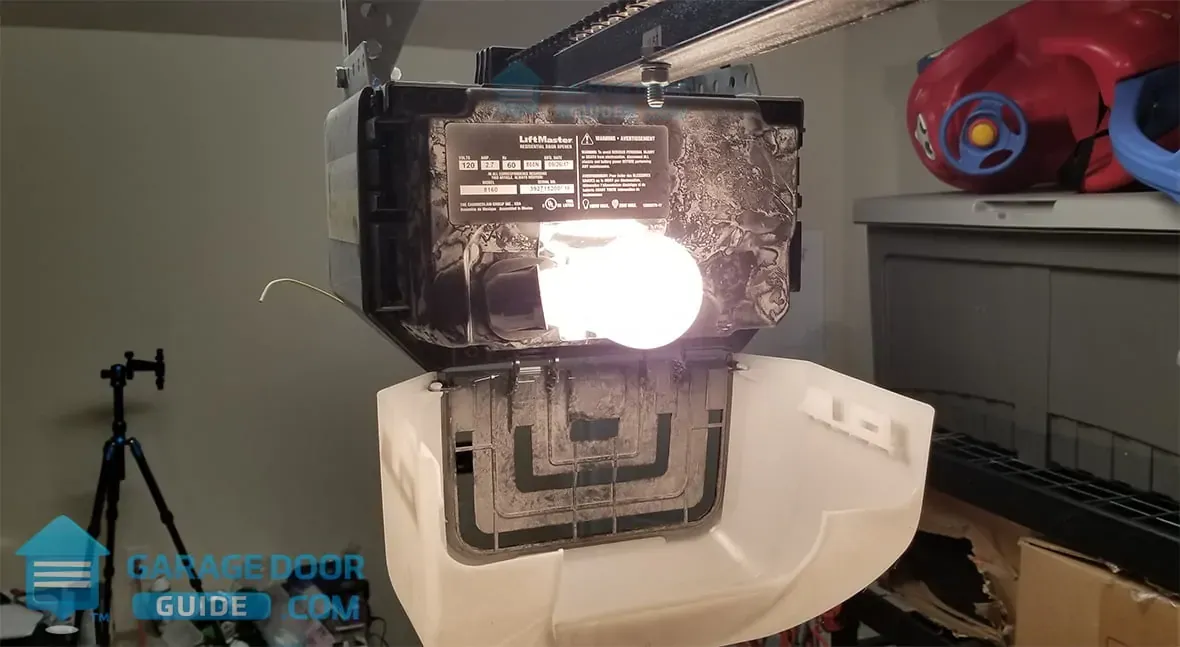
The most common cause of a light failure is a simple burnt-out bulb. Garage door openers often experience significant vibration during operation, which can shorten the lifespan of standard incandescent bulbs. If you use a bulb that isn’t rated for vibration or a high-wattage bulb that exceeds the unit’s maximum capacity, it will fail much faster than in a regular household lamp.
Another frequent cause is a change in the settings on your wall-mounted control panel. Many Chamberlain models feature a “light” button that lets you turn the opener lights on or off independently of the door movement. If this button was pressed by accident, the light will remain dark even when the door opens or closes. It’s also possible that the motion-sensor feature has been disabled or that the sensitivity settings are too low to detect movement in the garage.
Finally, internal electrical issues can occur, though these are less common than user-adjustable settings. If the light socket itself has become loose or corroded over time, the electrical connection may be intermittent or non-existent. Always inspect the socket for signs of heat damage or melted plastic, as these indicate a more serious issue that requires professional attention. You can find detailed troubleshooting guidance for your specific model on the Chamberlain official support portal.
Replace the light bulb
If the light doesn’t turn on, start by replacing the bulb with a new one. Ensure the garage door opener is completely unplugged from the power source before you touch the light housing. This is a critical safety step to avoid accidental contact with live electrical components while you’re working near the socket.
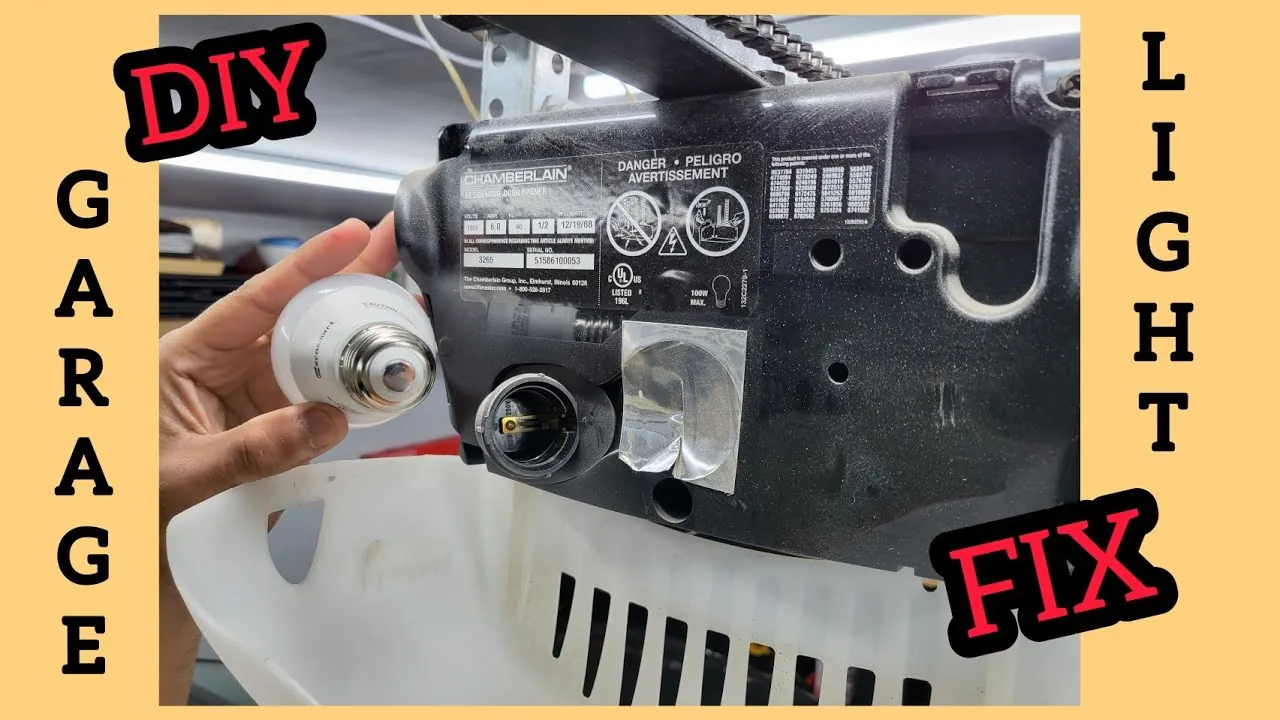
Use only the type of bulb recommended by the manufacturer, which is typically found in your owner’s manual. Many newer openers require specific LED bulbs that are vibration-resistant and designed for the unique power output of the logic board. Using a bulb that exceeds the maximum wattage listed on the housing can cause the socket to overheat or damage the internal electronics of the opener.
After installing the new bulb, plug the unit back in and test the light by pressing the light button on your wall control. If the bulb flickers or fails to stay lit, double-check that it’s screwed in securely. If you have replaced the bulb and the light still doesn’t activate, the issue likely lies with the software settings or the internal wiring of the unit rather than the bulb itself.
Adjust your wall control settings
If the bulb is functional, check the settings on your wall-mounted control panel to ensure the light feature is active. Many Chamberlain control panels have a dedicated light button that overrides the automatic lighting function. If you see a light icon flashing or if the light button appears to be in the “off” position, press it once to restore the automatic lighting cycle.
Some advanced panels also have a motion-sensor feature. If this sensor is turned off, the light won’t trigger when you walk into the garage. Look for a “motion” or “sensor” button on the wall console and ensure it’s toggled to the “on” position. If your panel has a screen, navigate through the menu to verify that the lighting preferences haven’t been reset to a manual-only mode.
If you’re unsure how to navigate your specific wall console, look for the model number printed on the back of the plastic housing. You can then search for that specific model on the manufacturer’s website to view the digital manual. Changing these settings is usually a matter of pressing a single button, but if the console remains unresponsive, the wiring between the wall unit and the motor head might be loose.
Check for internal electrical damage
For cases where the light remains off after bulb replacement and settings checks, the problem may be an internal issue. If you notice a burnt smell, see melted plastic around the light socket, or observe visible damage to the wires leading to the light, stop using the feature immediately. These signs suggest a potential fire hazard or a short circuit within the motor housing.
Never attempt to open the motor head housing to repair internal electrical components like circuit boards or capacitors yourself. These parts hold a dangerous electrical charge even when the unit is unplugged, which poses a risk of severe shock. If the light socket is damaged or the internal logic board is failing, contact a certified garage door technician to inspect the unit.
Professional service is also recommended if you have performed the basic steps above and the light still doesn’t function. A technician can test the voltage at the socket and determine if the logic board needs to be replaced. Attempting to force a repair on the internal electronics can void your warranty and lead to permanent damage of the entire opener system.
If the light flickers intermittently while the motor is running, the issue is often a loose wire connection within the housing rather than a failed component. Tighten the visible mounting screws on the motor casing first. If the flickering persists, the vibration from the motor is likely causing a break in the circuit. In this specific scenario, a professional repair is safer than risking a permanent short.
Common mistakes to avoid
Avoiding these errors will keep your system safe and help you find the source of the problem faster.
Using high-wattage bulbs creates excessive heat that melts the socket or warps the internal circuit board. Check the fixture label for the maximum rating; if it says 60 watts, never exceed that limit.
Always unplug the unit before changing a bulb to prevent electrical shock or sudden motor activation. If the system is hard-wired, flip the circuit breaker to the off position instead.
Never pry open the motor housing if it feels stuck. You risk snapping the plastic clips or exposing sensitive internal wires. If the casing resists, look for a hidden screw or a sliding release tab on the underside.
Standard household bulbs aren’t built to withstand the constant shaking of a garage door. They fail within weeks because the filament snaps under vibration. Always buy bulbs specifically labeled for garage door openers or rated for high-vibration environments to ensure they last for years rather than days.
How to stop it happening again
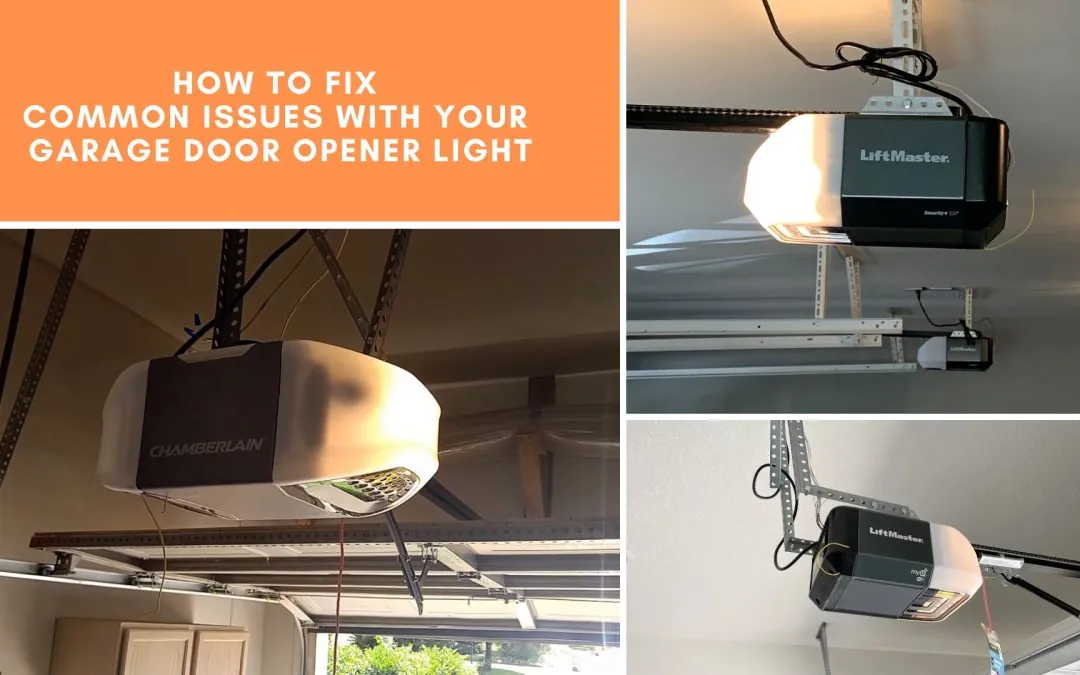
Keeping your garage opener in good condition requires regular attention to the environment and the components you use.
| If you’re doing this | Do this instead | Why |
|---|---|---|
| Using standard home bulbs | Buy vibration-resistant LED bulbs | Standard bulbs break from door movement |
| Leaving the light on manually | Use the auto-timer setting | Saves bulb life and energy usage |
| Ignoring dust in the garage | Clean the sensors and housing | Dust can interfere with motion sensors |
| Cleaning with water | Use a dry microfiber cloth | Moisture can cause electrical shorts |
Most homeowners make the mistake of ignoring the drive chain until it begins to screech. If your chain sags more than half an inch below the rail, tighten the tensioner bolt immediately. Failing to do this causes the chain to jump the sprocket, which can bend the internal drive gear.
If you hear a grinding noise, check the plastic drive gears for stripped teeth. If you find white plastic shavings on the floor, the gear is failing. Replace it now to avoid a total motor burnout that costs ten times more than the part itself.
Related guides
Frequently asked questions
Can I use any light bulb in my garage opener?
No, you must use bulbs rated for vibration that stay within the maximum wattage specified on your opener. Most modern Chamberlain openers require specific LED bulbs designed to handle the vibration of a moving door. Using a high-wattage or standard incandescent bulb can cause the socket to overheat and melt.
How long should a garage opener light stay on?
You can often change this interval through the menu on advanced control panels. On basic models, the duration is typically fixed by the internal logic board and can’t be changed.
Is it safe to repair the light socket myself?
No, you shouldn’t attempt to repair or replace the internal light socket yourself. Opening the motor housing exposes you to dangerous electrical components that can hold a charge even when unplugged. You should contact a professional garage door technician to handle any repairs involving internal wiring to ensure safety.
Why does the light blink when I open the door?
A blinking light on a Chamberlain opener is often an error code indicating that the safety sensors are misaligned or blocked. Refer to the troubleshooting guide in your manual to count the flashes and identify the specific fault. This usually requires adjusting the infrared sensors located near the floor.
What happens if I use a bulb that’s too bright?
Using a bulb that exceeds the maximum wattage allowed risks melting the plastic light cover and damaging the internal logic board. The heat generated by high-wattage bulbs is trapped inside the small housing, which can quickly degrade electronic components. Always check the sticker inside the light housing for the “max watts” limit.
Conclusion
If you have tried replacing the bulb and checking your wall settings without success, the issue likely resides within the internal wiring or the logic board of the motor. Because these components carry high-voltage risks, a professional technician is the only person who should perform further inspections or repairs. Always keep your owner’s manual in a safe place so you can quickly reference the specific light settings and bulb requirements for your model.
