
Cable glands work by securing a wire to equipment to create a seal against dust, moisture, or gas. These devices serve as mechanical anchors to prevent cables from pulling out, and their uses include providing electrical grounding or shielding. By installing these components, you keep electrical systems safe and reliable in harsh environments.
How cable glands work and their common uses
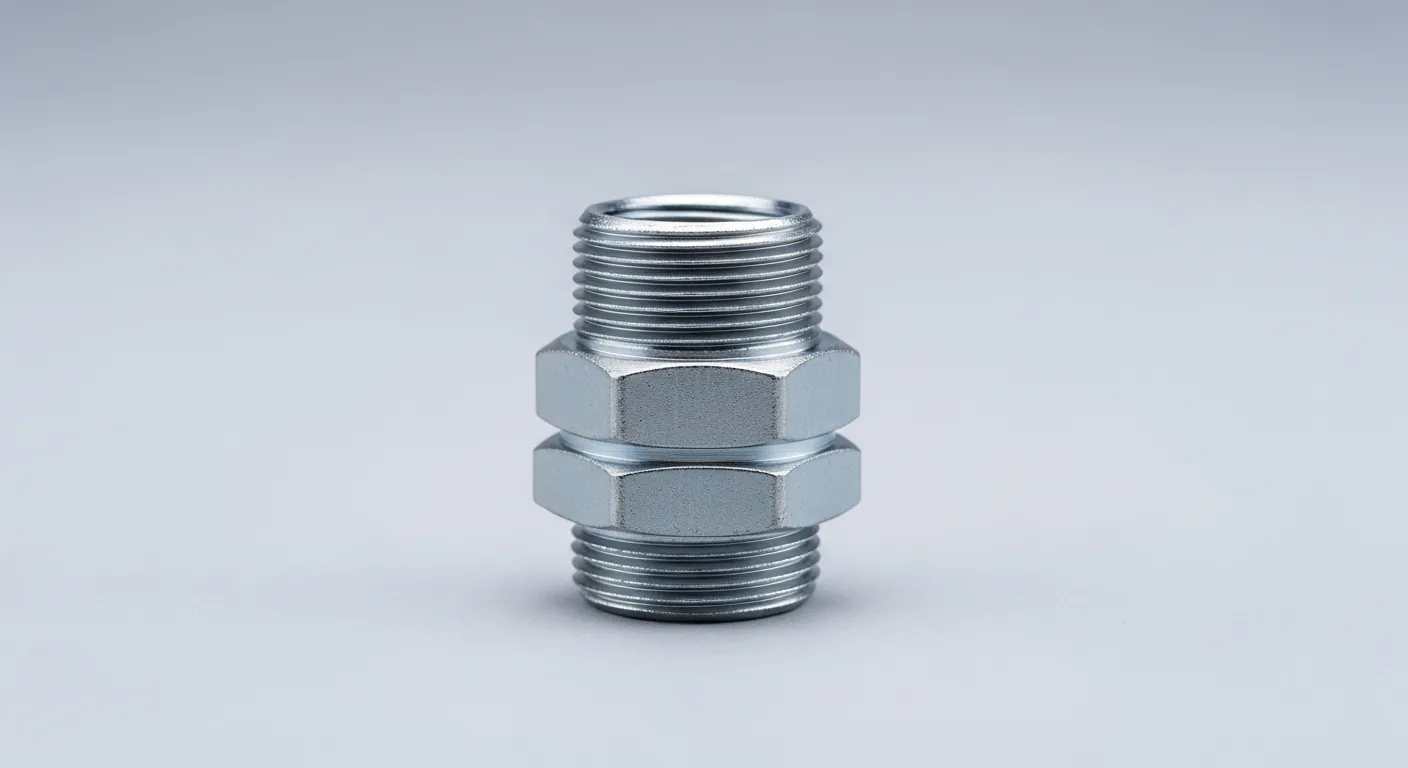
Cable glands contain several parts that work together to maintain a secure connection. When these parts are missing or installed incorrectly, the seal fails and allows external contaminants to damage your sensitive electrical equipment.
| Part or input | What it does | What you notice when it goes wrong |
|---|---|---|
| Entry thread | Connects gland to enclosure | Thread stripping or loose fit |
| Sealing ring | Keeps out water and dust | Moisture inside the enclosure |
| Clamping nut | Grips the cable outer sheath | Cable slips out of gland |
| Compression nut | Tightens the sealing ring | Seal leaks under slight pressure |
| Armor cone | Clamps the cable armor for strain relief and earth continuity | Cable armor is loose or lacks reliable earth connection |
| Locknut | Secures gland to wall | Gland spins when tightened |
How to install a cable gland
Installing a gland properly requires attention to the diameter of your cable and the size of the port on your equipment. If you use a gland that’s too small for your cable, the seal won’t close fully, and if it’s too large, the cable will slide around inside. Always verify the cable diameter against the manufacturer’s data sheet before you begin the installation process.
- Remove 20 to 30 millimeters of the outer cable jacket to expose the internal wires or shielding, depending on the specific gland type you’re using for your project.
- Slide the compression nut and the sealing ring onto the cable before you attach the main body of the gland to the enclosure wall using the mounting thread.
- Insert the cable through the gland body until the outer sheath is positioned correctly within the clamping zone.
- Tighten the clamping nut firmly using a wrench to secure the cable sheath, which prevents the wire from being pulled out of the terminal block by accident.
- Rotate the compression nut clockwise until it meets resistance, which compresses the internal seal against the cable jacket to create a weather-tight barrier for your equipment.
- Check that the gland doesn’t rotate when you pull on the cable, ensuring the mechanical grip is strong enough to hold the weight of the wire.
Why correct installation prevents system failure
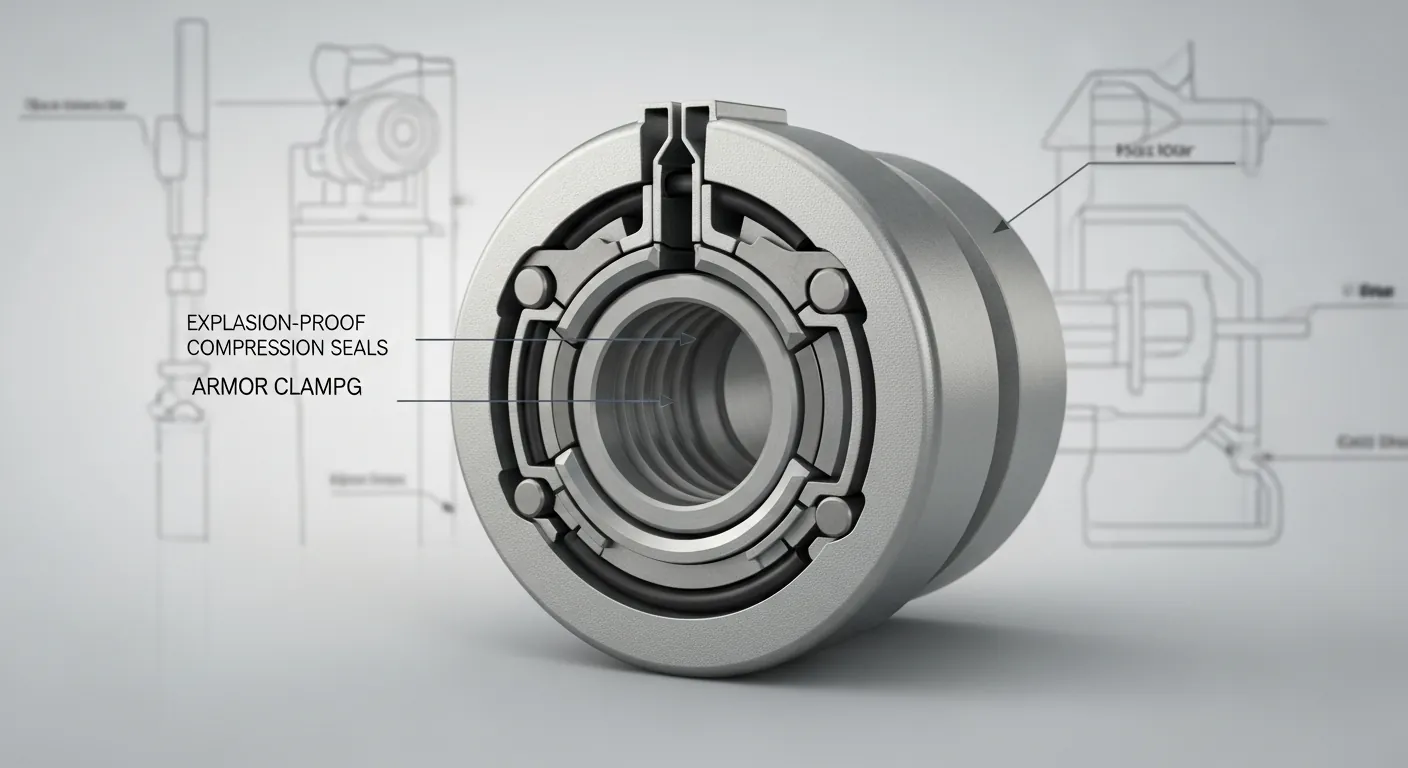
The primary purpose of these devices is to maintain the integrity of an enclosure’s protection rating. When you install a gland, you’re essentially extending the protective barrier of the junction box or motor housing out to the cable itself. If the seal is loose, liquid or dust enters the enclosure through the gap between the cable and the gland body. This leads to short circuits or corrosion of the electrical terminals inside.
A failure often occurs because the compression nut wasn’t tightened enough to deform the sealing ring against the cable jacket. Conversely, overtightening can crush the internal wires or deform the gland body, which prevents it from sealing correctly. You must match the gland size to the cable diameter specified in the component manual.
If you see water droplets inside your enclosure, the gland is likely the entry point. Inspect the seal for signs of dry rot or physical damage. If the rubber feels hard or brittle rather than soft and flexible, it can no longer provide a tight seal. Replace the entire gland assembly to restore the enclosure’s safety rating and protect your internal components from future environmental damage.
Factors you control versus design limits
Things you control
- Choosing the correct thread size to match your enclosure port.
- Tightening the compression nut to the manufacturer’s recommended torque.
- Selecting a gland material that resists the local environment, such as stainless steel for salt air.
- Ensuring the cable diameter falls within the gland’s specified clamping range.
Fixed design limits
- The ingress protection (IP) rating is set during manufacturing and can’t be upgraded.
- Thread standards like NPT or Metric are permanent features of the equipment housing.
- Hazardous area certifications are fixed by the design and require specific, certified parts.
If your installation involves high-voltage systems or explosive atmospheres, you must use certified hardware and follow local electrical codes, which often require a professional license. Attempting this work without proper training creates a high risk of fire or electrical shock.
Getting more out of your connections
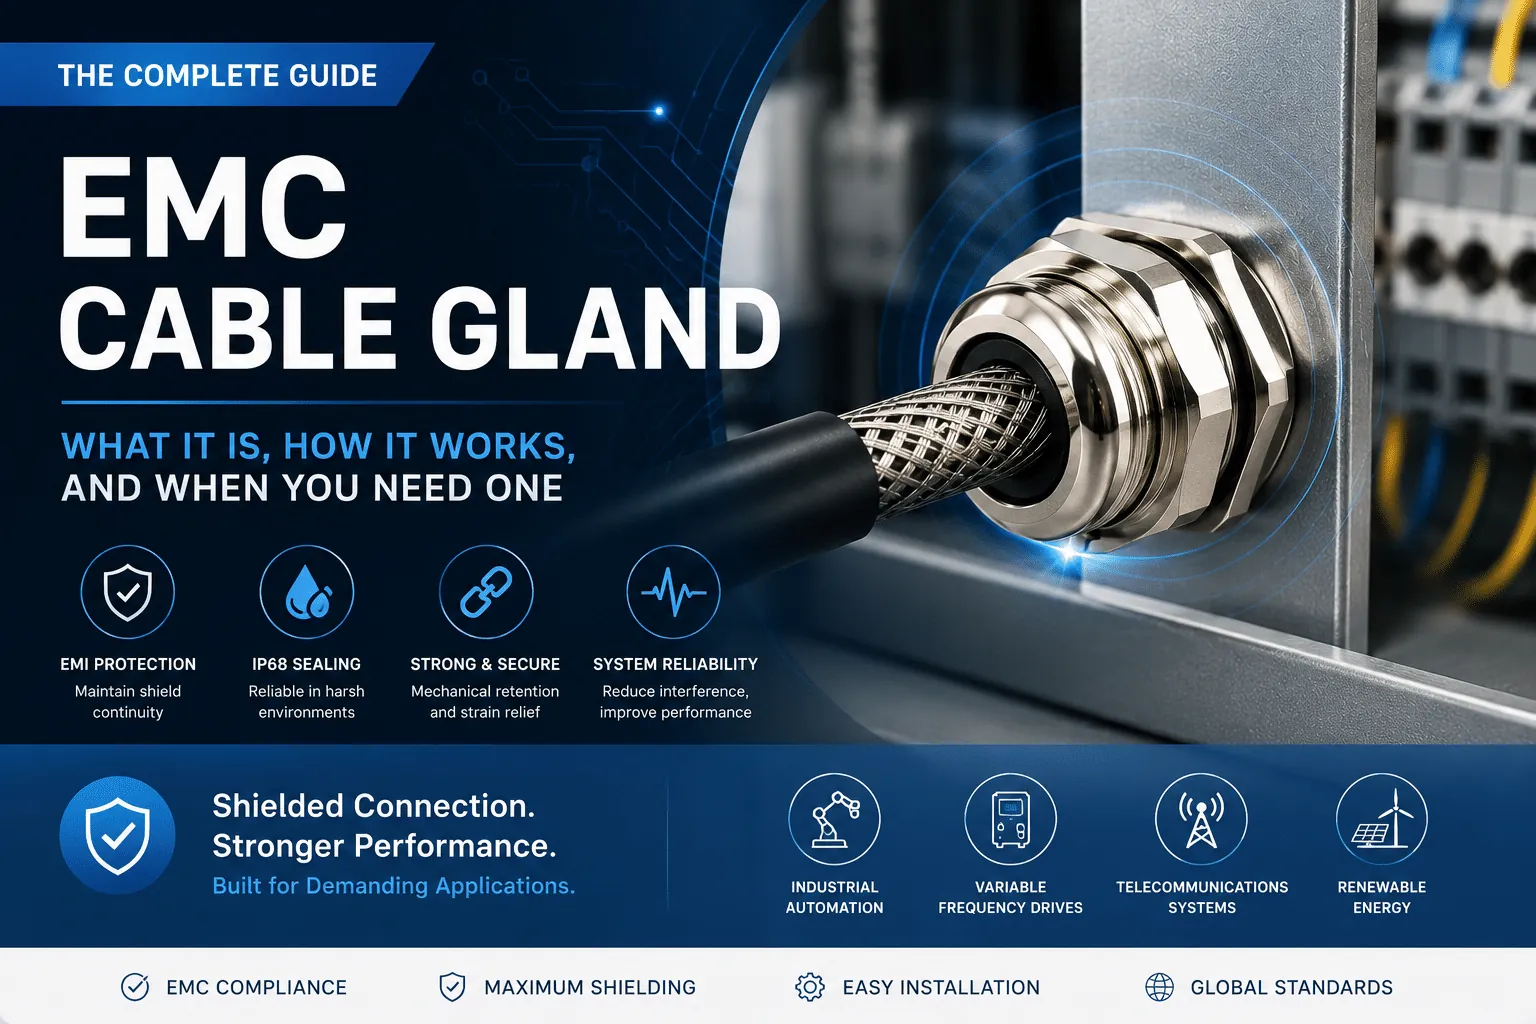
Practical habits ensure your cable glands remain effective throughout their service life. First, inspect all glands during your annual maintenance check. If you see any signs of rust or cracked rubber seals, replace them immediately to prevent moisture from entering. Second, always ensure the cable enters the gland straight. If the cable pulls at an angle, it creates uneven pressure on the seal, which causes leaks over time.
Third, keep a record of the torque used during installation. If you’re working on a large project, using a calibrated torque wrench ensures every gland is tightened to the same standard. Fourth, avoid using thread sealants unless the manufacturer specifically recommends them for your application.
Many modern glands have built-in washers that provide a better seal than liquid compounds. Finally, verify the cable diameter using a caliper. Don’t guess the size, as even a 1-millimeter difference can prevent a proper seal.
Frequently asked questions
Can I reuse a cable gland?
You shouldn’t reuse a cable gland because the internal sealing ring deforms once it’s tightened. This permanent change in shape means the seal won’t form a reliable barrier if you move it to a new cable, which risks letting moisture into your equipment enclosure.
How long do cable glands last?
Most industrial-grade cable glands last for a long duration in stable, indoor conditions, but this figure changes based on the environment. High UV exposure, extreme heat, or constant vibration can cause the rubber seals to degrade much faster, so check the manufacturer’s lifespan rating for your specific model.
Is it safe to use plastic glands?
It’s safe to use plastic glands for many general-purpose applications as long as the material meets the temperature and chemical requirements of your environment. However, you must use metal glands in high-heat areas or where you need electromagnetic shielding, as plastic doesn’t provide a conductive path.
What happens if I overtighten the gland?
Overtightening the gland typically causes the internal rubber seal to tear or the threads on the body to strip. Once the threads or the seal are damaged, the gland loses its ability to hold the cable securely or keep out moisture, requiring a complete replacement of the unit.
Does it matter which thread type I use?
It matters because the thread type must match your equipment’s port to create a secure, airtight seal. Using a metric gland in an NPT port won’t seat correctly and will leave a gap, which voids the protection rating of your enclosure and leaves your wires exposed to the elements.
How do I know if the gland is waterproof?
A gland is waterproof if it carries an IP66 or IP67 rating, which you can verify by checking the stamp on the gland body or the packaging. These ratings mean the device has been tested to withstand water jets or temporary immersion, provided you install it according to the manufacturer’s instructions.
Conclusion
Properly installed cable glands are the first line of defense for your electrical infrastructure. By selecting the right size, respecting torque limits, and checking your seals regularly, you prevent costly equipment damage and ensure your systems remain operational for years. Always prioritize safety by following the manufacturer’s documentation for every installation.
