
An infrared thermometer is ideal for checking surface temperatures from a distance, while a digital thermometer is the superior tool for measuring the precise internal temperature of food or liquids. Choosing between an infrared thermometer vs digital thermometer depends entirely on whether you need a quick external reading or a verified internal safety measurement. You should use a digital probe for cooking meat, but an infrared device works best for checking the surface heat of a pizza stone or a griddle.
Choosing between infrared and digital thermometer tools
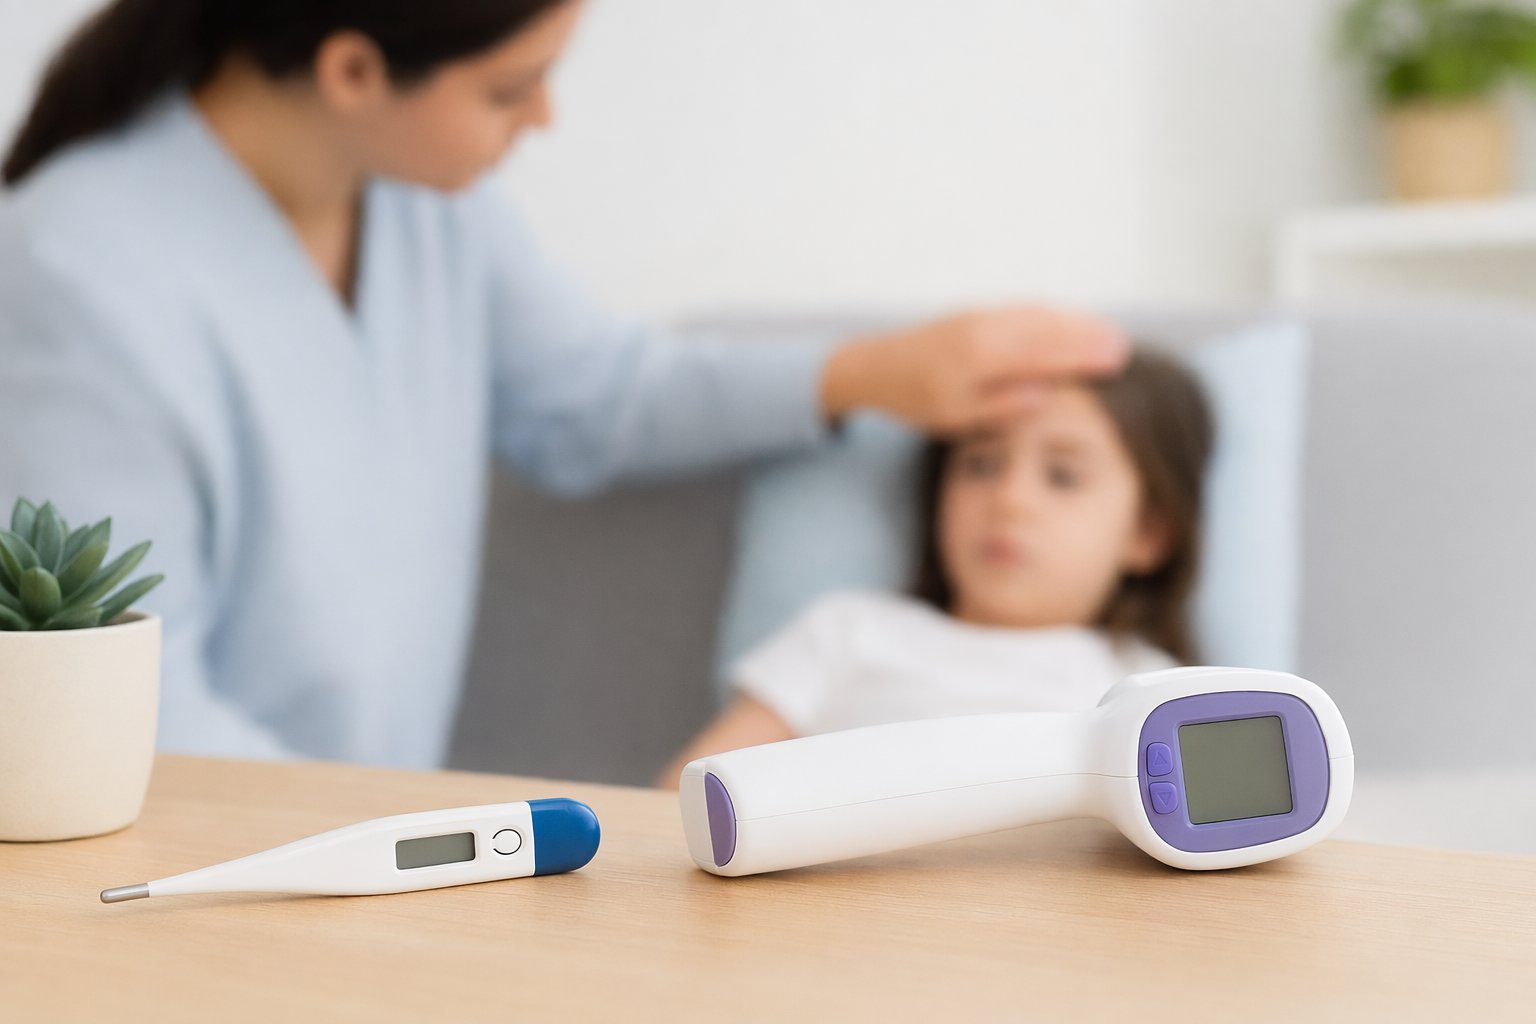
When you need to track heat levels, the right tool changes the outcome. Infrared devices use light to read the surface, while digital probes must touch the center of the item to get an accurate reading.
| Method | How long | Effort | Cost | Best for |
|---|---|---|---|---|
| Infrared Laser | 1 second | Low | Medium | Surfaces |
| Digital Probe | 5-10 seconds | Medium | Low | Internal food |
| Dial Thermometer | 30 seconds | High | Low | Large roasts |
Choose infrared sensors only if you need to measure external heat without contact. These tools fail when measuring thick meats because they can’t penetrate the surface, leading to dangerously undercooked centers.
Use a digital probe for thin proteins or delicate baked goods. If you’re cooking a steak less than one inch thick, a probe is the only way to verify safety without overcooking the exterior.
The most common mistake is failing to calibrate your device. If your dial thermometer reads 215 degrees in boiling water at sea level, it’s reading 3 degrees high. Always account for this offset when reading your target temperature.
Precision is the difference between a safe meal and a health hazard.
Infrared Laser Scanning
This method uses a lens to focus infrared light from a target onto a sensor that calculates heat. It’s a non-contact process that works best for moving parts or very hot surfaces where physical contact is impossible.
Point the lens directly at the surface you want to measure. Hold the trigger for one second to capture the reading. Keep the device within the distance-to-spot ratio specified by the manufacturer, usually a range of six to twelve inches for common kitchen models.
The most common mistake is ignoring the distance-to-spot ratio. If you stand too far back, the sensor averages the temperature of the target and the surrounding cold air, leading to a reading that’s significantly lower than the actual surface heat.
This method is excellent for checking if your frying pan is ready or if your oven stone has reached the correct heat. However, it can’t see through objects. If you point it at a piece of meat, you only measure the surface, which gives a false sense of safety.
If you’re checking food for illness prevention, follow the safe minimum internal temperatures to ensure the center is actually cooked through. This method isn’t for clinical use or internal food safety, as it lacks the penetration needed to confirm the core temperature.
When measuring reflective surfaces like stainless steel or aluminum, the sensor often fails. The laser reads the reflected temperature of the room rather than the metal itself. If the surface is shiny, apply a small piece of matte black electrical tape to the area first. The tape provides a consistent emissivity that allows for an accurate reading.
Digital Probe Measurement
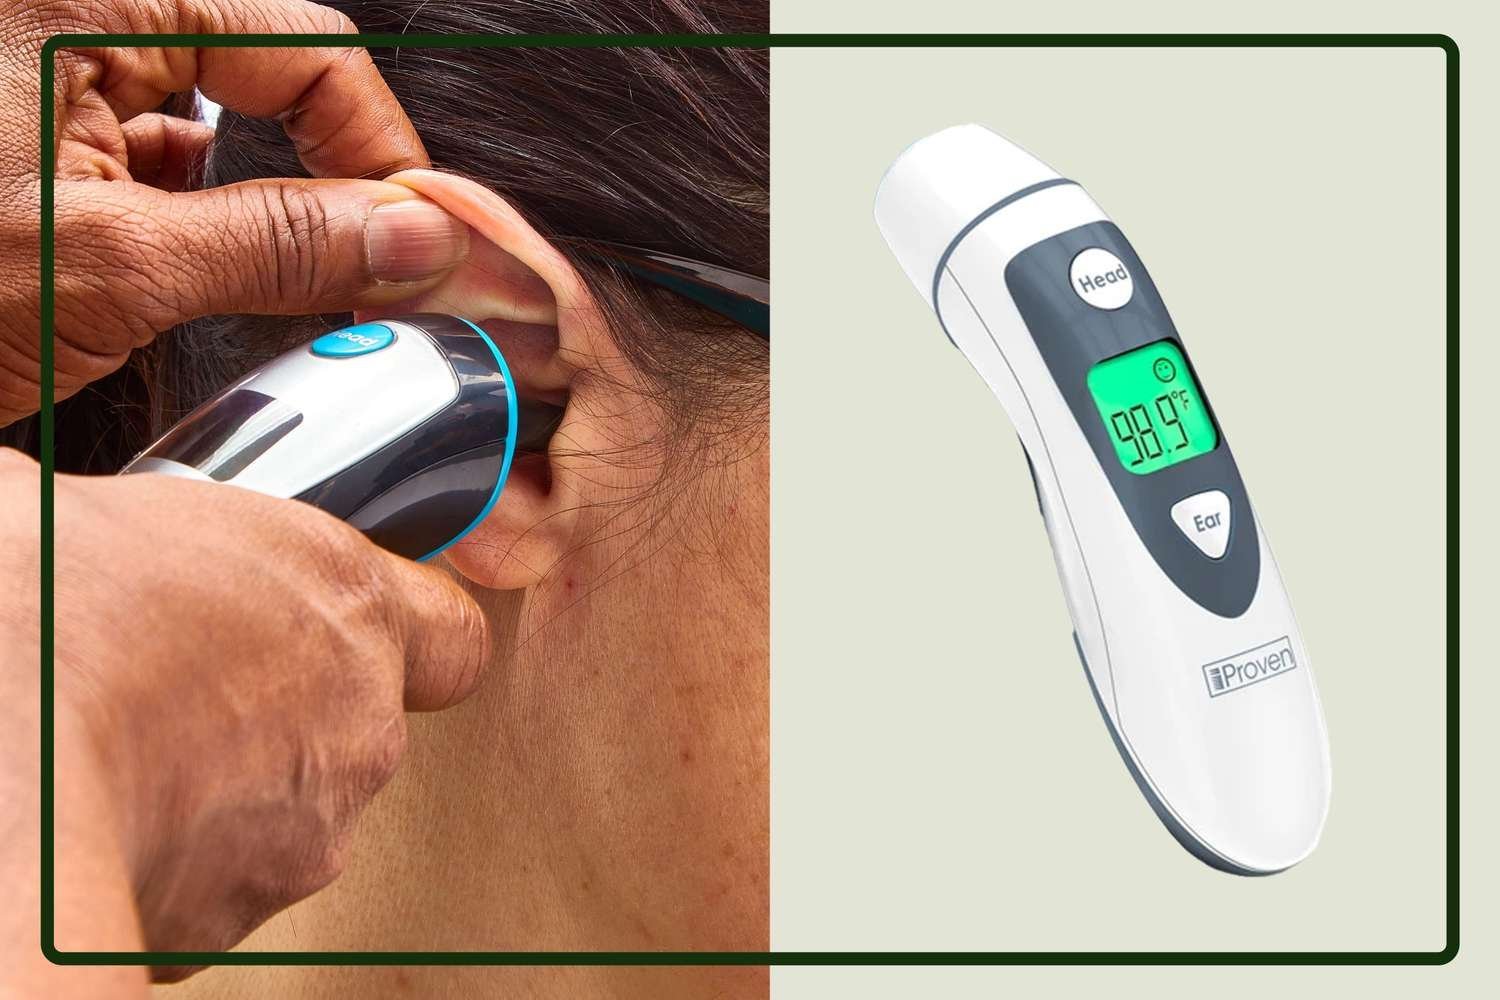
Digital probes provide a direct measurement by sitting inside the material. This is the only way to know if food is safe to eat or if a liquid has reached a specific target.
- Insert the metal probe into the thickest part of the food. Avoid hitting bone or fat pockets, as these areas conduct heat differently and will yield inaccurate readings.
- Wait five to ten seconds until the display stops changing.
- Remove the probe and clean the tip with warm, soapy water to prevent cross-contamination.
Probes are highly accurate for food safety because they measure the actual heat inside the item. They’re less convenient for checking hot surfaces, as the plastic handle may melt if you leave it on a burner.
A common mistake is inserting the probe too shallowly, which only measures the outside layer. This costs you accuracy and can lead to undercooked food. To ensure a true reading, insert the sensor at least one inch deep into the item.
If you’re measuring a thin cut of meat, such as a flank steak, insert the probe horizontally through the side rather than vertically from the top. This allows the sensor to stay within the meat’s center rather than passing through to the hot pan below.
This tool isn’t for measuring air temperature or large surface areas like walls. The probe is too small to capture a representative sample of an ambient space, leading to significant data drift.
Manual Dial Monitoring
Dial thermometers use a bimetallic coil that expands as heat increases. They’re inexpensive and require no batteries, yet they react significantly slower than digital sensors.
Place the stem at least two inches deep into the thickest part of the food. Wait thirty seconds for the needle to stabilize. Read the dial while it remains inside the item to ensure the most accurate result.
These tools are reliable for long-term storage, but they’re fragile. If you drop one, the internal calibration often shifts, causing inaccurate readings until you perform a manual reset.
The decision rule is simple: if you’re cooking a thick roast or a whole bird, these are excellent. If you’re preparing thin items like fish fillets or chicken cutlets, avoid them. The stem is too thick to fit without damaging the meat’s structure.
A common mistake is failing to calibrate the device after a drop. This oversight can lead to undercooked food, which poses a serious safety risk. To check yours, submerge the stem in a glass of ice water. If the needle doesn’t point exactly to 32°F, rotate the hex nut on the back of the dial until it aligns. This simple test should be performed regularly to maintain precision.
Choosing Your Tool
When you’re in a hurry, use an infrared laser because it provides a reading in under one second without any cleanup. This is ideal for checking the surface temperature of a hot skillet or a preheated oven stone.
If you’re a beginner, use a digital probe. It’s the most intuitive and safest way to confirm that food is ready to eat. A common mistake is relying on visual cues like color or texture, which often leads to undercooked poultry. Using a probe removes this guesswork and prevents foodborne illness.
If you want the best possible result regardless of the effort required, use a digital probe for all internal measurements and an infrared laser for surface checks. The decision rule is simple: if you’re cooking a thin item like a scallop, the surface temperature is your primary concern. If you’re cooking a thick roast, the internal temperature is the only metric that matters.
The trade-off is between speed and accuracy. Infrared tools offer incredible speed for external surfaces but can’t tell you what is happening inside your food. Digital probes require you to touch the item and wait five to ten seconds for a result, but they provide the essential data needed for safety. If you need to check a surface but also need to know the internal status, you must use both tools.
Standard Practices for Accuracy
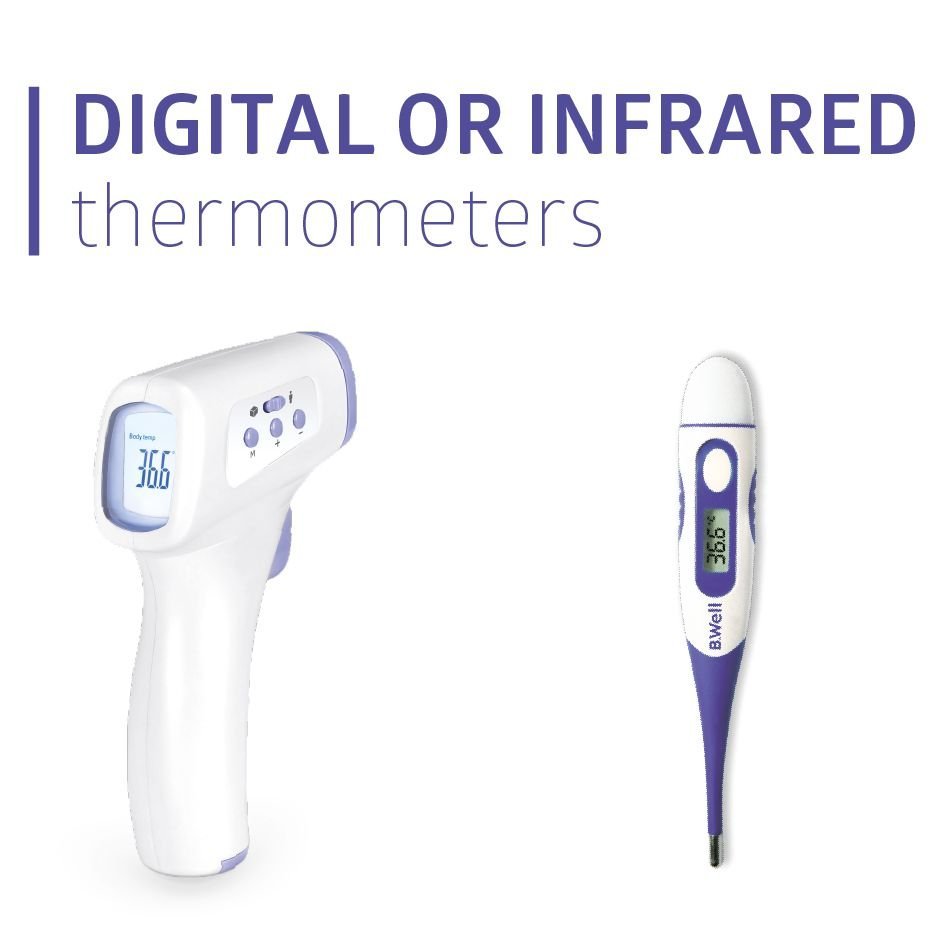
Regardless of the device you choose, you must keep the sensor or probe clean. Dirt or grease on an infrared lens blocks the light, leading to incorrect readings. Always check your device’s manual for the calibration limit, as this varies by model; some require a yearly check to stay accurate.
Before you start, prepare your workspace so you aren’t fumbling with the device while the item is hot. If you’re measuring liquids, stir them briefly to ensure the heat is even before you insert a probe. If you’re using an infrared tool, make sure there’s no steam between you and the target, as water vapor blocks the infrared signal and causes the reading to jump. Using a thermometer that isn’t designed for food safety, such as an industrial laser, is a risk because those units may not be calibrated for the narrow ranges required for cooking. If you have questions about the calibration of a specific unit, contact the manufacturer directly to see if they offer a testing service.
How do I know if my thermometer is accurate?
You can test the accuracy of a digital probe by placing the tip into a glass of ice water. The display should read approximately thirty-two degrees Fahrenheit after thirty seconds of stirring. If it reads more than two degrees off, you should recalibrate it or replace the unit. Don’t use a thermometer that consistently gives different readings for the same item, as this suggests the internal sensor has failed.
Can I use an infrared thermometer for cooking meat?
No, you can’t use an infrared thermometer to verify that meat is safe to eat. These devices only measure the surface temperature, which changes much faster than the center of the meat. To ensure meat is safe, you must use a digital probe to check the internal temperature, as this is the only way to confirm that harmful bacteria have been destroyed.
How long do the batteries last?
Most digital and infrared thermometers last for a limited period with moderate household use. You’ll notice the display becoming dim or the readings becoming unstable when the power is low. If you have a model with a replaceable battery, check the battery compartment for the specific size, as this varies by model — check the label on the back of the device.
Is it safe to leave a probe in the oven?
No, you shouldn’t leave a standard digital probe in the oven unless it’s specifically designed for high-heat, leave-in use. Most probe wires will melt or short out if exposed to oven heat for more than a few minutes. If you need to monitor a long roast, use a dedicated oven-safe probe that features a heat-resistant cable and a remote display unit.
Why does my infrared thermometer give different readings?
Your infrared thermometer gives different readings because of the distance-to-spot ratio and the material’s emissivity. If you’re too far away, the device captures the temperature of the surrounding area rather than just the target. Additionally, shiny surfaces like polished steel reflect heat, which confuses the sensor. To get a better result, get closer to the target and ensure you’re aiming at a matte, non-reflective surface.
Infrared thermometer, in short
Keep both tools in your kitchen drawer so you’re always prepared for any recipe. If you’re unsure which to grab, just think about whether you’re testing the outside or the inside of your dish. You’ll find that having the right option on hand makes your time at the stove much easier.
Related guides