
Most Chevy brake caliper bolts need a T45 Torx bit, and most brake rotor hold-down screws need a T30 Torx bit. Older models sometimes use a T40 on the caliper, so check your service manual before you buy a set.
The deciding factor is the bolt head itself, not the vehicle name. A bit that’s too small rounds out the Torx socket and strips the screw, which turns a ten-minute job into a drilled-out bolt. The most common mistake people make is grabbing one bit for everything and forcing it into a head it doesn’t fit.
Find the right Torx bit size for Chevy brakes
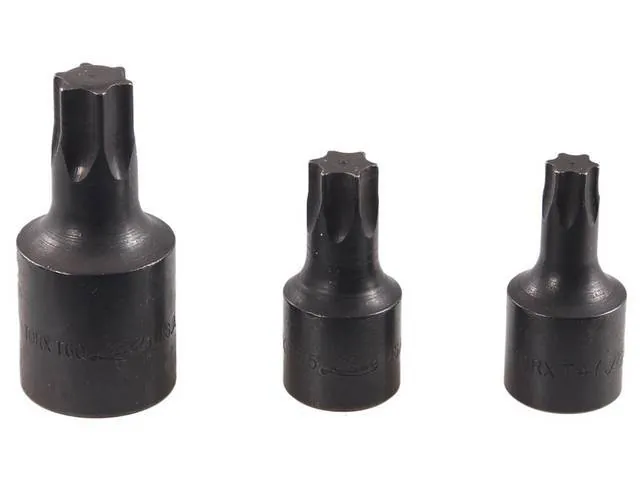
Look at the caliper bolt head on your wheel hub and match it to a bit. Try a T45 first on most current Chevy caliper guide bolts; it should seat fully without wobble. Use a T30 for the small screws that hold the rotor to the hub on many models. Switch to a T40 if the T45 doesn’t sit flush on an older vehicle.
Apply steady pressure straight into the bolt; an angled bit strips the recess. If you feel the bit shifting, you’re likely off-axis. Stop immediately and realign your driver to avoid rounding the internal teeth.
Stop and switch sizes if the bit cams out or spins without turning the bolt. A loose fit is a warning sign that the internal geometry isn’t matching. Force at this stage will destroy the bolt head, turning a ten-minute job into a multi-hour extraction nightmare.
Replace any rounded bolt before reinstalling the wheel. A bolt that has lost its sharp edges won’t hold the required torque, leading to brake vibration or failure.
If a rotor screw won’t turn, spray penetrating oil and wait fifteen minutes before applying more force.
If a bolt head is already stripped or rounded, stop and take the vehicle to a brake shop; drilling it out without the right tools can damage the hub. If you see metal shavings while turning, stop instantly. You’re cutting the bolt head off rather than loosening it, which requires a welder or a specialized extractor to fix.
How long brake work takes
| Situation | How long | What changes it | What to watch for |
|---|---|---|---|
| Caliper bolt removal, standard fit | 10–20 minutes | Rust and seized bolts add time | Stripped Torx heads |
| Rotor screw removal, easy | 5–10 minutes | Corrosion between screw and hub | Rounded screw recess |
| Full brake pad and rotor swap | 1–2 hours per axle | Seized caliper pins, stuck rotor | Brake fluid leaks |
Expect the job to double in length if your vehicle has spent more than five winters in a region that salts roads. Corrosion acts like industrial glue on rotor screws. If you can’t break a screw loose after two minutes of steady pressure, stop. Applying more force usually snaps the head, turning a simple maintenance task into a three-hour drill-out nightmare.
If you’re working on a vehicle with an electronic parking brake, add 30 minutes to the total. You must use a diagnostic scan tool to retract the rear pistons before you can remove the pads. Skipping this step or trying to force the piston back manually will destroy the internal motor.
If removal is taking far longer than the table shows, stop and have a mechanic finish it. Forcing a seized bolt can crack the caliper or hub, which costs ten times more than the original labor. If you feel the tool slipping or the bolt head deforming under torque, you have already reached your limit. Walk away before the damage becomes permanent.
Know when the bolt is out

The correct bit seats completely in the bolt recess with no side-to-side play. The bolt turns smoothly without the bit jumping or camming out under load. When the bolt is loose, it backs out by hand with steady turning resistance. If the bit spins in place while the bolt stays still, the Torx socket is stripped. This usually means the bit is the wrong size or worn past its useful life.
Stop immediately if you feel that spin to avoid rounding the fastener further. Test fit a new bit before applying any more force to confirm engagement. A torque wrench settles reinstallation safely and predictably every time. Tighten caliper bolts to the factory setting listed in your specific service manual. Under-torqued bolts can work loose during braking cycles and cause dangerous movement.
Over-torqued bolts stretch beyond yield and snap without warning. Never guess this critical value based on feel alone. Always verify the specification matches your exact vehicle model year. Using an impact driver risks stripping fresh threads instantly. Hand tools provide the feedback needed to detect binding early. Replace any bolt that shows stretching or thread damage.
Mistakes that ruin brake hardware
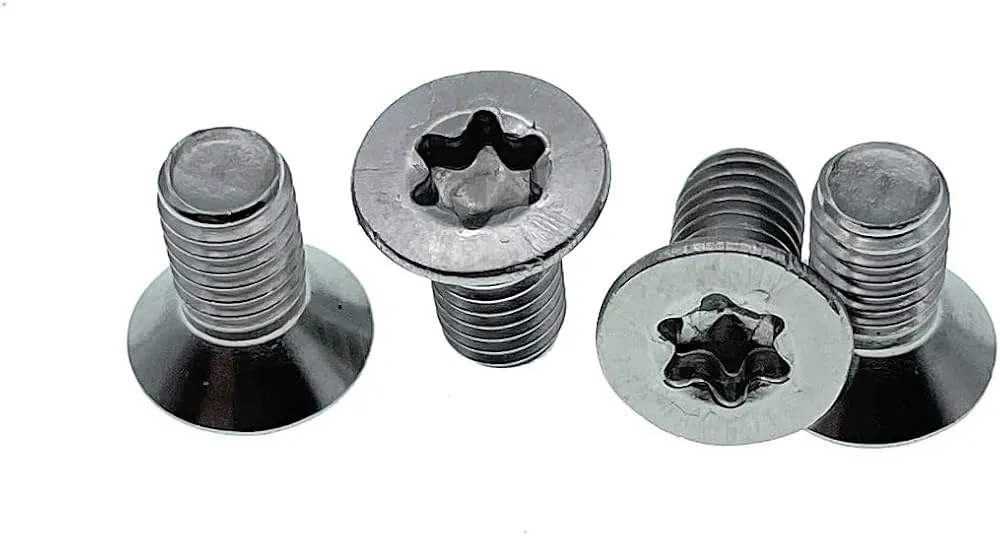
Using one bit for every bolt. A loose fit rounds the Torx recess and strips the bolt head. Match the bit to each bolt before you turn it. If the bit wobbles even slightly inside the drive, you’re using the wrong size.
Pressing at an angle. An angled bit slips and chews up the socket, leaving nothing for the next bit to grip. Keep the driver straight in line with the bolt. If you can’t maintain a perfect 90-degree angle due to tight wheel wells, use a wobble extension to keep the torque square.
Forcing a seized bolt. Too much torque snaps the bolt off inside the hub or caliper. Apply penetrating oil and let it sit for at least ten minutes instead of leaning on the wrench. If the bolt doesn’t budge after two attempts, stop immediately to avoid a sheared shank.
Reusing a rounded bolt. A damaged head won’t hold torque and can back out while you drive. Replace it with a new bolt of the correct grade. If the threads show signs of stretching or corrosion, discard them. Never reuse a bolt that required excessive force to remove, as the metal integrity is already compromised.
Frequently asked questions
What size Torx bit for Chevy brakes and rotors
Most Chevy caliper bolts take a T45 Torx bit, while most rotor hold-down screws take a T30 Torx bit; older models may use a T40 on the caliper, so check your service manual for the exact size your vehicle uses.
Can I use a metric hex bit instead of a Torx bit
No. A hex bit doesn’t fit a Torx recess and will round out the bolt head on the first turn, so use the correct Torx size or take the vehicle to a shop.
How long does it take to remove Chevy brake caliper bolts
It takes about 10–20 minutes per caliper when the bolts aren’t seized; rusted or corroded bolts can add another 20–30 minutes, and a seized bolt may require a mechanic.
Is it safe to drive with a stripped brake caliper bolt
No. A stripped or loose caliper bolt can let the caliper shift or drag, which reduces braking power and can cause uneven pad wear or brake failure; have it repaired before driving.
What happens if I over-tighten the caliper bolts
Over-tightening can stretch or snap the bolt, crack the caliper bracket, or warp the mounting surface; tighten to the factory torque specification in your service manual instead.
Why does my Torx bit keep slipping out of the bolt
The bit is likely the wrong size, worn, or not seated straight in the recess; stop, switch to a size that seats fully, and keep the driver aligned with the bolt before applying force.
Conclusion
Most Chevy brake caliper bolts take a T45 Torx bit and most rotor screws take a T30, but the only way to be certain is to match the bit to the bolt head on your own vehicle. If a bolt is already rounded or seized, stop and let a brake shop finish the job rather than risk snapping a bolt inside the hub.
