
You can reset a breville espresso machine post cleaning by holding down the one-cup and two-cup buttons simultaneously while turning the power on. This action clears maintenance alerts and resets the internal cycle counter back to zero. This method works for most Barista Express and Infuser models, and it’s best for users who have just finished a deep clean or replaced their water filter. If your machine still shows a light, you might need to repeat the process.
Preparing your Breville espresso machine for reset
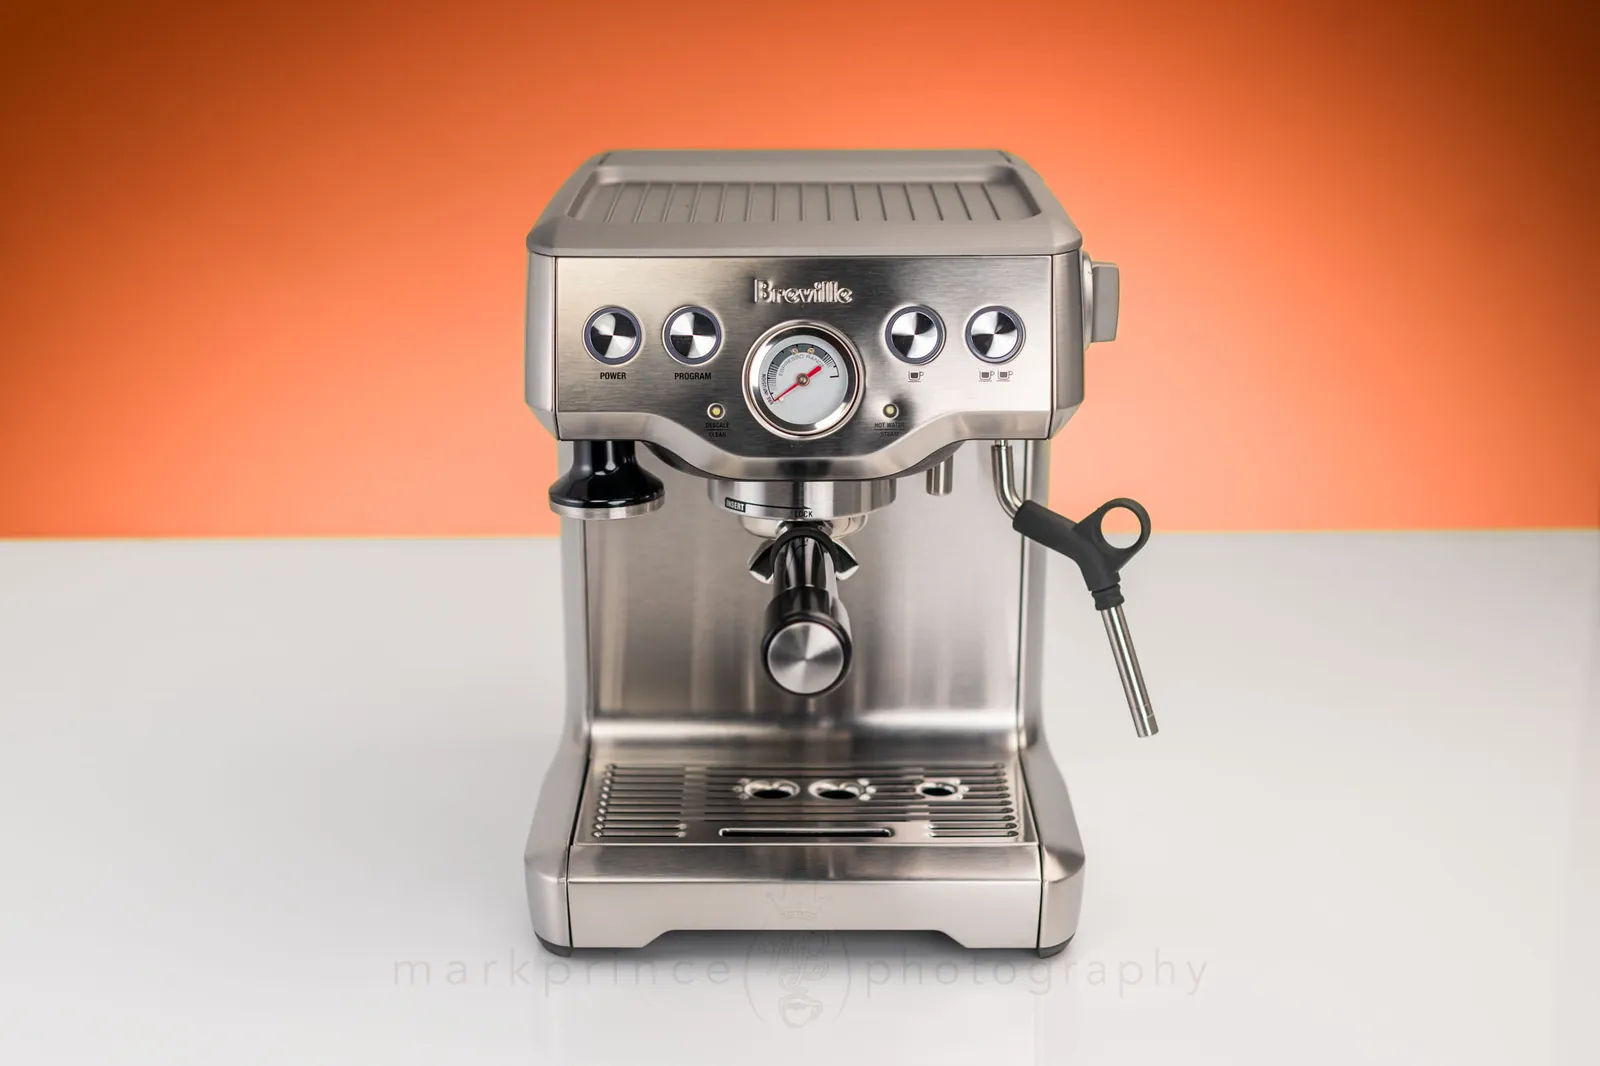
To keep your machine running smoothly, you need to have a few specific items ready before you start the reset process. Using the wrong tools can damage the delicate seals or leave residue in the brew path.
- Cleaning Tablet: Use only the official Breville cleaning tablets designed for their espresso machines.
- Cleaning Disc: This is the silicone insert that goes into the filter basket to create pressure.
- Water Filter: Always have a fresh, BPA-free filter ready to replace the old one.
- Descaling Solution: Use a dedicated espresso machine descaler rather than vinegar, as vinegar can corrode internal brass components.
- Microfiber Cloth: A soft, lint-free cloth is best for wiping the steam wand and exterior surfaces.
- Soft Brush: A small, nylon-bristled brush helps remove coffee oils from the group head screen.
You can substitute a store-bought cleaning solution with a manufacturer-approved one, but never use household soaps or bleach. If you’re unsure about the specific chemical safety of a cleaner, check the Breville official support documentation for your exact model. Proper maintenance keeps your coffee tasting fresh and prevents mineral buildup.
Performing the System Reset
Follow these steps to clear your machine’s memory after you finish your cleaning cycle. This process ensures the machine knows the maintenance is complete.
Turn off your machine by pressing the power button. Press and hold the one-cup and two-cup buttons at the same time. Continue holding these buttons while you press the power button to turn the machine back on.
Watch the lights on the front panel; they should blink or flash to show the reset is active. Release the buttons once the lights stop flashing and the machine enters standby mode. Run one full cycle of hot water through the group head without coffee to ensure the system is clear.
If the lights don’t flash, ensure the machine is fully plugged into a grounded wall outlet. You must use a direct wall socket rather than a power strip or surge protector, as these often filter the signal required for the reset sequence.
If you see a solid red light instead of blinking, the internal sensor has failed to register the reset. Unplug the machine for exactly sixty seconds to drain the residual power from the motherboard, then attempt the sequence again.
Don’t attempt to open the machine casing. If the machine doesn’t power on after a reset, it’s a professional repair job. High-voltage capacitors inside can hold a lethal charge even when the machine is unplugged.
A common mistake is releasing the buttons too early. Wait until the lights go completely dark before letting go, or the memory will retain the old error state. If the machine cycles but continues to display the cleaning alert, you have likely interrupted the handshake protocol. Perform the reset again, ensuring you hold the buttons for a full five seconds after the power returns. Contact an authorized service center if the alert remains after three failed attempts.
Adjusting for Different Models

The time required to reset your machine depends on the specific series you own. While the button combination is standard for many, the feedback lights vary.
| Machine Model | Reset Time | Key Difference | What to Watch |
|---|---|---|---|
| Barista Express | 5 seconds | Manual button hold | Flashing lights |
| Bambino Plus | 10 seconds | Pulse light sequence | Stability of lights |
| Oracle Series | 15 seconds | Screen-based menu | On-screen confirmation |
Always start with the shortest hold time and add more if the machine doesn’t respond. It’s much safer to try a short reset twice than to force a long reset that could trigger a different diagnostic mode.
If you own a machine with a PID temperature controller, you must ensure the unit is fully heated before initiating the reset. Cold components often fail to register the electrical signal, leading users to believe the board is faulty. If the lights don’t blink after the designated time, turn the power off at the wall for thirty seconds before trying again.
Distinguish your model by checking the water tank capacity. If the tank is smaller, you’re likely using a consumer-grade model that relies solely on the front-facing buttons.
A common mistake is holding the button while the machine is still in its initial warm-up phase. Doing this forces the machine into a factory calibration loop, which can wipe your saved temperature settings. Simply power cycle the unit to exit without saving changes.
Signs of a Successful Reset
A successful reset means your machine is no longer prompting you for a cleaning cycle that you have already performed. When you finish the process, the “Clean Me” or “Descale” light should turn off immediately. If the light stays on, it usually means the machine didn’t detect the full completion of the cleaning cycle.
The most common mistake is performing the reset before the machine has finished its internal rinse. This leaves the internal sensors thinking the chemicals are still present in the pipes. To prevent this, always ensure you have flushed the system with at least 500ml of fresh water after the cleaning cycle. If the light persists, check that your water tank is fully seated, as a loose tank can sometimes trigger a false sensor alert.
You can verify success by checking the flow rate of your next brew. A truly clean system will dispense a standard cup in under thirty seconds. If the machine struggles or makes a strained humming noise, the internal valve is likely still obstructed by mineral buildup. In this case, the reset was premature and you must repeat the cycle.
If you have a digital display, look for the “Ready” icon to remain steady for at least five minutes without flickering. A flickering icon indicates that the internal pressure is still fluctuating, which suggests the reset didn’t fully calibrate the pump.
Maintenance Rules and Storage
Follow the cleaning schedule recommended by the manufacturer to keep your machine in top shape. You should perform a deep clean every 200 shots or when the indicator light turns on. After cleaning, always flush the group head and steam wand to remove any remaining chemical residue.
A common mistake is leaving damp grounds in the portafilter during the cleaning cycle. This trapped moisture breeds bacteria that ruin the flavor of your next extraction. Always wipe the group head gasket with a dry microfiber cloth immediately after your final flush to ensure a tight, sanitary seal.
If you plan to store the machine for more than a few days, empty the water tank and the bean hopper completely. Store the machine in a dry, room-temperature environment to prevent mold growth in the internal lines.
If you notice leaks or unusual noises after a reset, stop using the machine and contact a certified technician. Attempting to fix internal mechanical parts yourself can void your warranty and lead to electrical hazards.
If the machine fails to reach pressure, check the water intake filter first. If the filter is clear but the pump remains silent, the issue is likely a failed solenoid valve. Don’t attempt to bypass this component. If you hear a high-pitched whistling, turn off the power immediately; this indicates a pressure release valve failure that requires professional calibration. Always keep your purchase receipt and service logs in a single folder to streamline warranty claims if these mechanical issues arise.
Alternative Cleaning Routes

Manual Backflushing
This method uses the cleaning disc and a tablet to scrub the internal solenoid valve. It’s more thorough than a simple rinse but takes about 10 minutes longer to complete.
Descaling Cycle
This involves running a liquid descaler through the machine to remove calcium buildup. The frequency depends on use, and you should consult the owner’s manual for the recommended schedule.
Steam Wand Purge
This is a quick, daily habit. Simply run the steam wand for 3 seconds after every use to blow out milk particles before they harden inside the tip.
Related guides
Frequently asked questions
How long does the reset take?
The reset process takes about 10 seconds once you begin holding the buttons. This assumes you have already finished the cleaning cycle and the machine is powered off.
Is it safe to reset without cleaning?
No, it isn’t recommended because the machine relies on its internal counter to track mineral buildup. Resetting the counter without cleaning will cause scale to accumulate, which can eventually block the internal pipes.
What happens if the light stays on?
If the light stays on after a reset, it means the machine still detects a fault or the cycle didn’t finish. Check that your water tank is full and try the reset one more time.
Can I use vinegar to clean?
You should avoid using vinegar, as it can leave a lasting odor in the boiler and potentially damage the internal seals. Always use a dedicated espresso machine cleaner for the best results.
How often should I reset the machine?
You only need to reset the machine after you have performed a full cleaning or descaling cycle. Doing it more often doesn’t improve performance and may clear other saved user settings.
Do I need a technician to reset it?
No, you don’t need a technician for a standard reset. This is a user-level maintenance task that you can perform safely using the buttons on the front panel.
Conclusion
Regular maintenance ensures your espresso machine stays in good condition for years. By following these steps, you keep the internal sensors accurate and your coffee quality consistent. Always refer to your user manual if you encounter error codes that a simple reset can’t clear.
