
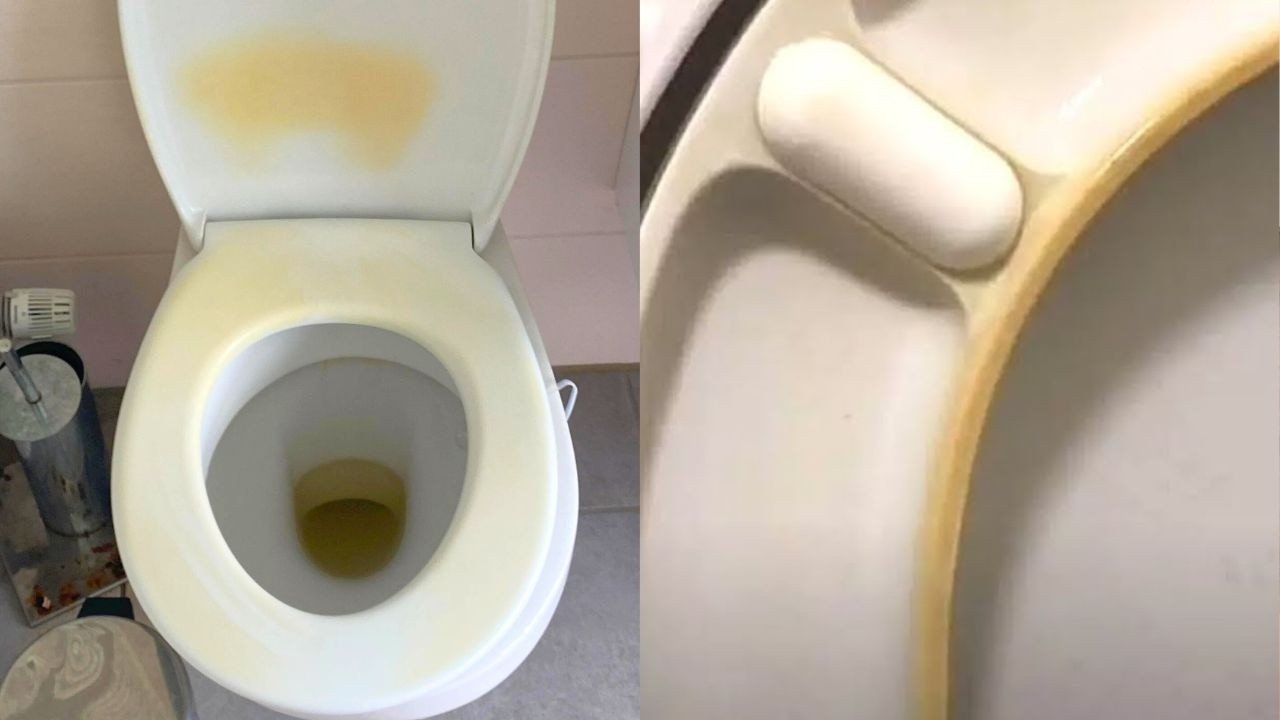
If you are wondering how to clean toilet seat yellow stains, apply a paste of baking soda and water or a mild vinegar solution to break down the buildup. These methods work best on plastic or enameled seats that have faded due to age or chemical reactions.
The effectiveness of these cleaners depends on the material of your seat, the severity of the discoloration, and whether the yellowing is surface-level grime or a permanent change in the plastic’s chemical structure.
Who needs to clean yellow toilet seats
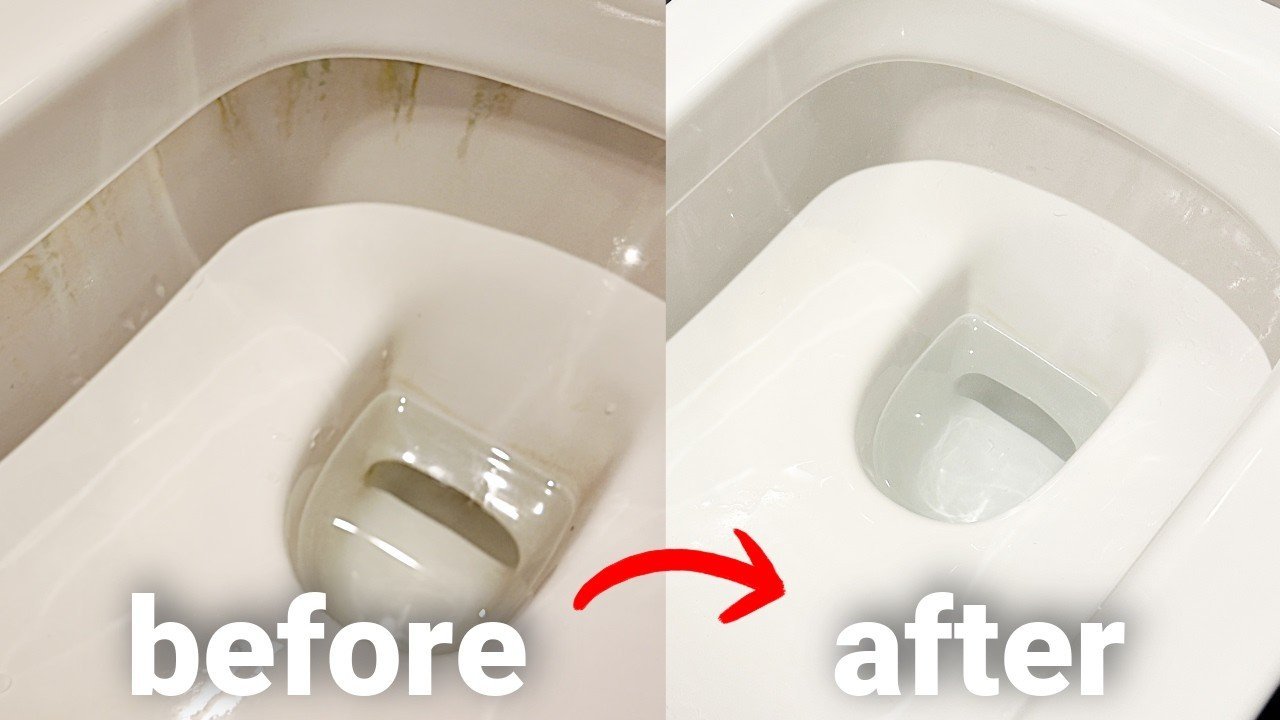
This guide is for homeowners and renters who notice their toilet seats looking dingy, tan, or yellow despite regular cleaning. You have likely already tried standard bathroom sprays and found that they don’t lift the deep color. You need a solution that targets mineral deposits or UV-aged plastic without damaging the finish of the seat.
This page is best for those who have standard white plastic or acrylic seats. If you have a wooden seat with a painted finish, this guide isn’t for you, as harsh abrasives or acidic cleaners can strip the paint or cause the wood to swell. We assume your seat is structurally sound and that the yellowing is a cosmetic issue rather than a sign of deep structural rot or mold infestation. If your seat is cracked or peeling, no amount of cleaning will fix it; you should replace it to maintain proper hygiene. Readers looking to restore a vintage porcelain seat or a specialized material like solid wood should consult the manufacturer’s care manual instead, as those surfaces require specific pH-neutral cleaners to avoid permanent etching.
Factors affecting your results
The primary factor is the material of the seat. High-quality polypropylene plastic is more resistant to yellowing than cheaper, porous plastics. If the yellow color penetrates deep into the plastic, it’s likely a chemical change caused by UV light or heavy cleaning agents. You can check the underside of the seat to see if the plastic matches the color of the top; if the underside is white but the top is yellow, the issue is likely surface grime.
Another factor is water hardness. If you live in an area with high mineral content, calcium and magnesium deposits create a rough surface that traps bacteria and dirt, turning the seat yellow over time. You can determine your water hardness by checking your local water utility’s annual quality report.
The cleaning agent you choose also matters. Vinegar is excellent for breaking down mineral scale, while hydrogen peroxide acts as a mild bleaching agent for organic stains. Using both at once is ineffective because they neutralize each other, so choose one based on whether you’re fighting scale or discoloration.
People often make the mistake of using abrasive scouring pads or harsh bleach. While bleach makes things look white temporarily, it can actually make plastic more porous and prone to future yellowing. Using steel wool or heavy-duty scrubbers creates micro-scratches that act as magnets for future dirt, making it harder to keep the seat clean in the long run.
Finally, the age of the seat is a hard limit. If the yellowing is caused by the breakdown of polymers due to long-term exposure to sunlight or heat, the plastic has reached its end of life. No chemical process can reverse the degradation of the polymer chain.
Step by step
- Remove the seat from the toilet base to ensure you can reach the hinges and the underside. Most modern seats have a quick-release button or two plastic bolts under the rim; unscrew these by hand or with a plastic wrench.
- Wipe the entire seat with a damp cloth to remove loose dust and debris before applying any cleaner.
- Mix 3 tablespoons of baking soda with 1 tablespoon of water to create a thick paste.
- Apply the paste to the yellowed areas using a soft microfiber cloth. Ensure the paste is thick enough to cover the stain completely.
- Let the paste sit for 15 to 20 minutes. Don’t let it dry completely, as it becomes harder to remove.
- Use a soft-bristled brush or a sponge to gently scrub the surface in circular motions.
- Rinse the seat thoroughly with warm water. Ensure no residue remains, as leftover baking soda can leave a white film.
- If the yellowing persists, spray the area with a 5% concentration of white vinegar.
- Let the vinegar sit for 5 minutes, then wipe clean with a fresh cloth.
- Dry the seat completely with a clean towel before reattaching it to the toilet.
The judgement call here is knowing when to stop scrubbing. If the color doesn’t change after the second treatment, the plastic has likely undergone a permanent chemical change. Continuing to scrub will only damage the surface.
Cleaning methods for different situations
You can choose the right approach based on the specific type of buildup on your seat.
| Situation | Method | Effort | What to watch for |
|---|---|---|---|
| Light yellowing | Vinegar spray | Low | Streaks on surface |
| Heavy mineral scale | Baking soda paste | Medium | Scratches from grit |
| Organic stains | Hydrogen peroxide | Medium | Eye protection needed |
| Deep UV damage | Replace seat | High | Brittle plastic cracks |
| Grimy hinges | Soft toothbrush | Low | Hidden rust spots |
Use a 1:1 ratio of white vinegar to water for light yellowing. If you notice streaks after drying, wipe the surface again with a damp microfiber cloth to remove residue.
For mineral scale, apply the baking soda paste and let it sit for exactly ten minutes. If you leave it longer, the paste dries into a hard crust that risks scratching the finish.
If the plastic shows cracks, don’t attempt to clean it, as these can harbor bacteria and compromise the seat’s integrity. In this case, immediate replacement is the only safe decision.
Finally, always check the hinges for rust.
What separates a good result from a poor one
Proper preparation and technique
Experienced cleaners always start by removing the seat entirely. Attempting to scrub while the seat is attached means you’ll miss the hinges and the underside, where yellowing often starts due to moisture buildup. They also use microfiber cloths rather than paper towels. Paper towels break down when wet and leave behind fibers that settle into the porous plastic, creating a base for new dirt to stick to immediately after you finish.
Knowing when to leave it alone
A successful result is defined by a clean, smooth surface, not necessarily a factory-new white color. People who get poor results often over-clean the seat, using harsh chemicals like concentrated bleach or heavy-duty bathroom cleaners that contain solvents. These agents dissolve the top layer of the plastic, which creates a dull, matte finish that’s impossible to keep clean. Once the shiny, smooth factory finish is stripped away, the plastic becomes porous and will yellow much faster than before. If the seat is clean to the touch but still looks off-white, accept that as the best possible outcome for that specific material.
What goes wrong, and what to do
| What you notice | What it usually means | What to do first | How to stop it |
|---|---|---|---|
| Rough texture | Mineral buildup | Use vinegar soak | Wipe dry daily |
| White powdery film | Baking soda residue | Rinse with water | Use less paste |
| Dull finish | Stripped plastic | Apply plastic polish | Stop using bleach |
| Black spots | Mold growth | Use hydrogen peroxide | Increase ventilation |
| Cracked plastic | Structural failure | Replace the seat | Avoid heavy weight |
Most users mistake mineral buildup for permanent scratches. If a fingernail catches on the surface, it’s likely a deposit. Soak a paper towel in white vinegar and leave it on the spot for ten minutes to dissolve the minerals. If the surface remains rough after this, the plastic is permanently etched.
The most common mistake is using abrasive scouring pads to remove stubborn film. This creates micro-scratches that harbor bacteria, making future mold growth inevitable. Always use a soft microfiber cloth.
If you see black spots that don’t wipe away, check the underside of the seat. If the spots are deep within the plastic, the material is compromised and must be discarded. If the spots are only on the surface, hydrogen peroxide will kill the spores. If you treat the area and the spots return within a week, the moisture source is trapped behind the mounting hardware. You must remove the seat entirely to clean the base.
Rules for safe cleaning
The primary rule is to never mix cleaning products. Mixing bleach with vinegar creates chlorine gas, which is dangerous to inhale. Always check the label on any commercial cleaner you use; if it contains bleach, keep it away from all other acids or ammonia-based products.
Health and safety standards for household surfaces are maintained by the National Sanitation Foundation (NSF). While they primarily regulate commercial equipment, their guidelines emphasize that surfaces must be non-porous to be considered sanitary. If your seat has become so scratched or yellowed that it feels rough, it no longer meets the standard for a hygienic surface.
If you find that your cleaning involves removing deep-seated rust or chemical stains that require industrial-strength solvents, stop immediately. These products can damage the plumbing seals in your toilet or harm your skin. Contact a professional plumber or a bathroom maintenance specialist if you feel the task requires chemicals beyond basic pantry items.
Financial and time costs
The cost of this process is minimal, usually involving only the price of baking soda and vinegar. The real cost is your time. Expect to spend about 30 to 45 minutes on a full cleaning, including removing and reattaching the seat.
If you decide to replace the seat instead, costs vary widely. A basic plastic seat is an affordable option, while specialized slow-close or ergonomic models are more expensive. Check your local hardware store’s inventory or online retailers to see current pricing for your specific bowl shape—round or elongated. The cost of trying to “fix” an old, degraded seat with expensive specialty cleaners often exceeds the cost of a new, high-quality replacement. If you spend more on cleaning supplies than the cost of a basic seat, you’re likely overspending on a task that a new unit would solve more effectively.
Keeping it right afterwards
To keep the seat clean, wipe it down with a damp cloth after every use. Moisture is the main carrier for the bacteria and minerals that cause yellowing. If you notice a faint yellow tint returning, don’t wait for it to become a stain; use a mild soap and water solution immediately.
Avoid using harsh scrub brushes or scouring sponges. Use only soft cloths or sponges to maintain the smooth finish of the plastic. If you have hard water, consider using a squeegee or a dry towel to remove water droplets after cleaning, as these droplets leave behind minerals that eventually build up into yellow scale. A seat that’s kept dry will last significantly longer than one that’s allowed to air-dry with water sitting on the surface.
When this is the wrong approach
If your seat is cracked, peeling, or feels soft and brittle to the touch, don’t try to clean it. A cracked seat can pinch skin or harbor bacteria that you can’t reach, posing a real health risk. In this case, the only correct approach is to buy a new seat.
If the yellowing is accompanied by a persistent smell that doesn’t go away after cleaning, the plastic itself has likely absorbed odors. This happens in older, low-density plastics. No amount of surface cleaning will remove the smell, and attempting to do so is a waste of time. Replace the seat to resolve the hygiene concern.
To distinguish between surface stains and deep structural failure, press your thumb firmly into the plastic. If the material flexes or leaves a permanent indentation, the chemical composition has degraded. At this stage, the plastic is porous and will continue to trap waste regardless of your scrubbing efforts. Attempting to bleach these compromised surfaces can further degrade the material.
Frequently asked questions
Can I use bleach to clean a yellow toilet seat?
No, you shouldn’t use bleach on plastic toilet seats. Bleach strips the protective finish, making the plastic porous and causing it to yellow even faster in the future.
How long does it take for a toilet seat to turn yellow?
It usually takes several years of regular use and exposure to light for a seat to yellow. The speed depends on the plastic quality and how often you clean it.
Is it safe to use vinegar on my toilet seat?
Yes, vinegar is a safe, mild acid that works well to dissolve mineral deposits. It’s effective for most standard plastic or acrylic seats.
What happens if I scrub too hard?
You’ll create micro-scratches on the surface of the plastic. These scratches trap dirt and bacteria, making the seat look dirty much faster after you clean it.
Does it matter if I have a round or elongated seat?
No, the shape doesn’t change how you clean it. However, if you decide to replace the seat, you must know your toilet bowl shape to ensure the new seat fits correctly.
Why is my toilet seat yellow even after cleaning?
The yellow color is likely a chemical change deep inside the plastic. UV light and heat break down the polymers over time, causing a permanent color shift that can’t be washed away.
What to do next
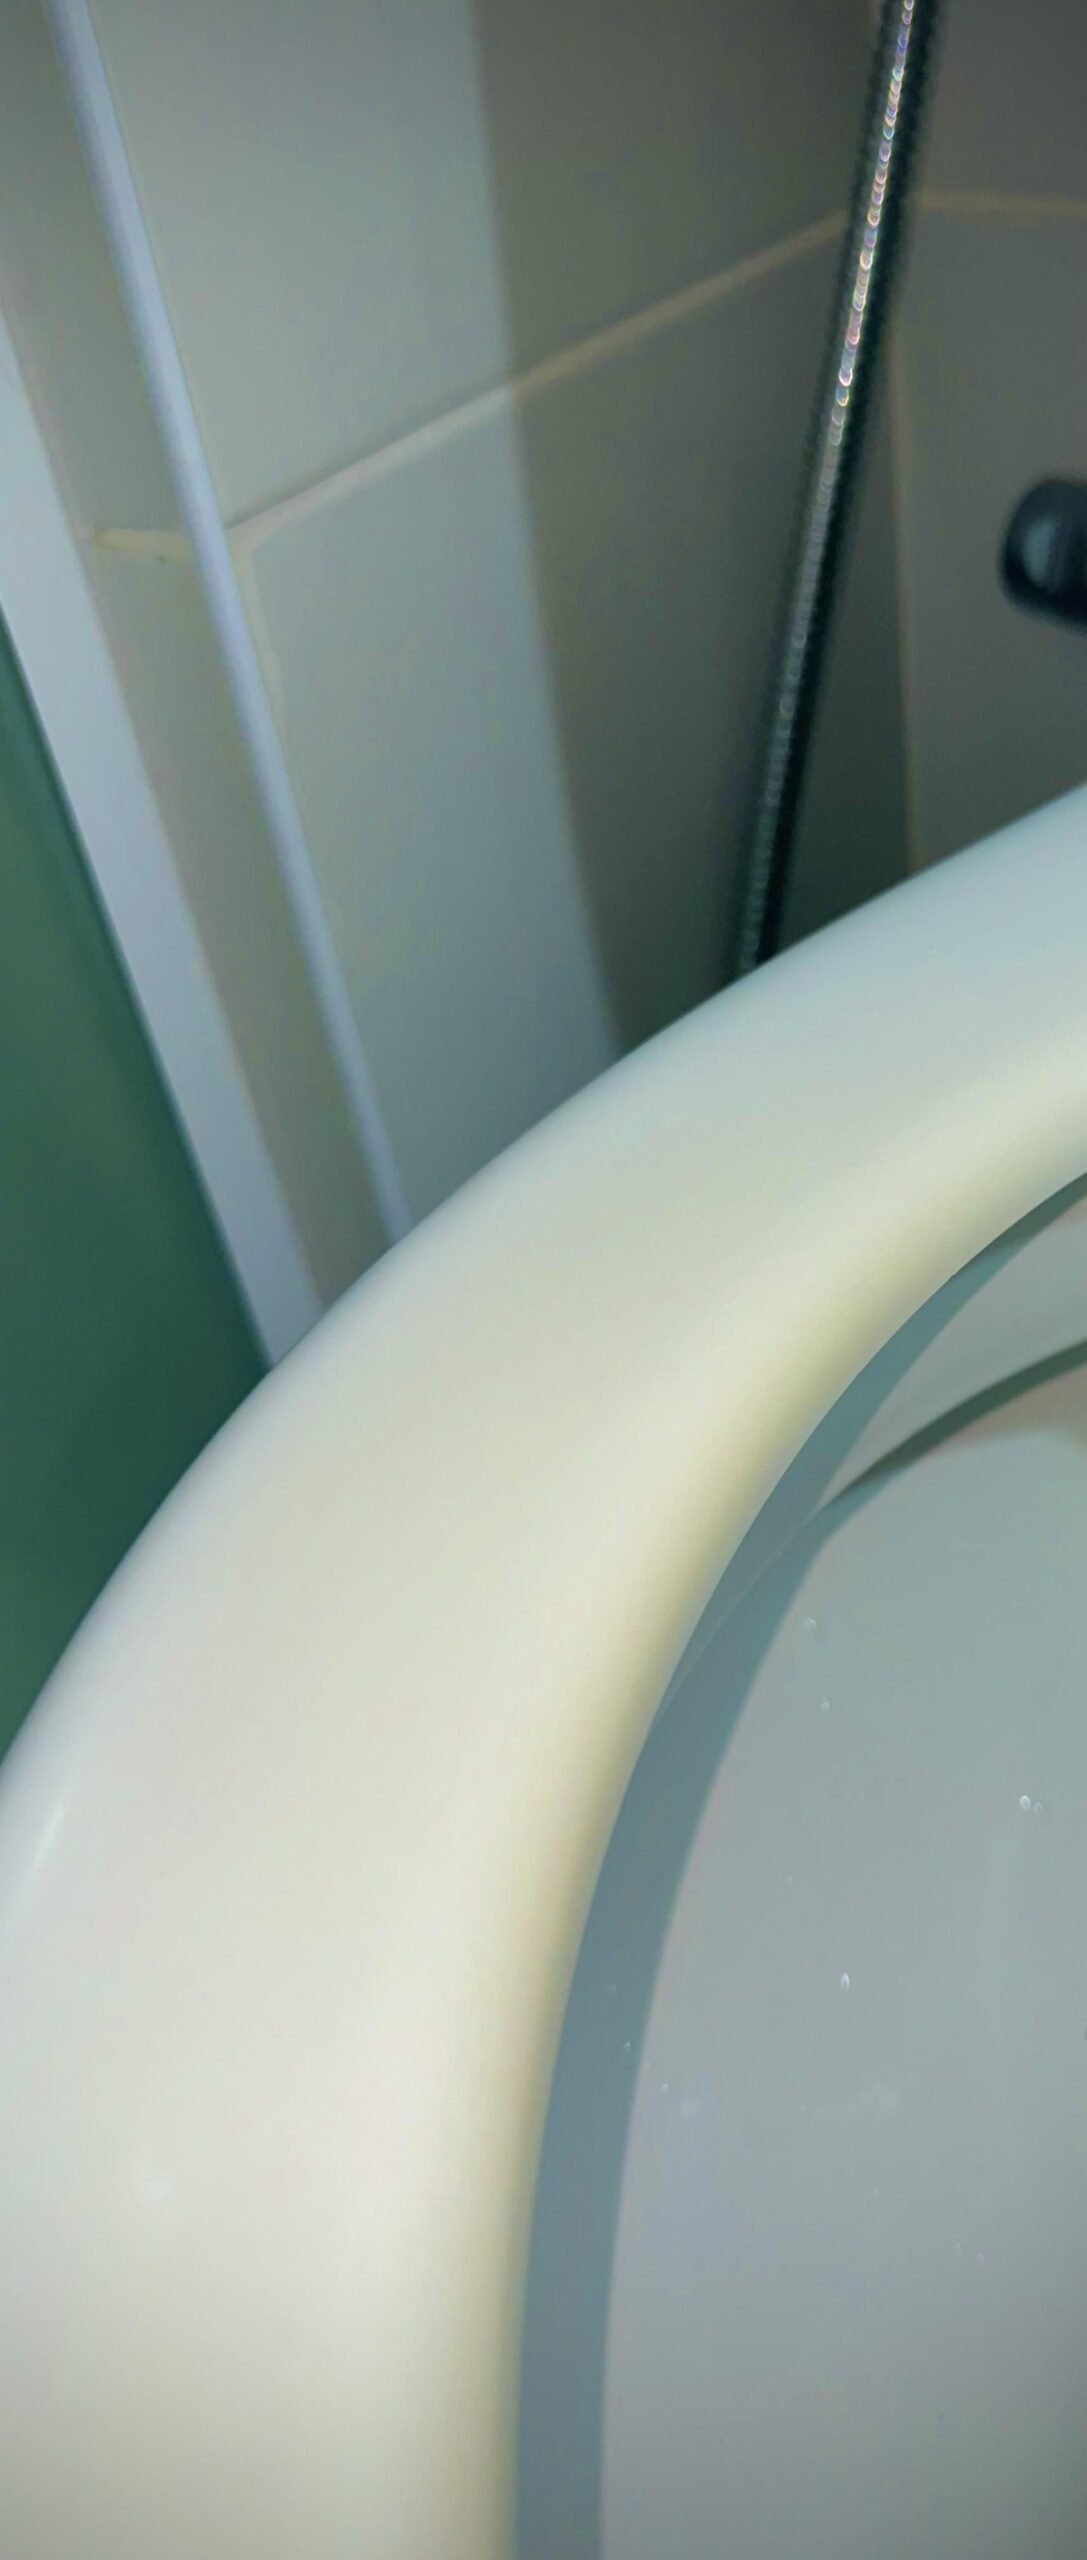
Start by checking if the yellowing is on the surface by wiping it with a damp cloth. If the color remains, apply the baking soda paste and let it sit to see if the stain lifts.
Most people make the mistake of using harsh bleach here. This often causes the plastic to become brittle, which creates microscopic cracks that trap even more bacteria. If you notice the surface feels rough or tacky after cleaning, the structural integrity is already compromised.
At this stage, the chemical structure of the polymer has permanently altered due to UV exposure or age.
If the seat is less than five years old, check the manufacturer’s warranty for discoloration coverage. If it’s older, plan to replace it to ensure proper hygiene.
Final Thoughts
If the discoloration doesn’t fade after a few tries, the plastic might be permanently worn down. It’s often best to replace the seat if it still looks grimy. You’ll find that a fresh, white replacement makes your bathroom feel much cleaner and brighter, so don’t hesitate to upgrade when it’s time.
Related guides